Development under tvOS: tips & tricks
Everyone knows that back in September, Apple introduced the fourth-generation Apple TV with the new tvOS operating system on board, and that you can develop your own applications for it. We have already written something about how to do this, and in this article we will also address this topic. What you need to know when starting development under tvOS and how to avoid some difficulties?
The interaction between the application and the user has changed
Previously, we could touch the screen, press a button, flip a picture - we worked directly with the interface. Now the interaction occurs indirectly, the user has two ways of interaction:
- Through the control panel
- Control with Siri

The control panel has also been updated, now there is:
- Touch panel (you can tap, swipe, etc.)
- Menu button
- Siri
- Microphone
- Play / Pause
- Home
- Volume
- Gyroscope
- Charging hole
Also, the Remote can be used as a joystick for games. And Apple has provided the ability to connect third - party joysticks and wrote instructions on how to ensure the operation of your joystick.
But what does the interaction through the console mean for the development team? So this is what the user needs to make clear which control element he is on and what he can click on at any given moment. For this is done a tool like Focus . Focus says that at the same time one and only one element can be in focus.
')
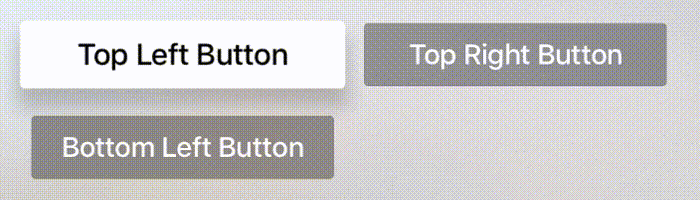
UIKit framework only supports interfaces that support working with Focus. In other words, for most elements, the Focus works out of the box. Programmatically, Focus can only be made to upgrade, but it cannot be installed or moved programmatically.
What does it mean in most cases? For example, UIButton supports focus. You can click on it. UILlabel Focus does not support, you can not press on the label - and why? By default, Focus supports the following UI elements:
- Uibutton
- UITextField
- UITableView
- UICollectionView
- UITextView
- UISegmentedControl
- UISearchBar
About updating Focus is written in more detail in the documentation .
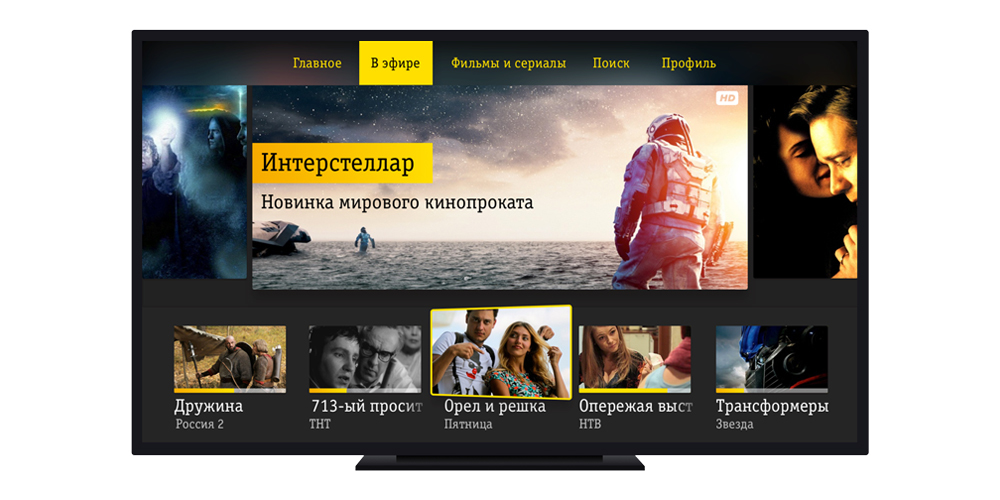
Apple TV home screen now looks new

TOP SHELF
Now it consists of application icons and Top Shelf (optional), which is located above the application icon. When the user selects your application (focuses), Top Shelf appears above the icon.
Top Shelf - a kind of widget, if you draw parallels with iOS.

Top Shelf is a great place to show the key content of your application (for example, weather) or to make a shortcut for a user, for example, to return it to watching a movie that is paused.
For your application, Top Shelf is an extension. A new framework, the TV Services framework, has been written to work with it, which consists of:
The TVContentIdentifier object is a unique identifier of media content.
TVContentItem object - any item or container for items displayed in Top Shelf
The TVTopShelfProvider protocol with two mandatory methods
topShelfItems - returns items that should be displayed in Top Shelf
topShelfStyle - talks about what style to use to display items
Adding Top Shelf to tvOS application-project
In order to add Top Shelf to the project, you must:
- Add a new target to your project.
File> New> Target - Choose TV Service Extention
tvOS> Application Extention> tvOS> Application Extention - Give a name to your Top Shelf
- Agree to activate Top Shelf for debugging
- A folder with your newly created Top Shelf will appear in the project.
Well, then the matter of technology - choose the display style TopShelf and add the necessary elements. Implementation options can be seen in the example of the project from Apple .
Parallax
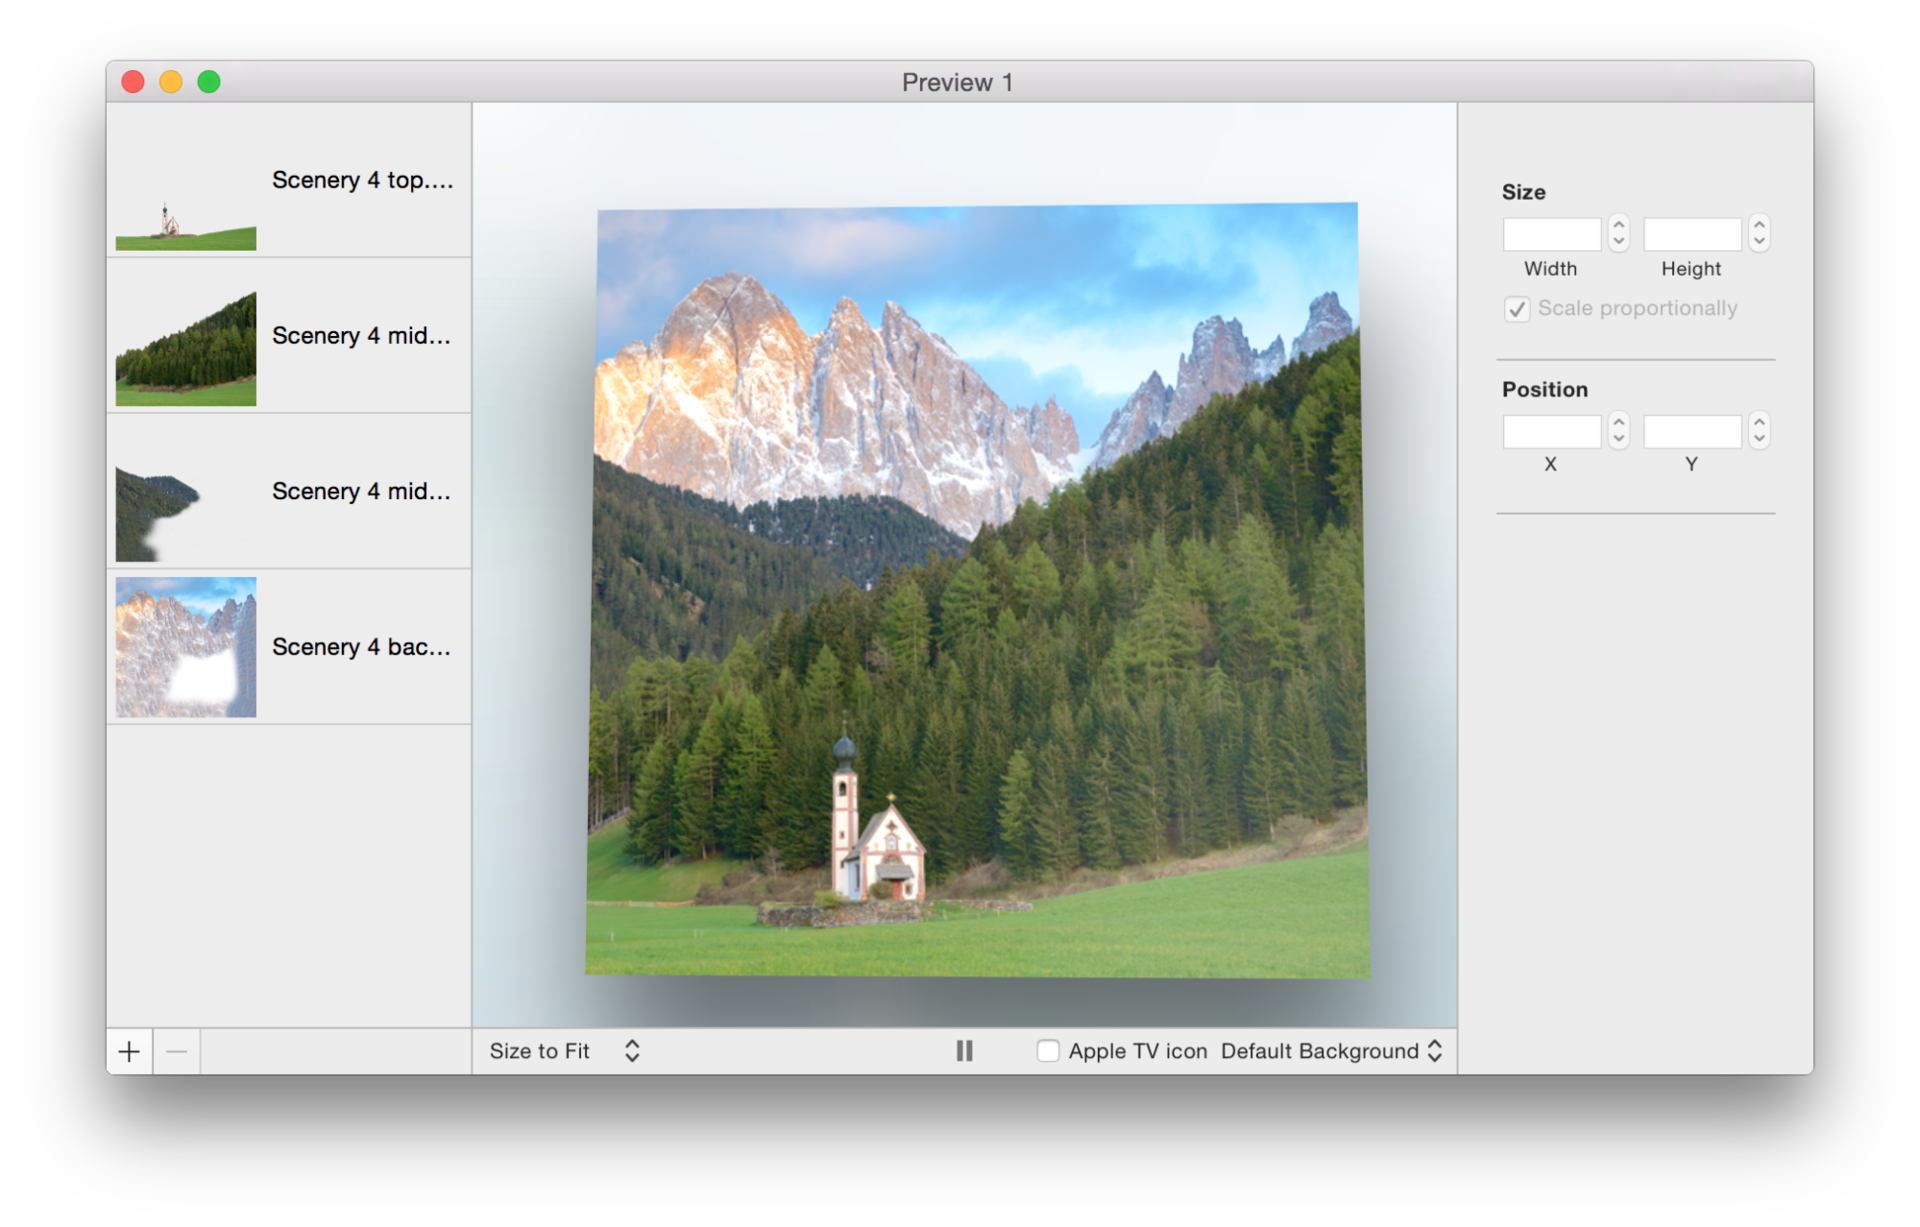
The icon is also not as simple as it seems. All icons in tvOS must support parallax .

Apple developed a new file format for parallax images - .lsr
Parallax is achieved by multi-level overlay of pictures, such pictures can be created either directly from Xcode, or from the special convenient Parallax Previewer program, another alternative is to download the extension for Photoshop. In the archive, along with the extension for Photoshop, there is an instruction manual.
Two ways to develop: TVML vs native application
Each of them has its advantages and disadvantages.
1. TVML
The first method involves the use of a stack of technologies TVML, TVJS and TVMLKit
- TVML - Television Markup Language - Relative XML
- TVJS is a set of JavaScript APIs that will provide an application interface.
- TVMLKit - glue between TVML, JavaScript and tvOS application
And to make it easier for us, Apple prepared instructions and a catalog of templates for us,
Plus: The application can be updated by updating your server. No more waiting for a review in appstore!
Minus: Poorly customized. Native applications will always look better.
In general, this is a great solution for a typical application for Apple TV. Suppose you already have a server that provides video content to users, and you don’t want to bother with design or sophisticated navigation for your tvOS application. In this case, developing an application using TVML will suit you perfectly.
2. Native application
In this case, the development process for Apple TV is almost identical to the creation of conventional iOS applications, here you can also use Objective-C and / or Swift. Most iOS frameworks are available for tvOS, among them MediaPlayer or UIKit. A full list can be found here .
Restrictions
No local data storage. For storage, you have to use iCloud, CloudKit or your own backend.
The size of the application should not exceed 200 MB.
Authorization
Separately, I wanted to tell you about problems with authorization. Now the password entry looks like this:
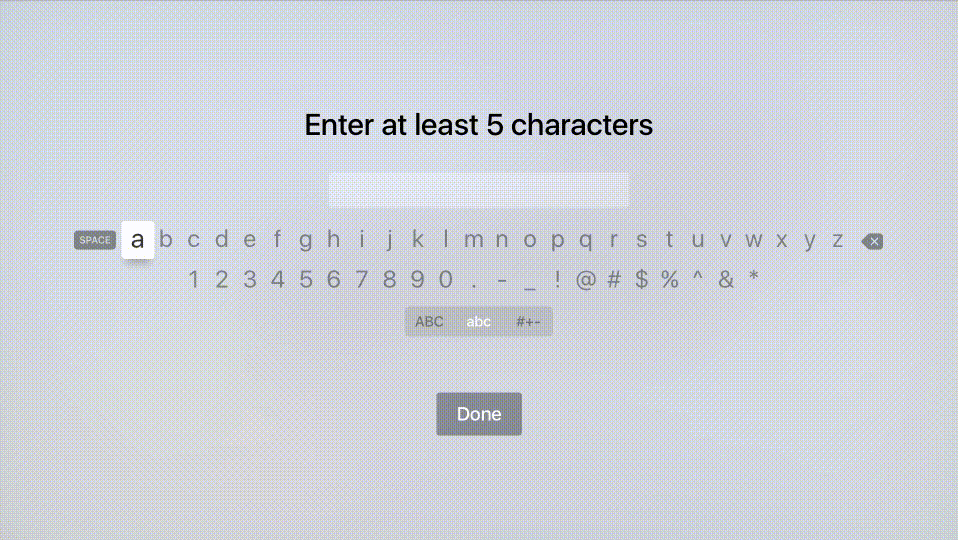
Authorization is required quite often, for example, when buying a movie or downloading an application, even for free. Pretty soon, this method of authorization will seem tedious. Therefore, if authorization is present in your application, you should think about how to make it less painful. You can already find several examples of interesting solutions on the network ( 1 , 2 ), but no one forbids further fantasizing and try to use QR codes for authentication, Siri (“sim-sim-open”) or a remote control touch panel to enter a graphic code ( as in Android).
Links
- Apple Documentation
- Downloads for tvOS
- Examples - Tutorials - Samples
- Authorization
- Other
Source: https://habr.com/ru/post/280996/
All Articles