A detailed review of Affinity Designer (Mac OS). Part 2
The first part of the review
This time I’ll talk about work panels. If in general, everything is about the same as in Illustrator. There are a couple of incomprehensible moments, there are a couple of very handy pieces that are not in big competitors. You can enable all or individually in the menu “View-> Studio -> ...”
')
Draw persona
Layers Panel
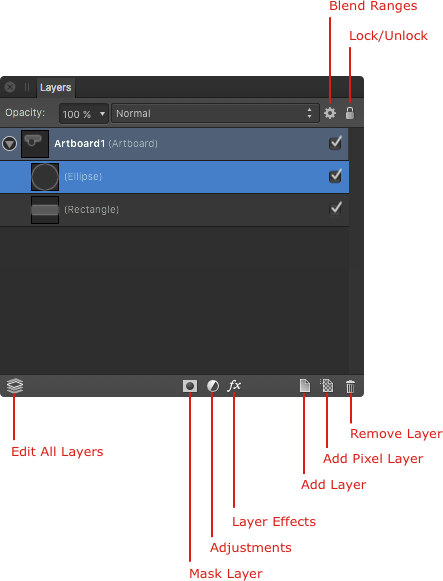
From top to left: layer transparency, blend mode, blend ranges (more below ), layer blocking. The layer transparency can be changed in numbers from 0 to 9 (as in Photoshop or Sketch), so it's not necessary to go to the panel for this. To lock the layer also has its own keys.
Bottom from left to right: auto-select layer, masking, layer settings, effects, new layer, new pixel layer, delete layer.
Auto layer: if pressed, select a layer by clicking on the canvas; if pressed, select the layer manually in the panel. I’ll clarify that this works with layers that contain objects. And already inside the layer objects are always selected by clicking on the canvas and in layers.
Mask - just like Adobi's Clipping Mask, just not on top of one layer, but on top of all that bottom. She also pixel - you can paint with a brush.
Settings (Adjustments) - a layer with different settings:
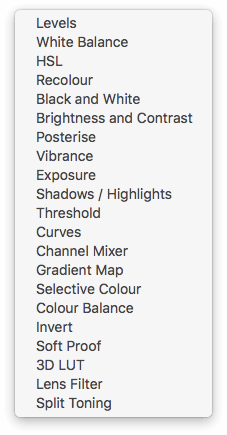
In fact, these are familiar windows of settings for colors, levels, channels and other things. They are superimposed by a layer, so they can be driven in the same way as regular layers, and twisted at any time.
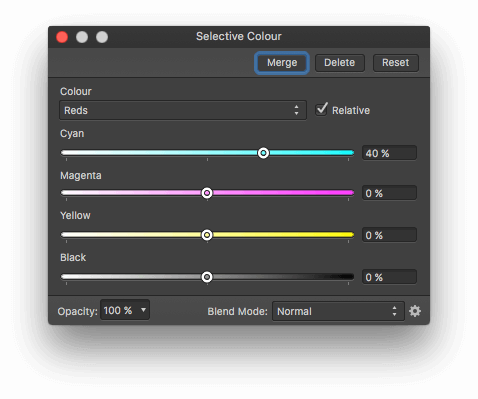
For example, the “Selective Color” settings:
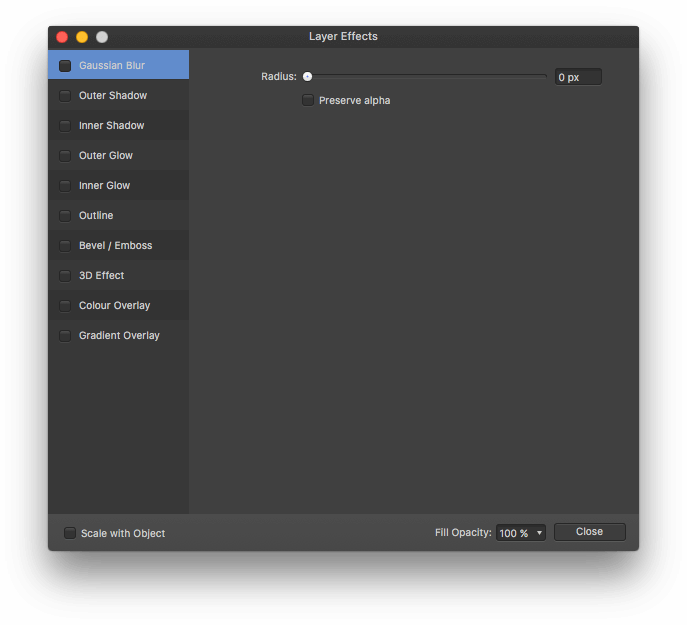
The effects of the layer - also all as in humans.
The "New Layer" button adds an ordinary vector layer.
“New pixel layer” adds a layer on which you can draw in the “Pixel persona” mode.
Well, everything is clear with the basket.
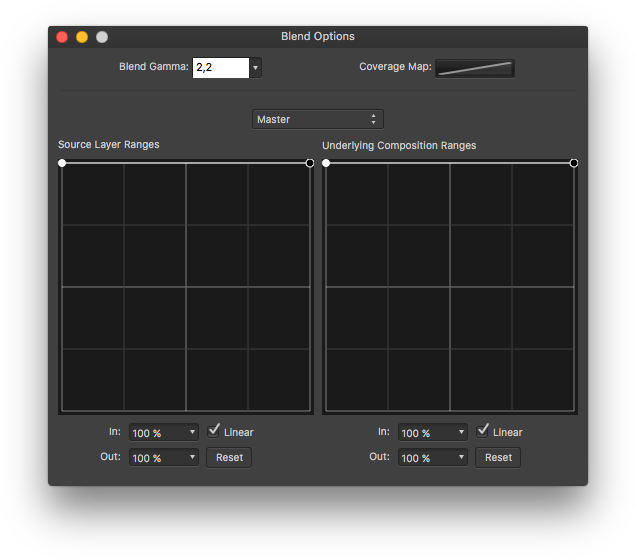
But honestly, I did not understand the blending ranges. I myself do not use this thing and have not seen one in other programs. It seems that it somehow controls the mode of "scanning through" the layer. But at the same time, here we have not just a blend mode (Multiply, Overlay, Soft Light and all that), but something like mixing and changing transparency at the same time.
Mix Bands Window:
Snapshot Panel
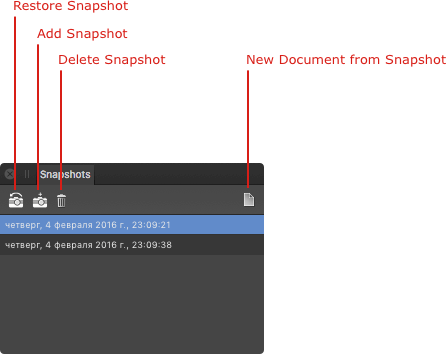
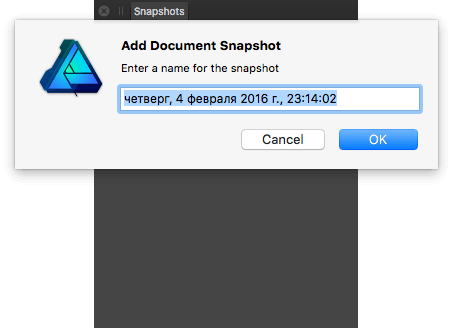
In this pane, you can save something like backups or versions of a single document. Buttons from left to right: restore a snapshot, take a new snapshot, delete a snapshot, a new document from a snapshot. In principle, the names are clear. When you take a new picture, you will be asked what to call it. By default, the Designer calls snapshots as creation time.
History
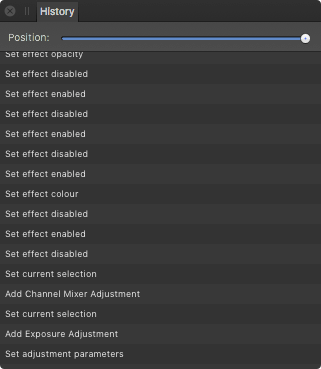
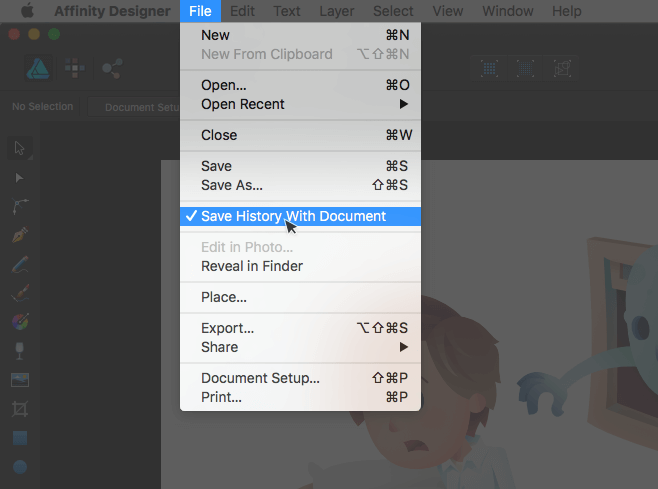
Everything is clear: return to action by clicking or slider. The designer can save history inside the document - i.e. You can open the file a hundred years ago and all actions in the history will be "alive." But for this you need to click on the menu item:
Brushes
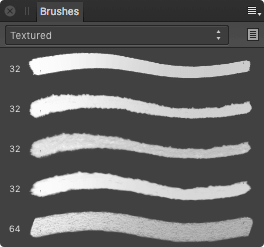
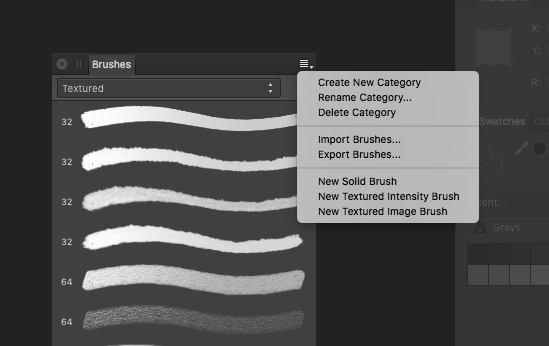
In addition to the choice of the category and the brushes themselves, the panel allows you to create your categories and brushes, edit and delete ready, import / export (true, the format here is your .afbrushes)
Transform
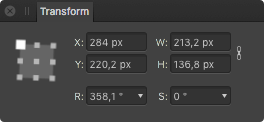
You can select the object's anchor point (i.e. read coordinates about edges or from the center), correct and “link” dimensions, coordinates, angle and skew
Navigator
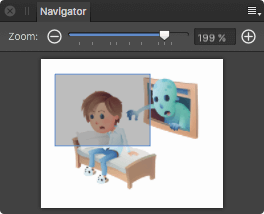
If you used Photoshop or Illustrator, you will find out this thing. And it works just like the others. The scale slider has a maximum - 1000%, but if you suddenly need more, increase it with a “plus” - it has no limit (you can also use a keyboard or mouse, of course).
The navigator has a mode «Advanced» (menu at the top right), where you can set the viewpoint - View Point. Expose the scale, save View Point 1, then expose another scale, save View Point 2. And then you can switch between these “points” in the navigator. You can set your name.
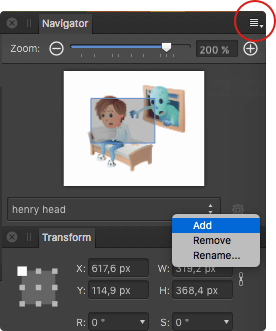
It works like this:
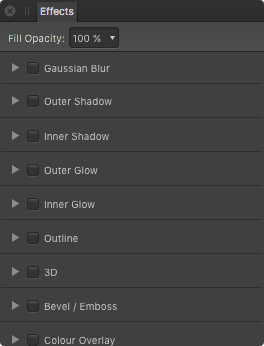
Effects
The same layer effects rendered in a separate panel. Those. You can work with them or from the layers panel, or from this.
Styles
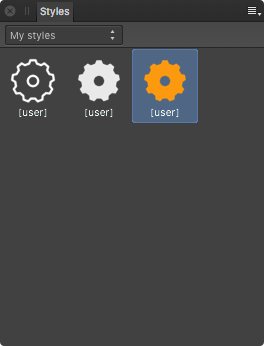
Object styles. You can only select an object, save its style, then select another object and apply the style of the first one. You cannot replace or update an existing style. Not a very useful thing for me - copy / paste object styles with hotkeys is faster (Cmd + C -> Cmd + Shift + V).
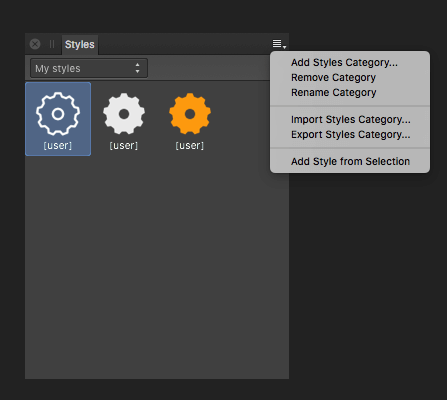
The menu allows you to create your own style category, delete / rename categories, import / export styles (into your own .afstyles format), and, in fact, create a new style from the selected object.
Stroke

Icons at the top: no stroke, line stroke, stroke with dotted line, brush stroke. Further, the parameters of the compounds, rounding and layout of the stroke.
The “Draw behind fill” checkbox includes a fill overlay stroke (if the stroke is in the center or on the inside edge):
“Scale with object” - resizing the stroke along with resizing the object.
The "Properties ..." button opens the stroke properties panel. In this case, the stroke will switch to the “brush” mode - only the brushes can adjust these parameters.

There is also an interesting “Pressure” button. Opens the stroke thickness setting. In Illustrator, this is realized in the form of a tool, here in the form of such a curve. Immediately not very obviously working thing, but you can get used to it.
Profiles can be saved, loaded and deleted.
Color (Color)
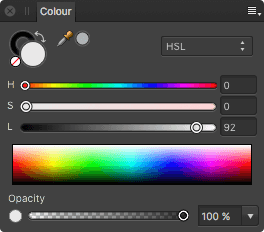
Nothing out of the ordinary, except for the “pipette”. To choose a color (from some object on the canvas, for example), you first need to drag a pipette onto it, then select the resulting color as fill / stroke.

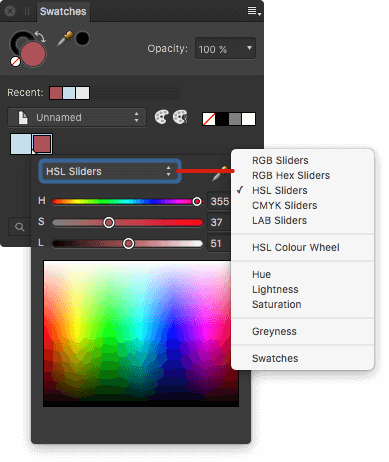
There are 4 display modes - a wheel, sliders (RGB, RGB Hex, HSL, CMYK, LAB, Greyscale), a spectrum (for some reason called “boxes”) and a color quantity slider.
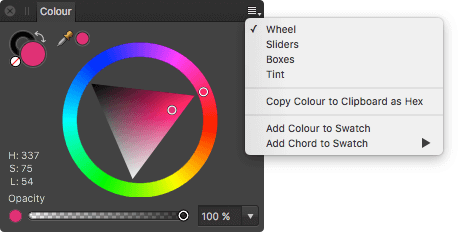
There is also a menu item that allows you to add several colors to samples based on the current one. Very useful - you can choose from a pack of many shades a few suitable ones.

Swatches
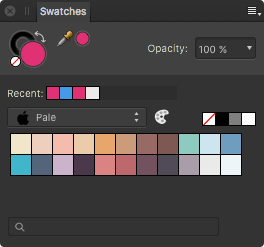
Much like the functionality of the panel in Illustrator.
"X" switch between fill / stroke.
The pipette, I repeat, is peculiar and inconvenient because of this peculiarity: you first need to drag it to a color, then it will appear near the pipette and then this color can be used for filling or stroking. By clicking on I or Alt, nothing happens if the brush is not selected in the tools — it can switch to the pipette with Alt.
The “Recent” line shows the colors used in the current document. There are always black, gray and white colors.
Below there is a list with palettes (here in the screenshots my “custom” - “Pale” is open). There are three types of palettes: document palette, program palette, system palette. The document palette is saved with the file and is not available anywhere else. The palette of the program is available in any document - it is “general program”. The system palette is available from any program on the Mac in the color.
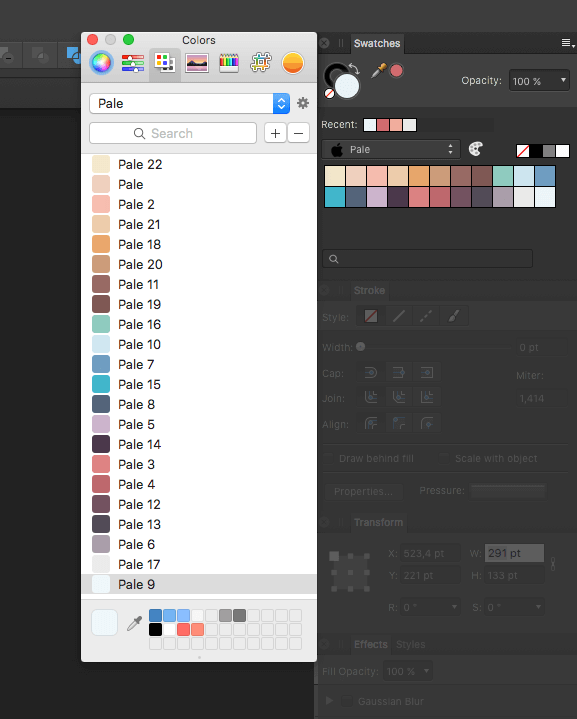
In general, the system colourbicker is a very useful and handy thing, and I chase it "in the tail and in the mane." In particular, it is very useful to throw colors into it once (or here, as above, make the system palette in Designer) and then use these colors in other programs. So I make “common” palettes for Sketch, Pixelmator and Affinity Designer. For coders: in Sublime Text is also useful. And you can also keep the color peep just as a separate program .
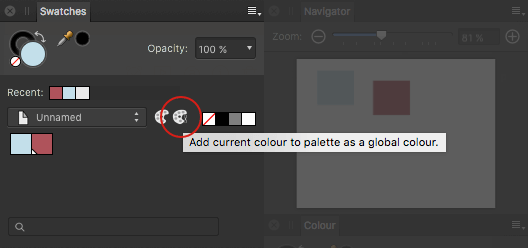
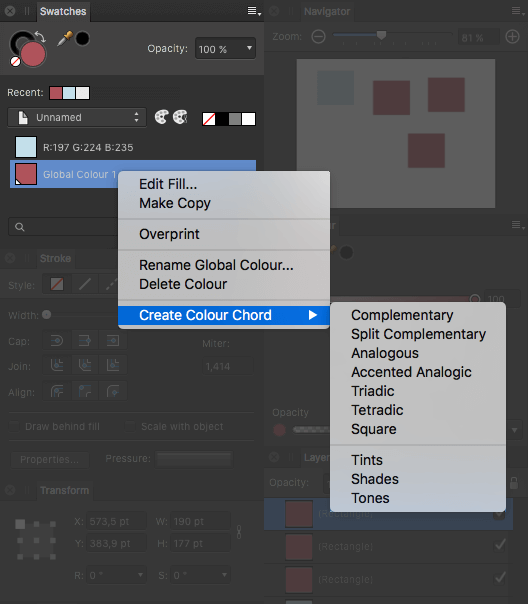
You can create global colors in the panel.
Global color can be changed with sliders or simply replaced with another one from the palette.
There are built-in palettes Panton:

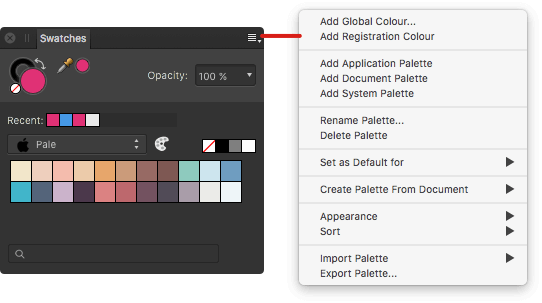
From the panel menu you can add colors, palettes, delete and rename palettes, create palettes from other documents, customize the appearance of samples, export / import palettes (in the native .afpalette format)
Each sample also has a context menu.
Character
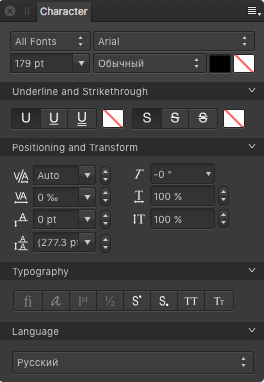
I will not write about the obvious parameters - they are the same for all programs. I will tell about not obvious.
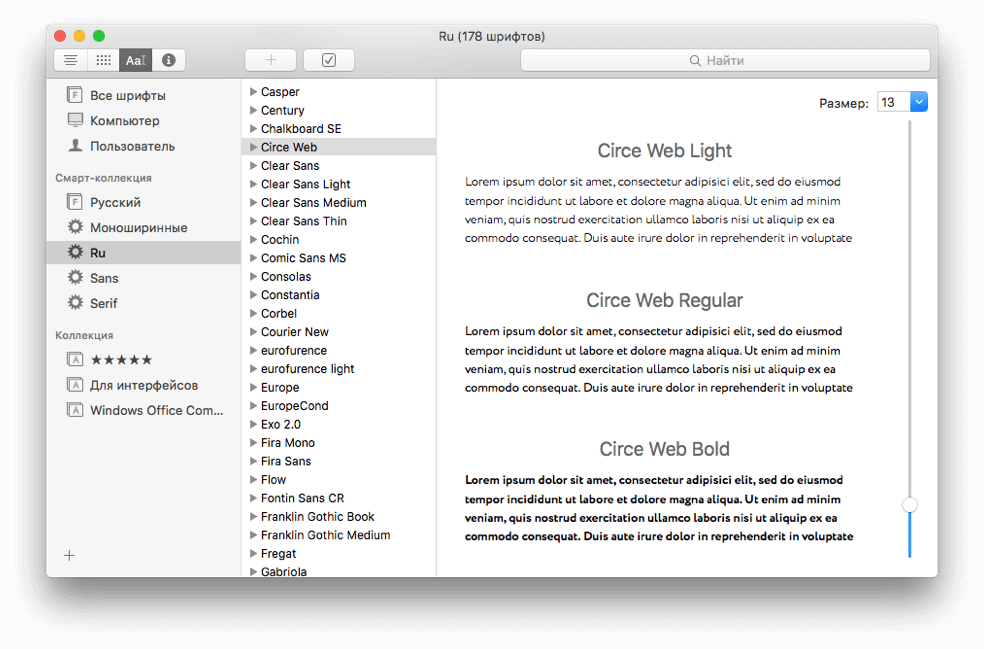
List of categories of fonts. These are categories and smart folders from the font system program. If you change something in the fonts, the changes will be made by the Designer only after a restart.
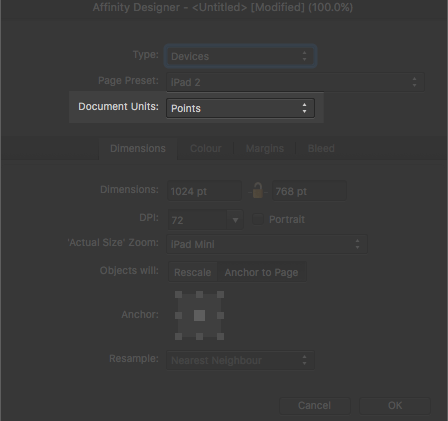
Then the font size. Units can be set in the document settings (File-> Document Setup ...)
To underline and strikethrough, you can set a separate color. The default text color is applied, of course.
If after entering the text, press Cmd + Enter, the text is immediately converted into curves (this is a bit annoying, because I sometimes press the old habit). To just exit text editing, press Esc.
The designer, immediately after hovering the mouse, “pre-shows” the final result when you change some parameters in the text.
Paragraph
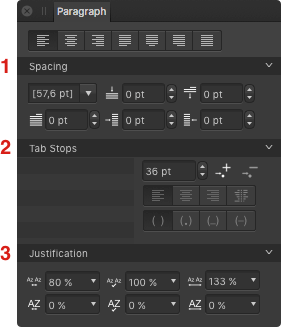
I have not found how to turn a linear text into a paragraph and I suspect that there is no such function. Therefore, immediately navigate, the inscription you do or a paragraph.
Above - paragraph alignment.
1 - Group “Spacing”: line height, indent from above, indent from below, indent of the first line, indent on the left, indent on the right.
2 - “Tab stops” group: indents in the text box after clicking “Tab”. By default 36 points, you can set your own.
In the example below, the first pressing of “Tab” will move the cursor by 10 points, the second - another 50, the third - another 200.
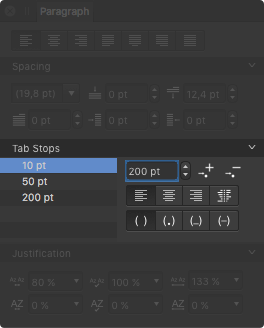
There are also options for blocks after the indent - alignment and characters instead of a space (space, period, underscore or hyphen).
3 - “Justification” group: this is useful for aligning text across the entire width (and this is nowhere, except for printing, it is better not to do). From top to bottom from left to right: the minimum distance between words, the minimum distance between characters, the desired distance between words, the desired distance between letters, the maximum distance between words, the maximum distance between letters.
Export persona
Slices
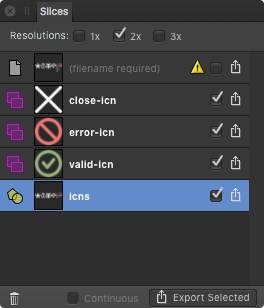
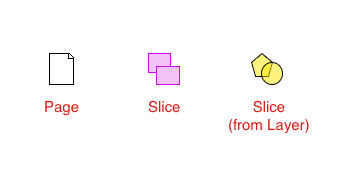
Contains all the fragments created automatically (I have here “filename required”) and manually. The fragment type is shown by the corresponding icon.
In the panel above, select the resolution of the image for export - 1x, 2x or 3x. You can export everything at once - if you select all the fragments with a checkmark and click "Export selected", or one by one - the "Export" button opposite the desired fragment.
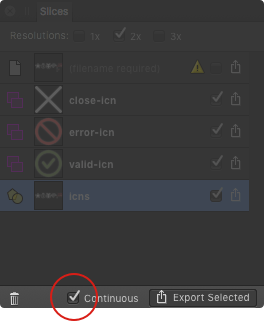
Below is a useful checkbox - "Continuous". It works only after the first export, and before that “zadizablenny”. If you select this checkbox, then all changes in the file will be automatically exported to acc. fragments. Those. you drew a sprite of icons, split it into fragments, exported it once, and then click the “Continuous” checkbox and further, if you edit something in the icons, they are already exported themselves after saving the file. There is an awkward moment - after closing the file and re-opening the magic checkbox is turned off and everything needs to be done in a new way.
Export Options
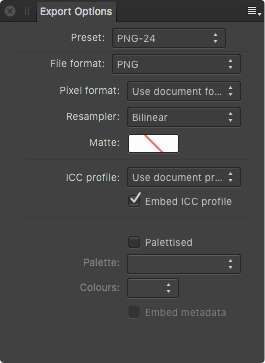
There is nothing to paint on words here - everything, I think, can be seen by the names of the parameters. If there are several fragments in the file, then the parameters can be selected for each of them. Options - a great many + you can save your settings.
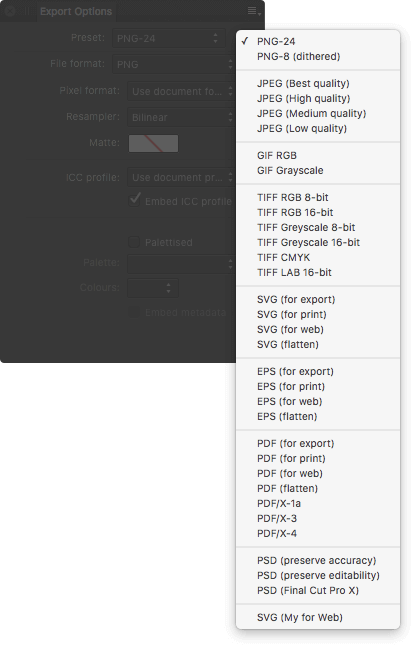
To make your preset, you must first select the built-in, then change something in it, and then all this can be saved as a new setting ("Create Preset ...")

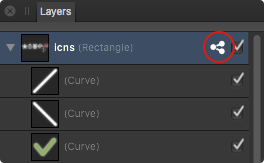
Layers
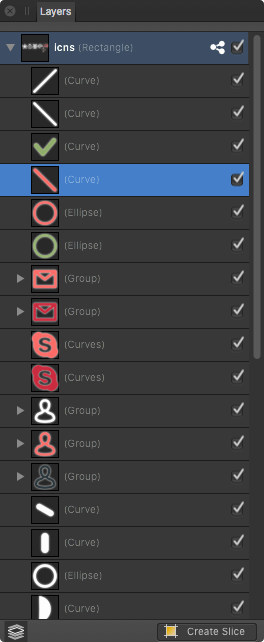
In export mode, the layers panel allows you to select, turn on / off layers and create fragments. Nothing else. If a layer is exported, this is indicated by an icon (to the left of the checkbox).
Epilogue
That's all. In general, I have a lot of positive impressions and slightly negative ones. As a working tool - quite good. Perhaps some of you will have to re-use after Illustrator in some places, but only to minor details.
Soon comes to Windu , by the way.
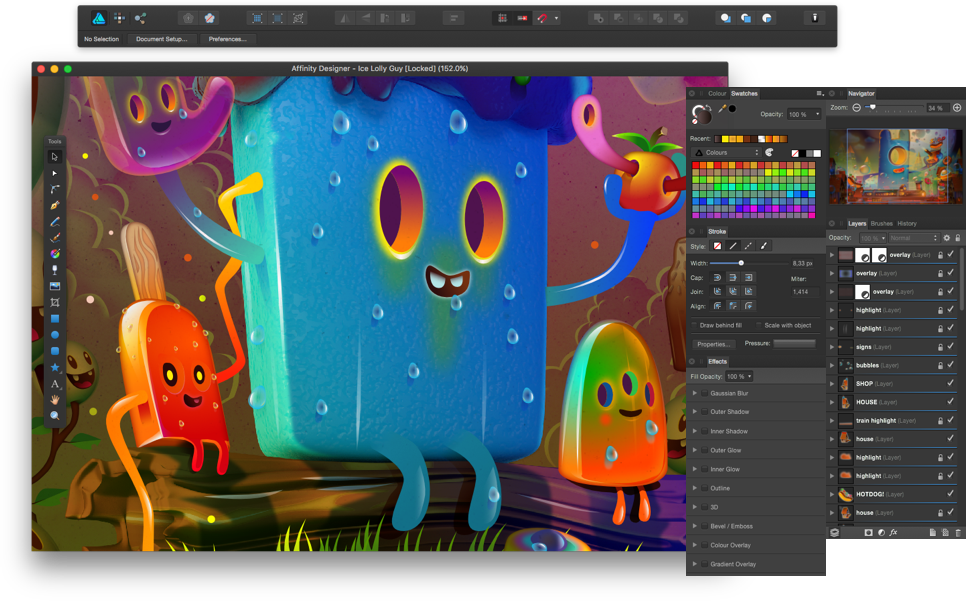
In the splash screen there is an illustration of "Ice Lolly Guy" by Pocketstudio .
Source: https://habr.com/ru/post/279967/
All Articles