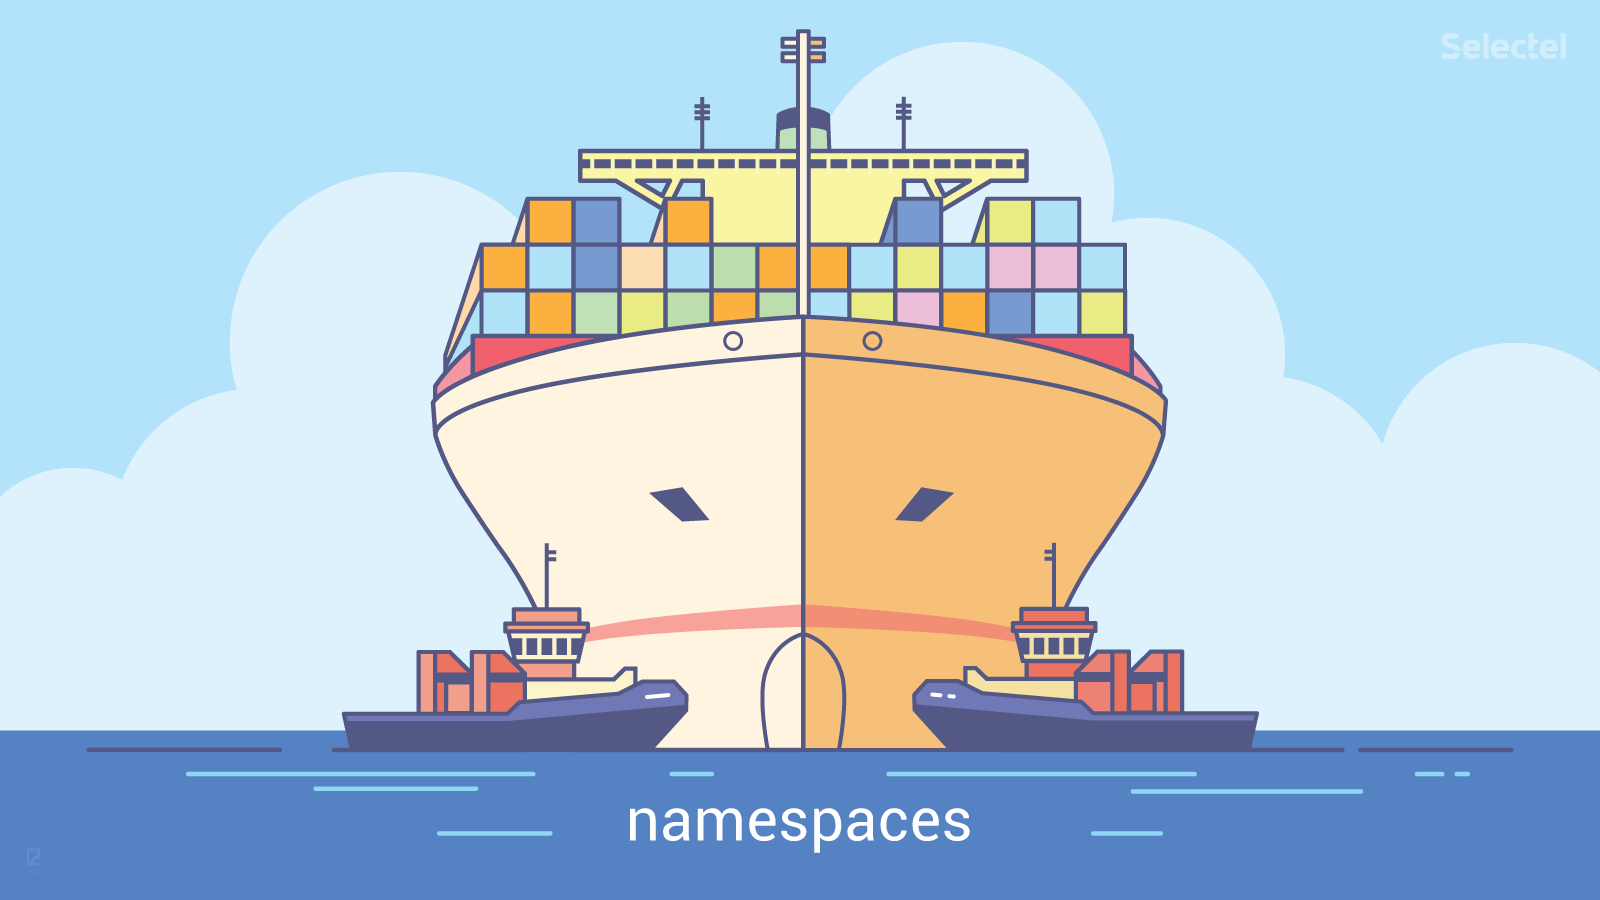
Containerization mechanisms: namespaces
The last few years have been marked by the growing popularity of “container” solutions for Linux OS. Today, they talk and write a lot about how and for what purposes containers can be used. But the mechanisms underlying containerization are given far less attention.
All containerization tools — be it Docker, LXC, or systemd-nspawn — are based on two Linux kernel subsystems: namespaces and cgroups. The mechanism of namespaces (namespaces), we would like to consider in detail in this article.
')
Let's start a few from afar. The ideas underlying the namespace mechanism are not new. Back in 1979, the chroot () system call was added to UNIX - just to provide isolation and provide developers with a separate platform for testing from the main system. It will be useful to remember how it works. Then we consider the features of the functioning of the namespace mechanism in modern Linux-based systems.
Chroot (): first isolation attempt
The name chroot is an abbreviation for change root, which literally translates as "change the root." Using the chroot () system call and the corresponding command, you can change the root directory. A program running with a modified root directory will only have access to files in that directory.
The UNIX file system is a tree hierarchy:

The top of this hierarchy is the / directory, aka root. All other directories - usr, local, bin and others - are associated with it.
Using chroot, you can add a second root directory to the system, which from the user's point of view will not differ from the first. The file system in which there is a modified root directory can be schematically represented as follows:

The file system is divided into two parts, and they do not affect each other. How does chroot work? First we turn to the source code. As an example, consider the implementation of chroot in OC 4.4 BSD-Lite.
The chroot system call is described in the vfs_syscall.c file:
hroot(p, uap, retval) struct proc *p; struct chroot_args *uap; int *retval; { register struct filedesc *fdp = p->p_fd; int error; struct nameidata nd; if (error = suser(p->p_ucred, &p->p_acflag)) return (error); NDINIT(&nd, LOOKUP, FOLLOW | LOCKLEAF, UIO_USERSPACE, uap->path, p); if (error = change_dir(&nd, p)) return (error); if (fdp->fd_rdir != NULL) vrele(fdp->fd_rdir); fdp->fd_rdir = nd.ni_vp; return (0); } The most important thing happens in the penultimate line of the fragment we quoted: the current directory becomes the root.
In the Linux kernel, the chroot system call is somewhat more complex (the code snippet is taken from here ):
SYSCALL_DEFINE1(chroot, const char __user *, filename) { struct path path; int error; unsigned int lookup_flags = LOOKUP_FOLLOW | LOOKUP_DIRECTORY; retry: error = user_path_at(AT_FDCWD, filename, lookup_flags, &path); if (error) goto out; error = inode_permission(path.dentry->d_inode, MAY_EXEC | MAY_CHDIR); if (error) goto dput_and_out; error = -EPERM; if (!ns_capable(current_user_ns(), CAP_SYS_CHROOT)) goto dput_and_out; error = security_path_chroot(&path); if (error) goto dput_and_out; set_fs_root(current->fs, &path); error = 0; dput_and_out: path_put(&path); if (retry_estale(error, lookup_flags)) { lookup_flags |= LOOKUP_REVAL; goto retry; } out: return error; } Consider the features of chroot in Linux on practical examples. Run the following commands:
$ mkdir test $ chroot test /bin/bash As a result of the second command, we get the error message:
chroot: failed to run command '/bin/bash': No such file or directory The error is as follows: the command shell was not found. Pay attention to this important point: using chroot we create a new, isolated file system that has no access to the current one. Let's try again:
$ mkdir test/bin $ cp /bin/bash test/bin $ chroot test chroot: failed to run command '/bin/bash': No such file or directory Again an error - despite the identical message, not at all the same as last time. The last message was issued by the shell, because it did not find the desired executable file. In the example above, a dynamic linker reported an error: he did not find the necessary libraries. To access them, they also need to be copied to the chroot. You can see exactly which dynamic libraries you want to copy, like this:
$ ldd /bin/bash linux-vdso.so.1 => (0x00007fffd08fa000) libtinfo.so.5 => /lib/x86_64-linux-gnu/libtinfo.so.5 (0x00007f30289b2000) libdl.so.2 => /lib/x86_64-linux-gnu/libdl.so.2 (0x00007f30287ae000) libc.so.6 => /lib/x86_64-linux-gnu/libc.so.6 (0x00007f30283e8000) /lib64/ld-linux-x86-64.so.2 (0x00007f3028be6000) After that execute the following commands:
$ mkdir test/lib test/lib64 $ cp /lib/x86_64-linux-gnu/libtinfo.so.5 test/lib/ $ cp /lib/x86_64-linux-gnu/libdl.so.2 test/lib/ $ cp /lib64/ld-linux-x86-64.so.2 test/lib64/ $ cp /lib/x86_64-linux-gnu/libc.so.6 test/lib $ chroot test bash-4.3# Now it happened! Let's try to execute in the new file system, for example, the ls command:
bash-4.3# ls In response, we will receive an error message:
bash: ls: command not found The reason is clear: the ls command is missing in the new file system. You need to copy the executable file and dynamic libraries again, as it was shown above. This is a serious shortcoming of chroot: all the necessary files need to be duplicated. There are chroot and a number of shortcomings in terms of security.
Attempts to improve the chroot mechanism and provide more reliable isolation have been made more than once: for example, such well-known technologies such as FreeBSD Jail and Solaris Zones appeared .
In the Linux kernel, process isolation has been enhanced by the addition of new subsystems and new system calls. Some of them we will analyze below.
Namespace mechanism
The namespace is the mechanism of the Linux kernel that isolates processes from each other. Work on its implementation was started in kernel version 2.4.19. Currently, Linux supports six types of namespaces:
| Namespace | What isolates |
|---|---|
| PID | PID processes |
| NETWORK | Network devices, stacks, ports, etc. |
| USER | User and group IDs |
| MOUNT | Mount points |
| IPC | SystemV IPC, POSIX Message Queuing |
| UTS | Hostname and domain name NIS |
All of these types are used by modern containerization systems (Docker, LXC and others) when running programs.
PID: isolation of PID processes
Historically, only one process tree was supported in the Linux kernel. The process tree is a hierarchical structure similar to the file system directory tree.
With the advent of the namespaces mechanism, it became possible to support several process trees, completely isolated from each other.
When booting into Linux, the process with the identification number (PID) 1 is first launched. It is the root in the process tree. It starts other processes and services. The namespaces mechanism allows you to create a separate branch of the process tree with its own PID 1. The process that creates such a branch is part of the main tree, but its child process will already be root in the new tree.
Processes in the new tree do not interact with the parent process and do not even "see" it. At the same time, processes in the main tree are accessible to all processes of the child tree. This is graphically shown in the following diagram:

You can create several nested PID namespaces: one process starts a child process in a new PID namespace, which in turn generates a new process in a new space, and so on.
The same process can have multiple PIDs (a separate identifier for a separate namespace).
To create new PID namespaces, use the clone () system call with the CLONE_NEWPID flag. With this flag, you can run a new process in a new namespace and in a new tree. Consider as an example a small program in the C language (hereinafter, code examples are taken from here and slightly changed by us):
#define _GNU_SOURCE #include <sched.h> #include <stdio.h> #include <stdlib.h> #include <sys/wait.h> #include <unistd.h> static char child_stack[1048576]; static int child_fn() { printf("PID: %ld\n", (long)getpid()); return 0; } int main() { pid_t child_pid = clone(child_fn, child_stack+1048576, CLONE_NEWPID | SIGCHLD, NULL); printf("clone() = %ld\n", (long)child_pid); waitpid(child_pid, NULL, 0); return 0; } Compile and run this program. Upon completion, we will see the following output:
clone() = 9910 PID: 1 During the execution of such a small program a lot of interesting things happened in the system. The clone () function created a new process, cloning the current one, and starting its execution. However, she separated the new process from the main tree and created for it a separate process tree.
Let us now try to change the program code and find out the parent PID from the standpoint of an isolated process:
static int child_fn() { printf(" PID: %ld\n", (long)getppid()); return 0; } The output of the modified program will look like this:
clone() = 9985 PID: 0 The line “Parent PID: 0” means that the process we are considering does not have a parent process. Make another change to the program and remove the CLONE_NEWPID flag from the clone () call:
pid_t child_pid = clone(child_fn, child_stack+1048576, SIGCHLD, NULL); The clone system call in this case worked in much the same way as fork () and simply created a new process. Between fork () and clone (), however, there is a significant difference that should be disassembled in detail.
Fork () creates a child process that represents a copy of the parent. The parent process is copied along with the entire execution context: allocated memory, open files, etc.
Unlike fork (), the clone () call does not just create a copy, but allows you to separate the elements of the execution context between the child and parent processes. In the above code example with the clone function, the child_stack argument is used, which specifies the stack position for the child process. As soon as the child and parent processes can share memory, the child process cannot run on the same stack as the parent. Therefore, the parent process must set the memory space for the child and pass a pointer to it in the clone () call. Another argument used with the clone () function is flags that indicate what exactly needs to be divided between the parent and child processes. In our example we used the CLONE_NEWPID flag, which indicates that a child process should be created in the new PID namespace. Examples of using other flags will be given below.
So, we considered isolation at the process level. But this is just the first step. Running in a separate namespace, the process will still have access to all system resources. If such a process listens to, for example, port 80, this port will be blocked for all other processes. Other namespaces help to avoid such situations.
NET: network isolation
Thanks to the NET namespace, we can allocate our own network interfaces for isolated processes. Even the loopback interface for each namespace will be separate.
Network namespaces can be created using the clone () system call with the CLONE_NEWNET flag. This can also be done using iproute2:
$ ip netns add netns1 We will use strace and see what happened in the system during the following command:
..... socket(PF_NETLINK, SOCK_RAW|SOCK_CLOEXEC, 0) = 3 setsockopt(3, SOL_SOCKET, SO_SNDBUF, [32768], 4) = 0 setsockopt(3, SOL_SOCKET, SO_RCVBUF, [1048576], 4) = 0 bind(3, {sa_family=AF_NETLINK, pid=0, groups=00000000}, 12) = 0 getsockname(3, {sa_family=AF_NETLINK, pid=1270, groups=00000000}, [12]) = 0 mkdir("/var/run/netns", 0755) = 0 mount("", "/var/run/netns", "none", MS_REC|MS_SHARED, NULL) = -1 EINVAL (Invalid argument) mount("/var/run/netns", "/var/run/netns", 0x4394fd, MS_BIND, NULL) = 0 mount("", "/var/run/netns", "none", MS_REC|MS_SHARED, NULL) = 0 open("/var/run/netns/netns1", O_RDONLY|O_CREAT|O_EXCL, 0) = 4 close(4) = 0 unshare(CLONE_NEWNET) = 0 mount("/proc/self/ns/net", "/var/run/netns/netns1", 0x4394fd, MS_BIND, NULL) = 0 exit_group(0) = ? +++ exited with 0 +++ Note: here the unshare () system call is used to create a new namespace, and not a clone that is already familiar to us. Unshare () allows a process or thread to separate portions of the execution context that are common to other processes (or threads).
How can I put processes in a new network name space?
First, the process that created the new namespace can spawn other processes, and each of these processes will inherit the network namespace of the parent.
Secondly, the kernel has a special system call - setns () . With it, you can put the calling process or thread in the desired namespace. This requires a file descriptor that references this namespace. It is stored in the / proc / <PID of the process> / ns / net file. By opening this file, we can pass the file descriptor of the setns () function.
You can go the other way. When creating a new namespace using the ip command, a file is created in the / var / run / netns / directory (see the trace output above). To get a file descriptor, simply open this file.
Network Namespace cannot be deleted using any system call. It will exist as long as at least one process uses it.
MOUNT: file system isolation
We mentioned the isolation at the file system level above when we parsed the chroot () system call. We noted that the chroot () system call does not provide reliable isolation. Using the MOUNT namespaces, you can create completely independent file systems associated with various processes:

To isolate the file system, use the clone () system call with the CLONE_NEWNS flag:
clone(child_fn, child_stack+1048576, CLONE_NEWPID | CLONE_NEWNET | CLONE_NEWNS | SIGCHLD, NULL) First, the child process “sees” the same mount points as the parent. Once the child process has been moved to a separate namespace, you can mount any file system to it, and this will not affect either the parent process or other namespaces.
Other namespaces
An isolated process can also be placed in other namespaces: UID, IPC, and PTS. A UID allows a process to gain root privileges within a specific namespace. Using the IPC namespace, you can isolate resources for communication between processes.
UTS is used to isolate system identifiers: the host name (nodename) and the domain name (domainame) returned by the uname () system call. Consider another small program:
#define _GNU_SOURCE #include <sched.h> #include <stdio.h> #include <stdlib.h> #include <sys/utsname.h> #include <sys/wait.h> #include <unistd.h> static char child_stack[1048576]; static void print_nodename() { struct utsname utsname; uname(&utsname); printf("%s\n", utsname.nodename); } static int child_fn() { printf(" : "); print_nodename(); printf(" !\n"); sethostname("NewOS", 6); printf(" : "); print_nodename(); return 0; } int main() { printf(" : "); print_nodename(); pid_t child_pid = clone(child_fn, child_stack+1048576, CLONE_NEWUTS | SIGCHLD, NULL); sleep(1); printf(" : "); print_nodename(); waitpid(child_pid, NULL, 0); return 0; } The output of this program will look like this:
: lilah : lilah ! New UTS namespace nodename: NewOS As you can see, the child_fn () function prints the name of the node, changes it, and then displays the new name. The change occurs only within the new namespace.
Conclusion
In this article, we outlined how the namespaces mechanism works. Hopefully, it will help you to better understand the principles of operation of containers. By tradition, here are links to interesting additional materials:
- a series of articles about the namespace mechanism on the LWN.net portal;
- namespaces manual;
- abstract lecture on namespaces and cgroups .
We will continue the consideration of containerization mechanisms. In the next post we will talk about the cgroups mechanism.
If for one reason or another you cannot leave comments here - we invite you to our blog .
Source: https://habr.com/ru/post/279281/
All Articles