Creating ontology in Protégé 5.0
 Protégé is an open source, open source software tool for editing ontologies and knowledge management systems 1 . Version 5.0 is relevant for today (more about it ). So I thought that a simple tutorial, as a small introduction to working with this program, would not be superfluous on Habré.
Creating a new ontology
To create an ontology, open the Protégé 5.0 editor (you can download it from the official site or use the online version) and enter its name - for example, NQF_FQF, and version - /1.0.

Note: We create an ontology on the example of the National Qualifications Framework of Ukraine
')
To add annotations that would explain what your ontology is about, you need to click on the “plus sign” next to the word Annotation.
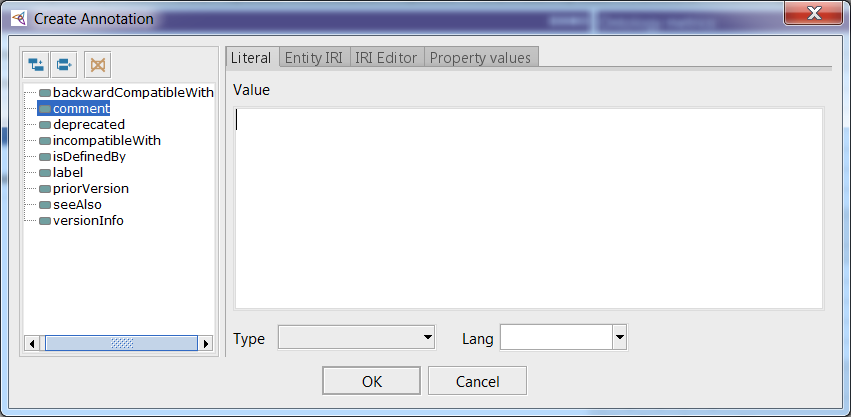
In the Value field, enter the annotation text and click Ok.
Since we write ontology using the Ukrainian language, we do not choose the language of annotation.
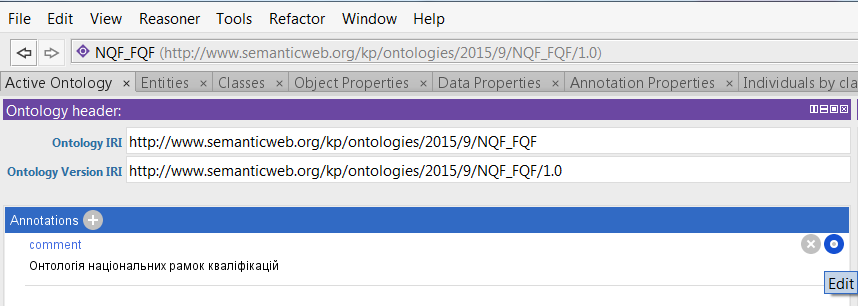
To edit annotations here and in other sections of the editor, click on the “circle” in the right corner of the annotation.
Creating classes
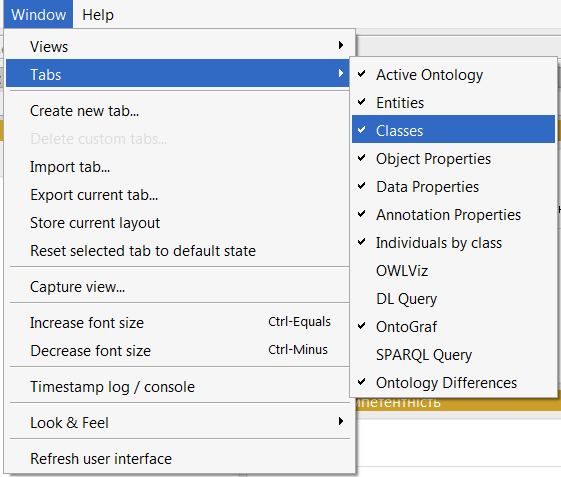
To create classes you need to go to the Classes tab. If it is not displayed in your editor, you need to select Window - Tabs - Class views from the toolbar.
In all previous manuals, it was advised not to touch the default class - Thing .. We do that.
Next, create your class. To do this, click on the Add subclass button.

In the window that opens, you must enter a class name. Here it should be noted that Cyrillic characters work, but for the Ukrainian language does not work '- apostrophe. When writing a word with an apostrophe, part of the text is cut off to the apostrophe.
Note: well, we need Cyrillic in the class names for a more visual representation in the graph. Yes, of course you can write in Latin and no problems :)
Also, class names of the type are not written:
1 word
Instead, the editor turns
_word
But you can write like this:
Word_1
That is, the editor does not like it when the class name begins with a number.
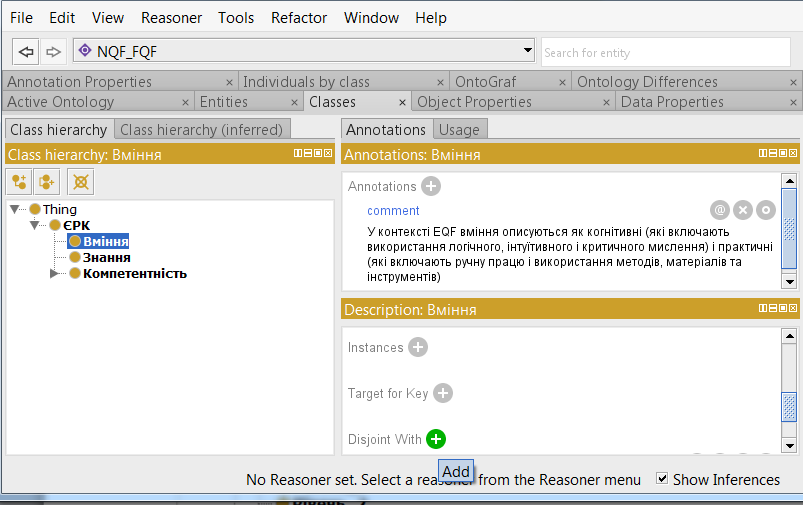
After the introduction of the class name in the structure of ontology, a new class appears.
So we created one class and three subclasses.
For a better description of the ontology, we will make the classes unrelated to each other.
To do this, you must select a class, then in the Description window, click on the "plus sign" near Disjoint With.
In the classes window that opens, select the ones that you do not want to link. The combination of Ctrl + left mouse button allows you to select several classes at once. Next - Ok.
Now you need to create classes of the 2nd level for each of the classes of the 1st level. A remarkable feature of the editor is that by making one class unbound, the rest are done automatically.
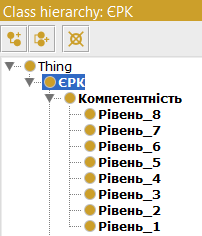
To do this, in the subclass “Competence” we create 8 subclasses: і_1, і_2… і_8.
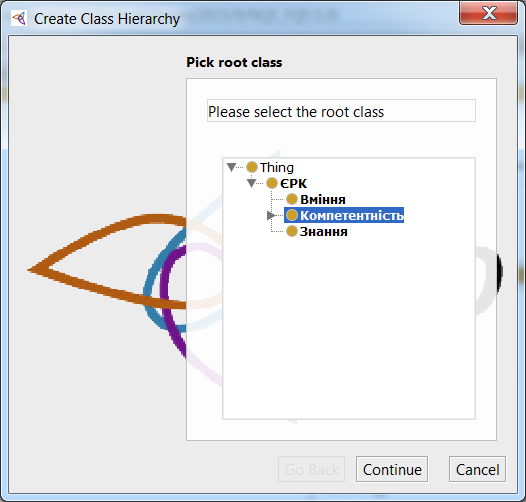
To create subclasses we will use the function of creating a class hierarchy. From the main menu of the Protege Tools, select Create Class hierarchy.
In the window that opens, select the main class and click Continue.
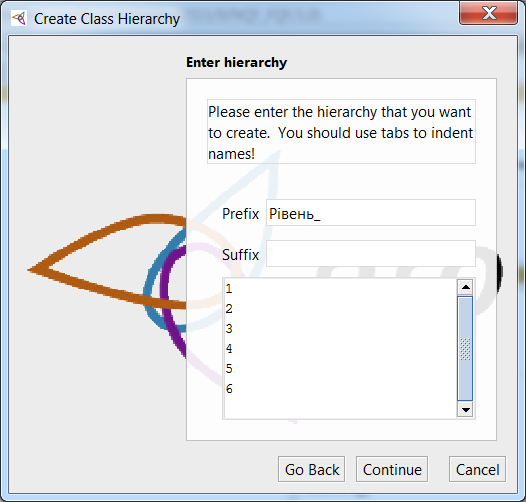
Then in the Prefix field we write “і_”, and below in the field you need to write the names of the added classes separated by a space and and click Continue.
That is what should happen in the end.
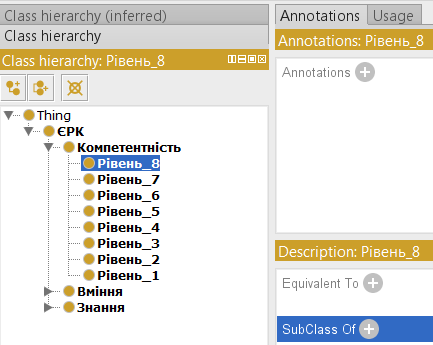
As explained above, we will make these classes unrelated by using the Description - Disjoint With window.
Making connections
These subclasses (і_1 ... і_8) cannot be copied to all the others (and we need all the previous classes to have these levels), but you can add links.
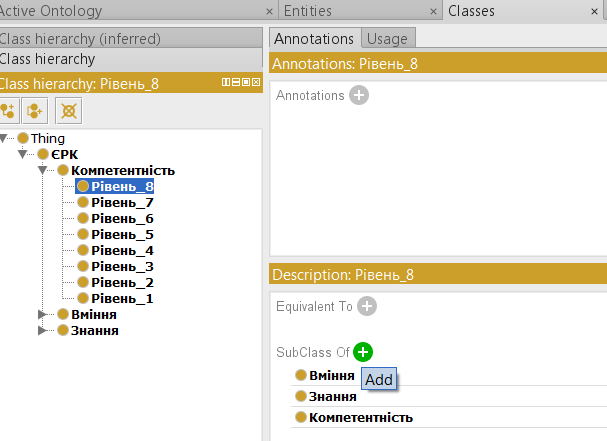
To do this, select a class and in the Description window, click on the “plus sign” near SubClass Of.
In the window that opens, select the Class hierarchy tab and from the list of classes select the ones you want to link. The combination of Ctrl + left mouse button allows you to select several classes at once. Next - Ok.
Thus, a list of related classes will appear in the SubClass Of.
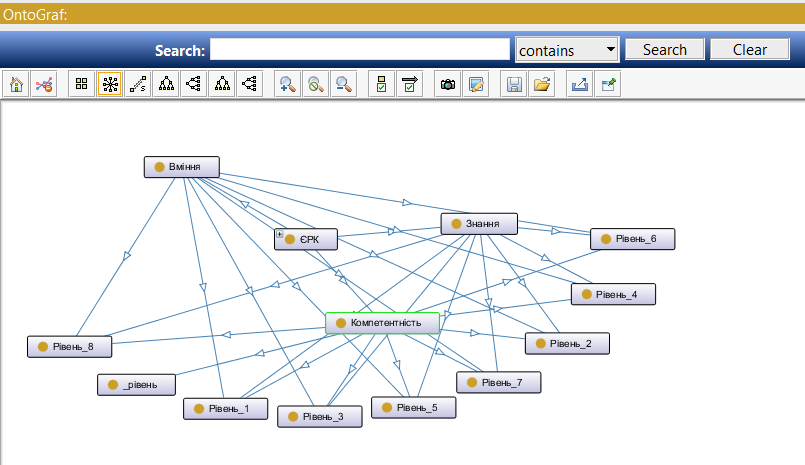
If you add the OntoGraf plugin, you can see the ontology structure as a graph after switching to the OntoGraf tab.
Adding properties
Learn how to add properties.
Note: we have created additional classes, so the names of classes about which it was not written above will appear.
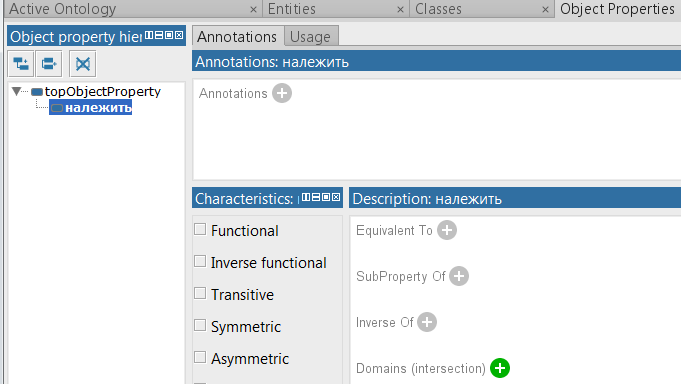
Create a property in the Object Properties tab. As when creating a class, select a property and click the button.
 .
.In the window that opens, write the name of the property. The rules for writing names here are the same as class names.
Now we assign this property to an object, for example, "Elementary_zagal__znannya".
To do this, on the same tab in the Description window, click on the "plus sign" near Domens (intersection).
In the window that opened, select the class "Elementary_zagal__znannya".
Next, click the "plus sign" near Ranges (intersection) and in the window that opened, select the class "Riven_0". As a result, we associate these classes through the “override” property.
And this is displayed by the corresponding lines on the OntoGraf graph.
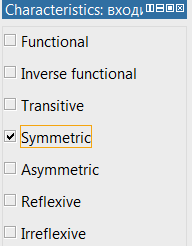
Add feature
In order to add a characteristic to the property, select it, then in the Characteristics window, click on the checkmark next to Symmetric.
We do the same with other classes, subclasses, properties, etc ...
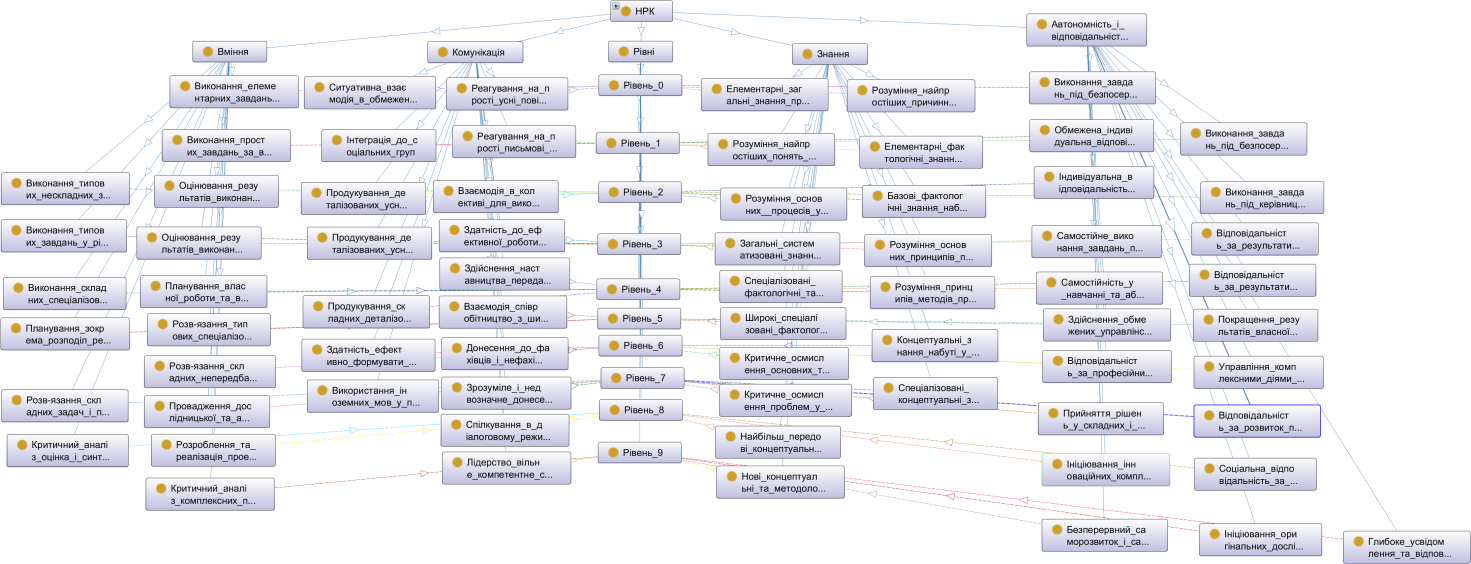
As a result, we obtain a graph. In order to present the graph in a digestible form, you need to “move” the elements with “handles” so that everything can be clearly seen, because OntoGraf automatically places not very nice.
Full tutorial can be downloaded here .
Source: https://habr.com/ru/post/277413/
All Articles