Testing and graph theory: installer

There are two reasons for writing this article. The first is to show how you can use graph cover types in testing, and give another example of the practical application of state and transition testing techniques. The second - let it not be disproved, but at least shake the myth that the tester does not need math
In the network there are quite a lot of materials describing the process of testing the installer and the result of his work. There are many checklists and other utilities on this topic. The discussion below will focus on a rather narrow part of the installation process - testing the wizard itself. Is it enough to go through all the screens of the wizard to claim that it works well? Maybe it’s enough to click on each of the “Back”, “Next”, “Cancel” buttons once? How to limit the number of scenarios if it is infinite (you can move between two adjacent screens of the installer using the Back and Next buttons as many times as you like)?
For illustration, the installer is used LibreOffice 5 for Windows. The decision to take it is due to the availability of detailed step by step screenshots . The article uses notation from the first and second articles on graph coverage.
Drawing up a graph of states and transitions
The first thing to do is to select states. This is quite simple: at a minimum, each step of the installer must be taken as a state. But generally speaking, this is not enough to check the wizard. In almost every step, you can make some changes, which creates an additional state for each screen, where it is possible. Making changes is important, because when you return to the previous screens, they must be saved.
')
The need to save changes should also be taken into account in transitions, i.e. it is necessary to return not to the original, but to the altered state. When constructing a graph, I take into account that the scenarios without changes are included in the scenarios with changes in the sense that the original and modified screens can be the same. Thus, the standard set of transitions for the installer's internal screen will look like this:
backwards
|
screen -> modified screen -> forward
In addition, you must select the final state. There are two for the wizard: the installation is canceled and the installation is complete. For simplicity, the graph does not take into account the emergency interruption of the installation process.
There are such screens in the wizard:

Corresponds to the state "Welcome"
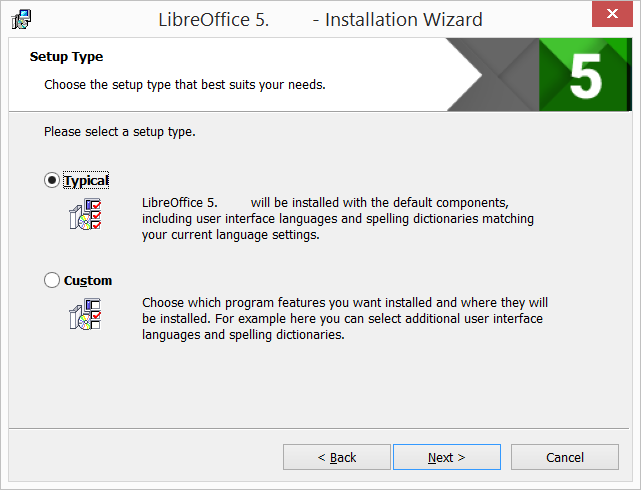
Corresponds to the state "Setup Type"
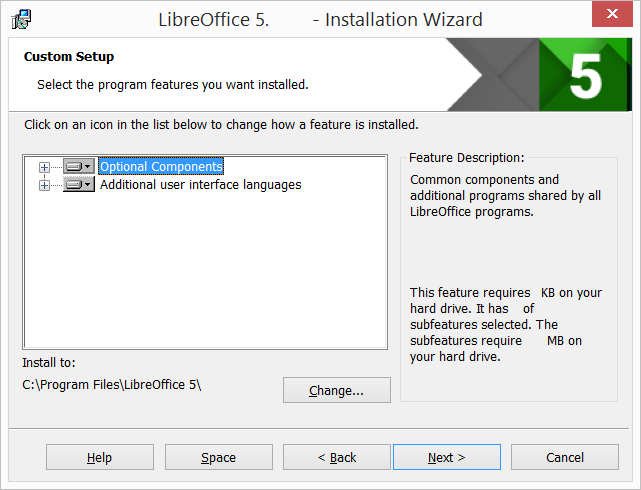
Corresponds to the state "Custom"
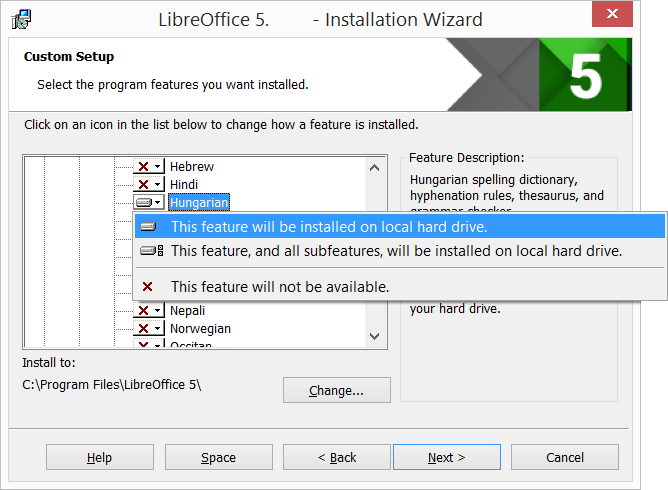
Corresponds to the state "Custom Changed"
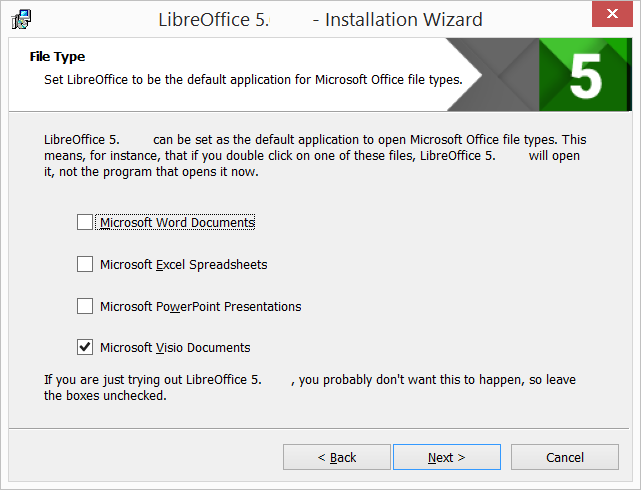
Corresponds to the "File Type" and "File Type Changed" states
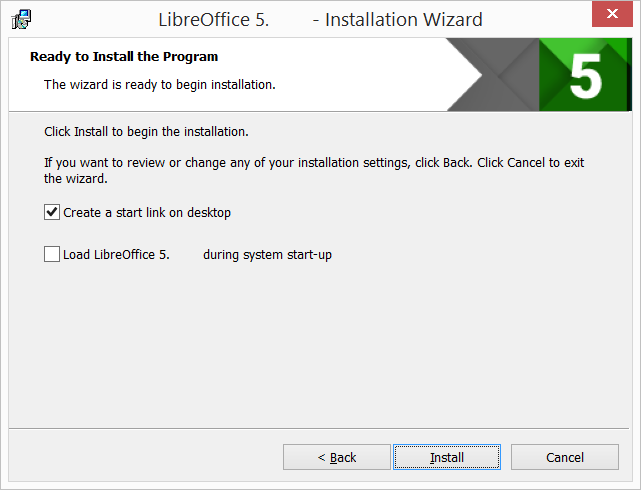
Corresponds to the states "Ready to Install" and "Ready to Install Changed"
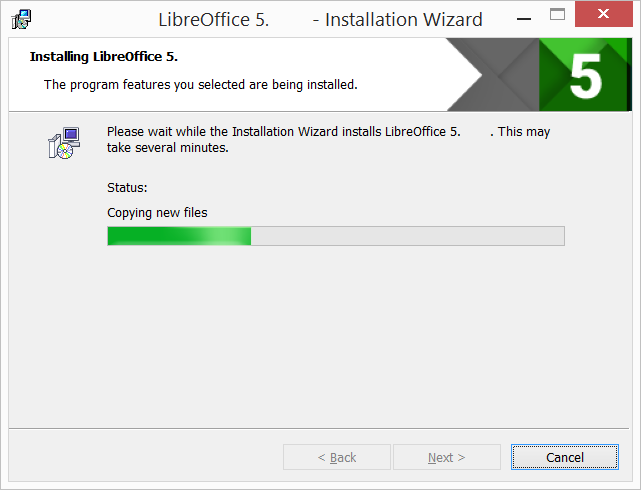
Corresponds to the status of "Installation Progress"
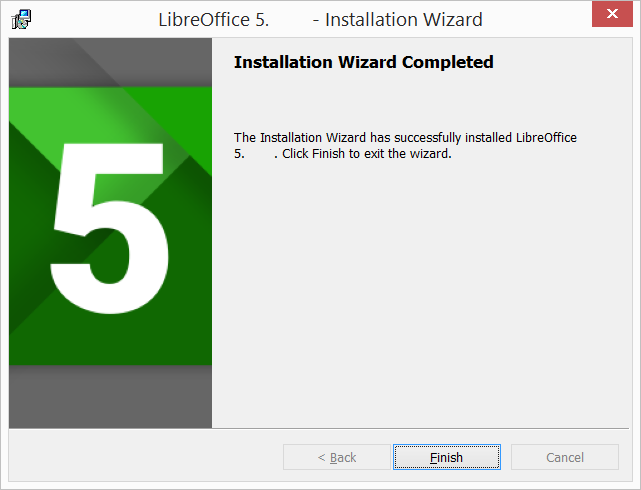
Corresponds to the status of "Installation Complete"
As a result, I got the graph below (English names of buttons and short names of installer screens were used to make it easier to compare with screenshots). There are such marks above the arrows:
- Cancel - Cancel
- Next - Next
- Back - Back
- Change - Making a change from the original screen
Typical and Custom - select the option on the second screen. Some of the names of the Changed states indicate that changes have been made to the screen. The states marked Changed can only be reached from the same state without this label as a result of the “Change” transition.
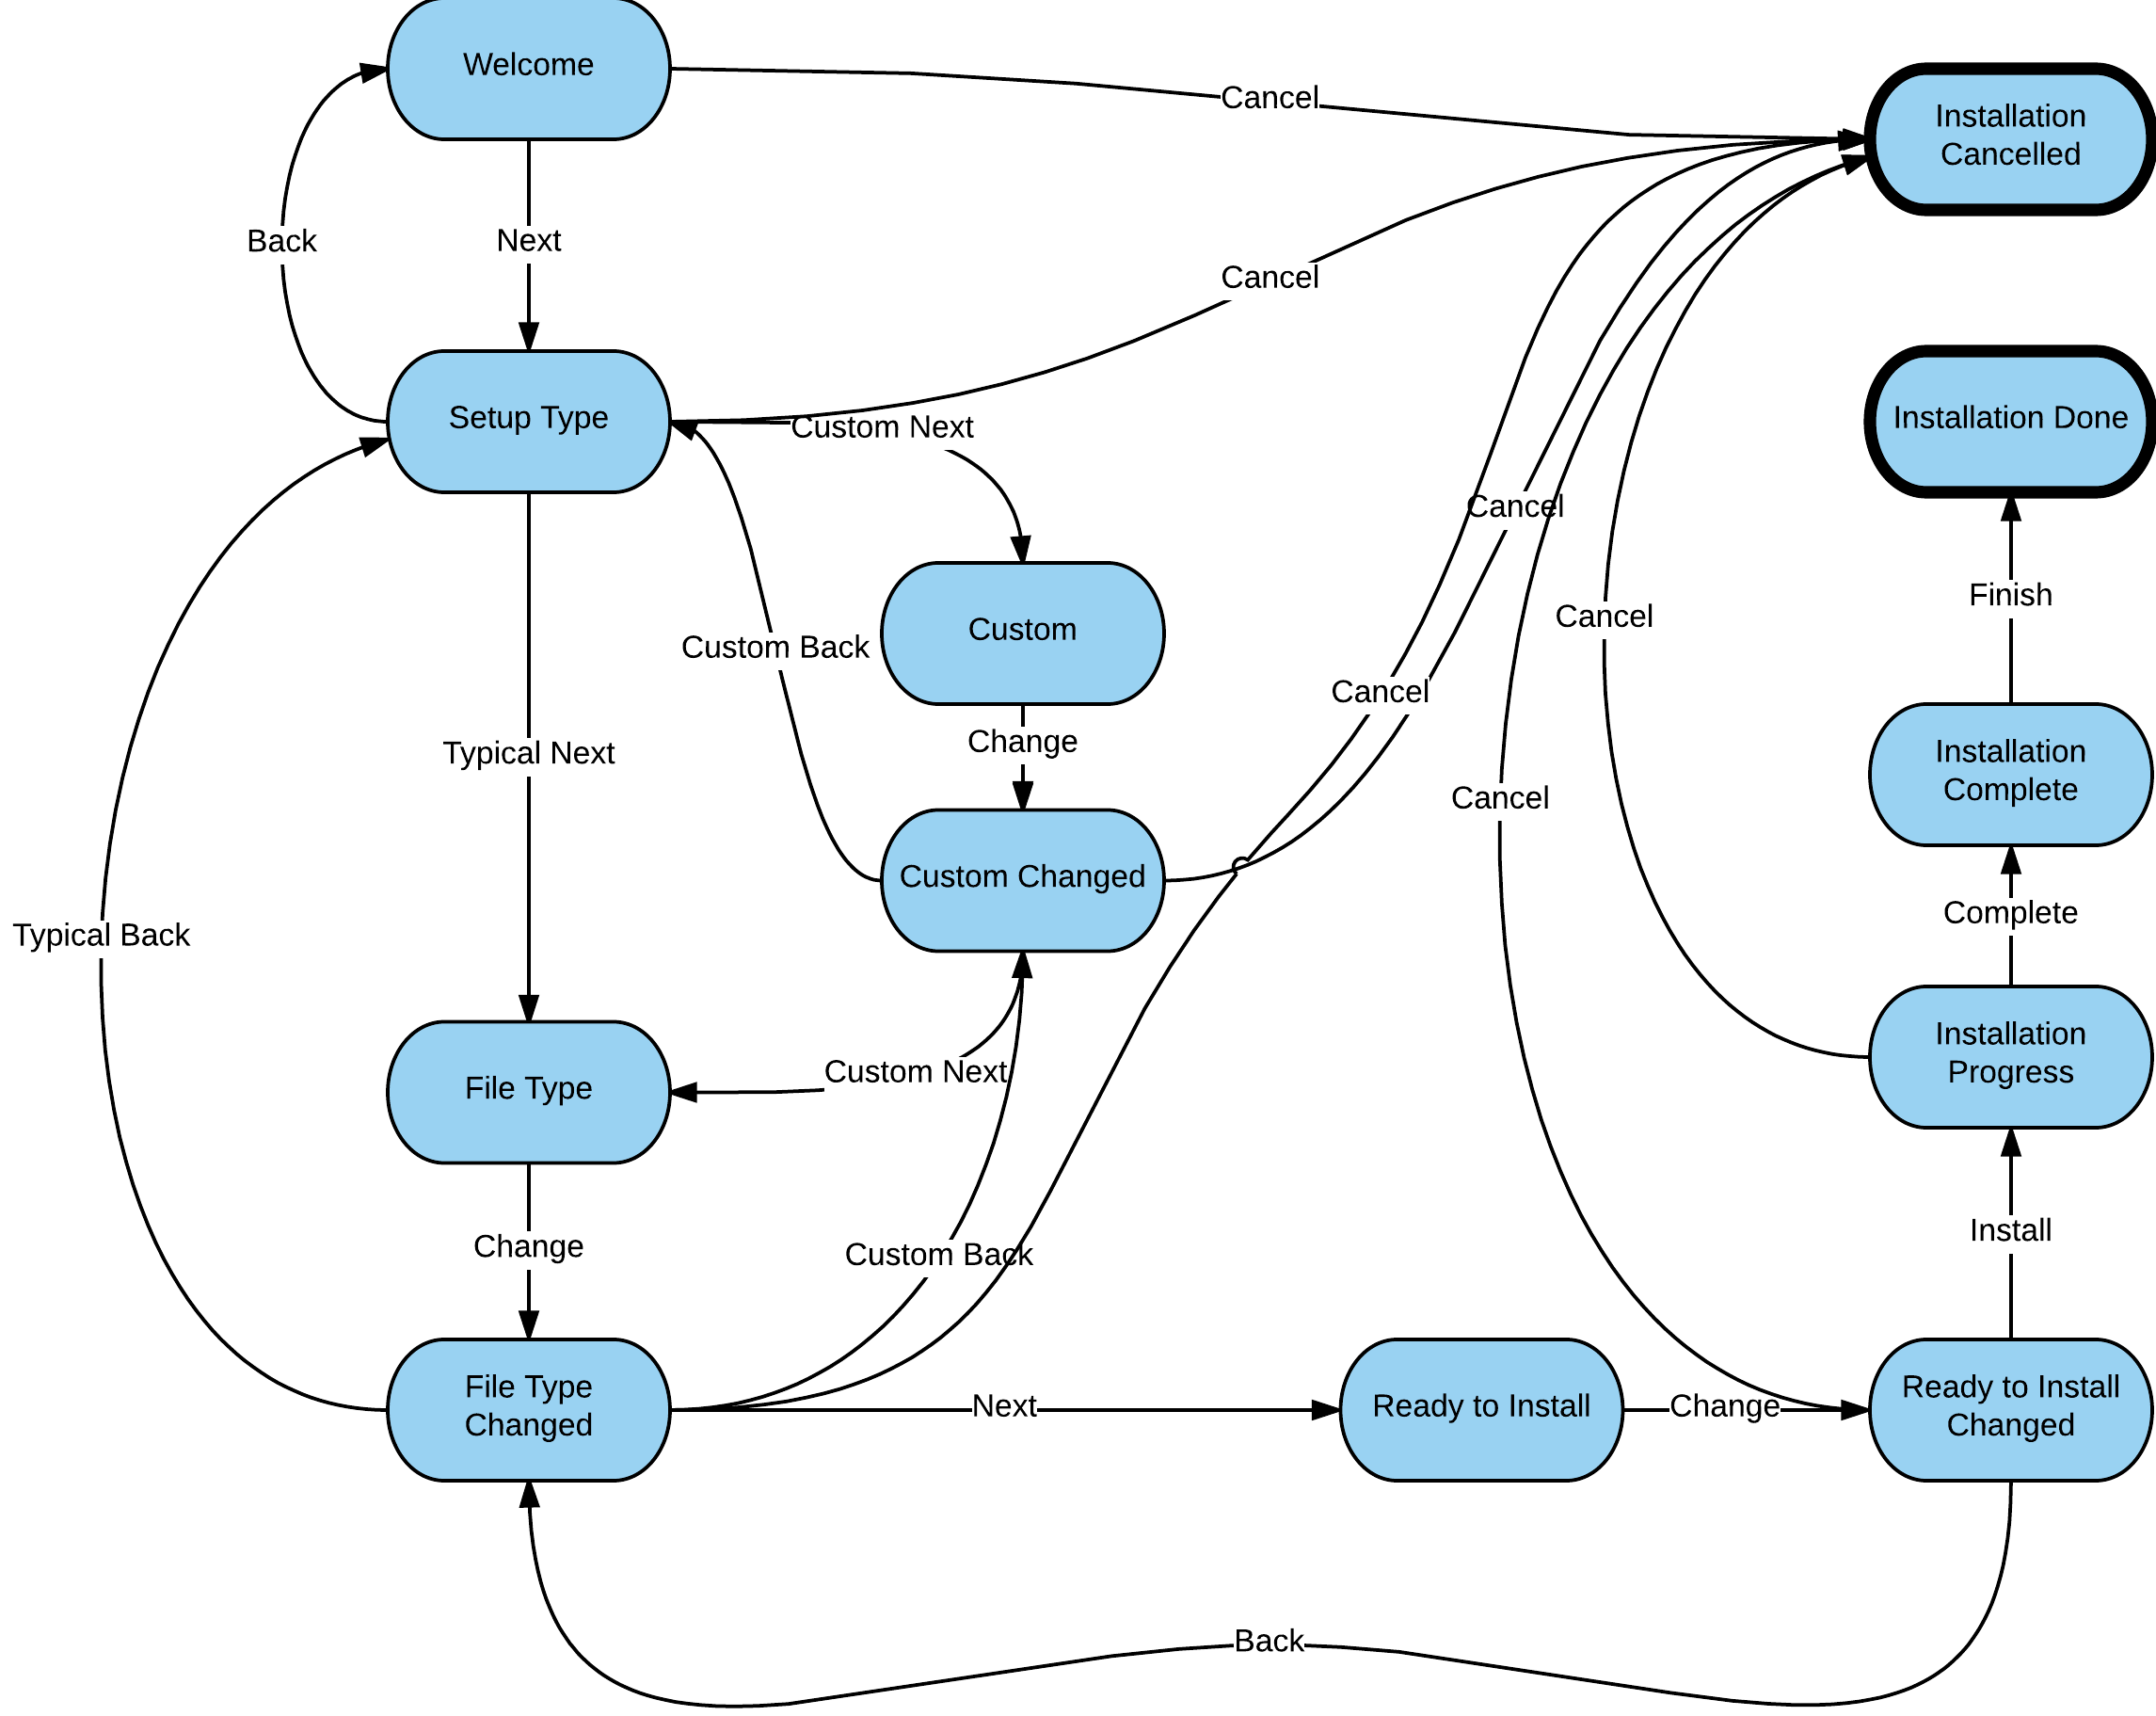
Graph of states and transitions for the installer
It turned out quite cumbersome, but I hope it can be decoded.
Types of coverage and test suites
Now we will deal with different types of graph coverage and make up the corresponding sufficient test sets corresponding to them. To do this, we re-number the states to make it easier to refer to them (in the way it was done in the first and second articles on graph coverage). The syntax for specifying requirements and tests in each type of coverage is taken from the same place.
1 - Welcome
2 - Setup Type
3 - Custom
4 - Custom Changed
5 - File Type
6 - File Type Changed
7 - Ready to Install
8 - Ready to Install Changed
9 - Installation Progress
10 - Installation Complete
11 - Installation Done (end state)
12 - Installation Canceled (end state)
Vertex covering
requirements = {1, 2, 3, 4, 5, 6, 7, 8, 9, 10, 11, 12}
path (T) = {[1, 12], [1, 2, 3, 4, 5, 6, 7, 8, 9, 10, 11]}
This coating is fairly easy to implement. It can be considered sufficient, but these tests do not take into account the edges that return to earlier states, because of which cycles are formed. You can calculate the cyclomatic complexity of this graph:
CA = # edges - # vertices + 2 = 22 - 12 + 2 = 12
Covering edges and specified paths
requirements = {(1, 12), (1, 2), (2, 1), (2, 12), (2, 3), (2, 5), (3, 4), (4, 12) , (4, 2), (4, 5), (5, 6), (6, 2), (6, 4), (6, 12), (6, 7), (7, 8), ( 8, 6), (8, 12), (8, 9), (9, 12), (9, 10), (10, 11)}
path (T) = {[1, 12], [1, 2, 12], [1, 2, 3, 4, 12], [1, 2, 5, 6, 12], [1, 2, 5 , 6, 7, 8, 12], [1, 2, 5, 6, 7, 8, 9, 12], [1, 2, 1, 2, 5, 6, 2, 3, 4, 2, 3 4, 5, 6, 4, 5, 6, 7, 8, 6, 7, 8, 9, 10, 11]}
The last, longest, path takes into account all changes and all reverse transitions. Therefore, this path provides a simple coverage of closed paths (one path for each cycle).
Whether it is necessary to provide other types of coverage depends on the number of steps of the installer, the time it takes to design the necessary scripts manually or automate their creation for a given coverage, the required level of quality. In my opinion, for this installer (and others, by the way), it suffices both the above tests and the selected type of coverage.
Source: https://habr.com/ru/post/276705/
All Articles