Skeletal 2D animation in Unity using Puppet2D plugin
Perhaps all novice "igrodely" in the development of games faced with animating their characters. Before us is the choice of sprite or skeletal animation. In this article I will discuss the basic principles of working with the plugin Puppet2D for skeletal animation.
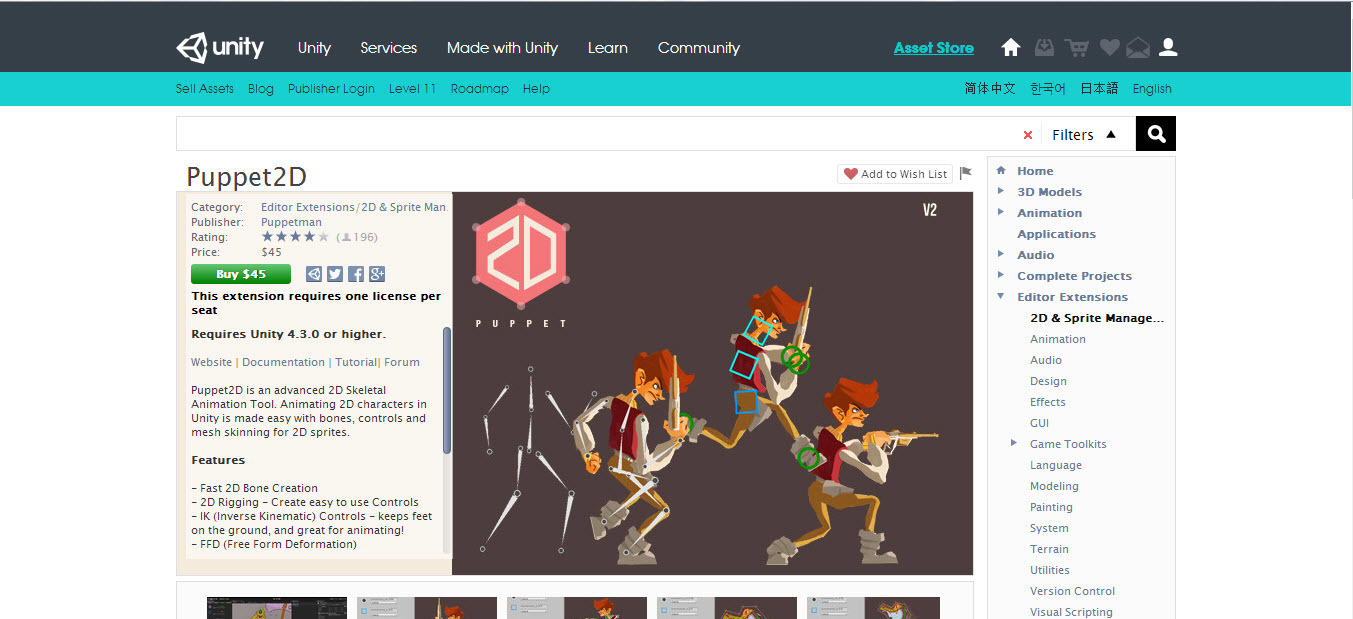
So, the work begins with the purchase and installation of the plug-in with the Asset Store:
Next, add the plugin to the workspace: Window >> Puppet2D
')

Before creating the skeleton, we build sprites on the stage and create a Layer for the character (where we put the sprites, I called it “Player”):


and Sorting Layer for bones and controllers (here “Bones” and “Controllers”). Along the way, we expose the layer for the bones and controllers in the Puppet itself:

We proceed directly to the creation of the skeleton itself. For convenience, so that the sprites do not interfere and do not stand out, block their layer:

Creation begins with the “Create Bone Tool” button (1)

Click LMB on the right places, at the end - PCM or “Finish Bone” (2). If we first click on an existing bone and create another one from it, then it will become the bone parent.

For the ridges of people and animals, there is a button "Create Spline Tool" (3). Mark the start and end point, and the indicator (4) - the number of bones between these points. Controllers will automatically appear at the ends of these points. Finish the spline with the “Finish Spline” button (5).

In the end, you should get something like this skeleton:

Then everything is simple - on the limbs we hang controllers:

(1) - Controller for limbs (arms, legs)
(2) - Parent controller
(3) - The controller is only for turns (for example, heads)
There are 2 ways to bind:
In the first case, everything is very simple: select the bones you need, select the desired sprite and click the “Parent Object To Bones” button:

In the second, you'll have a little confusion, because you need to convert a sprite into a mesh. Select the sprite and click the button "Convert Sprite To Mesh":

The “Type of Mesh” indicator (1) (0 to 4) indicates the number of triangles in the polygon. The higher the type, the more of them.
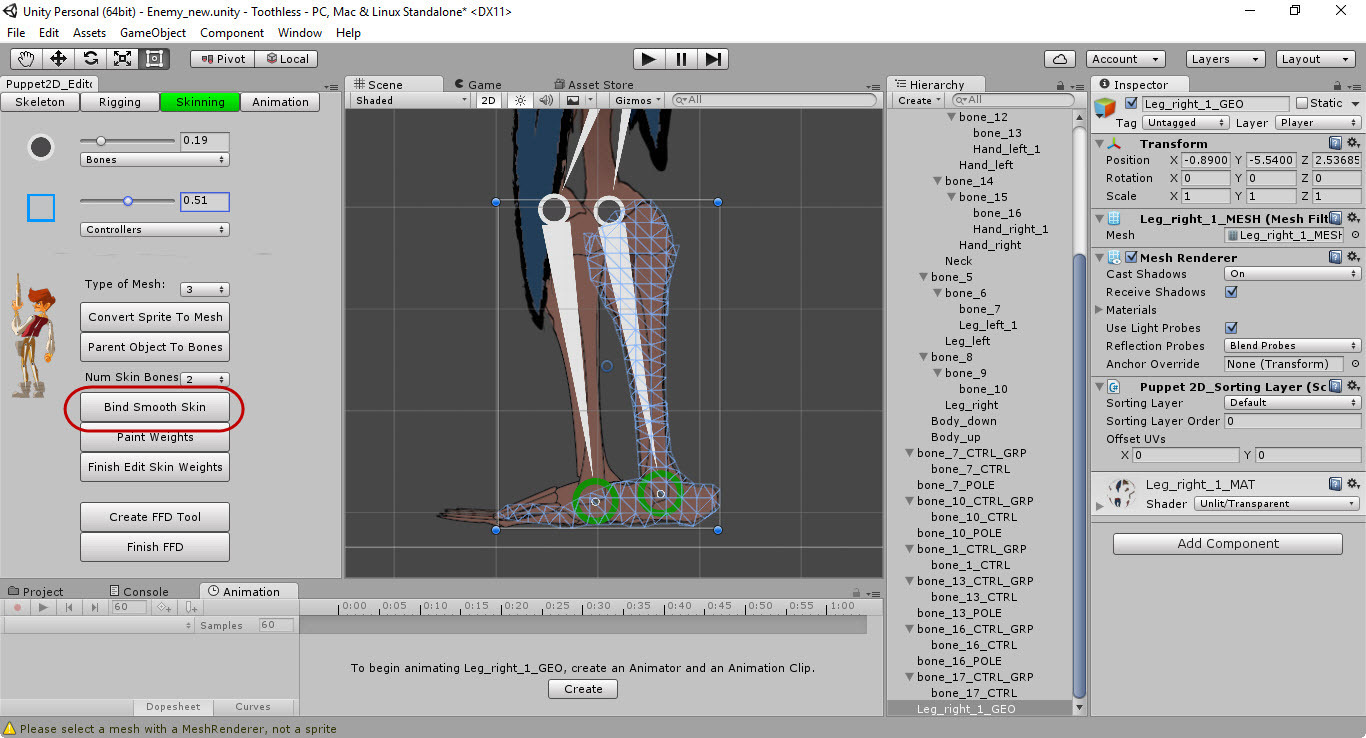
The next step is to link this mesh to the bones. Select it, select the bones and click "Bind Smoth Skin":
But since everything automated does not always turn out to be beautiful in practice, and your hero’s hand will suddenly bend in the middle of the bone, proceed to the final point of building the skeleton:
To put it simply, weights show which bone is oppressed by which mesh. Select the desired mash, then edit, starting with the button "Paint Weights":

Select the desired bone, and where white is the color that opposes the mesh, where black is not:

Select the thickness and stiffness of the brush and paint over the weight using paint:

Shift + LMB = Smothering fractures
Ctrl + LKM = Erase Scales
Finish editing with the “Finish Edit Skin Weights” button.
The final stage of course will be the animation. Here your imagination is unlimited. Move the controllers, set the poses and, voila, our skeleton is already running:

Finally, I'll add a tutorial from the official Puppet2D YouTube channel:
1. Installation
So, the work begins with the purchase and installation of the plug-in with the Asset Store:
Next, add the plugin to the workspace: Window >> Puppet2D
')
2. Creation of a skeleton. Training
Before creating the skeleton, we build sprites on the stage and create a Layer for the character (where we put the sprites, I called it “Player”):
and Sorting Layer for bones and controllers (here “Bones” and “Controllers”). Along the way, we expose the layer for the bones and controllers in the Puppet itself:
3. Creation of a skeleton
We proceed directly to the creation of the skeleton itself. For convenience, so that the sprites do not interfere and do not stand out, block their layer:
Creation begins with the “Create Bone Tool” button (1)
Click LMB on the right places, at the end - PCM or “Finish Bone” (2). If we first click on an existing bone and create another one from it, then it will become the bone parent.
For the ridges of people and animals, there is a button "Create Spline Tool" (3). Mark the start and end point, and the indicator (4) - the number of bones between these points. Controllers will automatically appear at the ends of these points. Finish the spline with the “Finish Spline” button (5).
In the end, you should get something like this skeleton:
4. Creating a skeleton. We hang controllers
Then everything is simple - on the limbs we hang controllers:
(1) - Controller for limbs (arms, legs)
(2) - Parent controller
(3) - The controller is only for turns (for example, heads)
5. Creating a skeleton. Snapping sprites to the skeleton
There are 2 ways to bind:
- if one bone corresponds to one sprite;
- if 2 and more bones correspond to one sprite.
In the first case, everything is very simple: select the bones you need, select the desired sprite and click the “Parent Object To Bones” button:
In the second, you'll have a little confusion, because you need to convert a sprite into a mesh. Select the sprite and click the button "Convert Sprite To Mesh":
The “Type of Mesh” indicator (1) (0 to 4) indicates the number of triangles in the polygon. The higher the type, the more of them.
The next step is to link this mesh to the bones. Select it, select the bones and click "Bind Smoth Skin":
But since everything automated does not always turn out to be beautiful in practice, and your hero’s hand will suddenly bend in the middle of the bone, proceed to the final point of building the skeleton:
6. Creation of a skeleton. Scale Adjustment
To put it simply, weights show which bone is oppressed by which mesh. Select the desired mash, then edit, starting with the button "Paint Weights":
Select the desired bone, and where white is the color that opposes the mesh, where black is not:
Select the thickness and stiffness of the brush and paint over the weight using paint:
Shift + LMB = Smothering fractures
Ctrl + LKM = Erase Scales
Finish editing with the “Finish Edit Skin Weights” button.
7. Animation
The final stage of course will be the animation. Here your imagination is unlimited. Move the controllers, set the poses and, voila, our skeleton is already running:
Finally, I'll add a tutorial from the official Puppet2D YouTube channel:
Source: https://habr.com/ru/post/276303/
All Articles