Working with JSON in Swift
JavaScript Object Notation , or JSON for short, is the most common way to communicate with the server and retrieve information from it. It is extremely popular due to its ease of use and perception.
Consider the following JSON snippet:
In Objective-C, parsing and deserializing JSON is fairly simple:
In Swift, this is a more complicated process due to the optional optionals types and type safety:
')
In the code above, you need to check each object before using optional binding . This will protect your code; but the more complex the JSON, the more cumbersome the code becomes.
In Swift 2.0, the guard statement was introduced in order to get rid of nested if statements:
Still verbose? But how to simplify it?
This article on working with JSON uses the simplest method of parsing JSON - using the popular public library Gloss .
So, in particular, you will use Gloss for parsing and converting JSON, which holds 25 popular applications in the US App Store. As easy as Objective-C!
Download the starting playground for this article.
Since the user interface is not needed, we will work exclusively with the playground.
Open the Swift.playground in Xcode and learn it.
Note: You may notice that Project Navigator is closed by default. If so, click Command + 1 to display it. You should be able to do so as in the image below.
The playground start file contains several source and resource files that are fully focused on parsing JSON. Pay attention to the playground structure:
Once you understand this playground, keep reading the article!
First, let's start with the native way of parsing JSON in Swift - that is, without using external libraries. With this, you will appreciate the benefits of using a library like Gloss.
Note: If you have already learned the disadvantages of the native JSON parsing method and want to go to Gloss, skip the next paragraph.
To give the name to the application # 1 in the App Store, analyze the provided JSON file.
Before you start working with dictionaries, set an additional name (alias) at the top of the playground:
typealias Payload = [String: AnyObject]
Add the getTopAppsDataFromFileWithSuccess callback code as shown below:
Here is what happens:
Save and run the playground; You will see the following in the debugger console:
Yes - “Game of War - Fire Age” is the application # 1 in the JSON file.
It took quite a lot of code to get the name of the first application - it's time to see how Gloss can handle it.
Object mapping is a technique for turning objects with JSON into Swift objects. After defining model objects and mapping rules, Gloss does the hard work of doing the parsing for you.
This method is much simpler than the one you used before:
Sounds good, huh? Let's see how it works!
To make everything look perfect, create a new playground Gloss.playground , then copy the file topapps.json to the Resources folder and the DataManager.swift folder and the Sources folder.
It's pretty easy to embed Gloss into your project:
Your Project Navigator should look like this:

It's all! Now Gloss is added to your project and you can start analyzing JSON without a headache!
Note: Gloss can also be set via Cocoapods. Since the playground does not support them yet, this method can only be used when working with projects.
First find out how your object relates to your JSON document.
It is necessary that the object conforms to the Decodeable protocol, which can decode them with JSON. To do this, init init? (Json: JSON) as described in the protocol.
Notice the topapps.json structure and create a data model.
Topapps
The TopApps model is a top-level object that holds one key-value pair.
Create a new file called TopApps.swift and place it in the Sources folder of your playground; add the following code:
Feed
The Feed object is very similar to the top level object. It has two key-value pairs, but since we are only interested in 25 popular applications, there is no need to process the author object.
Create a new file called Feed.swift in the Sources folder of your playground and describe it as follows:
App
The most recent object to describe is an App object. The application is presented in the form of such a scheme:
Create a new file called App.swift in the Sources folder of your playground and add the following code:
Now that your classes are ready, you just have to let Gloss do your job!
Open the playground file and add the following code:
Seriously - this is all the code we need.
Save and run your playground; You have again successfully received the name of the application, but in a more elegant way.
All this relates to the analysis of local data. But how about parsing data from a remote resource?
It is time to make this project more real. Usually, you get data from a remote resource, not from local files. You can easily get ratings from the App Store using a network request.
Open DataManager.swift and find the URL for the best applications:
Then add the following method to the DataManager implementation:
The code above looks pretty familiar; but instead of retrieving data from a local file, we used NSURLSession to retrieve data from iTunes. Here is what exactly happens:
Open your playground and replace the following code:
on that
Now you got the real data from iTunes.
Save and run your playground; you will see that the analysis of information still leads to the same final result:
The value above may vary, since popular App Store applications are constantly changing.
Often, people are not interested only in TOP applications of the App Store - they want to see a list of all TOP applications. No need to code to get them. Just add the following code snippet:
It's not hard to see that Gloss does the work of parsing wonderfully - but what's behind this? <~~ is a custom operator (custom operator) for a number of Decoder.decode functions. Gloss has built-in support for decoding many types:
Note: If you want to learn more about Custom Operators , look at the article: Operator Overloading in Swift Tutorial
In this article, we looked at decoded models. If you need something more complicated, expand the Decoder and produce your own decoding implementation.
Of course, with the help of Gloss you can also convert objects to JSON. If you are interested, check the Encodable protocol.
Here is the final playground .
You can use the playground as an initial step to create a new application; just replace the URLs of receiving data remotely with your own URL, manage your own keys and indexes of your new JSON, and you will create a new project that will parse something, such as football results or other data received from the network.
The development of Gloss continues here on Github, so stay tuned for the latest updates.
Swift is still evolving, so you should follow Apple’s new documentation for future language updates.
I hope you enjoyed this article about working with JSON. If you have questions or comments, you can discuss them below!
Consider the following JSON snippet:
[ { "person": { "name": "Dani", "age": "24" } }, { "person": { "name": "ray", "age": "70" } } ] In Objective-C, parsing and deserializing JSON is fairly simple:
NSArray *json = [NSJSONSerialization JSONObjectWithData:JSONData options:kNilOptions error:nil]; NSString *age = json[0][@"person"][@"age"]; NSLog(@"Dani's age is %@", age); In Swift, this is a more complicated process due to the optional optionals types and type safety:
var json: Array! do { json = try NSJSONSerialization.JSONObjectWithData(JSONData, options: NSJSONReadingOptions()) as? Array } catch { print(error) } if let item = json[0] as? [String: AnyObject] { if let person = item["person"] as? [String: AnyObject] { if let age = person["age"] as? Int { print("Dani's age is \(age)") } } } ')
In the code above, you need to check each object before using optional binding . This will protect your code; but the more complex the JSON, the more cumbersome the code becomes.
In Swift 2.0, the guard statement was introduced in order to get rid of nested if statements:
guard let item = json[0] as? [String: AnyObject], let person = item["person"] as? [String: AnyObject], let age = person["age"] as? Int else { return; } print("Dani's age is \(age)") Still verbose? But how to simplify it?
This article on working with JSON uses the simplest method of parsing JSON - using the popular public library Gloss .
So, in particular, you will use Gloss for parsing and converting JSON, which holds 25 popular applications in the US App Store. As easy as Objective-C!
Where to begin
Download the starting playground for this article.
Since the user interface is not needed, we will work exclusively with the playground.
Open the Swift.playground in Xcode and learn it.
Note: You may notice that Project Navigator is closed by default. If so, click Command + 1 to display it. You should be able to do so as in the image below.
The playground start file contains several source and resource files that are fully focused on parsing JSON. Pay attention to the playground structure:
- The Resources folder contains resources that can be accessed through your Swift code.
- topapps.json : Contains a string for parsing JSON.
- The Sources folder contains additional source files to which your code in the playground has access. Adding support files. Swift in this folder should be thought out, it will bring ease of reading your playground'a.
- App.swift : The structure of the old simple Swift is an application. Your goal is to parse JSON into collections of objects.
- DataManager.swift : Manages data retrieval from a local network or the Internet. Use the methods of this file to later load JSON.
Once you understand this playground, keep reading the article!
The primary way to parse JSON in Swift
First, let's start with the native way of parsing JSON in Swift - that is, without using external libraries. With this, you will appreciate the benefits of using a library like Gloss.
Note: If you have already learned the disadvantages of the native JSON parsing method and want to go to Gloss, skip the next paragraph.
To give the name to the application # 1 in the App Store, analyze the provided JSON file.
Before you start working with dictionaries, set an additional name (alias) at the top of the playground:
typealias Payload = [String: AnyObject]
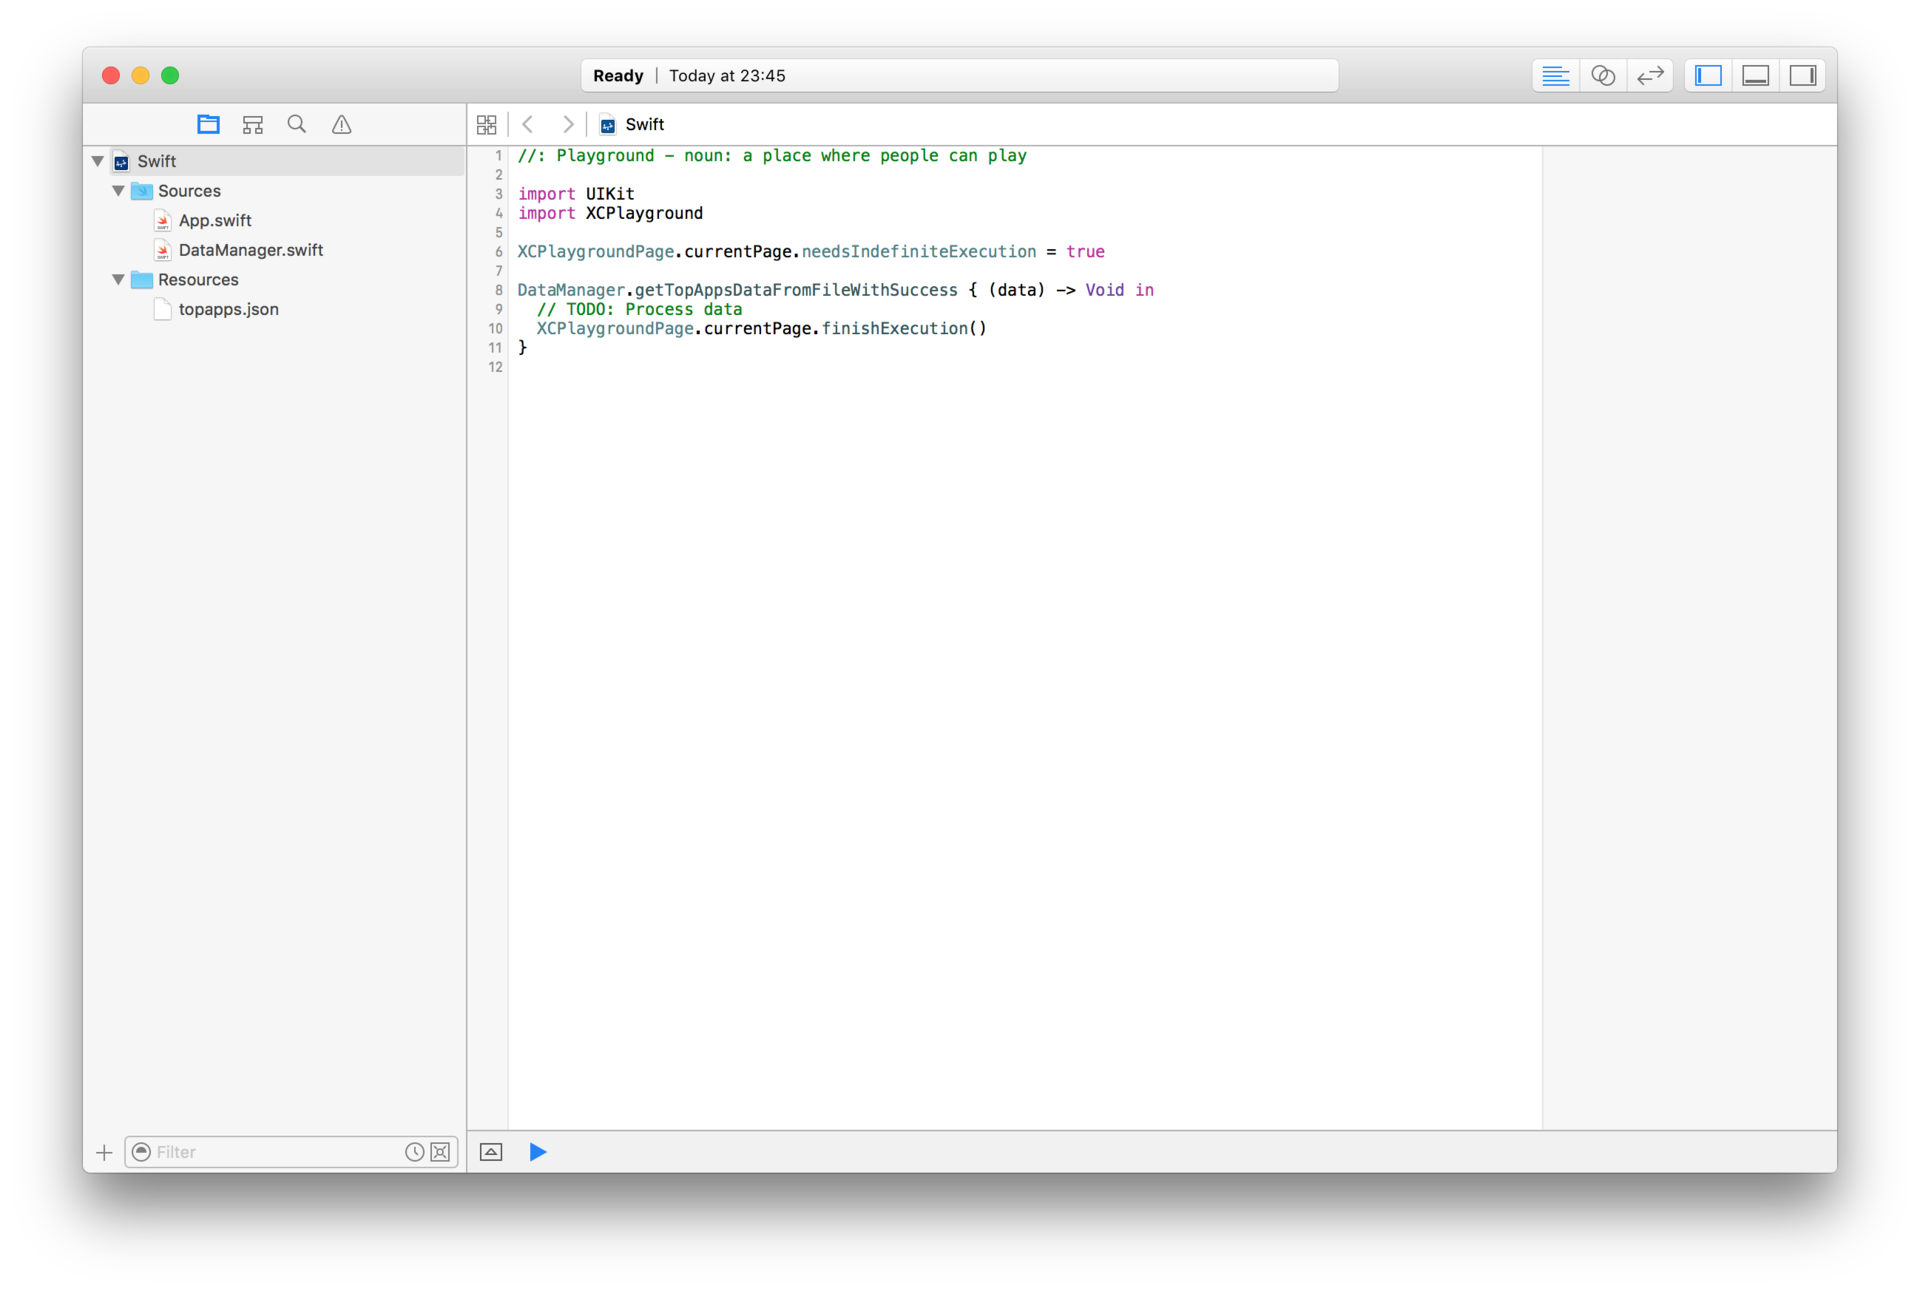
Add the getTopAppsDataFromFileWithSuccess callback code as shown below:
DataManager.getTopAppsDataFromFileWithSuccess { (data) -> Void in var json: Payload! // 1 do { json = try NSJSONSerialization.JSONObjectWithData(data, options: NSJSONReadingOptions()) as? Payload } catch { print(error) XCPlaygroundPage.currentPage.finishExecution() } // 2 guard let feed = json["feed"] as? Payload, let apps = feed["entry"] as? [AnyObject], let app = apps.first as? Payload else { XCPlaygroundPage.currentPage.finishExecution() } guard let container = app["im:name"] as? Payload, let name = container["label"] as? String else { XCPlaygroundPage.currentPage.finishExecution() } guard let id = app["id"] as? Payload, let link = id["label"] as? String else { XCPlaygroundPage.currentPage.finishExecution() } // 3 let entry = App(name: name, link: link) print(entry) XCPlaygroundPage.currentPage.finishExecution() } Here is what happens:
- First you deserialize the data using the NSJSONSerialization.
- You must check each index value in the JSON object to prevent nil from appearing. Once a valid value is found, continue to search for the following objects. Having passed all the indices, you will get the name and link values with which to work. Note that if at least one JSON element is unexpected, the application name will not be displayed. It is desirable to handle in this case.
- The final step is to initialize the App object using the name and link values and output them to the console.
Save and run the playground; You will see the following in the debugger console:
App(name: "Game of War - Fire Age", link: "https://itunes.apple.com/us/app/game-of-war-fire-age/id667728512?mt=8&uo=2") Yes - “Game of War - Fire Age” is the application # 1 in the JSON file.
It took quite a lot of code to get the name of the first application - it's time to see how Gloss can handle it.
Understanding JSON object mapping
Object mapping is a technique for turning objects with JSON into Swift objects. After defining model objects and mapping rules, Gloss does the hard work of doing the parsing for you.
This method is much simpler than the one you used before:
- Your code will be cleaner, it can be reused and in turn easier to maintain.
- You work more with objects, not generalized complexes and dictionaries.
- You can extend the classes of models to add additional features.
Sounds good, huh? Let's see how it works!
JSON parsing with Gloss
To make everything look perfect, create a new playground Gloss.playground , then copy the file topapps.json to the Resources folder and the DataManager.swift folder and the Sources folder.
The introduction of Gloss in the project
It's pretty easy to embed Gloss into your project:
- Click this link Gloss Repo Zip File and save the library in a suitable place.
- Unzip it and drag the Gloss-master / Gloss / Gloss folder into the Sources folder of your playground.
Your Project Navigator should look like this:
It's all! Now Gloss is added to your project and you can start analyzing JSON without a headache!
Note: Gloss can also be set via Cocoapods. Since the playground does not support them yet, this method can only be used when working with projects.
JSON conversion to objects
First find out how your object relates to your JSON document.
It is necessary that the object conforms to the Decodeable protocol, which can decode them with JSON. To do this, init init? (Json: JSON) as described in the protocol.
Notice the topapps.json structure and create a data model.
Topapps
The TopApps model is a top-level object that holds one key-value pair.
{ "feed": { ... } } Create a new file called TopApps.swift and place it in the Sources folder of your playground; add the following code:
public struct TopApps: Decodable { // 1 public let feed: Feed? // 2 public init?(json: JSON) { feed = "feed" <~~ json } } - Determine the parameters for the model. In this case, he will be alone. You'll add a Feed object later.
- When implementing a custom initializer, ensure that TopApps conforms to the protocol. You should be surprised what a <~~! This is the Encode Operator, which is defined in the Gloss'sOperators.swift file. In principle, this suggests that Gloss moves the values that belong to the feed key and encode them. Feed is also a Decodable object; therefore, Gloss will transfer the responsibility for encryption.
Feed
The Feed object is very similar to the top level object. It has two key-value pairs, but since we are only interested in 25 popular applications, there is no need to process the author object.
{ "author": { ... }, "entry": [ ... ] } Create a new file called Feed.swift in the Sources folder of your playground and describe it as follows:
public struct Feed: Decodable { public let entries: [App]? public init?(json: JSON) { entries = "entry" <~~ json } } App
The most recent object to describe is an App object. The application is presented in the form of such a scheme:
{ "im:name": { "label": "Game of War - Fire Age" }, "id": { "label": "https://itunes.apple.com/us/app/game-of-war-fire-age/id667728512?mt=8&uo=2", ... }, ... } Create a new file called App.swift in the Sources folder of your playground and add the following code:
public struct App: Decodable { // 1 public let name: String public let link: String public init?(json: JSON) { // 2 guard let container: JSON = "im:name" <~~ json, let id: JSON = "id" <~~ json else { return nil } guard let name: String = "label" <~~ container, link: String = "label" <~~ id else { return nil } self.name = name self.link = link } } - Both Feed and TopApp used optional properties. A property can only be defined as non-optional (non-optional) if the used JSON always contains values to fill them in.
- It is not necessary to create an object for each component in JSON. For example, in this case it makes no sense to create a model for in: name and id. When working with non-optional and nested objects, do not forget to check nil .
Now that your classes are ready, you just have to let Gloss do your job!
Open the playground file and add the following code:
import UIKit import XCPlayground XCPlaygroundPage.currentPage.needsIndefiniteExecution = true DataManager.getTopAppsDataFromFileWithSuccess { (data) -> Void in var json: [String: AnyObject]! // 1 do { json = try NSJSONSerialization.JSONObjectWithData(data, options: NSJSONReadingOptions()) as? [String: AnyObject] } catch { print(error) XCPlaygroundPage.currentPage.finishExecution() } // 2 guard let topApps = TopApps(json: json) else { print("Error initializing object") XCPlaygroundPage.currentPage.finishExecution() } // 3 guard let firstItem = topApps.feed?.entries?.first else { print("No such item") XCPlaygroundPage.currentPage.finishExecution() } // 4 print(firstItem) XCPlaygroundPage.currentPage.finishExecution() } - First deserialize the data using NSJSONSerialization. We have done this before.
- Initialize an instance of a TopApps object using JSON data through the constructor.
- With the first input feed, get app # 1
- Display the app object in the console.
Seriously - this is all the code we need.
Save and run your playground; You have again successfully received the name of the application, but in a more elegant way.
App(name: "Game of War - Fire Age", link: "https://itunes.apple.com/us/app/game-of-war-fire-age/id667728512?mt=8&uo=2") All this relates to the analysis of local data. But how about parsing data from a remote resource?
Getting JSON from the network
It is time to make this project more real. Usually, you get data from a remote resource, not from local files. You can easily get ratings from the App Store using a network request.
Open DataManager.swift and find the URL for the best applications:
let TopAppURL = "https://itunes.apple.com/us/rss/topgrossingipadapplications/limit=25/json" Then add the following method to the DataManager implementation:
public class func getTopAppsDataFromItunesWithSuccess(success: ((iTunesData: NSData!) -> Void)) { //1 loadDataFromURL(NSURL(string: TopAppURL)!, completion:{(data, error) -> Void in //2 if let data = data { //3 success(iTunesData: data) } }) } The code above looks pretty familiar; but instead of retrieving data from a local file, we used NSURLSession to retrieve data from iTunes. Here is what exactly happens:
- First, you call the loadDataFromURL method; it requires a URL and a closure function that passes the NSData object.
- Using an additional binding, we make sure that the data exists.
- Ultimately, you betray the data to a successful completion, as you did before.
Open your playground and replace the following code:
DataManager.getTopAppsDataFromFileWithSuccess { (data) -> Void in on that
DataManager.getTopAppsDataFromItunesWithSuccess { (data) -> Void in Now you got the real data from iTunes.
Save and run your playground; you will see that the analysis of information still leads to the same final result:
App(name: "Game of War - Fire Age", link: "https://itunes.apple.com/us/app/game-of-war-fire-age/id667728512?mt=8&uo=2") The value above may vary, since popular App Store applications are constantly changing.
Often, people are not interested only in TOP applications of the App Store - they want to see a list of all TOP applications. No need to code to get them. Just add the following code snippet:
topApps.feed?.entries Gloss - skeletons in the closet
It's not hard to see that Gloss does the work of parsing wonderfully - but what's behind this? <~~ is a custom operator (custom operator) for a number of Decoder.decode functions. Gloss has built-in support for decoding many types:
- Simple types (Decoder.decode)
- Decodable Models (Decoder.decodeDecodable)
- Simple arrays (Decoder.decode)
- Decodable arrays and models (Decoder.decodeDecodableArray)
- Enum (Decoder.decodeEnum)
- Enum Arrays (Decoder.decodeEnumArray)
- NSURL (Decoder.decodeURL)
- NSURL arrays (Decode.decodeURLArray)
Note: If you want to learn more about Custom Operators , look at the article: Operator Overloading in Swift Tutorial
In this article, we looked at decoded models. If you need something more complicated, expand the Decoder and produce your own decoding implementation.
Of course, with the help of Gloss you can also convert objects to JSON. If you are interested, check the Encodable protocol.
What's next?
Here is the final playground .
You can use the playground as an initial step to create a new application; just replace the URLs of receiving data remotely with your own URL, manage your own keys and indexes of your new JSON, and you will create a new project that will parse something, such as football results or other data received from the network.
The development of Gloss continues here on Github, so stay tuned for the latest updates.
Swift is still evolving, so you should follow Apple’s new documentation for future language updates.
I hope you enjoyed this article about working with JSON. If you have questions or comments, you can discuss them below!
Source: https://habr.com/ru/post/276247/
All Articles