Authorization in Ubuntu through Microsoft Azure AD / Office 365
All users of Microsoft Office 365 (for business) are authenticated through Microsoft Azure AD. So, when adding each new user (email) to Office 365, a corresponding entry is automatically created for him in Microsoft Azure AD.
Here I will tell you how to use Microsoft Azure AD to authorize Ubuntu 14.04 users. That is, as in Ubuntu, make SSO with Microsoft Azure AD / Office 365.
To get started, go to Microsoft Azure Portal at manage.windowsazure.com or Office365 menu -> Admin -> Azure AD .
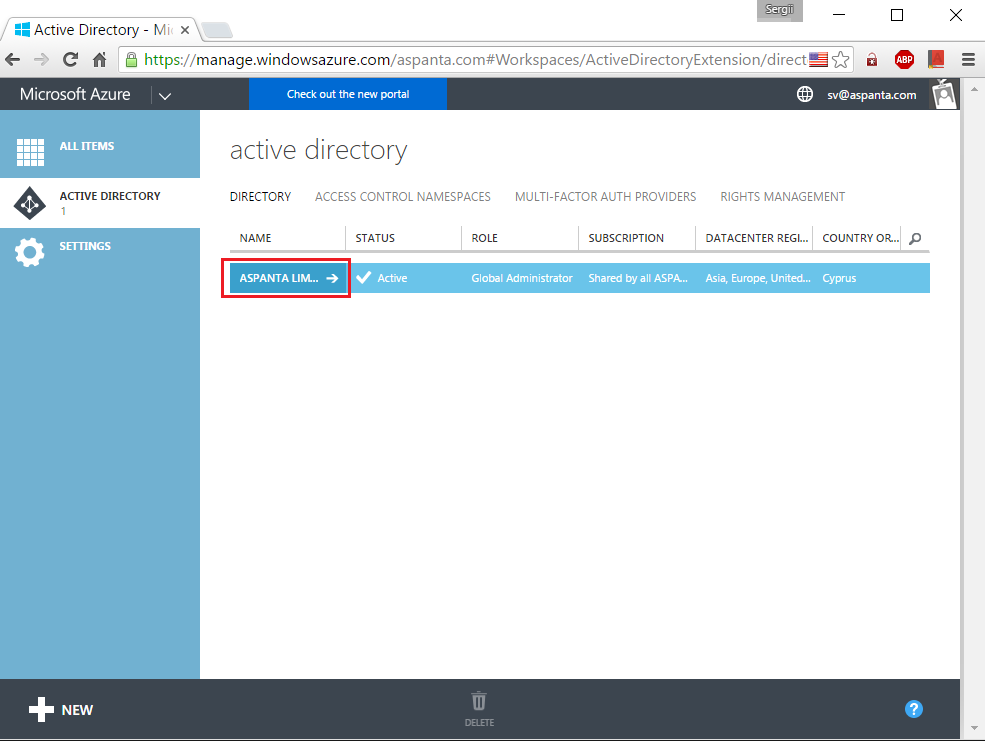
Then, go to the desired Active Directory branch (if you do not use the complex branching structure of AD, then there will be only one entry).
')
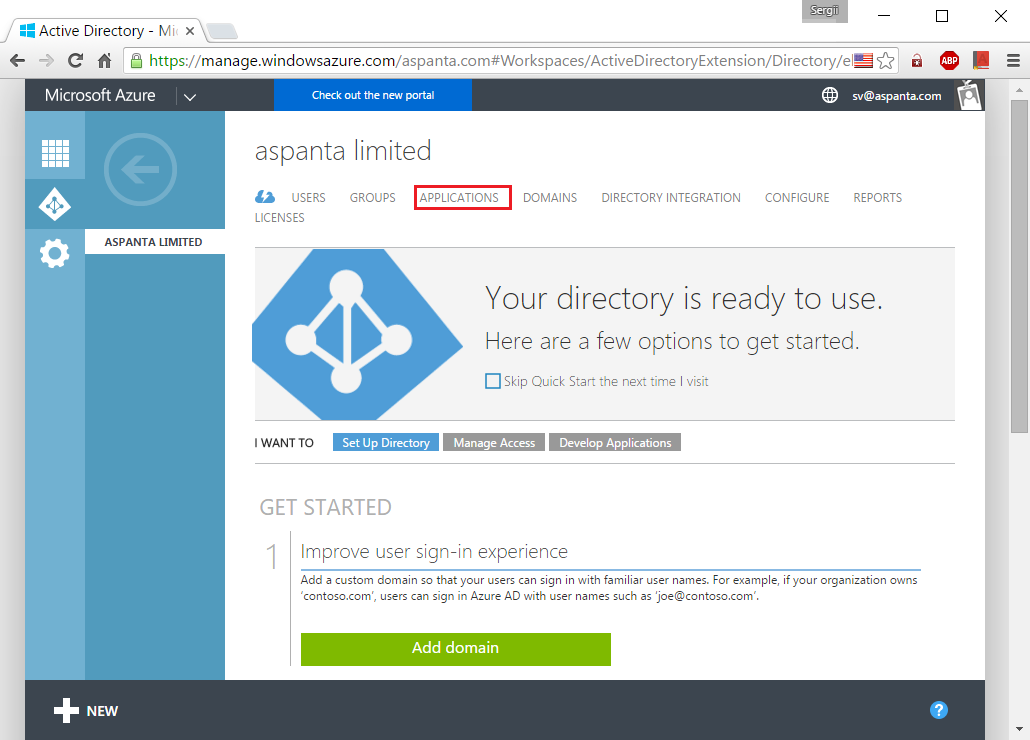
Select "Applications" ("Applications"):
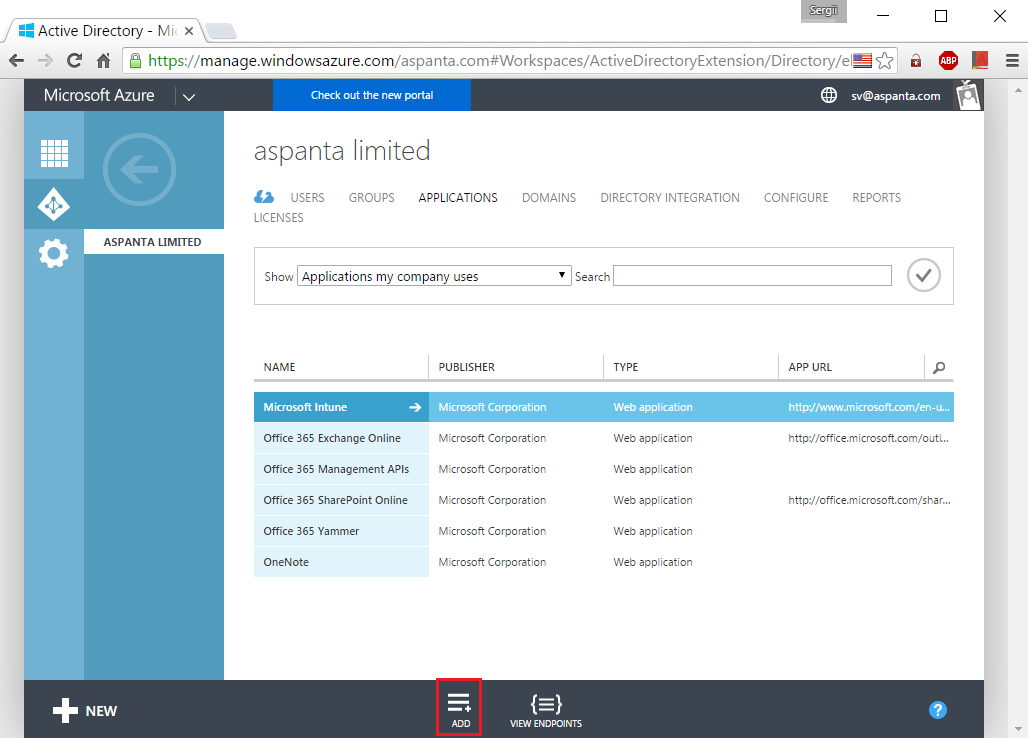
Add a new application by clicking on “Add”:
Select "Add an application my organization is developing" ("Add an application developed by my organization"):

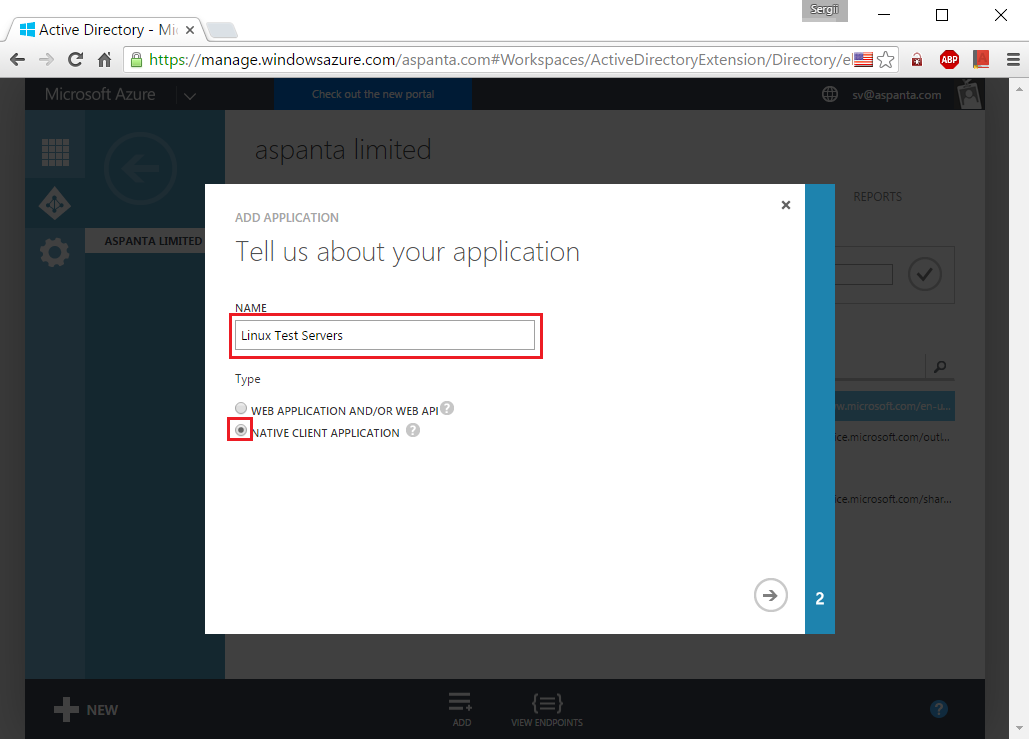
Come up with a clear name for which this authorization method will be used (for example, “Linux Test Servers”), enter it in the “Name” field, and also select the “Native Client Application” application type .
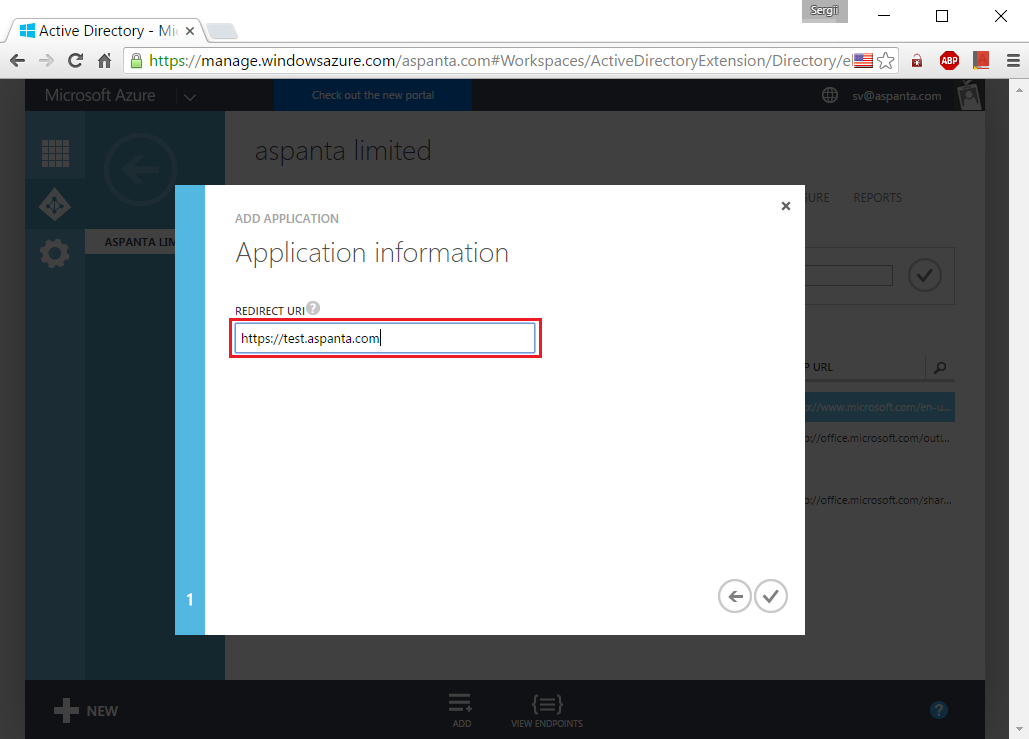
On the next page, you are prompted to enter “Redirect URI” (“Redirect URI”). You can specify any value that is similar to a URI, since this field will not affect anything in this case.
AD application is created! Next, click "Configure" ("Settings").
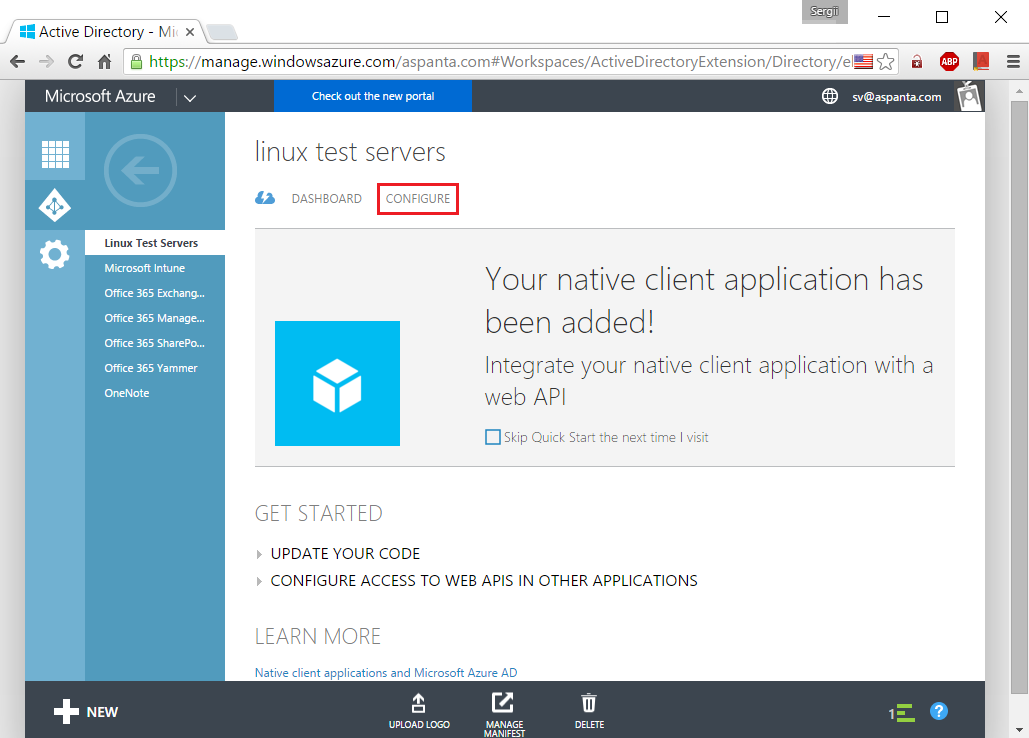
We remember / write down the value of the field “Client ID” (“Client Code”) - we will need it again.

Go to the server via SSH (in this case, user123, who is allowed to execute sudo commands):

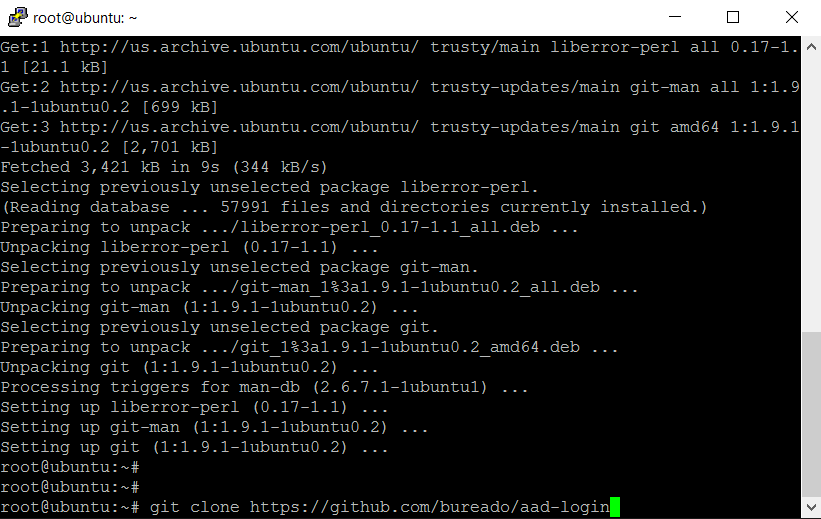
Go to root and install git:

We clone git-repository github.com/bureado/aad-login :
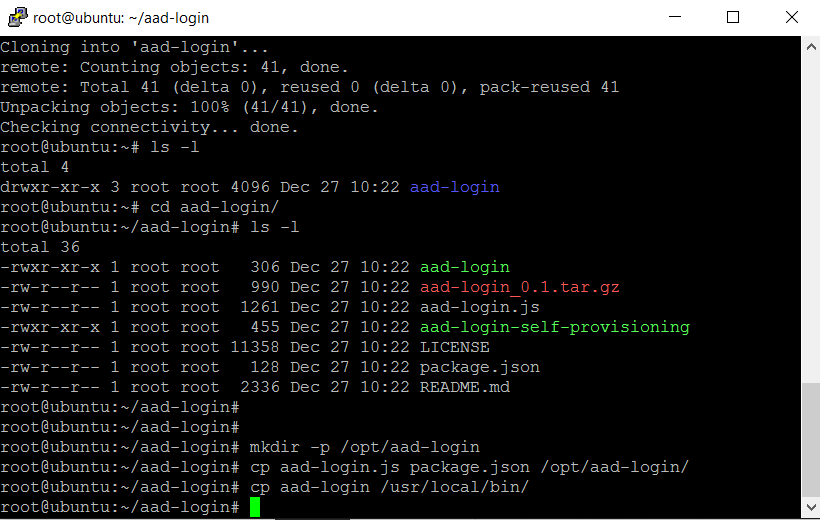
Enter the cloned directory, create the / opt / aad-login directory, copy aad-login.js package.json to / opt / aad-login /, copy aad-login to / usr / local / bin /:
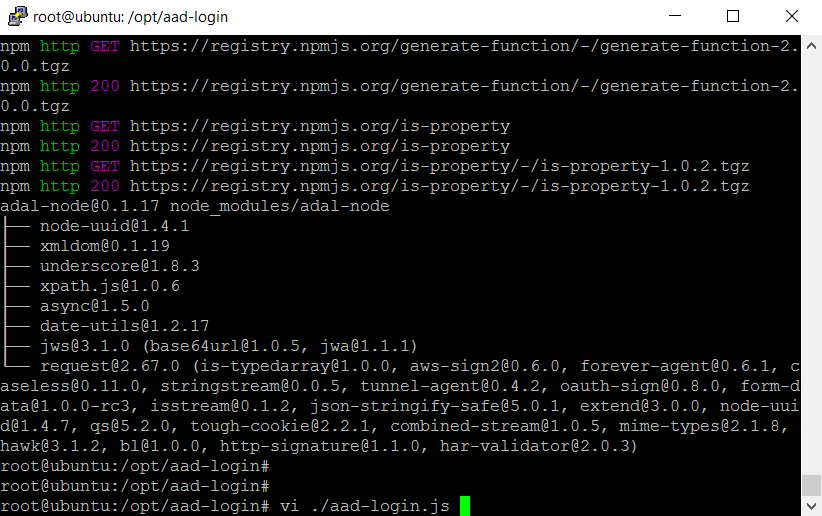
Enter the / opt / aad-login / directory, install the npm application:

Install the required npm components:

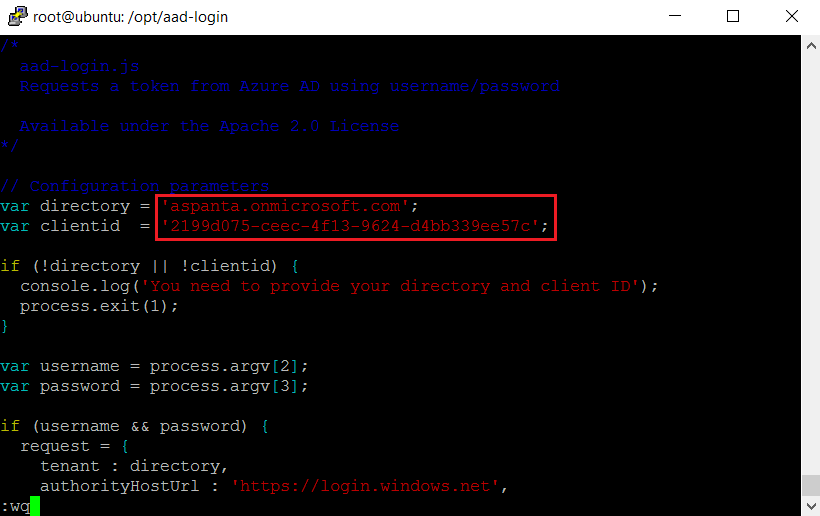
Edit the file ./aad-login.js:
Fill in the value of the directory variable with your domain name, which is used in Microsoft Azure AD / Office 365, and clientid with the value “Client ID” (“Client Code”) previously obtained on the Microsoft Azure AD portal:
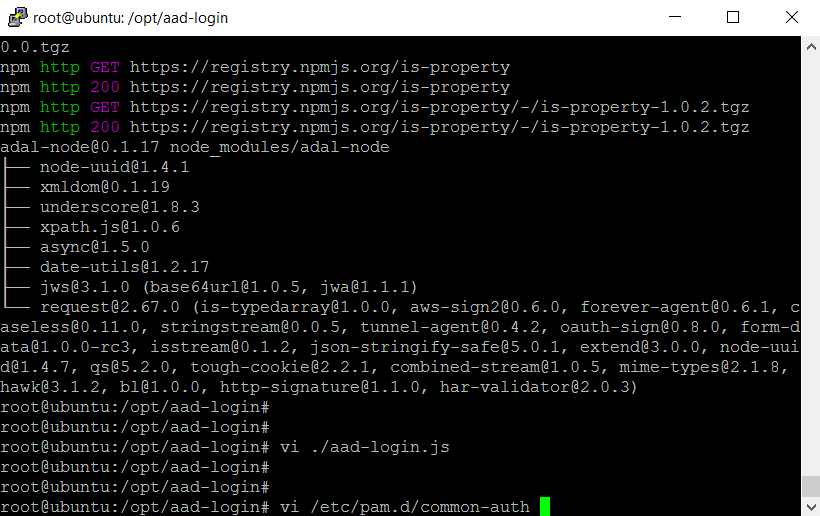
Edit the file /etc/pam.d/common-auth:
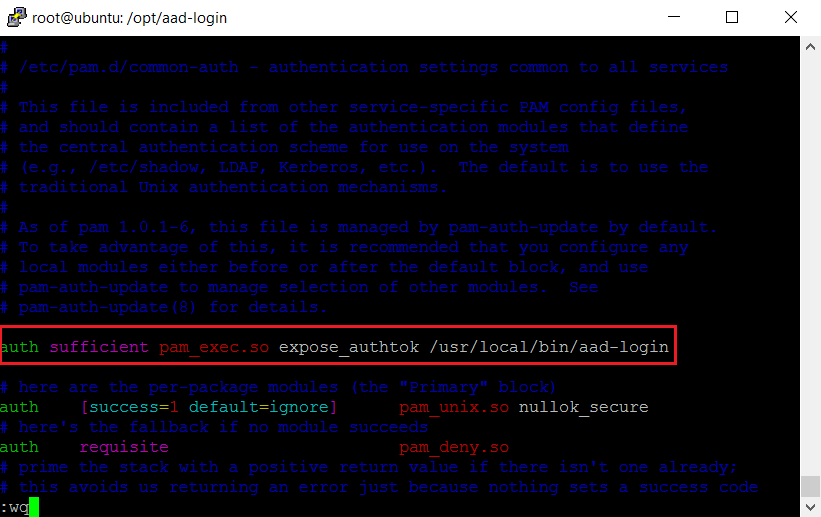
Add a call to pam_exec so that it is first on the list:
Install nodejs:

Remove the outdated node, create a symbolic link / usr / bin / nodejs -> / usr / bin / node:
We create users who are allowed to log in (no need to set a password). Login of these users must match with Alias email. For example, create a user support whose email is support@aspanta.onmicrosoft.com.

All is ready!
We try to log in with the created user and password set in Microsoft Azure AD / Office 365.
Here I will tell you how to use Microsoft Azure AD to authorize Ubuntu 14.04 users. That is, as in Ubuntu, make SSO with Microsoft Azure AD / Office 365.
1. Prerequisites
- Microsoft Azure AD / Office 365 (business) account
- Ubuntu server with internet connection
2. Configure Microsoft Azure AD
To get started, go to Microsoft Azure Portal at manage.windowsazure.com or Office365 menu -> Admin -> Azure AD .
Then, go to the desired Active Directory branch (if you do not use the complex branching structure of AD, then there will be only one entry).
')
Select "Applications" ("Applications"):
Add a new application by clicking on “Add”:
Select "Add an application my organization is developing" ("Add an application developed by my organization"):
Come up with a clear name for which this authorization method will be used (for example, “Linux Test Servers”), enter it in the “Name” field, and also select the “Native Client Application” application type .
On the next page, you are prompted to enter “Redirect URI” (“Redirect URI”). You can specify any value that is similar to a URI, since this field will not affect anything in this case.
AD application is created! Next, click "Configure" ("Settings").
We remember / write down the value of the field “Client ID” (“Client Code”) - we will need it again.
3. Configure Ubuntu 14.04
Go to the server via SSH (in this case, user123, who is allowed to execute sudo commands):
Go to root and install git:
sudo su - apt-get install git We clone git-repository github.com/bureado/aad-login :
git clone https://github.com/bureado/aad-login Enter the cloned directory, create the / opt / aad-login directory, copy aad-login.js package.json to / opt / aad-login /, copy aad-login to / usr / local / bin /:
cd aad-login/ mkdir -p /opt/aad-login cp aad-login.js package.json /opt/aad-login/ cp aad-login /usr/local/bin/ Enter the / opt / aad-login / directory, install the npm application:
cd /opt/aad-login/ apt-get install npm Install the required npm components:
npm install Edit the file ./aad-login.js:
Fill in the value of the directory variable with your domain name, which is used in Microsoft Azure AD / Office 365, and clientid with the value “Client ID” (“Client Code”) previously obtained on the Microsoft Azure AD portal:
Edit the file /etc/pam.d/common-auth:
Add a call to pam_exec so that it is first on the list:
auth sufficient pam_exec.so expose_authtok /usr/local/bin/aad-login
Install nodejs:
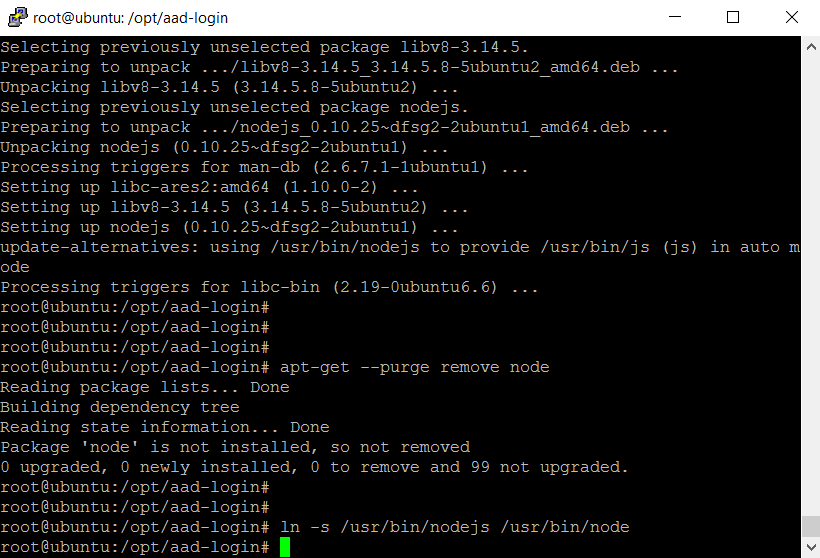
apt-get install nodejs Remove the outdated node, create a symbolic link / usr / bin / nodejs -> / usr / bin / node:
apt-get --purge remove node ln -s /usr/bin/nodejs /usr/bin/node We create users who are allowed to log in (no need to set a password). Login of these users must match with Alias email. For example, create a user support whose email is support@aspanta.onmicrosoft.com.
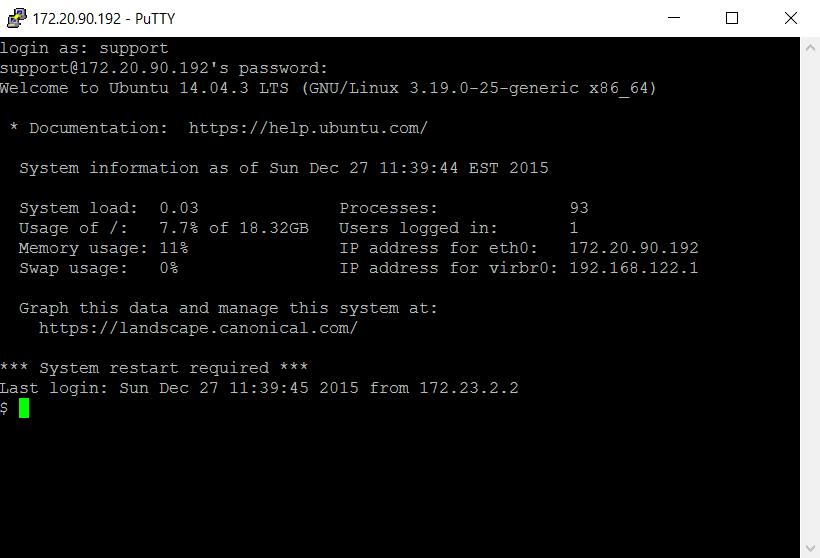
useradd -m support All is ready!
We try to log in with the created user and password set in Microsoft Azure AD / Office 365.
Source: https://habr.com/ru/post/274249/
All Articles