Overview of Amperka Education Kit - TETRA
Amperka sent us a new educational kit for electronics classes, TETRA, for tests, to us at MakeItLab hackspace. We have already reviewed products from Amperca, what is the difference between this kit?
This set combines the best moments:
- simple assembly of elements (without soldering)
- unified peripherals
- convenient periphery mount
- built Arduino
- teaching material based on Scratch visual programming language
Convenience of typing is that immediately after unpacking and connecting the computer - you can start work - study, create games, programs.
')
Tetra review kit will be dedicated to this post. But first, let us tell you what it looked like and when the first Soviet electronics kits appeared ("radio cubes").
Vadim Matskevich - Radio Cubes

Back in 1971, when many of us (including me) were not there yet - there was an appendix to the magazine “Young Technician”, in which the author told about the assembly of a simple designer “Electronic Designer”.
The author was Vadim Matskevich - by that time already the author of a series of articles under the general heading "Entertaining anatomy of robots".
It was proposed to cut plastic cubes, add magnets with contacts to connect with each other, or string them on the platforms, and make contact pads on the ends:
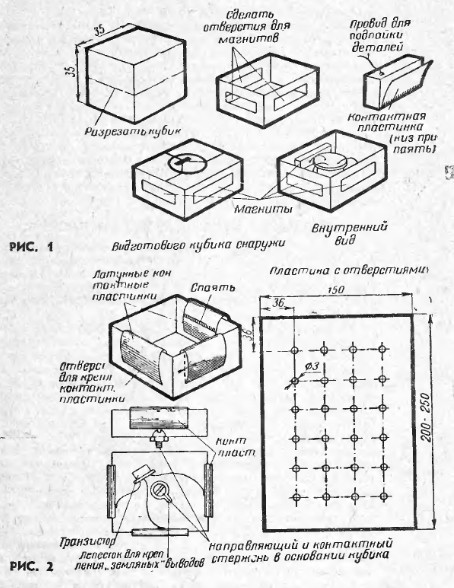
Here is an introduction to these kits:

What does the modern electronics kit from Amperka look like?
Unpacking
This is what the Tetra box looks like:

On the reverse side you can see the contents:

Here's a closer look:

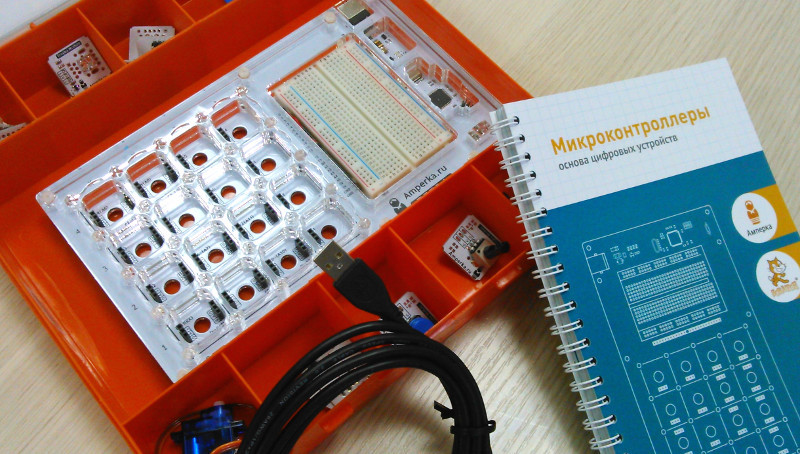
Now let's see what's inside, open:

We see:
- diverse peripherals (in cells)
- USB cable to connect the Arduino to a computer
- book
Under the book:
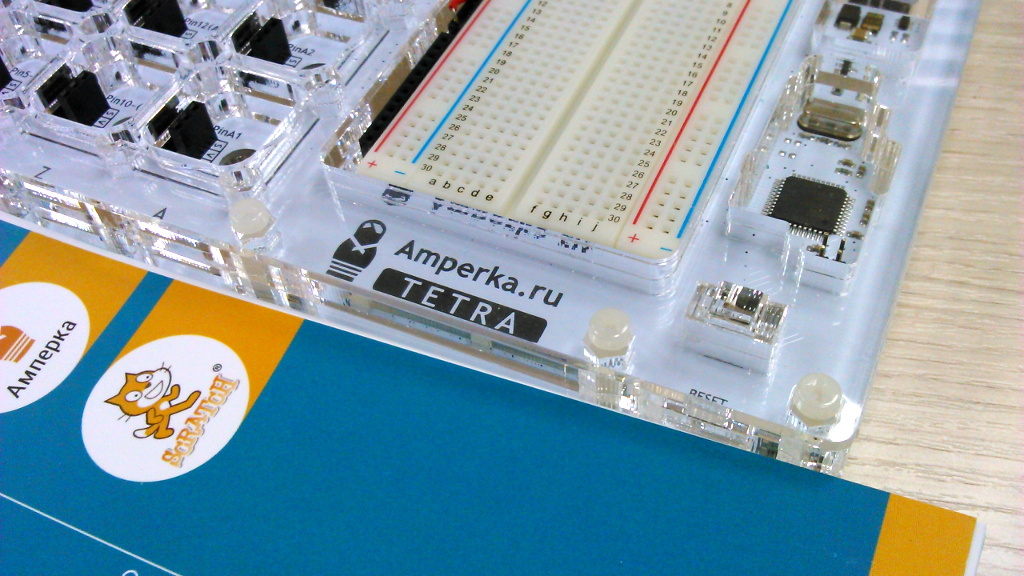
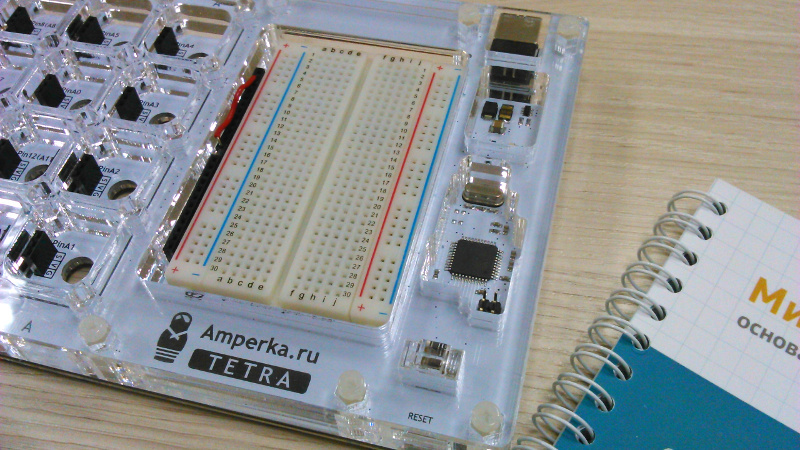
There, the essence of the set is the motherboard, on which the "slots" for installing the peripherals, the breadboard, and the Arduino itself are placed.
Here's a closer look:
Periphery
Here is the periphery that is contained in the kit:
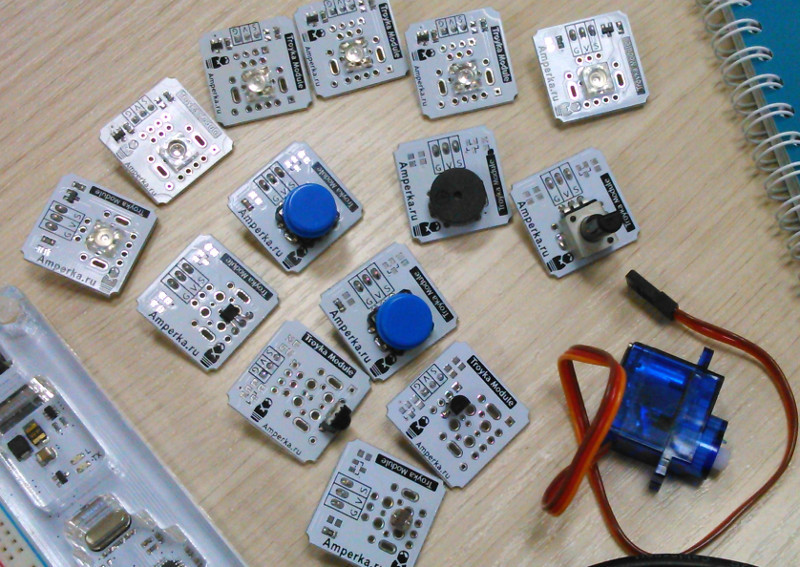
It:
- LEDs
- light sensor
- Hall sensor (magnetic field)
- temperature sensor
- buttons
- IR receiver
- potentiometer
- servo motor
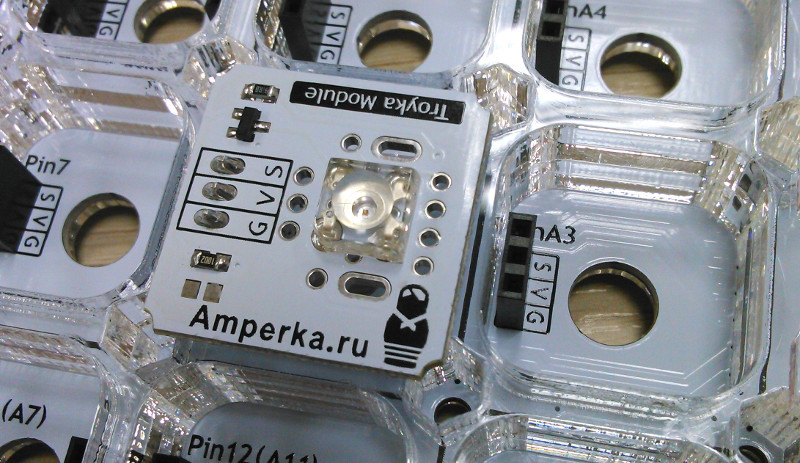
These elements are a set of Troyka , and you can buy them (buy) separately.
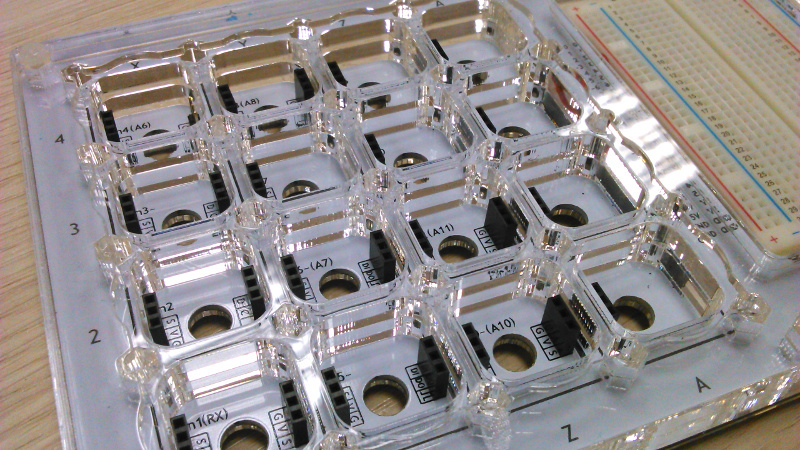
Motherboard
The key point of the set is that these elements are not placed on the breadboard, but in the “slots”:
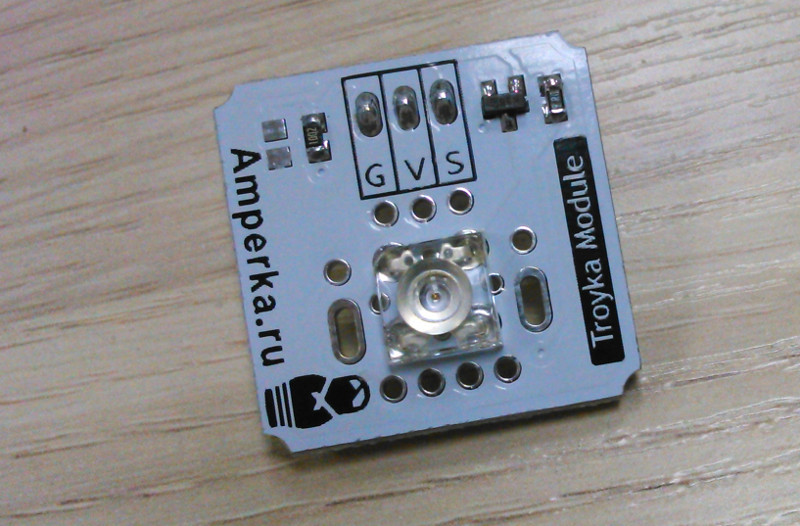
Connection
For example, take the element of the LED, see (G, S, V) - contacts:
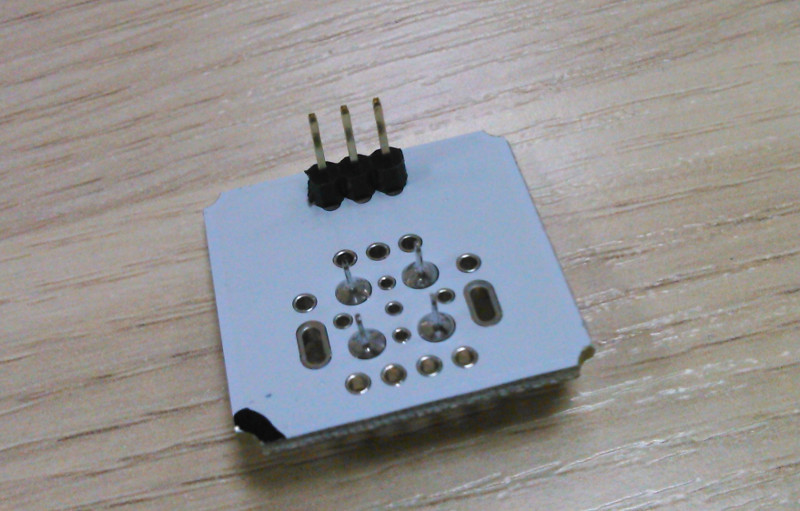
Here is its reverse side (for mounting / connecting):
Here is the cell where we will install:

And that's what happened:
Book
Now look at what kind of book goes along with the set:

Enough volume:
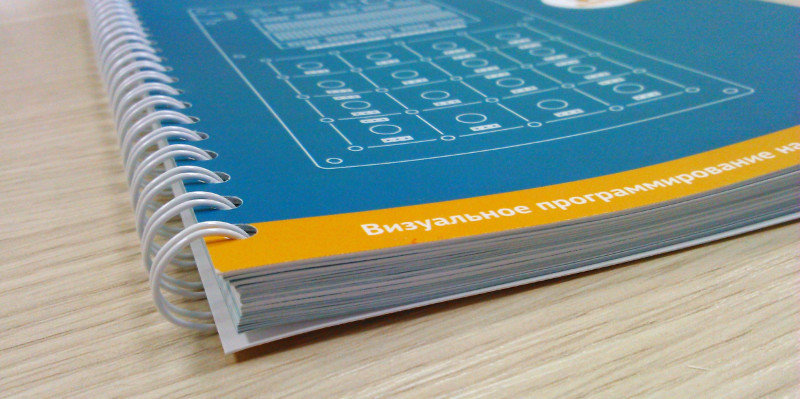
Spread:
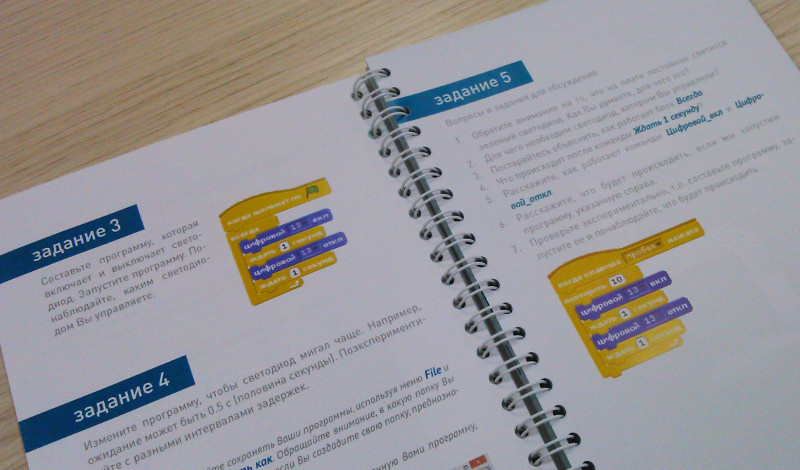
The book is very good quality - glossy paper, and color illustrations. It is also convenient to open. Contains 97 examples of projects, as well as materials for independent work.
 The author of the book is Denis Koposov, you can generally make a separate post about him - he is an informatics teacher from gymnasium No. 24 in Arkhangelsk, but thanks to a personal initiative he turned the informatics office into a laboratory for studying the latest advances in educational electronics and robotics, and has long since introduced it into an educational the process of training with Arduino, having gathered during this time a great experience of teaching Arduino to schoolchildren. Here is his blog .
Scratch
The book provides examples of working with peripherals using the visual environment, programming Scratch. Scratch assembly is used including work with peripherals - S4A . In this version, “blocks” are available for reading and writing values in Arduino.
There are versions of S4A for installation on the following operating systems:
- Windows
- Mac
- Linux
- Raspbian (Debian for RaspberryPi)
That is, you can also use the RPi microcomputer with Tetra kits.
Programming
This is what the program for flashing our LED looks like:
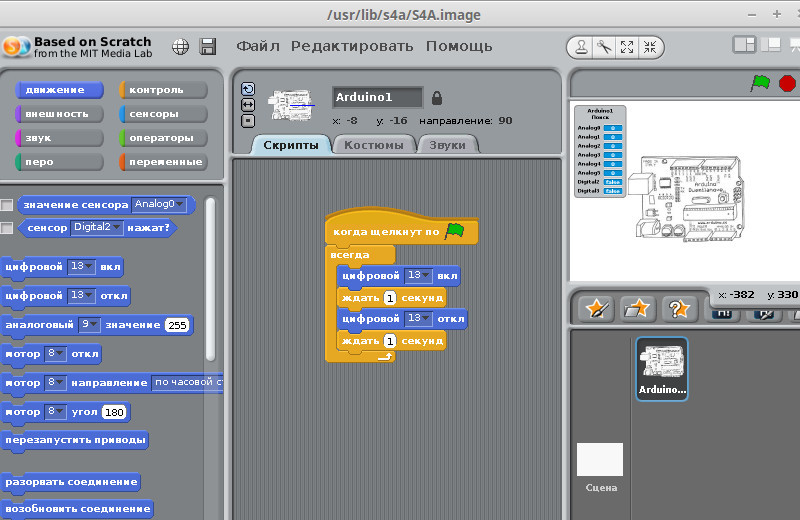
The LED is located in the Z3 cell, which corresponds to the "13" port. We use the “digital on” and “digital off” blocks, respectively, for switching on and off, and the “wait seconds” blocks - create the effect of blinking once per second. To start the command, click on the green flag - and the program in the Scratch visual environment starts to run, and interact with the Arduino.
To purchase
You can buy a set in the Amperka store, the set price is 7900 rubles. The price question is always a matter of discussion, but this set is intended more for computer science classrooms in schools, or to robotics clubs. Although, of course, as a gift (in exchange for some kind of gadget) for a student will be quite useful.
For residents of Yekaterinburg - you can familiarize yourself with the kit in our hackspace - the kit is included in the library of components freely available to participants
Radio cubes in the USSR

Here is what happened with radio cubes in the USSR (from Vadim Matskevich’s memoirs ):
How to quickly master the elements of radio engineering and start automation? And here I am at the Chkalovskaya SyuT (Station of Young Technicians) came up with an electronic designer - "radio cube". Of them, for example, a radio receiver can be assembled not in 2–3 months, but in 2–3 minutes. Using the "radio-cube", my boys in a short time went through all the radio engineering, collecting up to 200 different schemes, and began to design the elements of electronic automation of the robot. It was thanks to the “Radio Kubik” that my students managed to create the very giant robot that became the best exhibit of the Soviet “Enlightenment” pavilion at the World Exmo-70 exhibition in Japan.
On the "cubes" was an article in the journal "Model Designer." I was invited by the president of the Stoletov Academy of Pedagogical Sciences and suggested creating teaching aids from 12–15 cubes for school labor lessons and electives in physics on the basis of “cubes”. The main conditions for the development were simplicity, efficiency and high availability.
I got the lab at APN and got to work. A year later, my laboratory managed to solve the problem posed by the president. Eight factories in the USSR began the mass production of "radio-cubes" for the labor education of schoolchildren in electronics and electives in physics. The USSR Ministry of Education included a “cube” in the school data sheets. For labor teachers of schools in the PSA, I conducted seminars on the study of "cubes" and methods of working with them. The teachers of labor appreciated the new textbook - the “cubes” went to the schools of the RSFSR. Only one Lianozovsky plant in Moscow produced at least fifty thousand sets per month. Not without pride, I would say that the Japanese came to my laboratory in order to obtain consent to the publication in Japan of my methodic “Electronics in Radio Cubicles”.
At the exhibition "Eksmo-70" in Japan, a robot assembled by schoolchildren from the Vadim Matskevich circle was recognized as the best:
The exhibition had 160 different robots. But they were iron machine guns, manipulators, which were waving scary iron paws and could easily slam someone ... And our giant was kind, beautiful, cheerful, and he also danced to music. He enjoyed tremendous success and was recognized as the best robot in the world.
Source: https://habr.com/ru/post/273699/
All Articles