Photoshop for coder (programmer)

The article guide will be useful for newbies and for those who have not yet switched to new / alternative tools for layout of site layouts. And also for those who read the rules “what should be the PSD layout”, which are about layers, folders highlighted and correctly named, but in real life they do not collide with such layouts.
So, let's begin (under the cut a long article and a lot of pictures).
Creating a new file
')
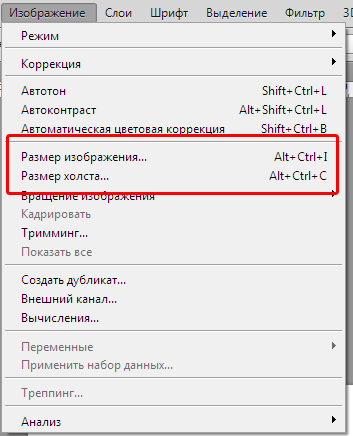
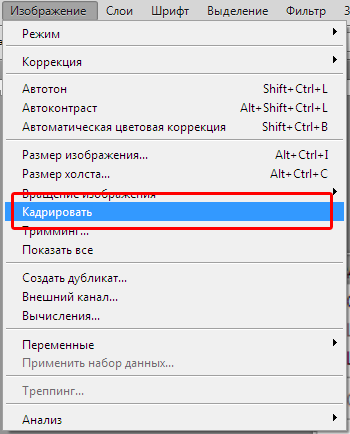
It happens by pressing Ctrl + N or as in the figure below (I have a Russian version, let them forgive me, those who prefer the English version):

Then a window appears with the settings of the new document:
The most important points for the layout designer are circled in red: the size of the new working area and the units of measurement of these dimensions. Width and height can be set manually, and when you copy an image from another layout or insert a screenshot of the screen, dimensions are set automatically. As units of measurement it is worth using pixels.
Also, the size of the working area and image size can be set using the menu "Image Size" (Alt + Ctrl + I) and "Canvas Size" (Alt + Ctrl + C)
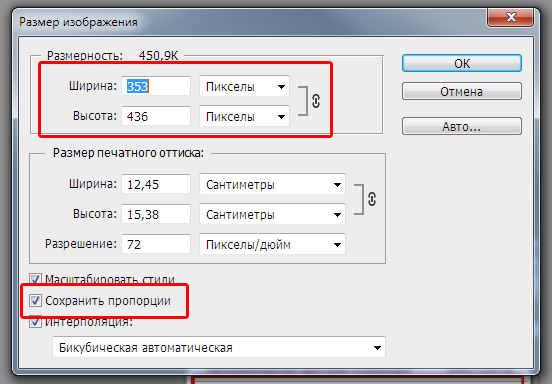
Using the Image Size menu, the entire image size is changed, that is, an image with a width of 400 px can be reduced, for example, to 100 px. When the “Keep proportions” checkbox is on, the image size will be reduced proportionally.
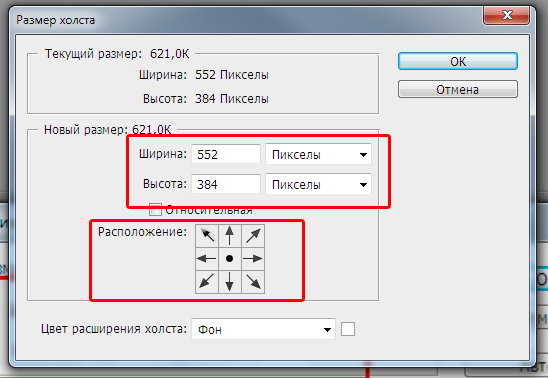
Using the “Canvas Size” menu, the size of the working area is changed, that is, the working area of an image of 400 px can be reduced to 100 px, while the image remains the same size and part of the image is hidden outside the reduced working area. In the "Location" block, you can specify which side will remove or add pixels (when the focus is set in the center of the square, the pixels will be removed or added evenly from all sides).
Which blocks should be included necessarily
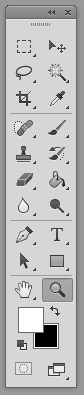
Toolbar . It does not require special explanations, since switching between the main functions for the layout designer is located on it.
Navigator . To quickly resize the layout.
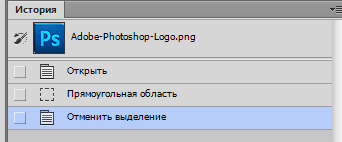
History To quickly return to the layout in the desired state, as well as in the state in which the layout gave the designer.
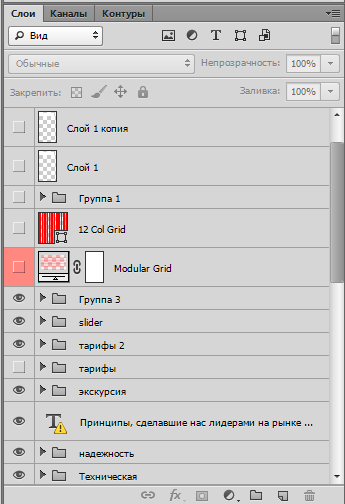
Layers . Folders and layout layers can be hidden, moved, deleted in this panel.
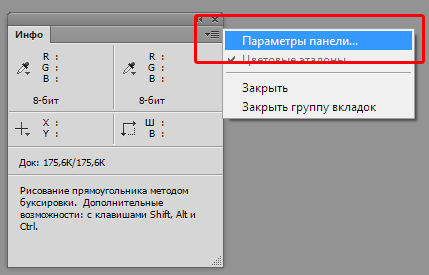
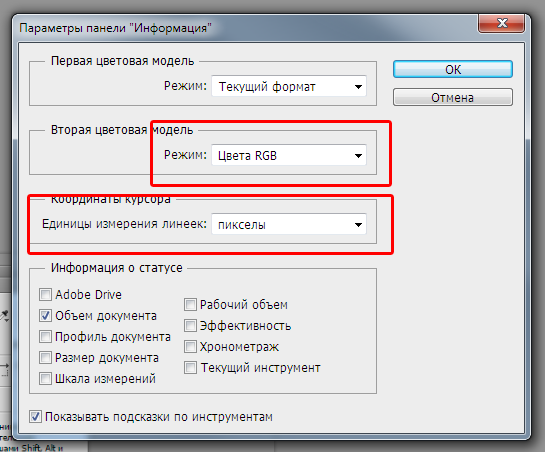
Info Shows the current coordinates on the layout and the size of the selected area. You need to configure to display pixel sizes and colors in RGB.

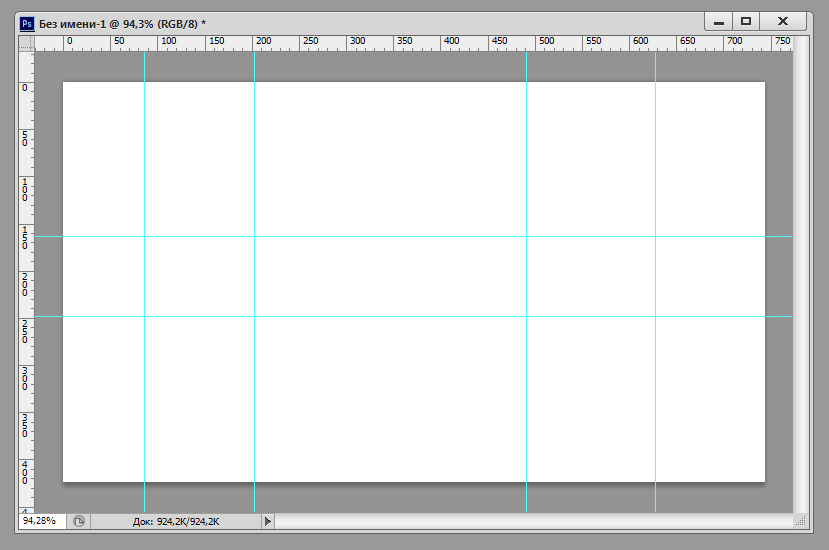
Rulers and suggestive . Guides are lined up along them (with which the designer determines the layout grid), as well as they give a rough understanding of the width of the layout or selected areas.
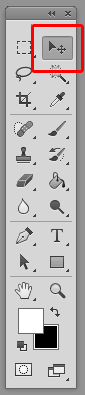
Toolbar
The tool "Move" is one of the most useful tools (I hope most of the experienced web designers know about it) . When the checkboxes are on and the right menu selected in the select, when you click on a layer, you can select a layer in the Layers panel, which speeds up work with the layout (and also keeps your nerves when working with layouts, in which the layers resemble a trash bin rather than the document structure)

Rectangular Area tool . A selected area can be copied, cut, deleted, transformed, framed on it layout.

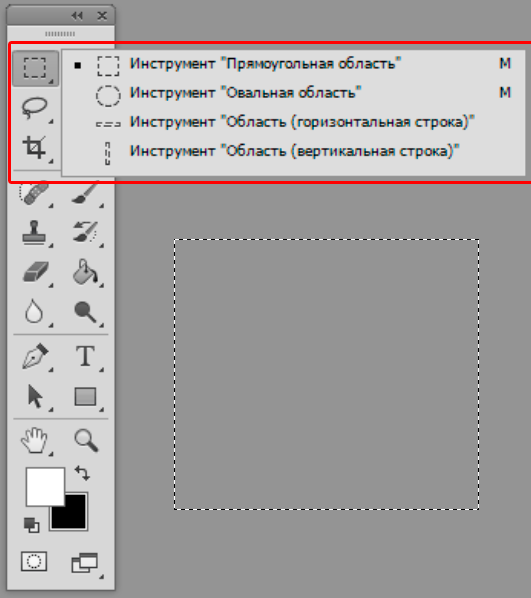
By the way, copying with Ctrl + C will copy all images / texts only from the selected layer. Therefore, if the image consists of several layers, you must use the copy of the combined data Shift + Ctrl + C

With the Shift key pressed, you can add a selection area to the existing one on the layout. With the Alt key pressed, you can delete a part of the currently selected area.
Also, using the selected area, you can frame the layout, which means reducing the working area of the layout to the size of the selected area with cropping everything that goes beyond the selected area.
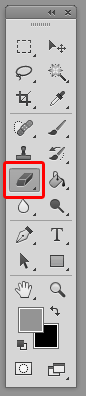
The eraser tool . Used to delete the contents of the selected layer.
Fill tool . Used to fill a layer or selection with a color or gradient.

Magnifier tool . Used to zoom in or out (Zoom).

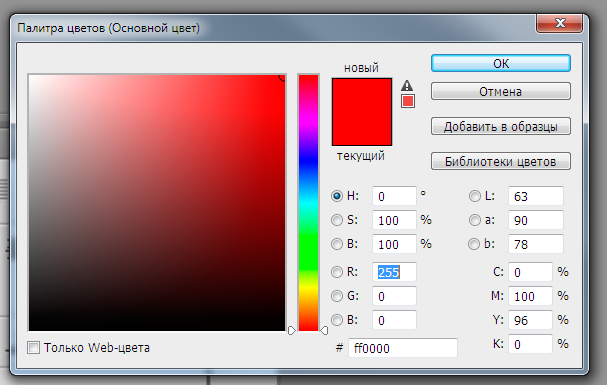
Pipette and Color Picker tools . Used to get color by clicking on the layout or on the color palette. When you click on the color selection at the bottom of the toolbar, the pipette tool turns on automatically.

Text tool . Used to create / edit text in the layout, as well as to obtain information about the typed text.
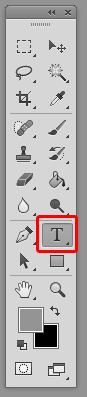
Using the menu on the top plate you can get information about the font, font size and style, as well as the text color.

Saving images
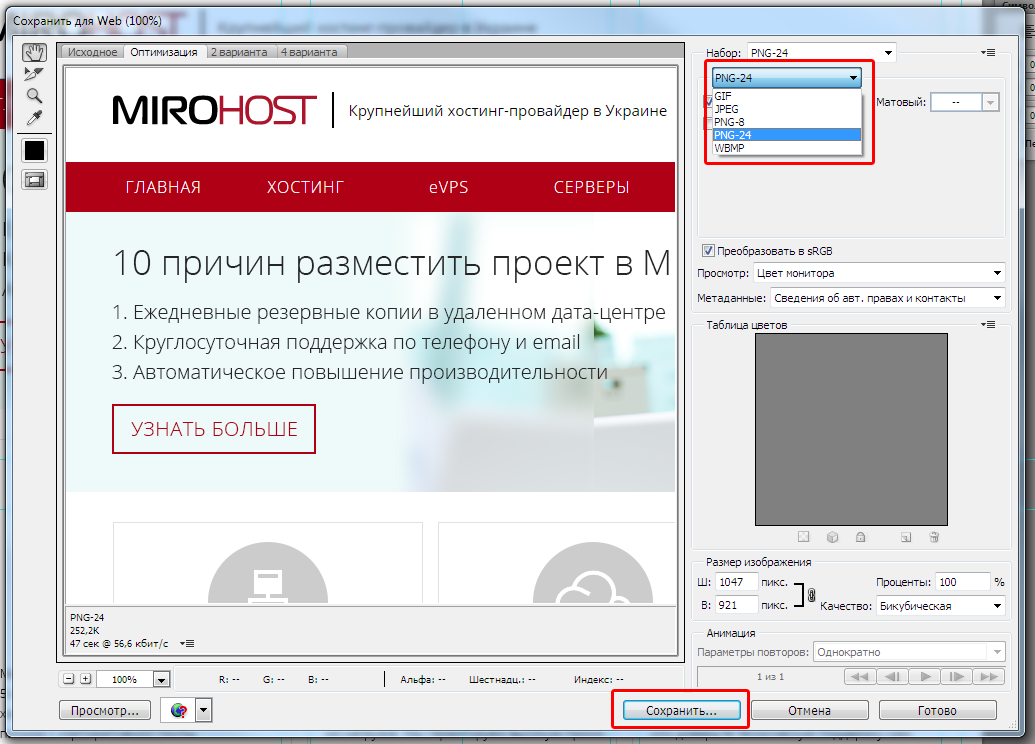
A layout or some part of it can be saved as an image. To do this, use the key combination Alt + Shift + Ctrl + S or the Save for Web menu

In the window that appears, you can see the preview image, you can select the image format (in the upper right corner of the window) and then save the image
Ps. I use photoshop version CS6, because I don’t know how it is saved to images in newer versions, so if anyone knows, write in the comments, I’ll add to the article.
Source: https://habr.com/ru/post/272649/
All Articles