Building native applications in ExtJS 6
Introduction
Good evening, this article covers the process of building ExtJS projects into native applications, under popular mobile platforms (Android, iOS, Windows Phone) using Cordova / PhoneGap .
ExtJS is a multifunctional framework for creating SPA applications. In the latest current version (6.0) there is an opportunity to use two different toolkits, namely classic and modern . Classic - designed to create standard web applications. Modern - designed to create mobile web-applications, its differences in support of touch events and adaptive layout. It should be mentioned that some components in modern differ from classic, namely: the name of events and controls. This article describes the process of building a native application only for Android (cloud and local build) using the Modern toolkit .
Creating an ExtJS project
To create the first application, we need to download and install the following software:
Unpack the archive with ExtJS 6. Create a directory in which our project will be located. Create our application with the following command:
')
sencha -sdk "\path\to\framework" generate app -modern TestApp "\path\to\application" The health of the application can be checked by the team being in the root directory of the project:
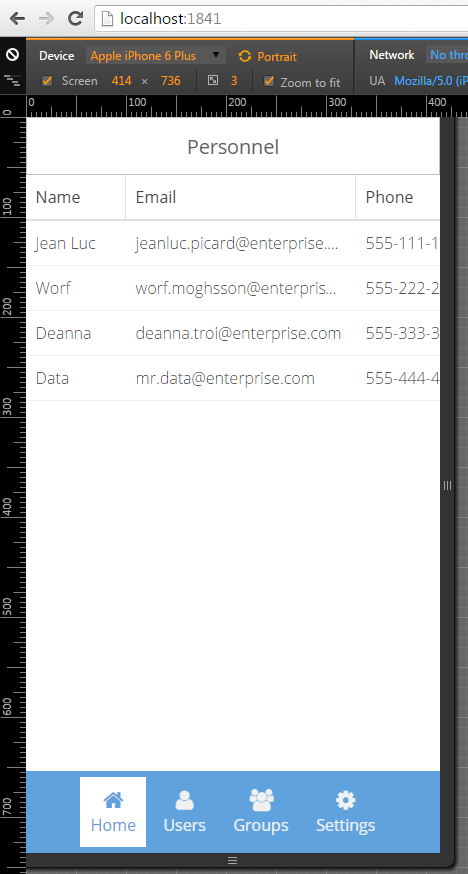
sencha app watch If successful, the webserver should rise on port 1841, you can view our created application in the mobile view in the browser. It must be something like this:
Creating native applications
To create native applications, you can use two different tools: PhoneGap or Cordova. Both tools serve as a layer between the native OC environment and ExtJS. By installing various plugins for them, you can gain access to native OS functions, such as access to a camera or to geo-location services. It should be mentioned that PhoneGap is based on the Cordova source code, also PhoneGap allows you to build an application in the cloud, which allows you to not install different SDKs from all target platforms. And this is an indisputable advantage, because, for example, when building an application on Windows under iOS, you will have to use remote build (a machine with installed Mac OS X and XCode must be available). PhoneGap is free for free applications located on github.com , it is free to have 1 private application. To install PhoneGap and Cordova, you need to install nodejs. For Windows, nodejs need to be downloaded , in linux, most likely it is, if there is no Google to help. Next, install PhoneGap and Cordova:
npm install cordova npm install phonegap Be sure to check the installation with the commands:
cordova -v phonegap -v Next, to build for Android, you need to download the SDK and install the following API Level (15, 16, 21, 22, 23). Optionally, you can set up test devices to emulate Android'a (it is recommended to emulate Android x86, because ARM processor emulation is slower). Sencha Cmd has native support for cordova & phonegap. To add it to the project, make changes to the configuration file of our app app.json (add the builds section):
"builds": { "cordova-native": { "packager": "cordova", "cordova": { "config": { "platforms": "android", // cordova "id": "com.test.test" } } }, "phonegap-native": { "packager": "phonegap", "phonegap" : { "config": { "platform": "android", "remote": true, // "id": "com.test.test" } } }, "modern": { "toolkit": "modern", "theme": "theme-triton" } }, After that, you can run the command to build apk:
sencha app build cordova-native The compiled debug apk should be available in the following path \ cordova \ platforms \ android \ build \ outputs \ apk \ android-debug.apk.
To build with PhoneGap, you need to create a local.properties file in the project root, it should contain your login and password to log into the PhoneGap build service :
phonegap.username=yourusername phonegap.password=superpassword Next, you can run the build project in the cloud
sencha app build phonegap-native Signing Cordova Native Applications
First you need to generate the keystore file containing your private key for publishing:
keytool -genkey -v -keystore my-key.keystore -alias alias_name -keyalg RSA -keysize 2048 -validity 10000 Be careful, do not forget the passwords you specified when generating and alias_name.
In order to release (signed) and debug apk automatically, you need to change the file /.sencha/app/cordova-impl.xml, find the line:
<x-shell reloadprofile="true" dir="${app.cordova.config.path}"> cordova ${cordova.cli.options} build ${cordova.platforms.clean} </x-shell> And after this tag, add another x-shell:
<x-shell reloadprofile="true" dir="${app.cordova.config.path}"> cordova ${cordova.cli.options} build ${cordova.platforms.clean} --release </x-shell> Next, you need to create a file /cordova/platforms/android/release-signing.properties as follows:
storeFile=/relative/path/to/keystore/file keyAlias=alias_name storeType=jks keyPassword=mypwd storePassword=mypwd2 Also for the need to perform the operation zipalign for the signed apk, for this you need to make changes in /cordova/platforms/android/build.gradle:
buildTypes { release { signingConfig signingConfigs.release zipAlignEnabled true } } Now you can build release and debug builds locally using the command:
sencha app build cordova-native The resulting apk files will be available in \ cordova \ platforms \ android \ build \ outputs \ apk \.
Signing up native PhoneGap applications
Everything is simple, you need to upload your keystore file on the site, also specifying all the passwords to it. After this, PhoneGap will build your application for all its existing platforms automatically (iOS, Android, Windows Phone) if you have keys for them.
Source: https://habr.com/ru/post/270343/
All Articles