The first steps into the world of the web in real time

Good day. I have long wanted to write about something more than WP. I noticed that the more you try to progress as a developer, the more trivial it seems that you want to write about. But oh well, maybe my experience will be quite useful to someone. The cycle of notes will be focused primarily on those who are just starting to collect their first realtime web applications.
So, the task is to synchronize what the user sees and what is in the database. Previously, I used the Pusher service for such tasks, but recently I prefer to use Centrifuge. I anticipate the question of how much better is the usual redis / socket.io / node.js bundle. Out of the box, private channels, simple integration, scaling, api, message history in the channel, unsubscribing and subscribing users to the channel and much more, which allows you to quickly build the desired application prototype without inflating the technology stack. It works for me, everyone has their own way. By the way, the language on the backend is php, and, accordingly, on the front end is js.
')
What came out of this, some nuances - you can see below.
Here I will add links to the following notes.
We assemble a simple prototype
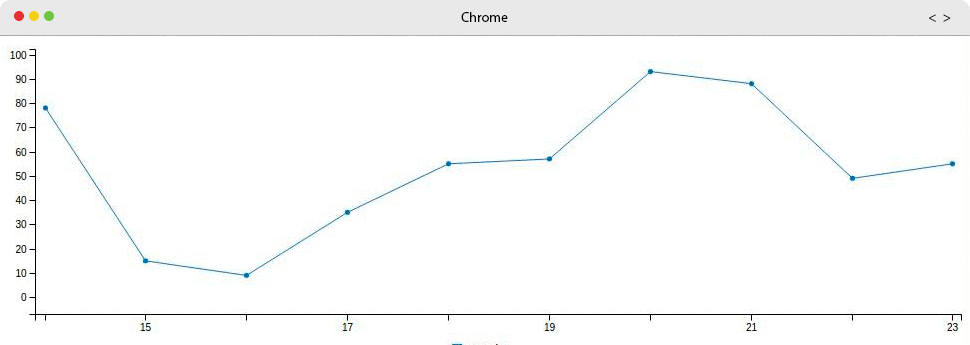
As a first example, take the following task. On the screen there will be a graph that is the same for all users and is updated as data becomes available.
For simplicity, the broker at this stage will work in insecure mode:
- Disable verification of tokens and timestamps;
- Allow anonymous access to all channels;
- Customers are allowed to post messages to all channels;
- Removed connection test.
Of course, this should not be done in combat mode, but it will work for our purposes and for the sake of understanding the concept.
Debut
First you need to deploy a centrifuge on the server. This is done in a few simple steps:
- Select the required executable file for your platform in the repository ;
- As a transport I prefer to use Redis. But if you want, you can and http.
- We write a small config for our project;
- We start the centrifuge at port 8002 and drive the whole thing under nginx .
Mitchel spiel
The centrifuge is working, ready to connect customers and send them messages. Now it's up to backend.
We generate composer.json , do composer require predis / predis , write a couple of classes. Actually the module of sending messages to the broker and transport, through radishes. Since The centrifuge at this stage works in insecure mode, there is no need to generate tokens and the task is even more simplified.

If anyone is interested - the final version of the outline and demo . The demo points are destroyed every 240 seconds, you can simply click the button to add new ones to the history and refresh the page. In the real world, of course, data is taken from api, in the following notes we will return to this.
As a result, now we can send messages to users from the backend. Something like this:
... require __DIR__.'/vendor/autoload.php'; use Push\Push; use RedisCommunucate\Communicate; use Predis\Client; $redisClient = new Communicate(new Client()); $push = new Push('development', 'secret', $redisClient); // "chart" $push->publish('chart', ['point' => rand(0,10)]); ... ... // "publish" public function publish($channel, $data = []) { return $this->send("publish", ["channel" => $channel, "data" => $data]); } public function send($method, $params = []) { if (empty($params)) { $params = new \StdClass(); } $data = json_encode(["method" => $method, "params" => $params]); return $this->communicate ->communicate( $this->projectKey, ["data" => $data] ); } ... ... // redis rpush public function communicate($projectId, $data) { $toSend = array( "project" => $projectId ); $data['data'] = json_decode($data['data']); $toSend = array_merge($toSend, $data); $toSend['data'] = array($toSend['data']); $this->redisClient->rpush("centrifugo.api", json_encode($toSend)); } ... And on this the first part of the task can be considered complete. Now it's up to the front end.
Endgame
Let's take c3.js as a library for graphics. We connect c3, sockjs, centrifuge.js.
... <link href="https://cdnjs.cloudflare.com/ajax/libs/c3/0.4.10/c3.min.css" rel="stylesheet" type="text/css"> <script src="https://cdnjs.cloudflare.com/ajax/libs/d3/3.5.6/d3.min.js" charset="utf-8"></script> <script src="https://cdnjs.cloudflare.com/ajax/libs/c3/0.4.10/c3.min.js" type="text/javascript"></script> <script src="https://cdn.jsdelivr.net/sockjs/1.0/sockjs.min.js" type="text/javascript"></script> <script src="https://rawgit.com/centrifugal/centrifuge-js/master/centrifuge.js" type="text/javascript"></script> ... Connect with a centrifuge, catch points. And make a button to pull the server to generate new points.
... var chart; // . var centrifuge = new Centrifuge({ url: 'http://socket.logistics.app/connection', project: 'development', insecure: true }); // , centrifuge.on('connect', function() { // , var subscription = centrifuge.subscribe('chart', function(message) { // , chart.flow({ columns: [ ['sample', message.data.point] ], duration: 100 }); }); // . - api. subscription.on('ready', function() { subscription.history(function(message) { var data = message.data.map(function(point){ return point.data.point }); data.reverse(); data.unshift('sample'); chart = c3.generate({ bindto: '#chart', data: { columns: [ data ] } }); }); }); }); // centrifuge.connect(); // , $('.random').click(function(){ $.get('/random.php'); }); ... The task is completed, we open the page with a demo on different devices or just in different browsers. When a new point appears - the schedule is updated. Yes, at this stage it all works extremely unsafe. But to understand the concept - just right. Of the known problems, the solution of which I would like to describe in the following notes:
- If new points come between obtaining the histori and subscribing to the channel, they will be lost.
- Sort points. If they come extremely often, they will be added in the wrong order.
- We considered only adding data to the end. But there is more list data. And let's say we use datatables to display the labels . And the data is updated, come from the centrifuge, but we are on the third page of the table with filters / sorting. And the question is how to synchronize it.
In general, I will be glad if it is interesting to someone and doubly happy if it helps someone. I think that everyone wants in his projects, when one user performs some kind of action, everyone else could immediately see the updated data. Thank you for your attention, see you soon.
Source: https://habr.com/ru/post/268717/
All Articles