Virtual quadrocopter on Unity + OpenCV (Part 1)
Good day, dear habravchane!
What should we build a house? We draw - we will live. In this series of articles, I would like to share the experience of building (and tell how) a virtual quadrocopter in Unity. And also get valuable advice from the collective mind of the habr :) I planned a virtual drone with the goal of testing existing computer vision algorithms, as well as their applications in navigating copters. From the 5th version in Unity there is an opportunity to write C ++ plugins, that is, there is an opportunity to use
In Part 1, we will create our virtual quadrocopter in Unity and stabilize it with PID regulators. Connecting OpenCV will be in part 2. In part 3 it is planned to test an algorithm for dense 3D reconstruction from OpenCV. Further: how to go.
')
I am developing in Mac OS, but since the tools themselves are cross-platform, I think that it can be tried to repeat under other systems. At first, I will describe my work in Unity in detail, so that I can,
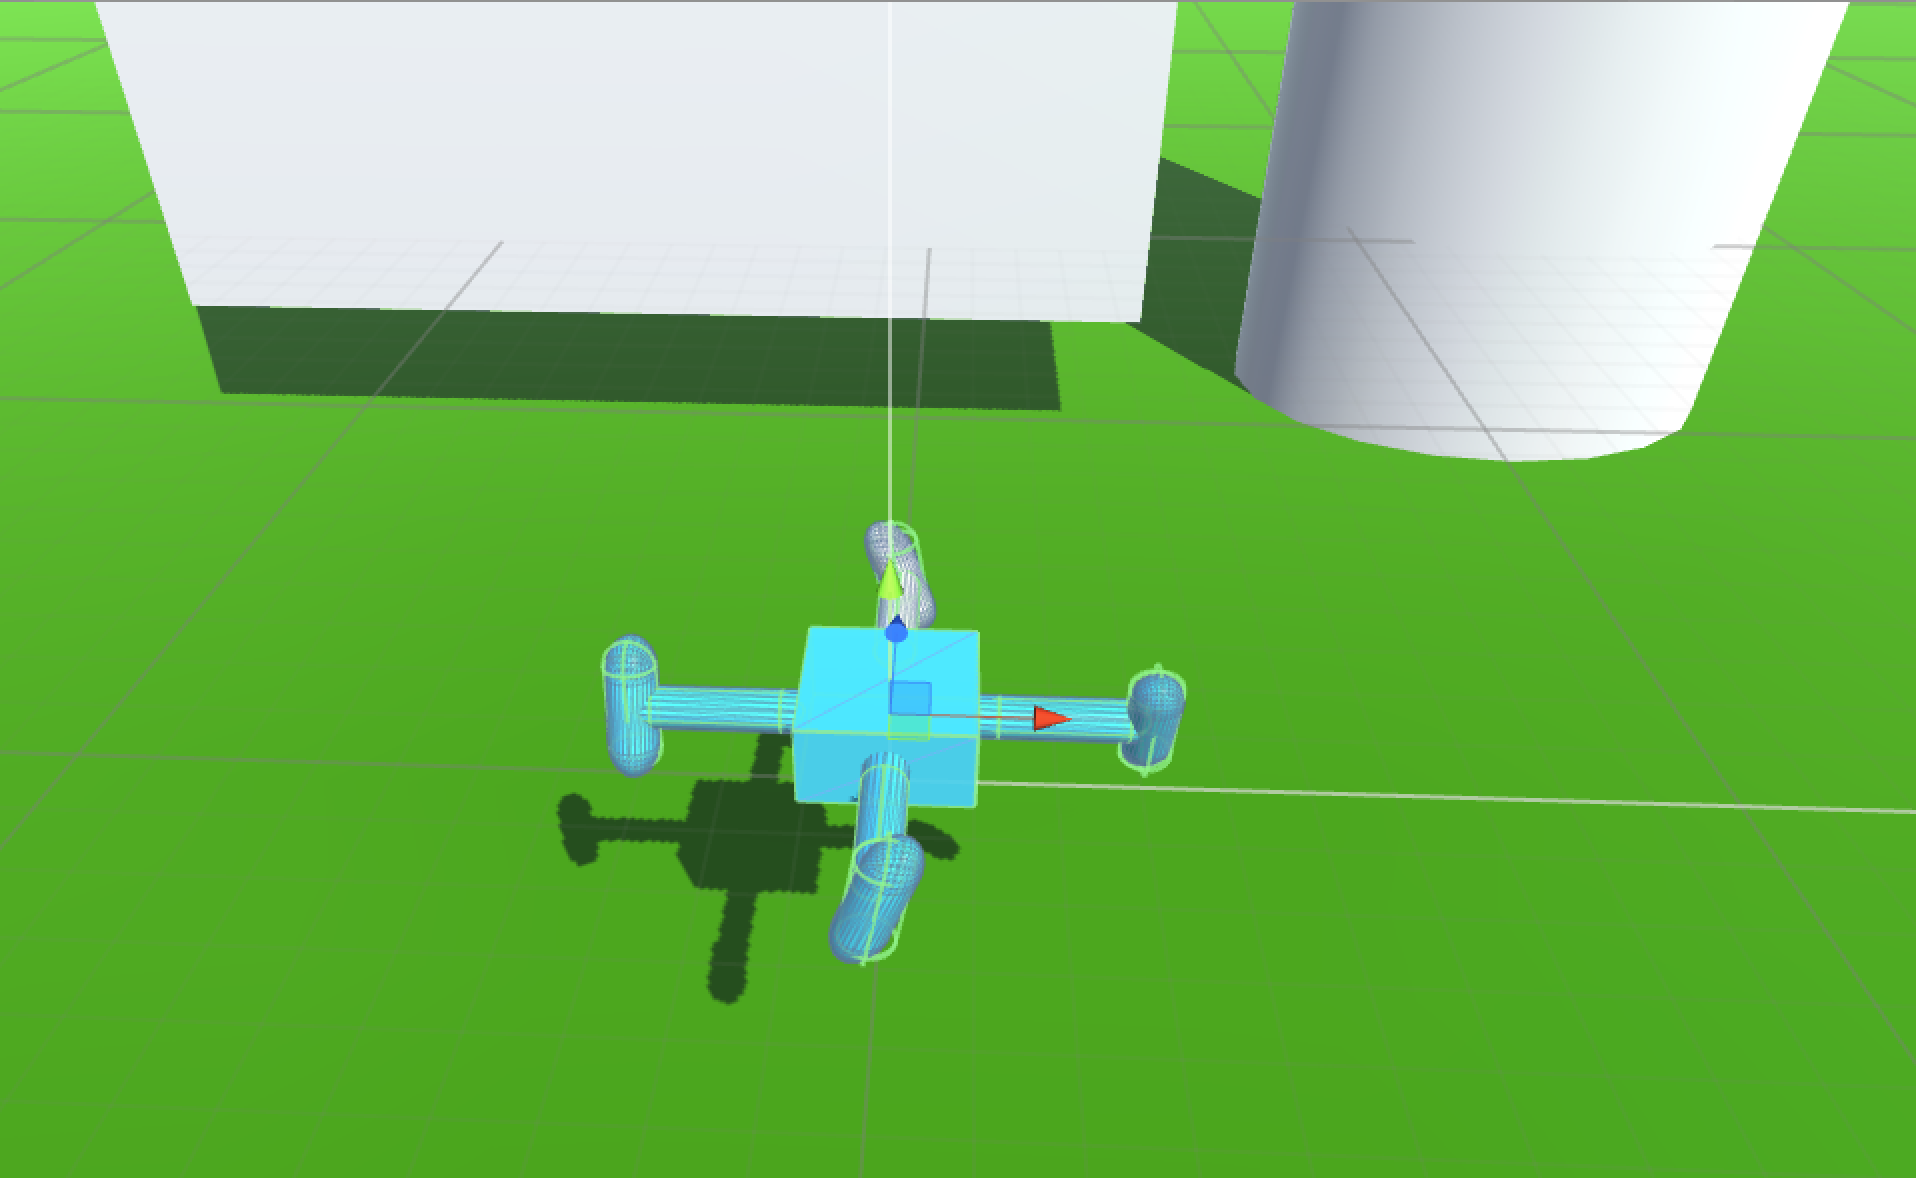
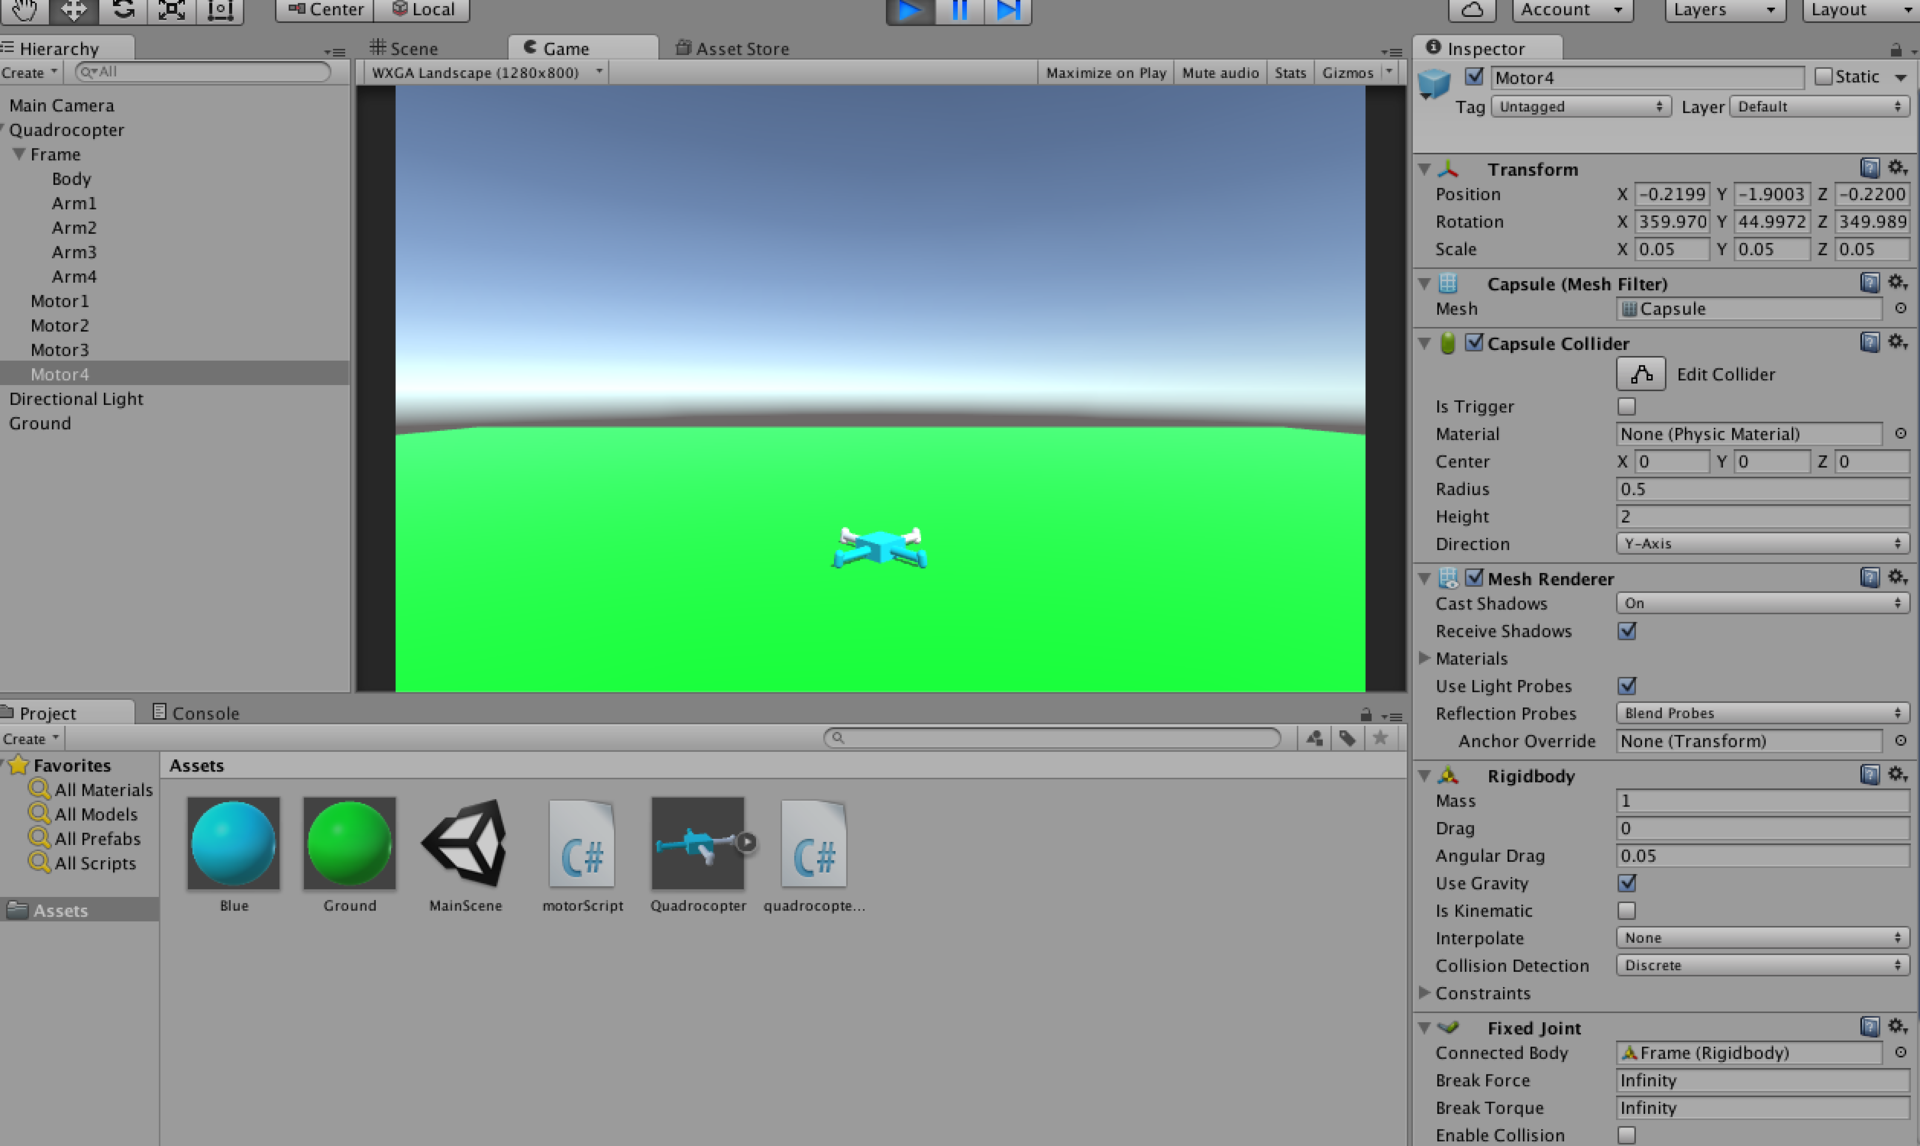
Now we are going to create our quadrocopter. I drew information about quadcopters from a wonderful article , it very well described the basic concepts, the principle of operation and control. I strongly advise you to read this article, because here I will not describe the features of quadcopter, so as not to repeat too much. Our drone will consist of a Cube - base, 4x Cylinder - these will be rods for strengthening engines and 4x Capsule - these will be our engines. Create an empty object in the Hierarchy using the Create button and call it Quadrocopter. Right-click on it, add the above primitives there. I advise you to immediately make them look like real ones in order to get similar to the expected behavior of solids. The Unity documentation says that their 1 is one meter, I made a base scale of 0.2 x 0.1 x 0.2. Specify in the comments a more correct way to set the sizes of primitives, I, looking at the Unity interface, did not find another intuitive way. By manipulating the positions, orientations and sizes, we get the following quadric:
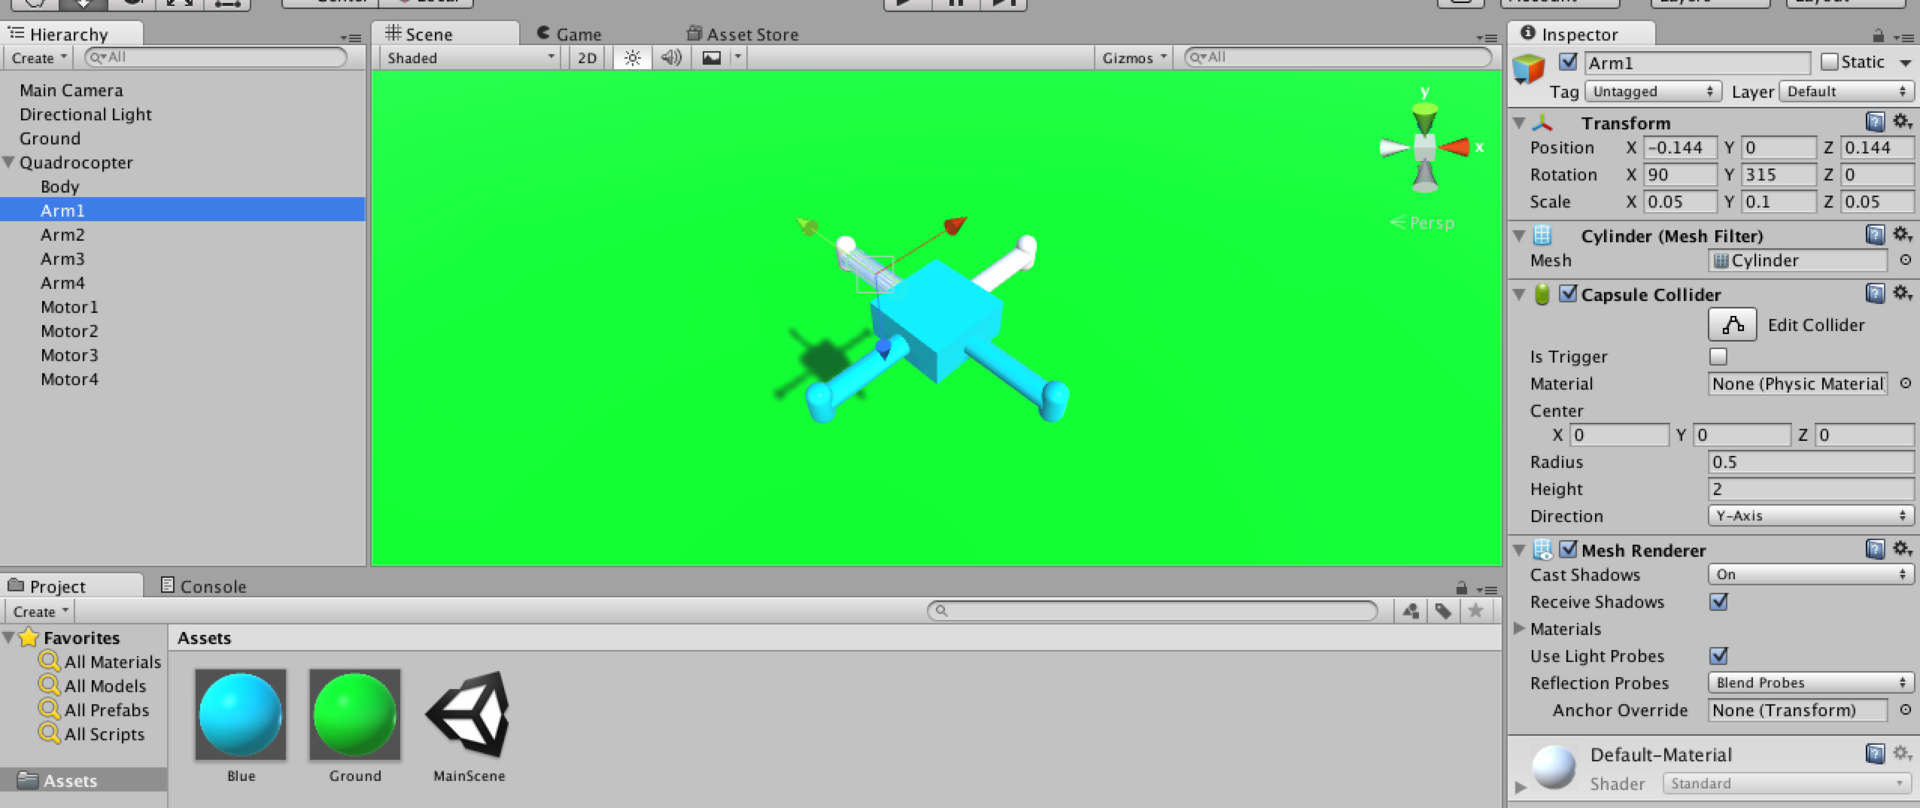
The white engines are marked in white (the quadcopter has a front). We start, it, naturally, does not fly anywhere. This is normal :) Now we need to add physics to our primitives. It is also desirable for us to combine the rods and the body into one indivisible frame, the frame will be an empty GameObject, into which we will transfer the required primitives. The Rigidbody component is used to implement solid state physics. Select our element, for example a frame. In the inspector on the right, click Add Component -> Physics -> Rigidbody. Rigidbody appears in the list in the inspector. Add it to the engines. We start, everything falls and falls apart - this is normal, now we have physics.
So that everything does not fall apart, add Add Component -> Physics -> Fixed Joint to the components of our quadrocopter. This component will implement a hard link. The parameter Connected Body point to the object to which we want to bind. Tie engines to the frame. And now we have nothing falling apart, just falls as it is.
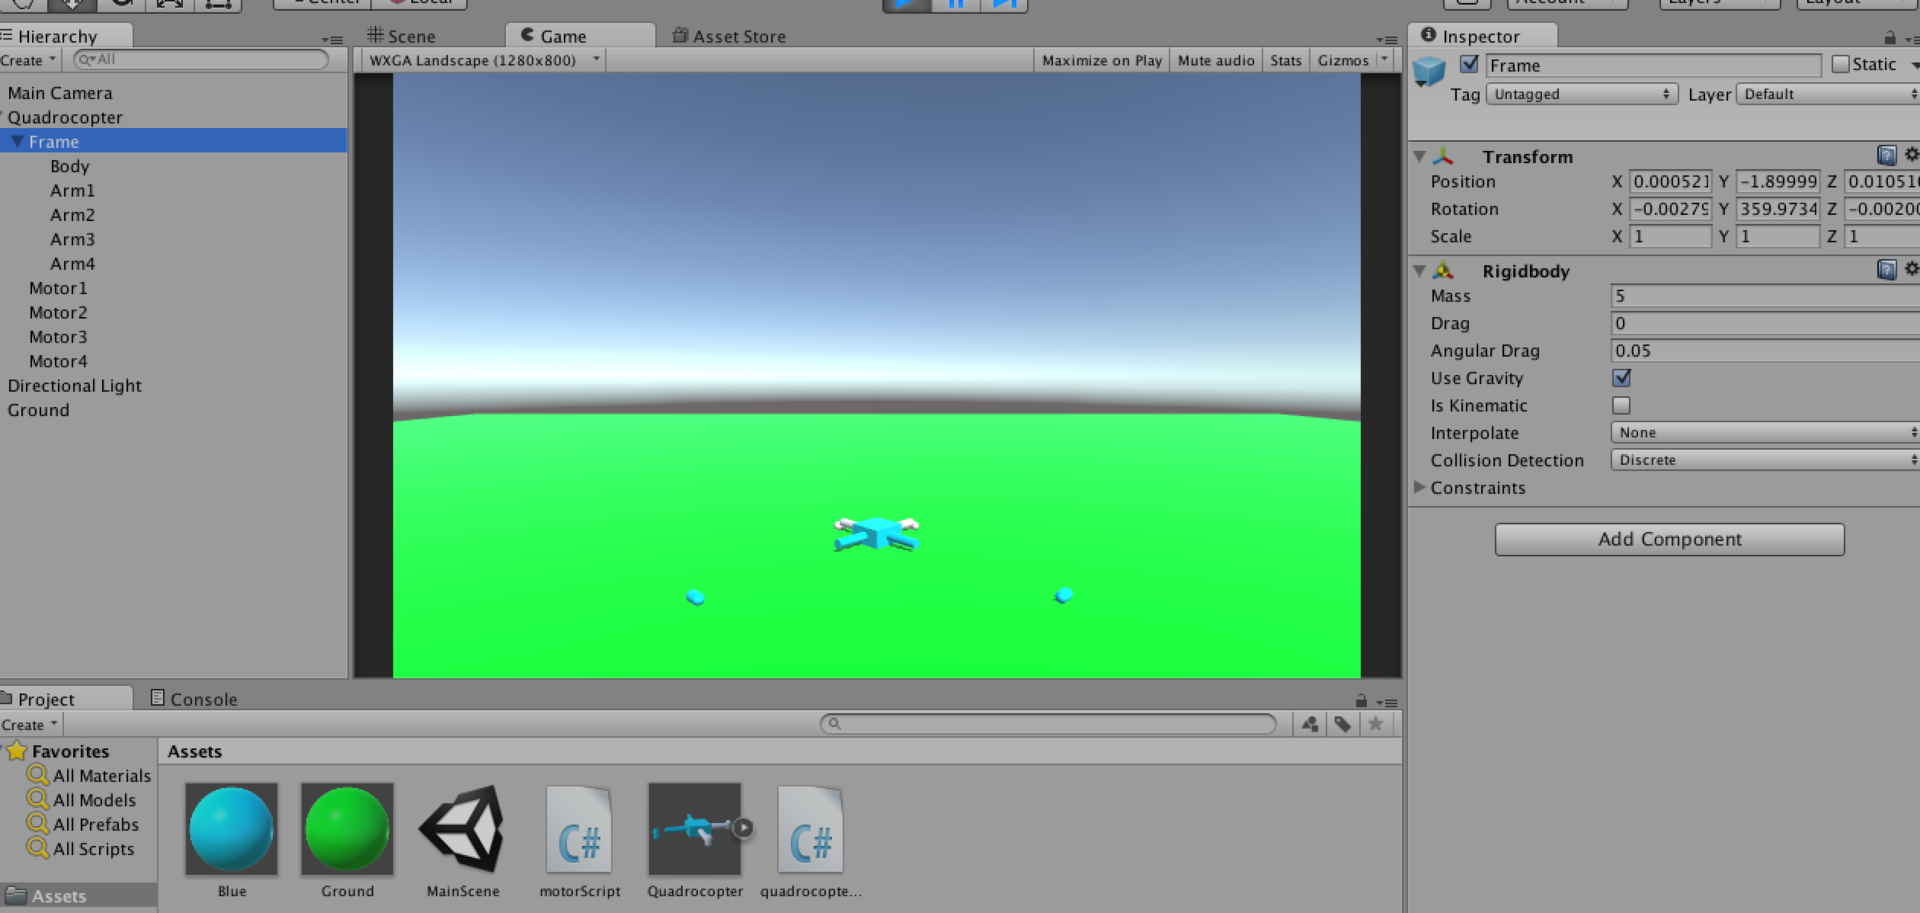
Now we need to add power to our engines. For this we will use a simple C # script. Go to Assets Create -> C # Script, let's call it motorScript.
using UnityEngine; using System.Collections; public class motorScript : MonoBehaviour { public float power = 0.0f; void FixedUpdate () { GetComponent<Rigidbody> ().AddRelativeForce (0, power, 0); } } Then we select the engine and do Add Component -> Scripts -> Motor Script. Our script has a power parameter - this is the power of our motor. You can set for each motor, for example, the value 2 and we will see that our quadric falls now not so fast: the engines are running. It now remains to stabilize our quadrocopter in order to be able to specify the rotation angles from the outside and it could hold them. To do this, create a script quadrocopterScript.cs. The quadcopter is stabilized by PID controllers. For more information about this process, see the above article . For each corner we will need our own PID controller, as a result, we need 3 independent regulators. Below is the script code. But first I will mention one nuance. Yaw in the quadcopter is realized due to the moments of the engines. They can rotate the whole structure, but for some reason this does not happen in Unity, despite the fact that I tried to add GetComponent (). AddRelativeTorque to the engine script. As a result, I came to the conclusion that you just need to turn the engines relative to the axles of the rods just a little (10 degrees) so that the front engines are turned towards each other, as well as the rear ones. It is necessary that the angular momentum of the whole structure with the same engine power is extinguished. So our quadrocopter script:
using UnityEngine; using UnityEngine.UI; using System.Collections; using System; public class quadrocopterScript : MonoBehaviour { // private double pitch; // private double roll; // private double yaw; // public double throttle; //, , public // public double targetPitch; public double targetRoll; public double targetYaw; //PID , // , PID // :) private PID pitchPID = new PID (100, 0, 20); private PID rollPID = new PID (100, 0, 20); private PID yawPID = new PID (50, 0, 50); void readRotation () { // , // // --, // Vector3 rot = GameObject.Find ("Frame").GetComponent<Transform> ().rotation.eulerAngles; pitch = rot.x; yaw = rot.y; roll = rot.z; } // // PID // , void stabilize () { // // [-180, 180] // PID , 350 //, -10 double dPitch = targetPitch - pitch; double dRoll = targetRoll - roll; double dYaw = targetYaw - yaw; dPitch -= Math.Ceiling (Math.Floor (dPitch / 180.0) / 2.0) * 360.0; dRoll -= Math.Ceiling (Math.Floor (dRoll / 180.0) / 2.0) * 360.0; dYaw -= Math.Ceiling (Math.Floor (dYaw / 180.0) / 2.0) * 360.0; //1 2 //3 4 double motor1power = throttle; double motor2power = throttle; double motor3power = throttle; double motor4power = throttle; // double powerLimit = throttle > 20 ? 20 : throttle; // : // // double pitchForce = - pitchPID.calc (0, dPitch / 180.0); pitchForce = pitchForce > powerLimit ? powerLimit : pitchForce; pitchForce = pitchForce < -powerLimit ? -powerLimit : pitchForce; motor1power += pitchForce; motor2power += pitchForce; motor3power += - pitchForce; motor4power += - pitchForce; // : // , double rollForce = - rollPID.calc (0, dRoll / 180.0); rollForce = rollForce > powerLimit ? powerLimit : rollForce; rollForce = rollForce < -powerLimit ? -powerLimit : rollForce; motor1power += rollForce; motor2power += - rollForce; motor3power += - rollForce; motor4power += rollForce; // : double yawForce = yawPID.calc (0, dYaw / 180.0); yawForce = yawForce > powerLimit ? powerLimit : yawForce; yawForce = yawForce < -powerLimit ? -powerLimit : yawForce; motor1power += yawForce; motor2power += - yawForce; motor3power += yawForce; motor4power += - yawForce; GameObject.Find ("Motor1").GetComponent<motorScript>().power = motor1power; GameObject.Find ("Motor2").GetComponent<motorScript>().power = motor2power; GameObject.Find ("Motor3").GetComponent<motorScript>().power = motor3power; GameObject.Find ("Motor4").GetComponent<motorScript>().power = motor4power; } // Unity FixedUpdate, Update void FixedUpdate () { readRotation (); stabilize (); } } public class PID { private double P; private double I; private double D; private double prevErr; private double sumErr; public PID (double P, double I, double D) { this.P = P; this.I = I; this.D = D; } public double calc (double current, double target) { double dt = Time.fixedDeltaTime; double err = target - current; this.sumErr += err; double force = this.P * err + this.I * this.sumErr * dt + this.D * (err - this.prevErr) / dt; this.prevErr = err; return force; } }; Add this script to our Quadrocopter object and we have the opportunity to set the gas and the required angles of rotation. In my case of gas, 22.3 quadrics slowly set down. To test the stabilization in the corners, you can set the angles separately in the Transform of the quadrocopter and watch how it assumes a horizontal position, if zero angles are specified in the target ... script parameters.
The task to fasten a virtual joystick, a beautiful model and the environment, I leave to the enterprising reader.
How it happened I can try the link to the android package .
The code of what is done in the article can be viewed on the githaba .
Source: https://habr.com/ru/post/267791/
All Articles