Flying panels flew away from us ... About navigation and the "Back" button in C # / XAML applications in Windows 10

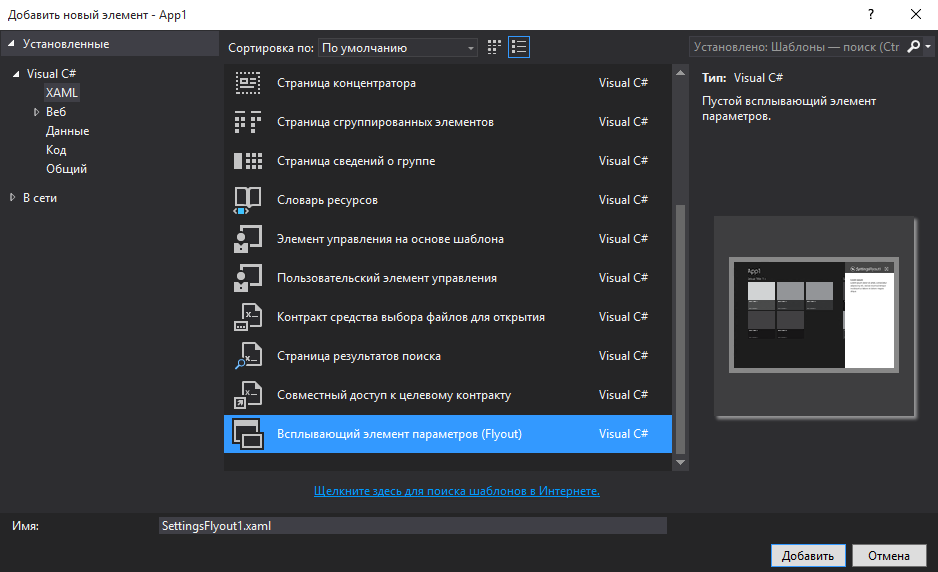
If you want to bring the settings of your UWP application to the “flyout” of Flyout, then I will disappoint you. Flying panels just like the “Magic Charm panels” are a thing of the past and now instead of them you need to use another way of displaying information - navigation. About what and how to read on
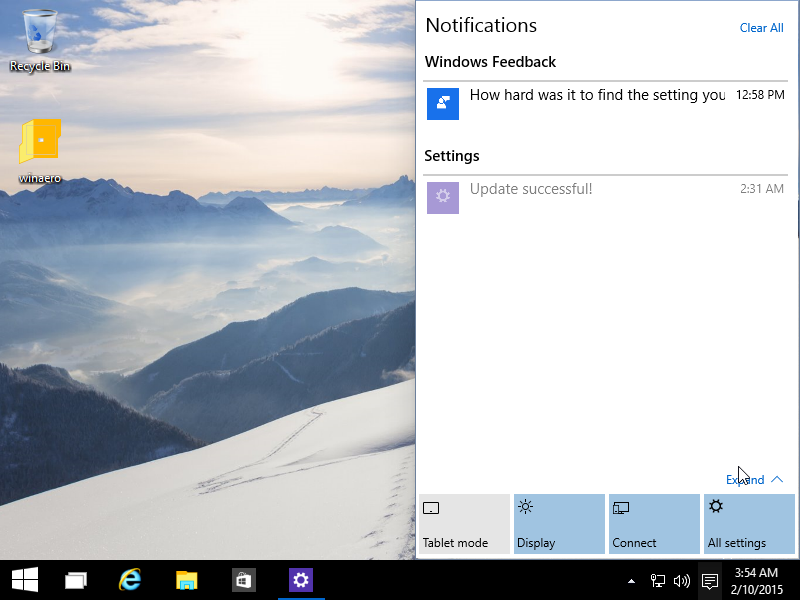
Now in Windows 10 you can still see the "flying socket" even in the interface of the system itself. Take, for example, the "Notification Center":
However, when developing a new universal out of the box control application, it is already absent. Such a control could be added to a Windows 8.1 application.
')
Now, due to the fact that Windows 10 applications have become universal and there is no analogue of the “flying socket” Flyout for mobile devices, we are offered a replacement in the form of navigation and a hamburger menu
At the same time, there are pop-up notifications in the form of FlyOut control in universal applications. But this is not a panel flying to the right, but just pop-up notifications. For comparison, in the following screenshot above, a button displays a flyout element of the type FlyOut:
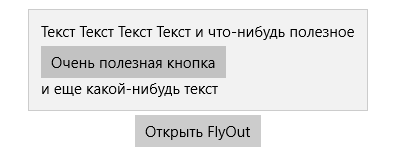
For those who are curious, the XAML example code is hidden under the spoiler:
View code
<Button HorizontalAlignment="Center" Margin="0,125,0,0" x:Name="buttonWithFlyout" Content=" FlyOut"> <Button.Flyout> <Flyout> <StackPanel> <TextBlock> - </TextBlock> <Button Click="VeryImportantButton_Click" Margin="0,5,0,0"> </Button> <TextBlock> - </TextBlock> </StackPanel> </Flyout> </Button.Flyout> </Button> In order for FlyOut to be displayed after the click, you do not need to implement the Click event and add some C # code. It is enough that FlyOut is attached to a button (it is a child element).
But it will not be about him, but about how to navigate to the settings page and add the “Back” button. First, create a page with settings: Menu "Project" - "Add a new item":
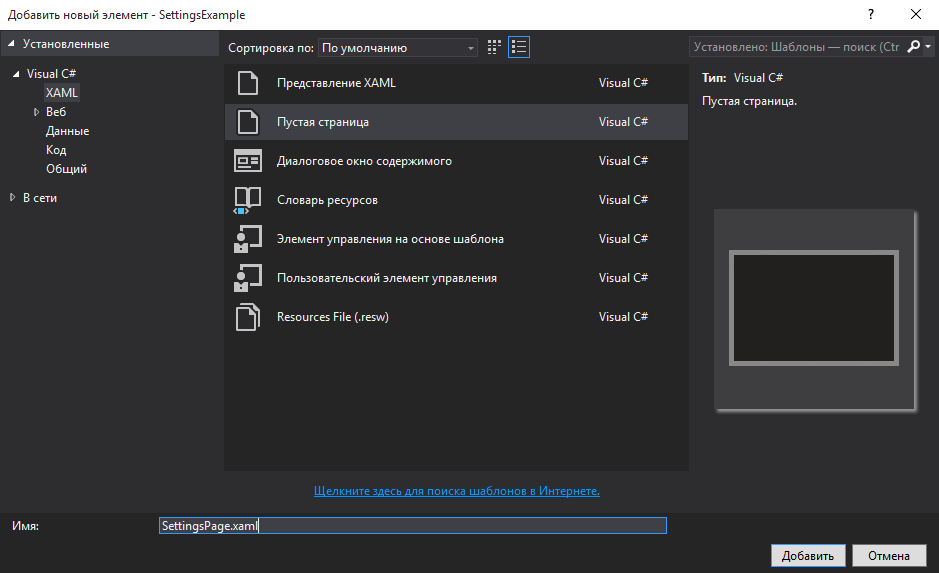
We select an element like "Empty page". I decided to call the page named SettingsPage.xaml.
Now we need to add a button to go to this page with settings. I decided to create TopAppBar for this and add CommandBar with a button to it. The XAML code is:
<Page.TopAppBar> <CommandBar IsOpen="False" ClosedDisplayMode="Minimal"> <CommandBar.PrimaryCommands> <AppBarButton x:Name="btnSettings" Label="" Click="btnSettings_Click" Icon="Setting" > </AppBarButton> </CommandBar.PrimaryCommands> </CommandBar> </Page.TopAppBar> When closed, the AppTopBar with the button will look like this:

And in open form:

Now you need to implement the btnSettings_Click event. It is quite simple:
private void btnSettings_Click(object sender, RoutedEventArgs e) { this.Frame.Navigate(typeof(SettingsPage)); } Bams ... And after clicking the button, we go to the SettingsPage.xaml page. But we will not be able to go back.
In order to be able to return to the last page, you can add the "Back" button. I propose to use the following snippet, which I will describe below. Open App.xaml.cs and add a link to the namespace:
using Windows.UI.Core; After the declaration and initialization of the rootFrame and any other code, add the registration of two events to the end of the void OnLaunched method:
rootFrame.Navigated += OnNavigated; SystemNavigationManager.GetForCurrentView().BackRequested += OnBackRequested; This is a current page transition event and a previous page transition event. In the OnNavigated event, using the conditional operator, we will display the Back button or hide it depending on whether it is possible to go back to the page or not:
private void OnNavigated(object sender, NavigationEventArgs e) { // SystemNavigationManager.GetForCurrentView().AppViewBackButtonVisibility = ((Frame)sender).CanGoBack ? AppViewBackButtonVisibility.Visible : AppViewBackButtonVisibility.Collapsed; } In the Back Jump request event, which occurs when you click on the BackButton, we will return to the last page using rootFrame.GoBack ();
private void OnBackRequested(object sender, BackRequestedEventArgs e) { Frame rootFrame = Window.Current.Content as Frame; if (rootFrame.CanGoBack) { e.Handled = true; rootFrame.GoBack(); } } It would seem that checking for if (rootFrame.CanGoBack) is not entirely necessary here, since we display the “Back” button only if it is possible to switch back. But the hardware button on the phone can still be pressed, so let it remain.
As a result, when going to the settings page, we’ll get such a button in the upper left corner:

Sample source code is available on GitHub .
UPDATE: PopUp or the ContentDialog window can be a great alternative for displaying application settings:
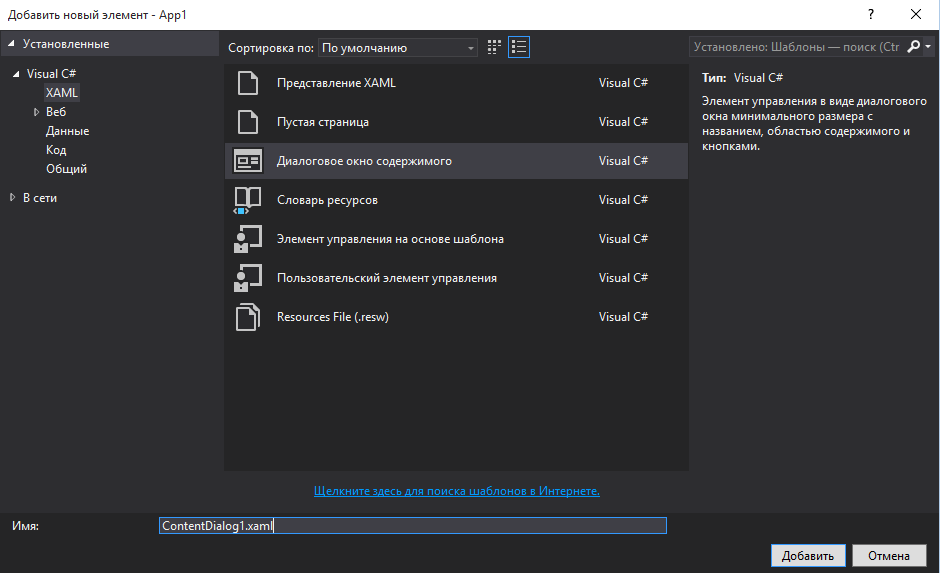
But about this in another article.
Source: https://habr.com/ru/post/267789/
All Articles