Let's make our world better.
With the help of Photoshop and a few photos create a new world in which you want to live. Step by step instructions for the manipulation of consciousness and the result in the source file as a gift. Reconstruction of the events of 2006.
So first we need some pictures from the life and one of the clip art. Here they are:
')
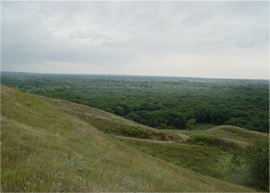


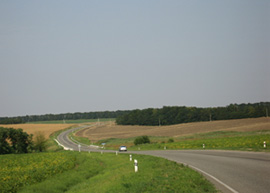
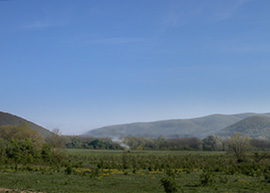

Let's get started Open Photoshop, create a new file with the size of 1299x600 (this is a strange resolution). We paint the background, purely for convenience, in your favorite color. And we begin to arrange our foty one by one:
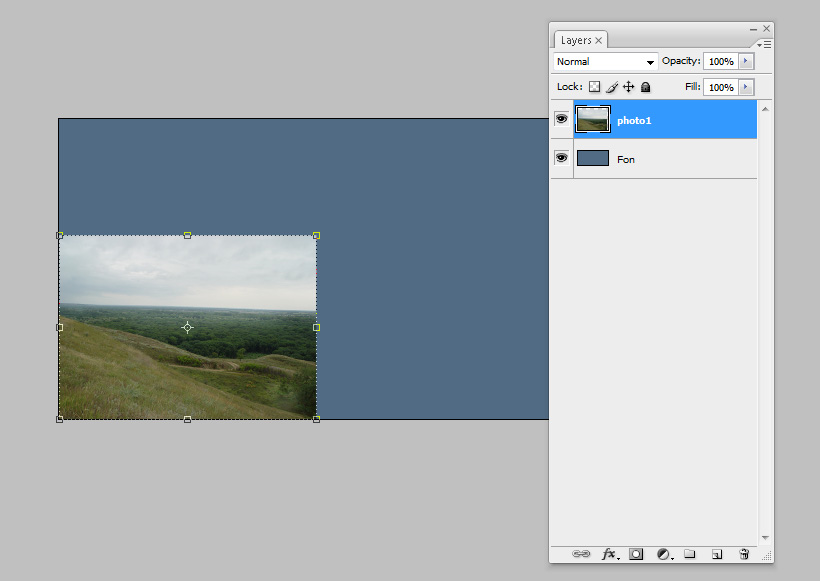
Then all at once:

Now we take a pen (who doesn’t have a mouse) in our hand and start creating masks for each layer (this icon is right below the layers, third from the left, after the Fx button with a circle picture on a gray background). Why do you need it and why not just use the eraser? The answer is simple: in our case, we will make non-destructive changes to the photos, if we suddenly change our minds - everything can be fixed. I recommend to use them always. So, select the resulting mask next to the layer with the cursor, select the brush so that the Hardness parameter is 100%, and start drawing. What is blacked out becomes transparent. White - remains not transparent. Gray - forms a smooth transition. Happened:

Now came the turn of the pictures from the clip art - from it we will make a beautiful sky, just with the help of a mask.
I also added the Adjustment layer - Levels at this stage, the same as the original photos, to put it mildly, not very. To add the Adjustment layer, click on the icon next to the mask (now you know where it is). From the drop-down menu, select Levels. I tweaked the red and green channel a bit, slightly shifting the black value by 10 and 9 respectively (left arrow of the slider). It is important to remember that the Adjustment layer affects all layers that are below it (if there is no mask or a radioactive layer).

The next step is to add two more Adjustment Layers, in the same way. This time it is Photo filter and Gradient Map, select them in the drop-down menu (in turn). Photo filter put the filter value in Deep blue, and Density at 25% - this will give a pleasant shade to our sky. Gradient Map - also tints our sky. We make both Adjustment layer'a child of our picture with the sky. To do this, move the cursor over the border between the two layers and hold down ALT, an icon with two crossed circles will appear. The bottom layer becomes the parent layer and forms the Clipping Mask for our Adjustment layer. We also do the same with the second adjustment layer, only now we click with ALT between the two Adjustment layers pressed. Done - now both ajasmenta belong to the layer with the sky.

Add a photo with the mountains. We perform the same mask manipulations as the others.

The final touch is building a church. We take it from a photo of the church (by the way, where is she?). We set Blend mode Multiply. This layer illustrates well why you should use masks instead of erasing - there is no source code and nothing can be done with it.

As a result, our panorama with all layers looks like this:

There are, of course, some shortcomings where - all the same reconstruction. As they say - there is no limit to perfection. You can fix them yourself in the source.
This panorama is used in the presentation of the Caucasus region as well as the accompanying polygraphy .
And here is the source for self-study. Download
Cross post from blog.platzkart.ru
So first we need some pictures from the life and one of the clip art. Here they are:
')


Let's get started Open Photoshop, create a new file with the size of 1299x600 (this is a strange resolution). We paint the background, purely for convenience, in your favorite color. And we begin to arrange our foty one by one:

Then all at once:

Now we take a pen (who doesn’t have a mouse) in our hand and start creating masks for each layer (this icon is right below the layers, third from the left, after the Fx button with a circle picture on a gray background). Why do you need it and why not just use the eraser? The answer is simple: in our case, we will make non-destructive changes to the photos, if we suddenly change our minds - everything can be fixed. I recommend to use them always. So, select the resulting mask next to the layer with the cursor, select the brush so that the Hardness parameter is 100%, and start drawing. What is blacked out becomes transparent. White - remains not transparent. Gray - forms a smooth transition. Happened:

Now came the turn of the pictures from the clip art - from it we will make a beautiful sky, just with the help of a mask.
I also added the Adjustment layer - Levels at this stage, the same as the original photos, to put it mildly, not very. To add the Adjustment layer, click on the icon next to the mask (now you know where it is). From the drop-down menu, select Levels. I tweaked the red and green channel a bit, slightly shifting the black value by 10 and 9 respectively (left arrow of the slider). It is important to remember that the Adjustment layer affects all layers that are below it (if there is no mask or a radioactive layer).

The next step is to add two more Adjustment Layers, in the same way. This time it is Photo filter and Gradient Map, select them in the drop-down menu (in turn). Photo filter put the filter value in Deep blue, and Density at 25% - this will give a pleasant shade to our sky. Gradient Map - also tints our sky. We make both Adjustment layer'a child of our picture with the sky. To do this, move the cursor over the border between the two layers and hold down ALT, an icon with two crossed circles will appear. The bottom layer becomes the parent layer and forms the Clipping Mask for our Adjustment layer. We also do the same with the second adjustment layer, only now we click with ALT between the two Adjustment layers pressed. Done - now both ajasmenta belong to the layer with the sky.

Add a photo with the mountains. We perform the same mask manipulations as the others.

The final touch is building a church. We take it from a photo of the church (by the way, where is she?). We set Blend mode Multiply. This layer illustrates well why you should use masks instead of erasing - there is no source code and nothing can be done with it.

As a result, our panorama with all layers looks like this:

There are, of course, some shortcomings where - all the same reconstruction. As they say - there is no limit to perfection. You can fix them yourself in the source.
This panorama is used in the presentation of the Caucasus region as well as the accompanying polygraphy .
And here is the source for self-study. Download
Cross post from blog.platzkart.ru
Source: https://habr.com/ru/post/26694/
All Articles