Backstage at CyberSoft
This article is a preview of a new version of CyberSafe Mobile. Now every reader of our blog can participate in the creation of a new software product. The new version of CyberSafe Mobile is a fundamentally new product and only the name of the old version will remain. We will be grateful for your criticism!

Once the topic of the article is a product preview, I think the first thing you will want to install it. Therefore, you need to start with the address of the APK file:
http://cybersafesoft.com/CyberSafeMobile-debug-v1.0.0.28.apk
The program does not require any registration. All you need to install it is permission to install from unknown sources. The program is completely free and if you like it, you have the right to keep it for yourself without any obligations (payment, registration, etc.). This is an alpha debug version, but all the functionality has been tested by us and is fully operational. Of course, there are a lot of rough edges, non-localized inscriptions in places, and similar trivialities. Although we have not recorded any cases of data loss, we strongly recommend making a backup of all the data with which you will work in the program. We hope for understanding: after all, this is the alpha version.
')
The program allows you not only to create safes (containers) for storing files, but also to “share” encrypted files with other users via Google Drive.
You can simply create a safe and store your files in it. If there is no need to synchronize encrypted files with other devices or share encrypted files with other users, then you can simply use the safe functionality. But the full potential of the program is revealed when you synchronize files with Google Drive and exchange encrypted files with other users.
When you first start the program will ask you to set the master password. A master password will be requested each time you start the program — it helps prevent changing the program’s settings, accessing Google Drive, which is associated with your Google account, and performing other unwanted actions if the phone falls into the wrong hands.

Fig. 1. First start: setting the master password
We tried to pay particular attention to novice users, so the program is equipped with explanatory welcome screens and all sorts of hints. Hints can be turned off at any time.

Fig. 2. Welcome screen
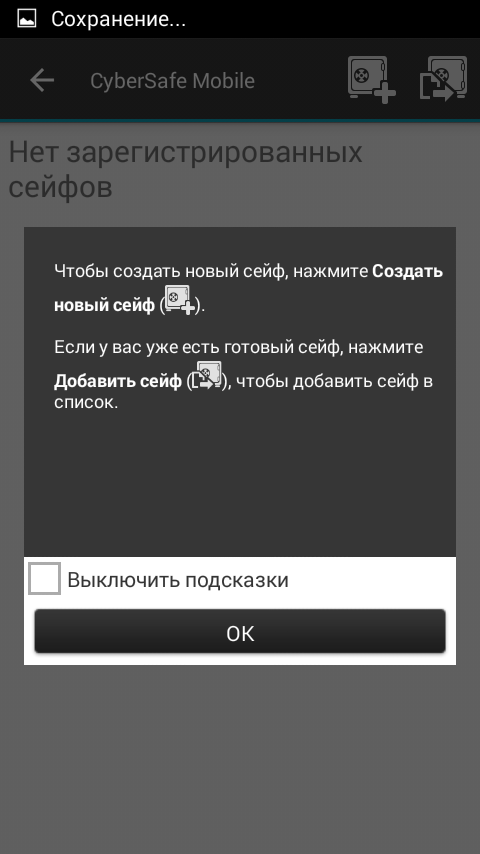
Fig. 3. Example hints
At this stage, you can either create a new safe or open a safe that was previously created by a previous version of the program. After creating / adding a safe, it will appear in the list. To open it, click on it - a menu will appear, in which there will be commands for opening, synchronization, etc. After selecting the Open command, the safe password entry window will appear. Password is specified when creating it. You can change the password in the safe properties (the Enter new password button).

Fig. 4. Screen for creating a new safe: you need to specify the path to the file, the size of the safe and enter the password to access it

Fig. 5. Safe added to the list
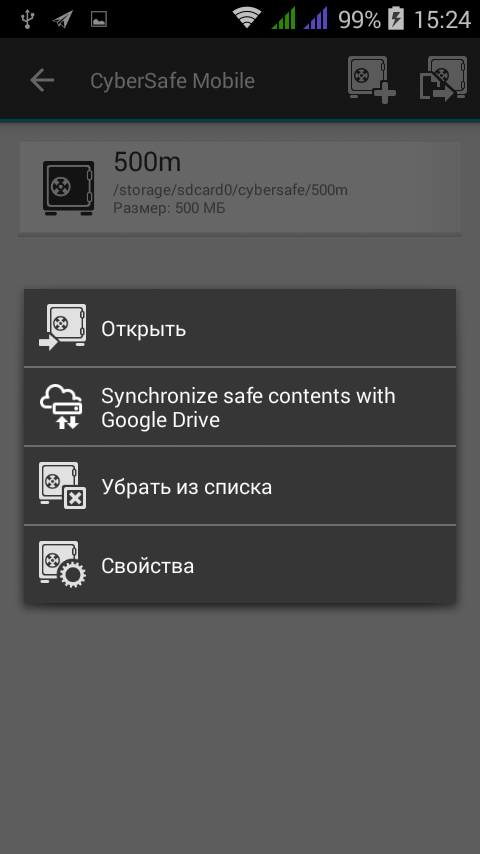
Fig. 6. Safe operation menu
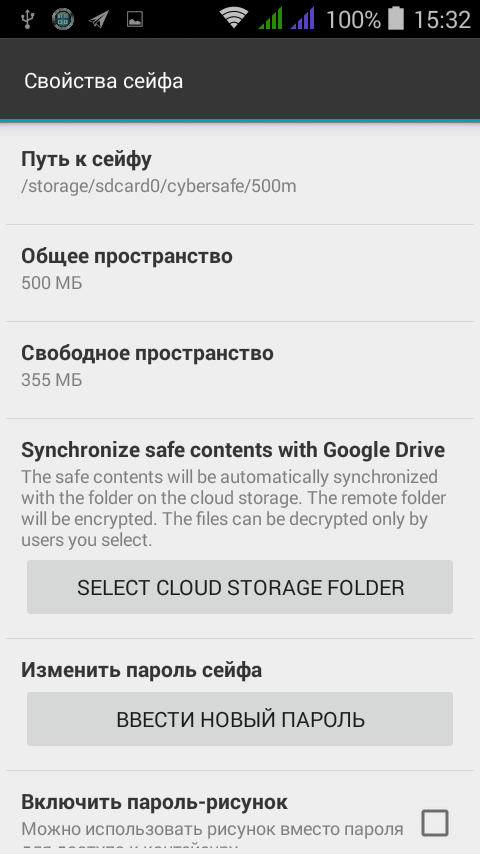
Fig. 7. Safe properties
Once the safe is open, you can work with its files. To encrypt files, simply copy them using File Manager and paste them into the safe. You can call the File Manager through the side menu (Fig. 9).

Fig. 8. Safe contents

Fig. 9. Side menu
The built-in File Manager can work both with files located on the device itself and with network folders (Fig. 10).
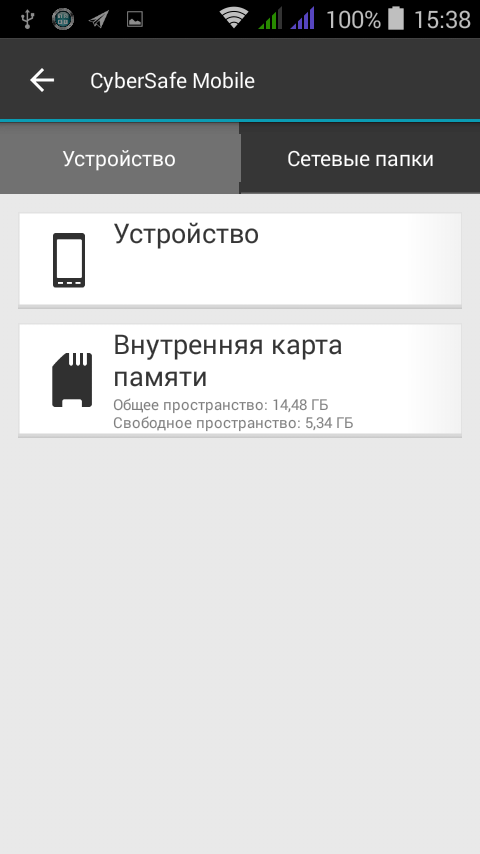
Fig. 10. Built-in file manager
Select files or folders, open the program menu and select the Copy or Paste command (Fig. 11).

Fig. 11. File operations
Then go to the safe (in the side menu, select Safe , then - one of the safes registered in the program)

Fig. 12. Files inserted in safe
In general, the most common file manager, similar in function to similar products. If you do not want to use the built-in manager, you can copy files to the safe through any other manager, for example, through ES Explorer. Select the files, select the Send command, then select CyberSafe Mobile (Fig. 13), then the safe in which to insert the files, select the directory (Fig. 14) where you want to insert them, and click the Insert button.

Fig. 13. Select CyberSafe Mobile

Fig. 14. Go to the desired safe directory and click Paste.
After the files are added to the safe, they are encrypted. If you copied, and did not move, files to the safe, it is recommended to delete them so that their unencrypted copies do not remain on your device.
Now let's try to synchronize the safe with Google Drive. Synchronization is useful in the following cases:
So, open the safe, then open the safe menu (fig. 6) and select the Synchronize safe contents with Google Drive command (yes, there are still spaces in the localization file). Further, the program will offer either create a new key or load a previously created key (Fig. 15). The key can be created either with the previous version of CyberSafe Mobile or with the help of our CyberSafe Top Secret program.

Fig. 15. Ability to create a new key or download an existing one.
When loading an existing key, you need to select the .id-file (Fig. 16).

Fig. 16. Select the key file

Fig. 17. Entering the password for the key
After creating or uploading a key, the key management screen will look like the one shown in fig. 18. The user can create or upload a new key, export an already created one, etc. To exit the key management mode and return to the procedure for synchronizing the safe with Google Drive, click the Back button on your device.

Fig. 18. Key Management Screen
If you have not registered any of the Google-disks yet, the program will inform you about it (Fig. 19). No problem: open the side menu and select the Google Drive section, after which the program will prompt you to select the account associated with your Google disk (Fig. 20).
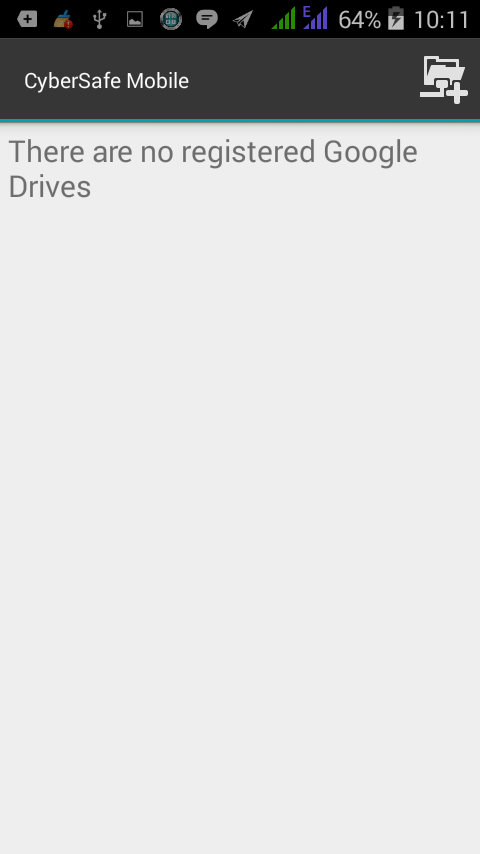
Fig. 19. No registered Google drives

Fig. 20. Select a Google Account
The next step is to select the sync folder for the existing safe. Select a folder on the Google drive (or create a new one) and click the Select button. After synchronization is turned on, all files that are in your safe will be sent to the synchronization folder (of course, in encrypted form). To disable synchronization in the properties of the safe, you need to click the Disable Cloud Storage synchronization button.
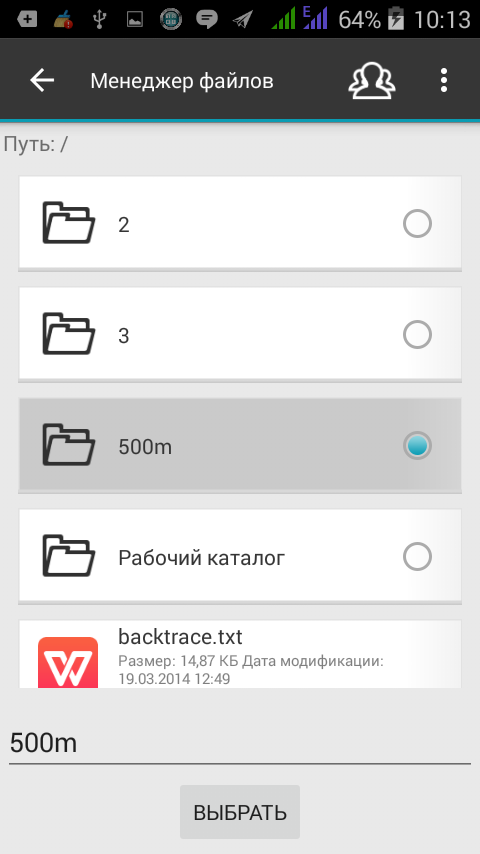
Fig. 21. Select Sync Folder

Fig. 22. Properties of the safe
Now that you have synchronized with Google Drive, you can share encrypted files with someone. Put the files you want to share in the safe. Next, in the safe, select a file, files or a whole folder and click the Share button (the little man with the arrow).
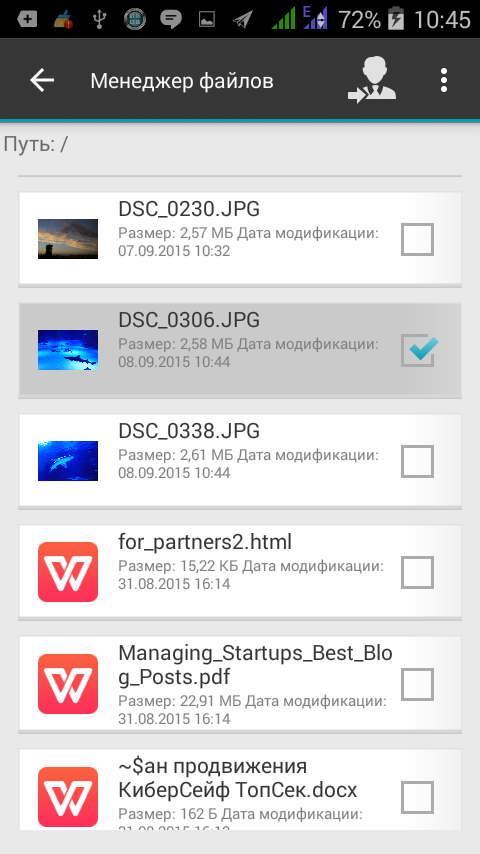
Fig. 23. File selected for transfer
Clearly, by default you will not have any users added. Therefore, you need to click the search button and enter the address of the person to whom you want to send the file (Fig. 25).

Fig. 24. There is nobody to transfer the file

Fig. 25. Enter the address of the file recipient
The program will search for the user's public keys on our server. Of course, this requires that the person to whom you want to transfer files publish the key on our server. This can be done either using the Publish the key button (Fig. 18) or in the CyberSafe Top Secret program. If the key is created by another program, then you can select it by clicking the button to the left of the search button. After that, the file manager will open, allowing you to select a key file.

Fig. 26. Select a user and click the Share button.
After clicking the Share button, the recipient of the file will receive an e-mail notification stating that you have shared a file with it. Similarly, you can add multiple users and specify them as recipients of a file or folder (Fig. 27).

Fig. 27. Selected multiple users
At the same time, the program will ask you to enter the name of the user group (fig. 28), after which you can use this group to “share” other files without having to select recipients again.

Fig. 28. Creating a user group

Fig. 29. User group created
To view the files that other users have shared with you, click the Available to me button (three user silhouettes) in the Google Drive section.
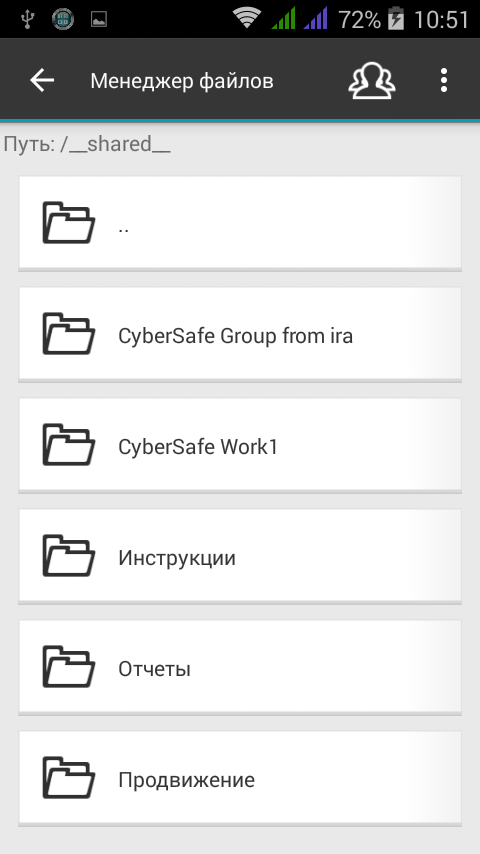
Fig. 30. Files available to me
That's all. We will be grateful for any comments, questions and suggestions.
Apk file
Once the topic of the article is a product preview, I think the first thing you will want to install it. Therefore, you need to start with the address of the APK file:
http://cybersafesoft.com/CyberSafeMobile-debug-v1.0.0.28.apk
The program does not require any registration. All you need to install it is permission to install from unknown sources. The program is completely free and if you like it, you have the right to keep it for yourself without any obligations (payment, registration, etc.). This is an alpha debug version, but all the functionality has been tested by us and is fully operational. Of course, there are a lot of rough edges, non-localized inscriptions in places, and similar trivialities. Although we have not recorded any cases of data loss, we strongly recommend making a backup of all the data with which you will work in the program. We hope for understanding: after all, this is the alpha version.
')
The principle of working with the program
The program allows you not only to create safes (containers) for storing files, but also to “share” encrypted files with other users via Google Drive.
You can simply create a safe and store your files in it. If there is no need to synchronize encrypted files with other devices or share encrypted files with other users, then you can simply use the safe functionality. But the full potential of the program is revealed when you synchronize files with Google Drive and exchange encrypted files with other users.
Creating a safe
When you first start the program will ask you to set the master password. A master password will be requested each time you start the program — it helps prevent changing the program’s settings, accessing Google Drive, which is associated with your Google account, and performing other unwanted actions if the phone falls into the wrong hands.
Fig. 1. First start: setting the master password
We tried to pay particular attention to novice users, so the program is equipped with explanatory welcome screens and all sorts of hints. Hints can be turned off at any time.
Fig. 2. Welcome screen
Fig. 3. Example hints
At this stage, you can either create a new safe or open a safe that was previously created by a previous version of the program. After creating / adding a safe, it will appear in the list. To open it, click on it - a menu will appear, in which there will be commands for opening, synchronization, etc. After selecting the Open command, the safe password entry window will appear. Password is specified when creating it. You can change the password in the safe properties (the Enter new password button).
Fig. 4. Screen for creating a new safe: you need to specify the path to the file, the size of the safe and enter the password to access it
Fig. 5. Safe added to the list
Fig. 6. Safe operation menu
Fig. 7. Safe properties
Once the safe is open, you can work with its files. To encrypt files, simply copy them using File Manager and paste them into the safe. You can call the File Manager through the side menu (Fig. 9).
Fig. 8. Safe contents
Fig. 9. Side menu
The built-in File Manager can work both with files located on the device itself and with network folders (Fig. 10).
Fig. 10. Built-in file manager
Select files or folders, open the program menu and select the Copy or Paste command (Fig. 11).
Fig. 11. File operations
Then go to the safe (in the side menu, select Safe , then - one of the safes registered in the program)
Fig. 12. Files inserted in safe
In general, the most common file manager, similar in function to similar products. If you do not want to use the built-in manager, you can copy files to the safe through any other manager, for example, through ES Explorer. Select the files, select the Send command, then select CyberSafe Mobile (Fig. 13), then the safe in which to insert the files, select the directory (Fig. 14) where you want to insert them, and click the Insert button.
Fig. 13. Select CyberSafe Mobile
Fig. 14. Go to the desired safe directory and click Paste.
After the files are added to the safe, they are encrypted. If you copied, and did not move, files to the safe, it is recommended to delete them so that their unencrypted copies do not remain on your device.
Sync Safe with Google Drive
Now let's try to synchronize the safe with Google Drive. Synchronization is useful in the following cases:
- When you need to store backups of your documents on Google Drive, but do not want to store them in clear text.
- When you need to share files with other users. It is clear that the files will be transmitted only in encrypted form.
- When you need to share the same files on different devices, for example, on a mobile phone and PC, or on two different mobile phones.
So, open the safe, then open the safe menu (fig. 6) and select the Synchronize safe contents with Google Drive command (yes, there are still spaces in the localization file). Further, the program will offer either create a new key or load a previously created key (Fig. 15). The key can be created either with the previous version of CyberSafe Mobile or with the help of our CyberSafe Top Secret program.
Fig. 15. Ability to create a new key or download an existing one.
When loading an existing key, you need to select the .id-file (Fig. 16).
Fig. 16. Select the key file
Fig. 17. Entering the password for the key
After creating or uploading a key, the key management screen will look like the one shown in fig. 18. The user can create or upload a new key, export an already created one, etc. To exit the key management mode and return to the procedure for synchronizing the safe with Google Drive, click the Back button on your device.
Fig. 18. Key Management Screen
If you have not registered any of the Google-disks yet, the program will inform you about it (Fig. 19). No problem: open the side menu and select the Google Drive section, after which the program will prompt you to select the account associated with your Google disk (Fig. 20).
Fig. 19. No registered Google drives
Fig. 20. Select a Google Account
The next step is to select the sync folder for the existing safe. Select a folder on the Google drive (or create a new one) and click the Select button. After synchronization is turned on, all files that are in your safe will be sent to the synchronization folder (of course, in encrypted form). To disable synchronization in the properties of the safe, you need to click the Disable Cloud Storage synchronization button.
Fig. 21. Select Sync Folder
Fig. 22. Properties of the safe
Sharing encrypted files with other users.
Now that you have synchronized with Google Drive, you can share encrypted files with someone. Put the files you want to share in the safe. Next, in the safe, select a file, files or a whole folder and click the Share button (the little man with the arrow).
Fig. 23. File selected for transfer
Clearly, by default you will not have any users added. Therefore, you need to click the search button and enter the address of the person to whom you want to send the file (Fig. 25).
Fig. 24. There is nobody to transfer the file
Fig. 25. Enter the address of the file recipient
The program will search for the user's public keys on our server. Of course, this requires that the person to whom you want to transfer files publish the key on our server. This can be done either using the Publish the key button (Fig. 18) or in the CyberSafe Top Secret program. If the key is created by another program, then you can select it by clicking the button to the left of the search button. After that, the file manager will open, allowing you to select a key file.
Fig. 26. Select a user and click the Share button.
After clicking the Share button, the recipient of the file will receive an e-mail notification stating that you have shared a file with it. Similarly, you can add multiple users and specify them as recipients of a file or folder (Fig. 27).
Fig. 27. Selected multiple users
At the same time, the program will ask you to enter the name of the user group (fig. 28), after which you can use this group to “share” other files without having to select recipients again.
Fig. 28. Creating a user group
Fig. 29. User group created
To view the files that other users have shared with you, click the Available to me button (three user silhouettes) in the Google Drive section.
Fig. 30. Files available to me
That's all. We will be grateful for any comments, questions and suggestions.
Source: https://habr.com/ru/post/266455/
All Articles