Vscale: create the first server
Vscale is a cloud provider whose users can create cloud servers with the required characteristics in seconds. The procedure for creating a new server is extremely simple. In this article we will write it in detail, in steps.
Step 1: Registration
')
We tried to make the registration procedure as simple and convenient as possible.
Go to the Vscale.io website and click on the "Register" button. The registration form will open:

Enter your email address and click on the Register button. The activation link will first be sent to the address you provided, and in the next message a login and password.
If a temporary or anonymous mailbox is specified during registration, we reserve the right to block it and request additional confirmation of personal information.
Step 2: registration confirmation
Entering the control panel under the received login and password, you will see this form on the screen:

You will need to specify the phone number to which the SMS will be sent c confirmation code. Enter the received code in the form on the site, and after that the registration will be completed.
During beta testing, we noticed numerous attempts to register by temporary or anonymous phone numbers. In this regard, certain measures were taken: at the slightest suspicion of using such a number, we reserve the right to request additional confirmation of personal information or even refuse to register.
Step 3: recharge
To access all the functions of Vscale, you need to replenish the balance. This can be done in three ways: by credit card, via PayPal and using a promotional code. To deposit funds into the balance, click on the “Deposit funds” button, select a payment method and follow the on-screen instructions:

If you register using a referral link, then bonus funds will be automatically credited to your balance in accordance with the rules of the referral program.
If you have a promotional code, click on the appropriate link:

To replenish the balance, click on the "Create Server" button.
Step 4: Choosing a Configuration and OS Image
Before creating a server, you need to give it a name. Each server in Vscale has two names:

The first name (in the illustration, it is designated as “Server Name) is the one under which the server will be displayed in the control panel.
The second name is the hostname. The Host Name field is optional. If you leave it empty, the server will automatically be assigned a name like csxxxx.
Now you need to select the configuration and image of the operating system. We offer the following configurations:

In the description of each configuration, its monthly cost is indicated. Funds are deducted from the balance every hour. Do not forget that even if you turn off the server, write-offs will not stop: certain system resources still remain reserved for you. If you create servers for a short time (for example, not a few hours), do not forget to delete them upon completion of work.
The cost of all configurations includes a fairly large monthly traffic package. If the monthly package is exceeded, a fee of 0.5 rubles per gigabyte is charged.
Any configuration you can then easily change, but only in a big way. The ability to change the configuration in the lower side (downgrade) is missing.
To date, to install on the server, you can choose one of the following OS: Ubuntu 14.04, Debian 8.1, Centos 7.1. In the future, the list of available configurations and images with pre-installed software will be expanded.

Step 5: Choosing an Access Method
Setting up access is a very important step in the server creation process. You can choose one of three access methods:
- by SSH key;
- by password;
- by SSH-key and password at the same time.
We take security issues seriously and responsibly. That is why we strongly recommend setting up access to the server using an SSH key: this method is the most reliable and secure.
If for one reason or another you do not want to use SSH keys, you can generate a password:

Attention! After generating the password, immediately write it down or copy it into a separate file. We do not save passwords anywhere and send them by e-mail. If you lose your password, it will be impossible to recover it.
That's all. All necessary settings are set. Click on the "Create Server" button.
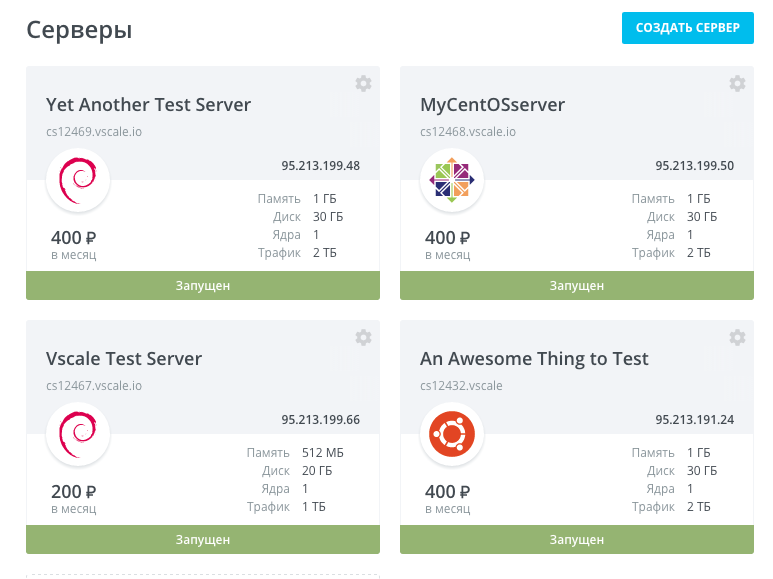
The new server will be ready to work in less than a minute. About the readiness will indicate the emergence of the status of "Running":

Step 6: connect to the server
Linux / Mac OS
Open a terminal and enter the command:
$ ssh root @ <server_ IP_address>
If you chose to access the key, then you will immediately be connected to the server.
If you choose password access, the system will first display a message of the form:
 The authenticity of host '<IP_address_server>' can't be established.
 RSA key fingerprint is a1: 2b: 34: 58: ce: 32: 4e: 6f: f3: a8: cd: c0: f4: 48: 86: 12.
 Are you sure you want to continue connecting (yes / no)?
Type yes and press Enter.
After that enter the password and you will be connected to the server.
Windows
On Windows, connecting to remote servers via SSH is only possible using the PuTTy program. Download it here .
Start PuTTy and enter the server's IP address:

Select SSH → Auth in the menu and click the Open button. After that, PuTTY will offer to cache the public key of the server.
Choose yes. In the console, enter the username root. If you chose password access, enter the password generated when creating it.
If you chose key access, the system will ask for the passphrase (if you did not specify the passphrase when creating the key, just press Enter).
After that you will be connected to the server.
Conclusion
Now you know how to create a new server in Vscale. All questions, comments and suggestions can always be expressed through the ticket system.
Have a good job!
Source: https://habr.com/ru/post/265411/
All Articles