HTML5 game development for Android from scratch to release
Instead of intro
Having spent several days in a row (without a break for sleep) to study the support of HTML5 by all my favorite Android gadgets, I decided that this topic should be given attention. In the article I will try to reveal in steps all the steps (of course, the basic / key / basic) of creating the HTML5 Android game application from the idea to the release of the APK file itself. Perhaps I will not reveal anything new to venerable developers, but for newbies I will try to describe everything as simple as possible, with screenshots and explanations.

I wish to learn more in detail under cat.
Idea
In general, you can talk a lot about the potential of Android, the development of HTML5 and their interaction. I will not do this. So, immediately to the point.
')
The idea of creating a game for Android probably sits in the minds of
The whole process will be divided into several steps and the final application will consist of two parts:
- Wrap (in this case for Android)
- A game
Step 1. Writing the game itself
Another advantage of writing a game on HTML5 is the fact that testing does not require a bunch of running programs, IDE, emulators, and so on. All you need is a browser (in my case, this is Chromium) and a text editor (BlueFish)
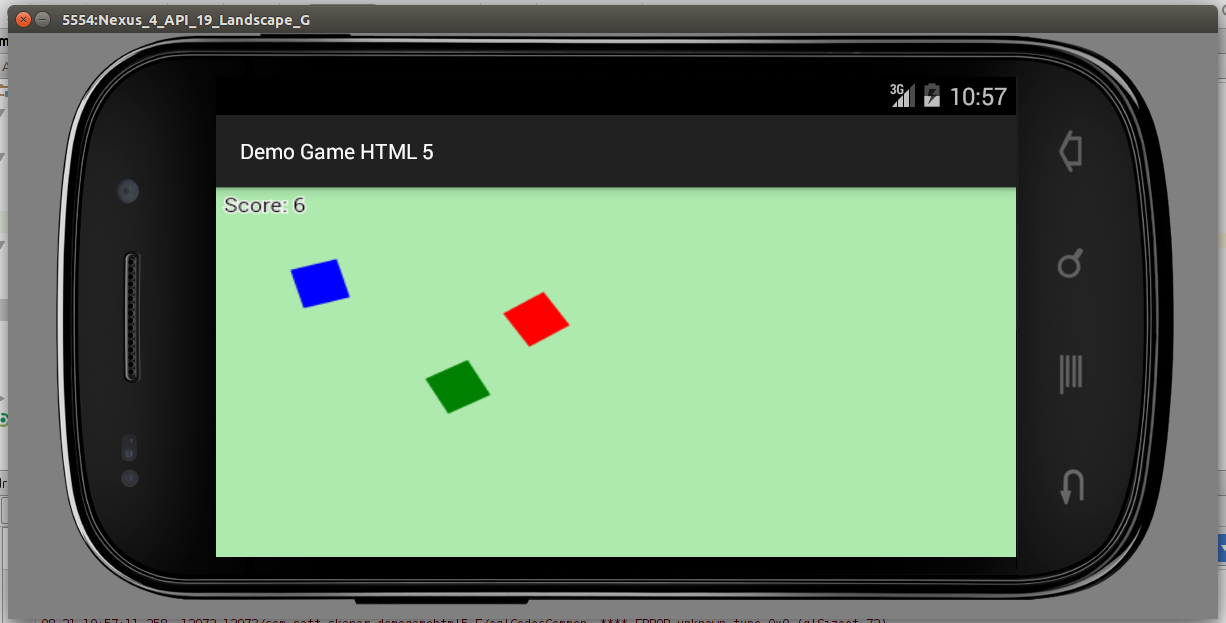
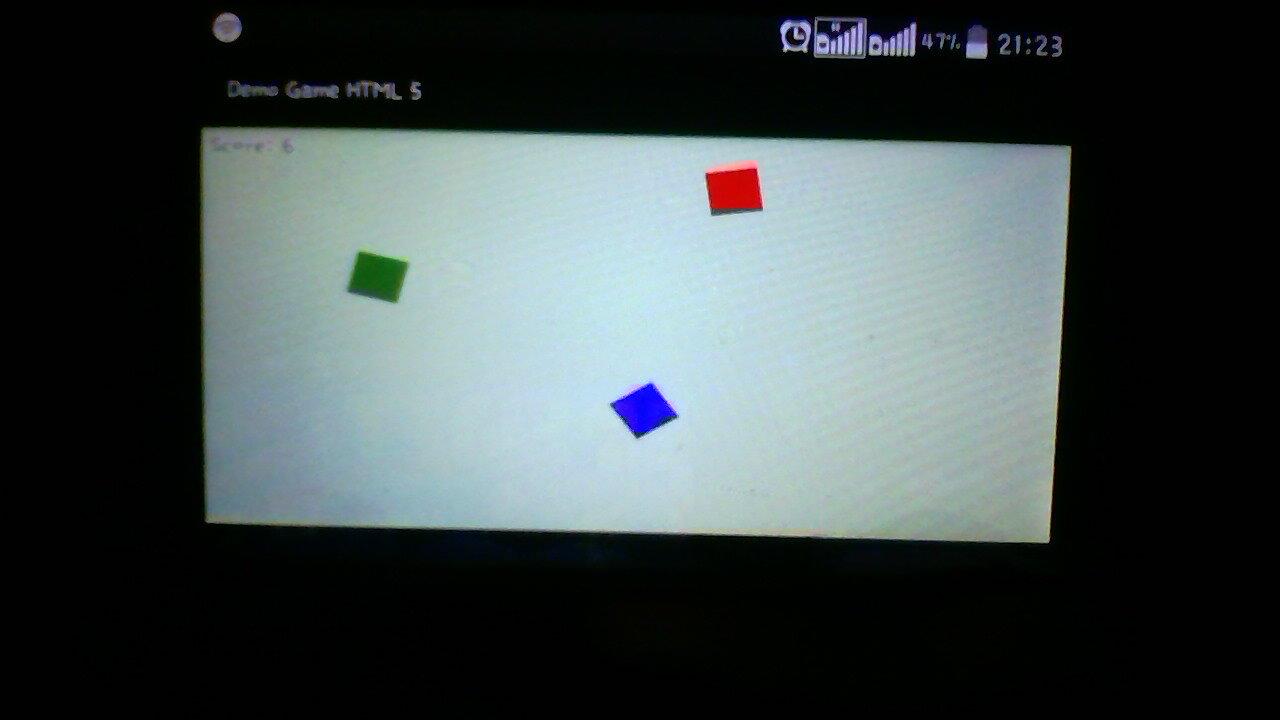
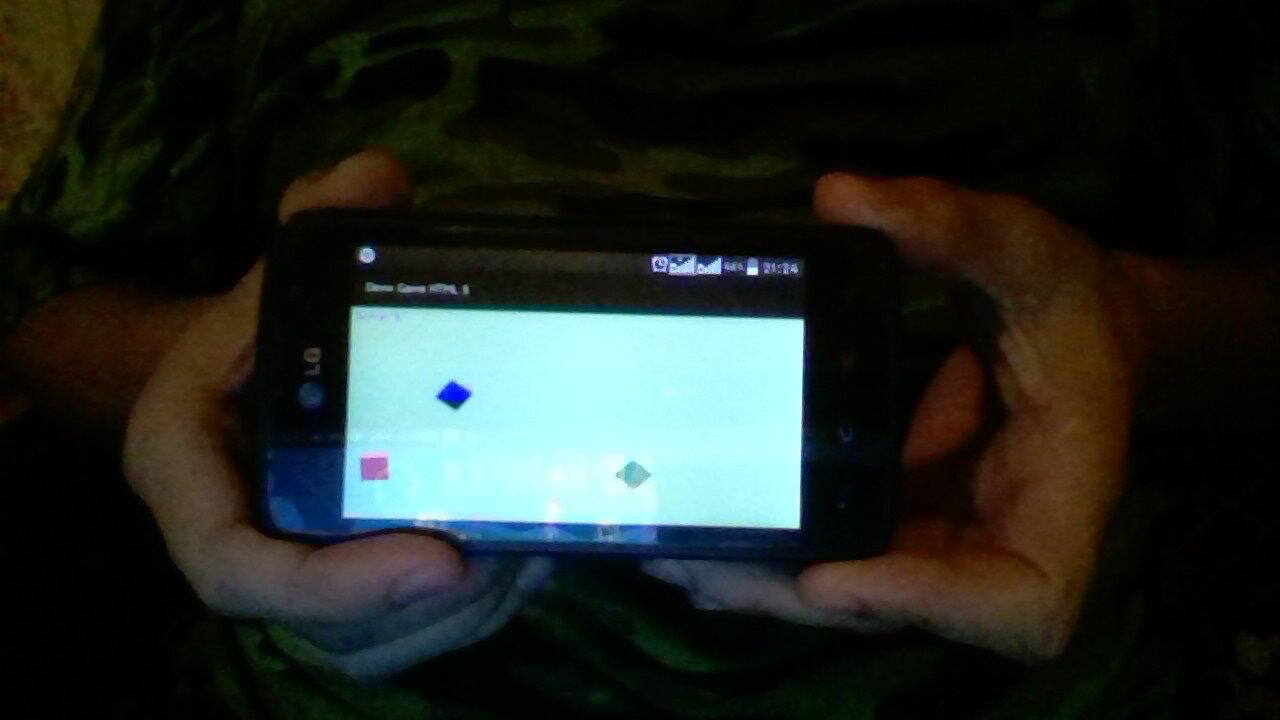
The game will be simple: there is a blue rectangle and there is a green rectangle. The player's task is to drag the blue rectangle to the green around the red one, which moves along the playing field in an arbitrary direction.
To develop the game I will use J2ds (game engine).
The code of the finished game:
index.html
<!DOCTYPE html> <html> <head> <script type="text/javascript" src="j2ds/engineMath.js"></script> <script type="text/javascript" src="j2ds/engineKey.js"></script> <script type="text/javascript" src="j2ds/engineDOM.js"></script> <script type="text/javascript" src="j2ds/engine2D.js"></script> <script type="text/javascript" src="j2ds/engineNet.js"></script> <script type="text/javascript" src="j2ds/engineParticles.js"></script> <script type="text/javascript" src="j2ds/enginePE.js"></script> <meta http-equiv="content-type" content="text/html; charset=UTF-8" /> <meta name="viewport" content="width=device-width,user-scalable=no" /> <title>Demo Game on J2ds v.0</title> </head> <body id="gameBody"> <canvas id="iCanvas" width="500" height="280"></canvas> <br> <div id="hint"></div> <script type="text/javascript"> // initInput('gameBody'); // scene= createScene('iCanvas', '#aeeaae'); // scene.fullScreen(true); post= createPost(scene); score= 5; // blue= createRect(vec2di(100, 100), vec2di(30, 30), 'blue'); green= createRect(vec2di(300, 200), vec2di(30, 30), 'green'); green.dX= -1; green.dY= 1; red= createRect(vec2di(16, 200), vec2di(30, 30), 'red'); red.dX= 1; red.dY= -1; restart= createRect(vec2di(430, 10), vec2di(60, 60), '#ad21ad'); GameOver= function() { // / input.upd(scene); // scene.drawText(vec2di(5,5), 'Score: '+score); // scene.drawTextOpt(vec2df(140, 100), '!', 'bold 40px Courier New', '#326598'); if (input.lClick && input.onNode(restart)) setActivEngine(Game); restart.draw(scene); } Success= function() { // / input.upd(scene); // scene.drawText(vec2di(5,5), 'Score: '+score); // scene.drawTextOpt(vec2df(140, 100), '!', 'bold 40px Courier New', '#326598'); if (input.lClick && input.onNode(restart)) setActivEngine(Game); restart.draw(scene); } // Game Game= function() { // / input.upd(scene); // scene.drawText(vec2di(5,5), 'Score: '+score); blue.color= input.lClick?'yellow' : 'blue'; if (input.lClick) { red.move(vec2di(red.dX, red.dY)); green.move(vec2di(green.dX, green.dY)); blue.move( vec2df( blue.getPosition().x > input.pos.x ? -1*score/2 : 1*score/2, blue.getPosition().y > input.pos.y ? -1*score/2 : 1*score/2 ) ) ; if (green.collisionScene(scene).x != 0) green.dX= -green.dX; if (green.collisionScene(scene).y != 0) green.dY= -green.dY; if (red.collisionScene(scene).x != 0) red.dX= -red.dX; if (red.collisionScene(scene).y != 0) red.dY= -red.dY; } if (blue.collision(red)) { input.cancel(); score-= 1; setActivEngine(GameOver); red.setPosition(vec2df(200, 100)); blue.setPosition(vec2df(50, 50)); } if (blue.collision(green)) { input.cancel(); score+= 1; setActivEngine(Success); red.setPosition(vec2df(200, 100)); blue.setPosition(vec2df(50, 50)); blue.setPosition(vec2di(Random(0, 450), Random(0, 250))); } // blue.turn(1); green.turn(720/blue.getDistance(green)); red.turn(Random(1, 5)); // green.draw(scene); blue.draw(scene); red.draw(scene); //post.motionBlur(4); } // Game FPS 25 startGame(Game, 25); </script> </body> </html> You can ignore the quality of the game code, because this is not the purpose of the article. Although of course, you can optimize as much as you like, this process is generally endless.
Step 2. Android Studio. Creating a wrapper for the game
I am not going to measure with anyone the coolness of this or that IDE for developing for Android, but I will show with the example of Android Studio. To work we need:
- Java machine (OpenJDK is suitable for my Linux);
- Distribution Android Studio.
Download, install.
Once everything is installed (these two programs are enough), start Android Studio.
The start window will open (if the first launch), if not the first, then the IDE itself will open, but does not change the essence, go to the SDK Manager:
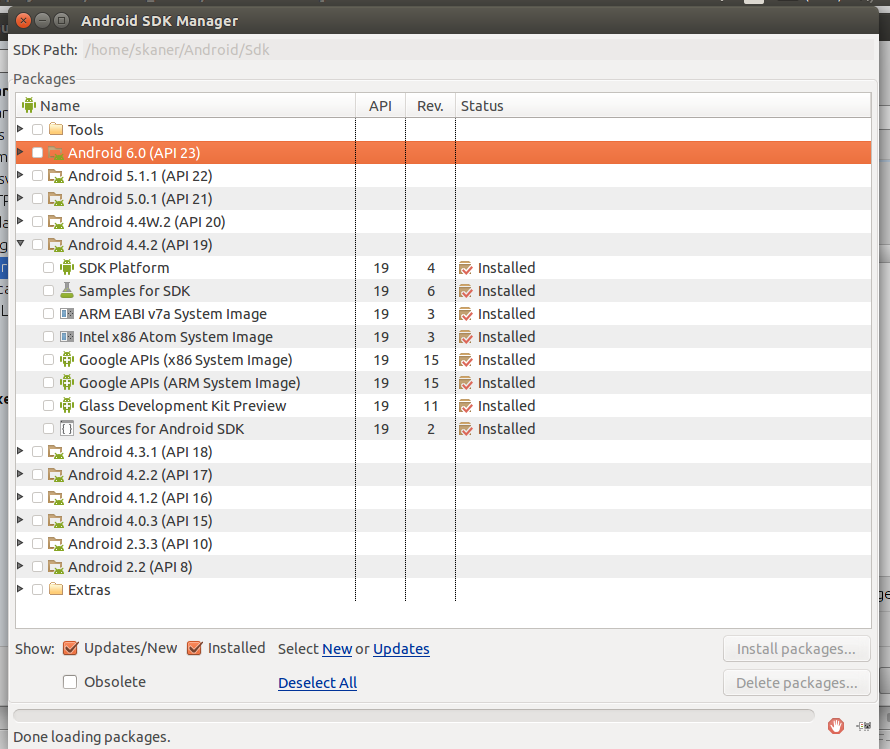
Here you need to tick the necessary Android versions with which you will work, in my case it is Android 4.4.2, you can choose at least all at once.
The main thing is to choose “Tools” and “Extras” and click on “install packages”.
Once you have all downloaded, IDE will launch with a dull gray background and several buttons, click the first one and create a new project. If the IDE was launched immediately in working condition, then: "File-> New-> New Project"
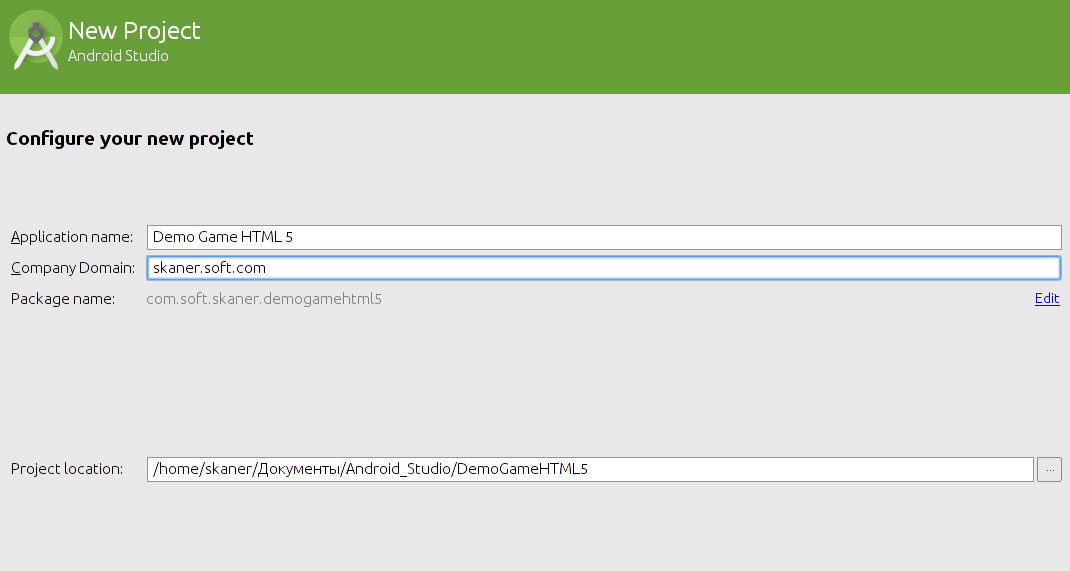
Fill in the required fields, and click Next.
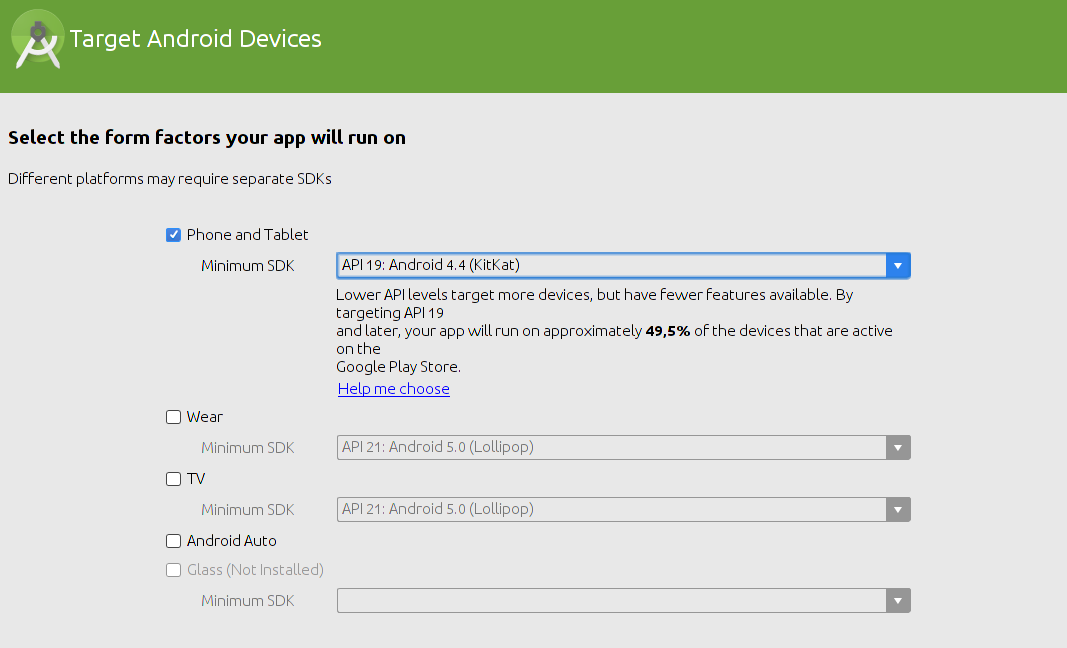
Select the desired version of the android and Next
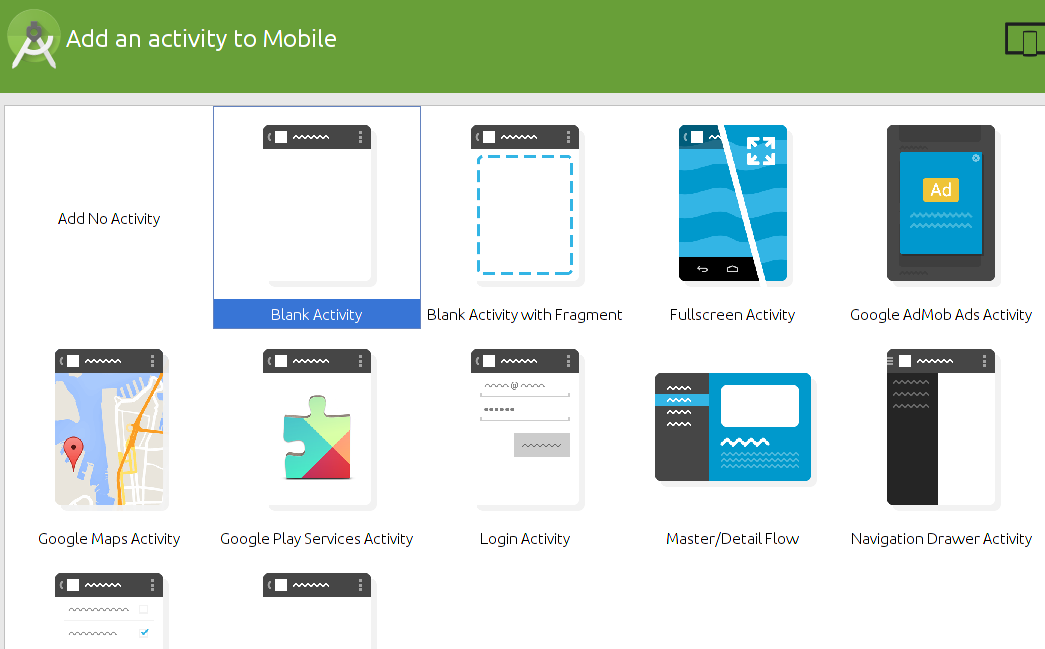
Here we select the Blank Activity (a blank template with Hello, World!)
In the next window, fill in the data to create classes, I will not change for clarity:

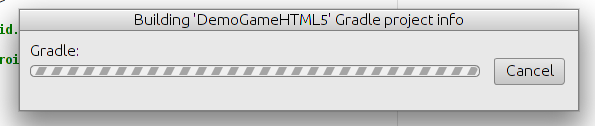
Solemnly we press Finich and we wait, while IDE will configure everything and will prepare for work.
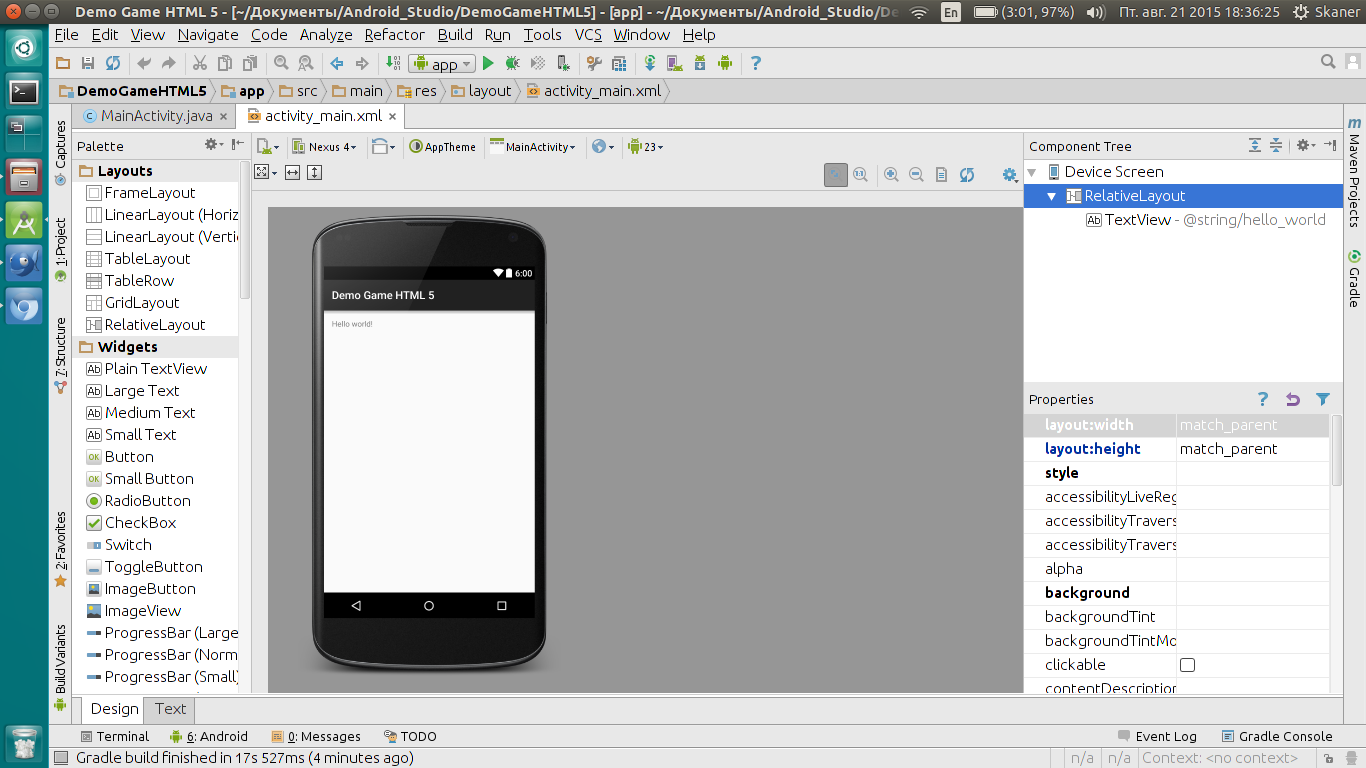
A window with a form designer opens. It is not the same as in Lazarus, Delphi, but something similar is still there:
Do not rush to change anything or click something, the setup is not over yet. Open the "Tolls-> Android-> AVD Manager" to configure the emulator.

Here, if there is nothing, click “Create Virtual Device”, if there is, you can not create a new one, I already had, because I "stumbled" him while I understood. If you need to create a new emulator, then everything is simple:
1. Choose screen size and phone model
2. Choose the version of android (I have 4.4.2)
3. Configure the device.
In the third step in more detail:
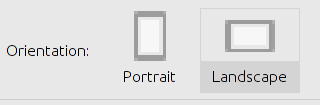
T.K. Our game is stretched horizontally, you need to select the landscape mode.
When all the settings are entered, click on the green triangle and run the emulator. After launch, we wait for the device to fully boot and the OS will start:
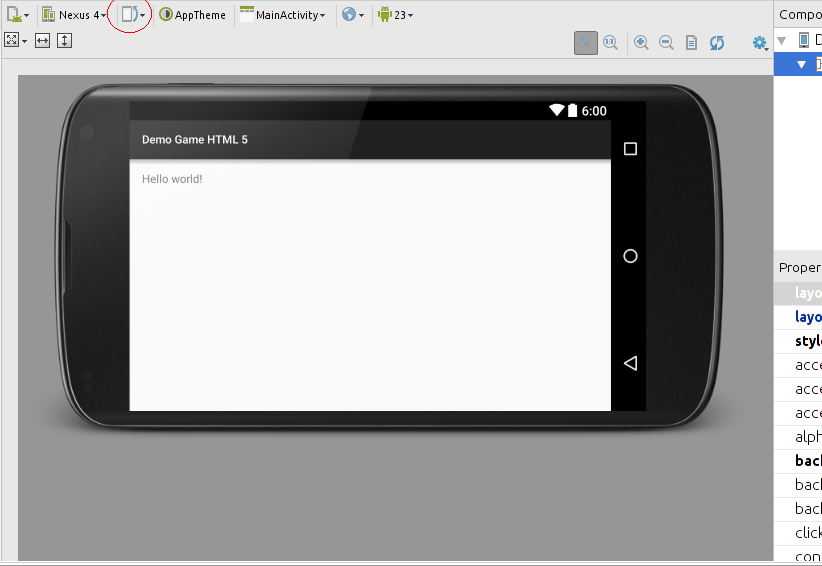
Do not close this window, it will emulate. Now you can return to the editor, and change the orientation in the form designer:
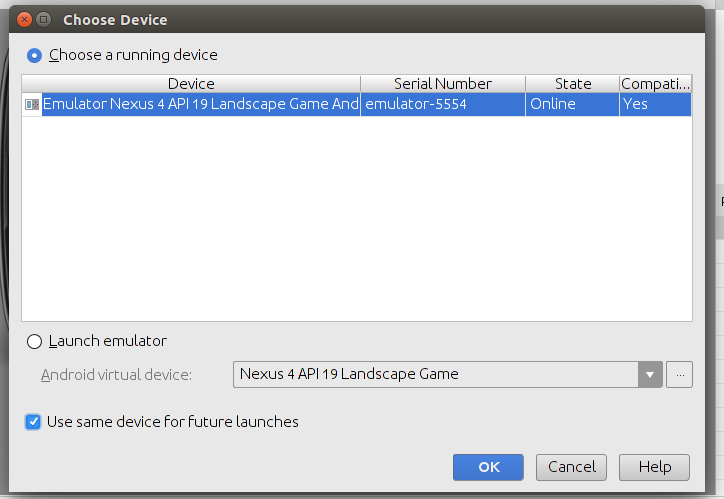
You can run! Now you can definitely.
If you are asked to choose an emulator, then you can put a tick below:
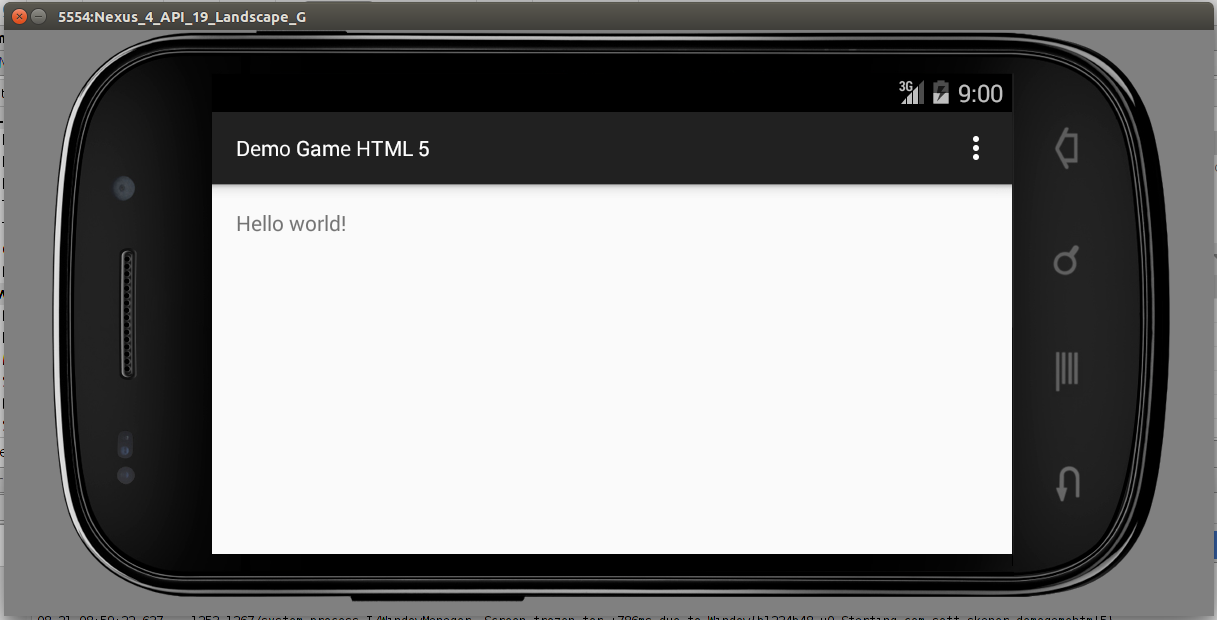
My congratulations! Everything works, checked!
We turn off our emulator (But do not close!) And go to the editor, Everything is a little more complicated (a little).
Switch to the "Text" mode. Your activity_main describes all the elements that are on the form. Including the form itself. And this is not the form at all.
Since we make the game in HTML5, and here we only have a wrapper for the game, delete all the text and paste the following:
<RelativeLayout xmlns:android="http://schemas.android.com/apk/res/android" xmlns:tools="http://schemas.android.com/tools" android:layout_width="fill_parent" android:layout_height="fill_parent" tools:context=".MainActivity"> <WebView android:layout_width="fill_parent" android:layout_height="fill_parent" android:id="@+id/webView" android:clickable="true" android:scrollbars="none" /> </RelativeLayout> Now, if you switch to design again, it will look different:
As you can see, now instead of “Hello, World” there is a webView stretched across the screen. This object is our “window” to the game world.
You can even start, see, there will be a white screen. Go ahead.
And then we need to go to our project, to do this, open the "Project" field on the left and select the "Android" tab, if not selected:

This tab shows the structure of the project and all its internal files and resources.
Explanation
We need to find the file "manifest" and add the following line to the definition of "application":
android:hardwareAccelerated="true"
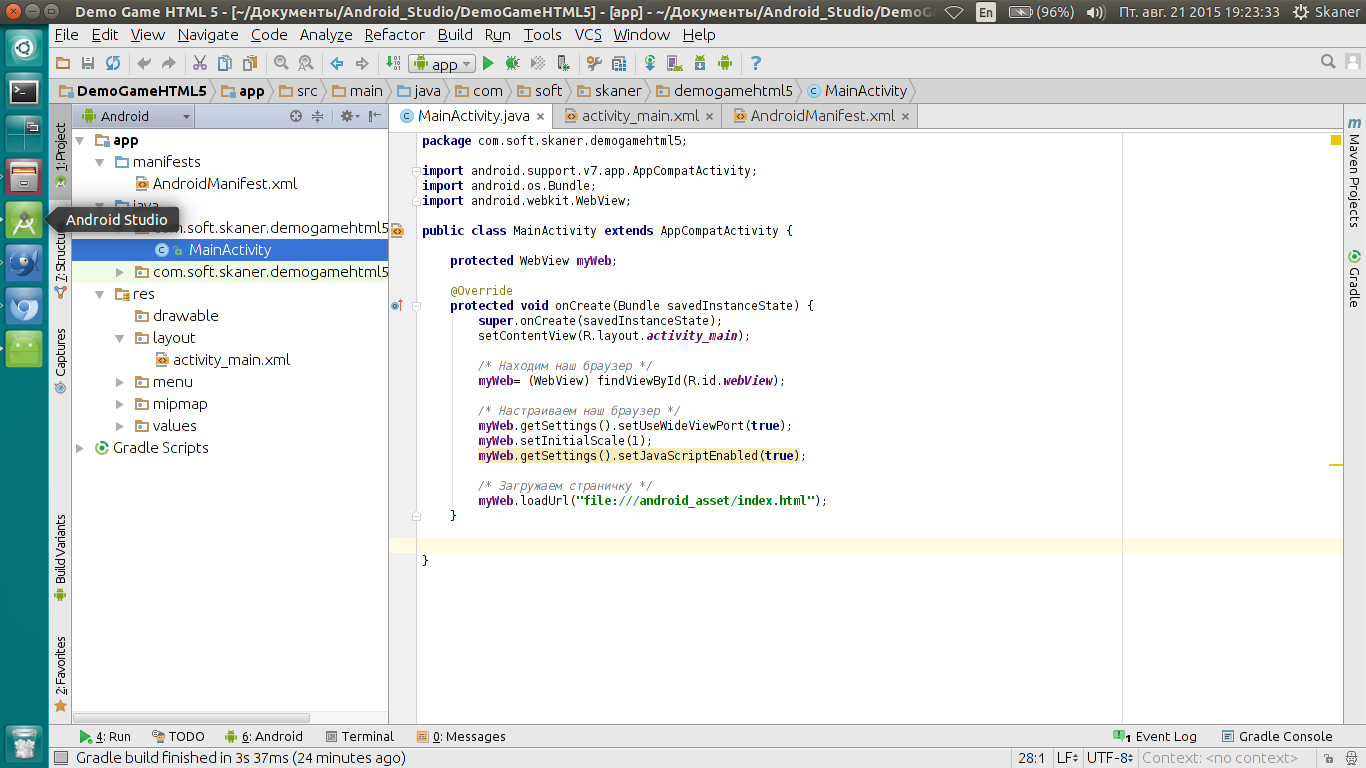
It's time to work on the functionality of our "browser", because it is he! Open the “MainActivity.java” class and delete all unnecessary, leaving only the main one:
Explanation
package com.soft.skaner.demogamehtml5; import android.support.v7.app.AppCompatActivity; import android.os.Bundle; public class MainActivity extends AppCompatActivity { @Override protected void onCreate(Bundle savedInstanceState) { super.onCreate(savedInstanceState); setContentView(R.layout.activity_main); } } If you have not forgotten, we have added a WebView in the activity_main file, pay attention to the bold line:
<Webview
android: layout_width = "fill_parent"
android: layout_height = "fill_parent"
android: id = "@ + id / webView"
android: clickable = "true"
android: scrollbars = "none" />
We need to declare an object of the WebView class.
To do this, we add to the list of imports:
import android.webkit.WebView; And then we declare our myWeb object inside the MainActivity class:
protected WebView myWeb; Now, after the line setContentView (R.layout.activity_main); insert the following code:
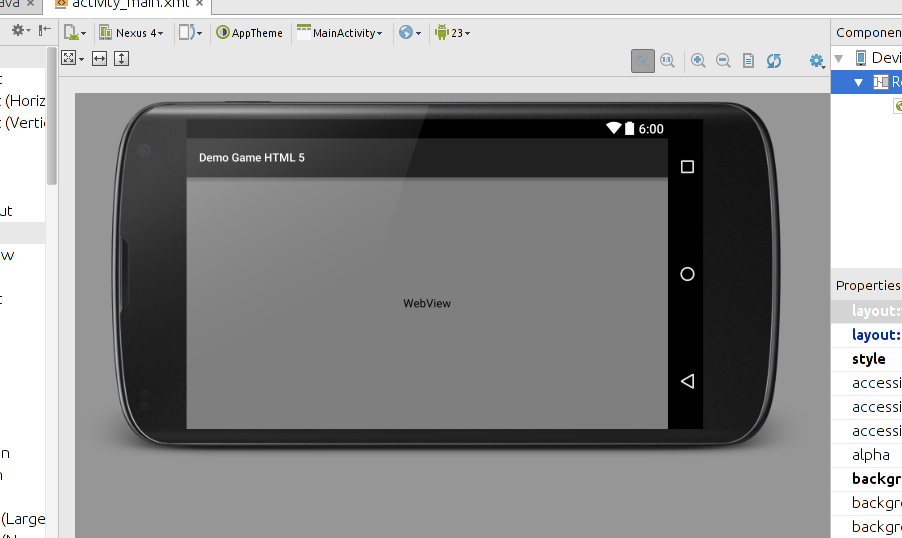
/* */ myWeb= (WebView) findViewById(R.id.webView); /* */ myWeb.getSettings().setUseWideViewPort(true); myWeb.setInitialScale(1); myWeb.getSettings().setJavaScriptEnabled(true); /* */ myWeb.loadUrl("file:///android_asset/index.html"); Here is what happened in my editor:
But that in the emulator:

If you have the same - we are on the right track!
Remains a little matter:
Where we load the page to our browser, the path to the file looks like this: “file: ///android_asset/index.html”
It should be noted that we can store any files inside our game, having access to them.
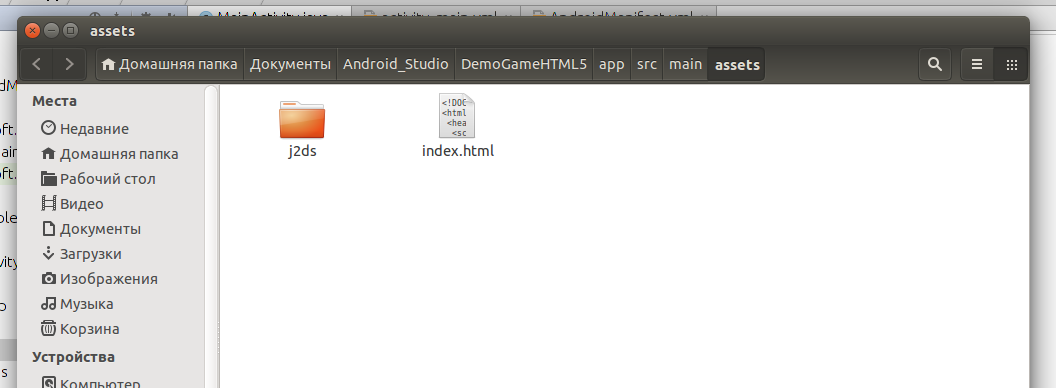
In our case, the key folder: “android_asset”, let's create it (yes, by default it is not in the project):
“File -> New -> Folder -> Assets folder”, a window will open where you just agree with the IDE.
Did you notice? A new folder has appeared in the project:
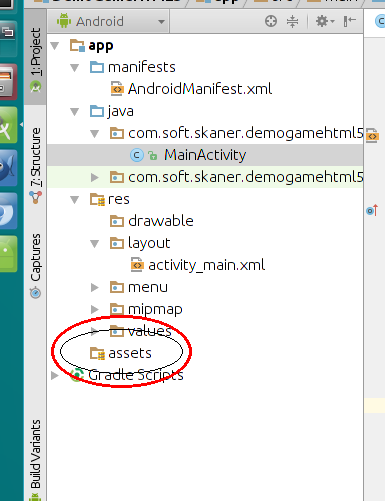
Click on it with the right mouse button -> “Show in Files”, the system explorer will open (in my case Nautilus), pay attention to the path to the folder. Keep in mind also that the folder is called “assets”, but access to it goes through “android_asset”.
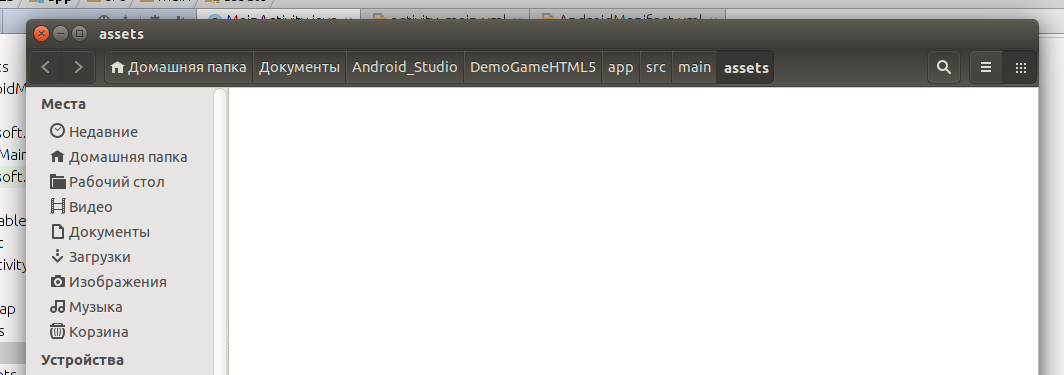
Then everything is quite simple - copy our game to the assets folder:
The index.html file is the same index from the beginning of this article. Well, try to run!
A word of advice: it’s best to test on a real device via USB, so the test results will be clearer, and controlling the mouse is not the most convenient option, not to mention a multiple click.
Step 3. Android Studio. Building the application and signing it
When the game is fully debugged (in the browser or on the emulator), the wrapper is completely ready and all the development steps are over, you can build the application. Android Studio allows you to build applications and sign them with your keys.
To create keys in this IDE there is a special utility “KeyTool”.
Moving on to creating an executable file for the application (“Build -> Generate Signed APK”):

If you have not created keys and aliases before, click “Create New”. You can fill in the fields at your discretion, the accuracy of the data lies entirely on you.
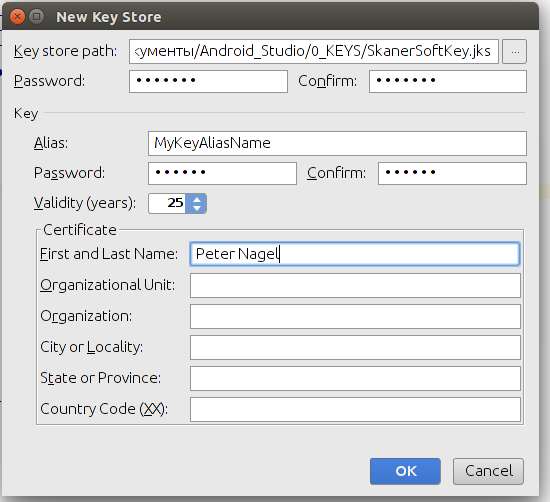
The first field is the path to the folder where the key will be saved. The form after clicking Ok will be filled automatically:
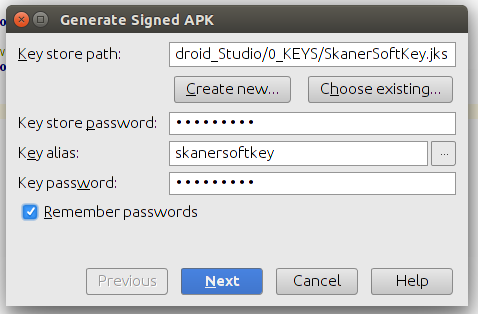
For subsequent applications, it is not necessary to create new keys, you can sign other applications with your key, this is the “Choose Existing” button.
In the next step, the IDE will ask you to re-enter the password, and then specify the folder for saving the APK file.
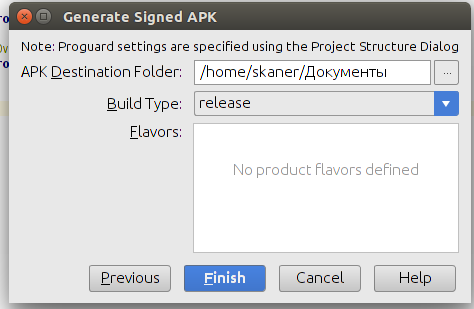
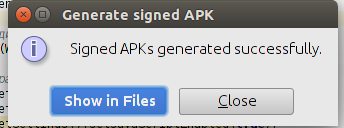
Now you can relax and drink, for example, coffee. The system began a compilation, the result in the status bar:

After the compilation is complete, the system will inform you about it.
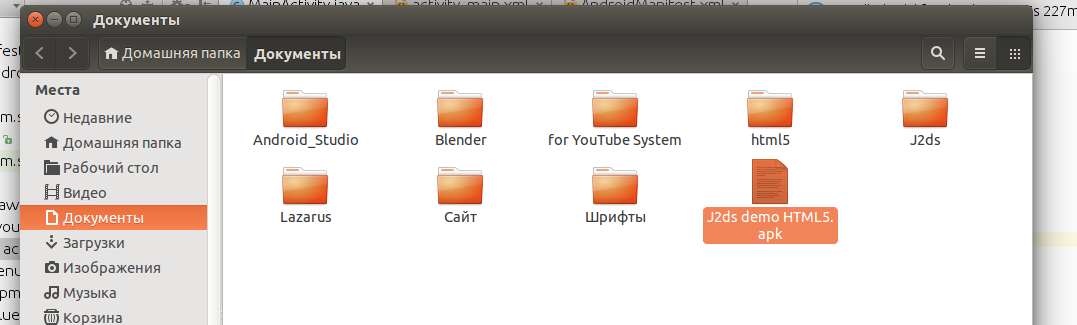
Now it is enough to move the file to the phone / tablet and install it as a normal application.
Result:
For an example in the drug, if necessary.
Source: https://habr.com/ru/post/265247/
All Articles