Simplify working with computer vision algorithms using the OpenCV Intel INDE package
Not so long ago, the best resource for learning about computer vision algorithms was the site of the computer library of open source computer vision algorithms OpenCV . These algorithms had to be created and configured independently, simultaneously mastering CMake and other cross-platform tools. The final result could not fit the right platform. In this case, it was necessary to carefully study the algorithm and configure it for your own system - and this meant mastering OpenCL and optimizing it for your platform . Not that it was bad ...
Now you can start working with computer vision algorithms using the Intel INDE software package, the latest update of which includes a ready-made version of OpenCV, suitable for Windows and Android devices with Intel processors with an Intel graphics core.
Previously, I have already come across the OpenCV library. It was version 2.4.8, and I had to put a lot of effort into setting it up before the process became really interesting. I decided to find out if it would be more convenient to work with the advent of Intel INDE. I was waiting for a pleasant surprise.
')
First you need to download and install OpenCV Intel INDE (for this you will also need to obtain an additional beta serial number). There you will find two very useful features: the OpenCV wizard, with which you can create OpenCV applications, and the Image Watch add-on from Microsoft, which allows you to view intermediate work results.
Let's start with the wizard. Start Microsoft Visual Studio. Select OpenCV, then OpenCV Project for Windows (OpenCV Project for Windows). Click OK.

Build and run the project. If you have a camera, the Kany Edge Detector will be activated when the application starts. If there is no camera, two windows will appear on the screen:
Input Image

Output image
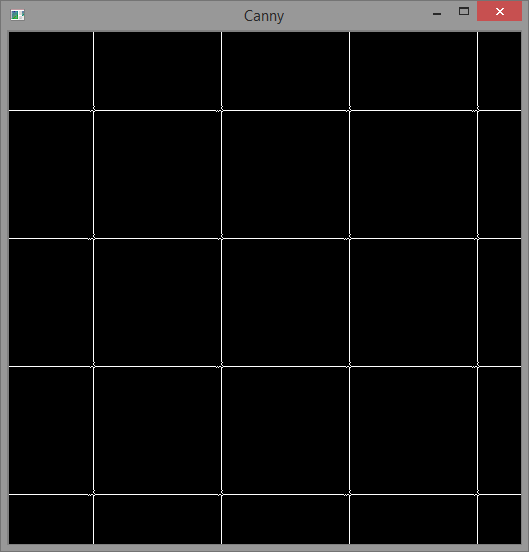
It looks good, but considering the default image is not particularly interesting. I decided to use the Canny Edge Detector on the photo of Henry, the dog of our computational architecture expert Stephen Jankins:

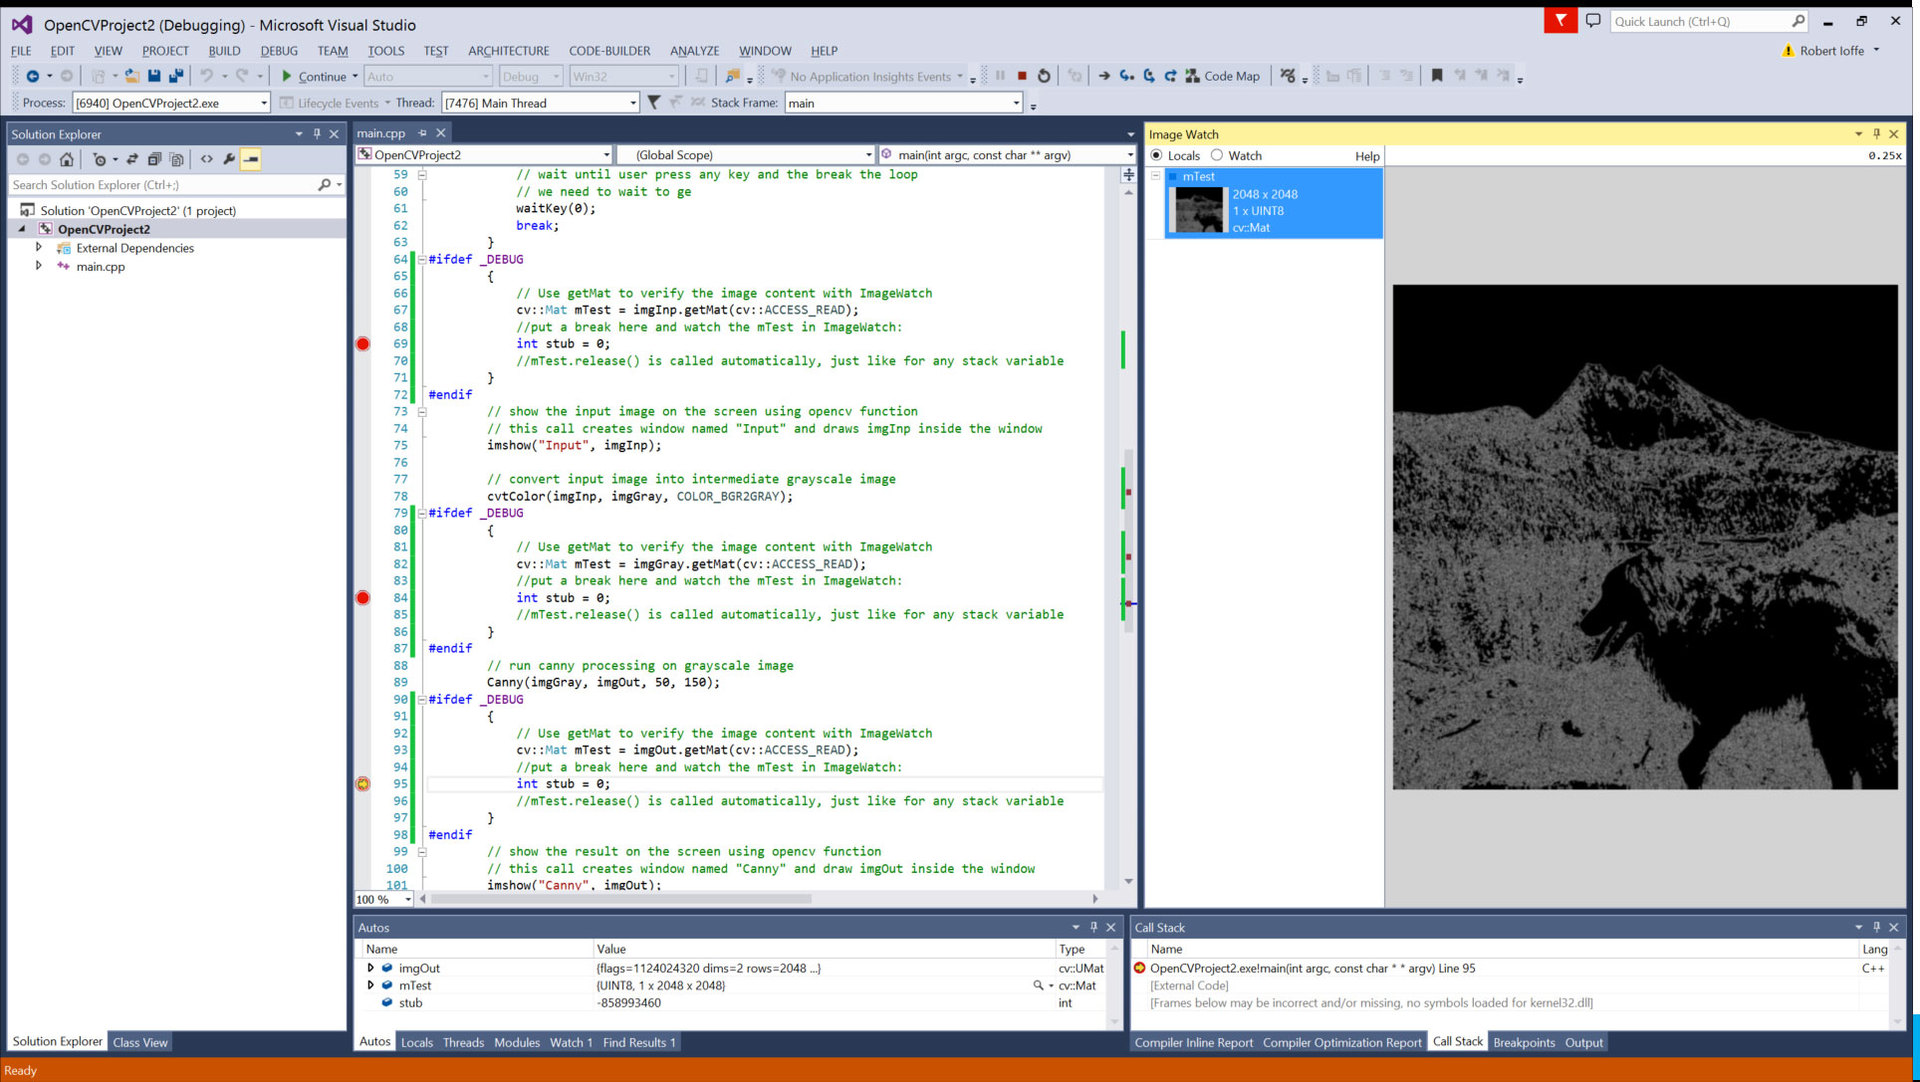
The usual workflow is this: the image is converted to grayscale mode, and then a Kany edge detector is applied to it. The results of each processing step can be viewed using the Image Watch plug-in installed with the OpenCV Intel INDE package. To do this, you need to connect the module and make a couple of changes to the code.
You need to make sure that Henry's photo is uploaded in .ppm format, not .jpg. Please note that OpenCV downloads various image formats transparently. In addition, for the Image Watch plug-in to work, we need to change the code and convert the images from UMat (standard OpenCV 3.0 format) to the cv :: Mat format, expected by the Image Watch plugin:
Now add a similar code at three points: 1) after loading the image, 2) after converting it to grayscale mode, and 3) after using the Canny edge detector. In each case, add breakpoints next to the stub variable. Next, you need to connect the Image Watch module using the View> Other Windows> Image Watch menu in Microsoft Visual Studio:

When working with code in debug mode, at each breakpoint, you can view the changes that appear in the Henry image under the influence of the Canny edge detector:


This is much more interesting! Not only do I not need to build OpenCV on my own - now I can develop OpenCV applications for the Intel graphics processor platform and debug them without additional settings. For more information, see the links below.
Below you will find comprehensive information about OpenCV Intel INDE in English.
Now you can start working with computer vision algorithms using the Intel INDE software package, the latest update of which includes a ready-made version of OpenCV, suitable for Windows and Android devices with Intel processors with an Intel graphics core.
Previously, I have already come across the OpenCV library. It was version 2.4.8, and I had to put a lot of effort into setting it up before the process became really interesting. I decided to find out if it would be more convenient to work with the advent of Intel INDE. I was waiting for a pleasant surprise.
')
First you need to download and install OpenCV Intel INDE (for this you will also need to obtain an additional beta serial number). There you will find two very useful features: the OpenCV wizard, with which you can create OpenCV applications, and the Image Watch add-on from Microsoft, which allows you to view intermediate work results.
Let's start with the wizard. Start Microsoft Visual Studio. Select OpenCV, then OpenCV Project for Windows (OpenCV Project for Windows). Click OK.
Build and run the project. If you have a camera, the Kany Edge Detector will be activated when the application starts. If there is no camera, two windows will appear on the screen:
Input Image
Output image
It looks good, but considering the default image is not particularly interesting. I decided to use the Canny Edge Detector on the photo of Henry, the dog of our computational architecture expert Stephen Jankins:
The usual workflow is this: the image is converted to grayscale mode, and then a Kany edge detector is applied to it. The results of each processing step can be viewed using the Image Watch plug-in installed with the OpenCV Intel INDE package. To do this, you need to connect the module and make a couple of changes to the code.
You need to make sure that Henry's photo is uploaded in .ppm format, not .jpg. Please note that OpenCV downloads various image formats transparently. In addition, for the Image Watch plug-in to work, we need to change the code and convert the images from UMat (standard OpenCV 3.0 format) to the cv :: Mat format, expected by the Image Watch plugin:
#ifdef _DEBUG { // ImageWatch getMat: cv::Mat mTest = imgInp.getMat(cv::ACCESS_READ); // break mTest ImageWatch: int stub = 0; //mTest.release() , . } #endif Now add a similar code at three points: 1) after loading the image, 2) after converting it to grayscale mode, and 3) after using the Canny edge detector. In each case, add breakpoints next to the stub variable. Next, you need to connect the Image Watch module using the View> Other Windows> Image Watch menu in Microsoft Visual Studio:
When working with code in debug mode, at each breakpoint, you can view the changes that appear in the Henry image under the influence of the Canny edge detector:
This is much more interesting! Not only do I not need to build OpenCV on my own - now I can develop OpenCV applications for the Intel graphics processor platform and debug them without additional settings. For more information, see the links below.
Below you will find comprehensive information about OpenCV Intel INDE in English.
- Installing OpenCV Intel INDE
- Getting started with the OpenCV Intel INDE feature
- Getting Started with OpenCV Intel INDE for Windows Targeted Devices
- Getting Started with OpenCV Intel INDE for Target Android Devices
- Profiling OpenCV Intel INDE Applications
- Approximate performance of OpenCV * 3.0 and OpenCV Intel INDE
- OpenCV * 3.0 Architecture Guide for OpenCV Intel INDE
- OpenCV Intel INDE - working with API Dispatcher
- OpenCV Intel INDE - Beta
- OpenCV Intel INDE - Beta Release Information
- OpenCV Forum * Intel
- Image Watch plugin help
Source: https://habr.com/ru/post/264477/
All Articles