Adding an OpenCV library to an Android Studio project

Introduction
Good afternoon, dear readers! Everyone has long known that mobile devices are increasingly equipped with powerful hardware. Processors of modern smartphones are almost on par with desktop counterparts, and problems with the possible lack of RAM and external memory go into the background. Today you will not see phones or tablets without an impressive software platform like Android, iOS or Windows, and besides, all mobile devices have some kind of built-in modules, like a camera. This article focuses on embedding an OpenCV computer vision library into an Android application project. Probably, this article would have no significant value, but all the instructions in it are for Android Studio, a new official development environment from Google. In addition, the article describes the static initialization of OpenCV in Android without using the OpenCV Manager. Below is a guide plan:
- Download OpenCV SDK for Android
- Installing OpenCV in an Android Studio project
- Sample OpenCV application for Android
Let's not waste time and start work.
1. Download the OpenCV SDK for Android
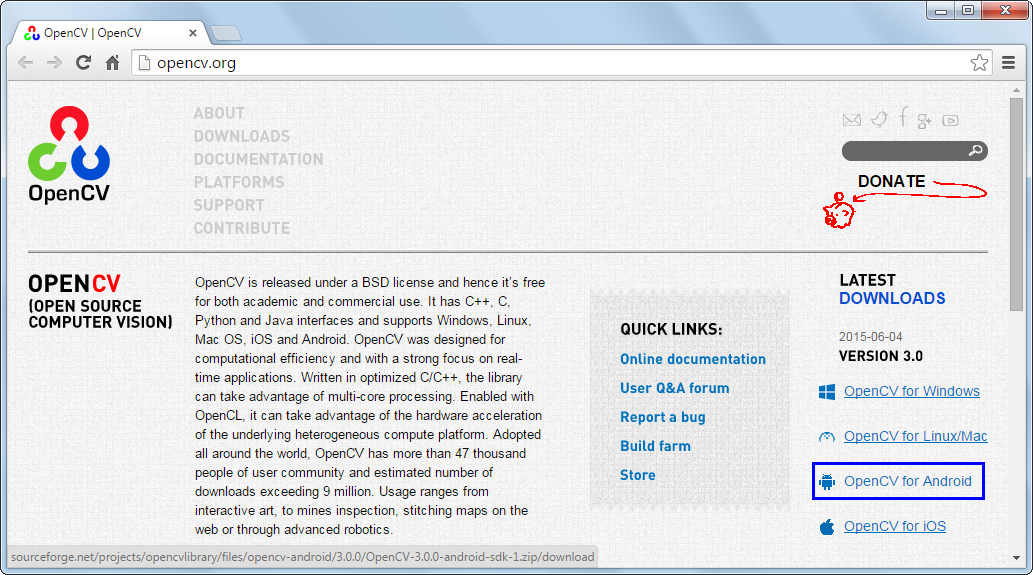
In order to use OpenCV in your applications, you need to download the appropriate SDK. This can be done on the official website opencv.org . The figure below shows a link to download the desired archive:
')
The OpenCV SDK for Android archive includes binary library files for various microprocessor architectures, a wrapper in the Java programming language that uses the Java Native Interface (JNI) to call functions from platform-dependent libraries, source code for sample programs, and .apk files for installing OpenCV Manager . The next step is to add the OpenCV module to the Android Studio project.
2. Installing OpenCV in an Android Studio project
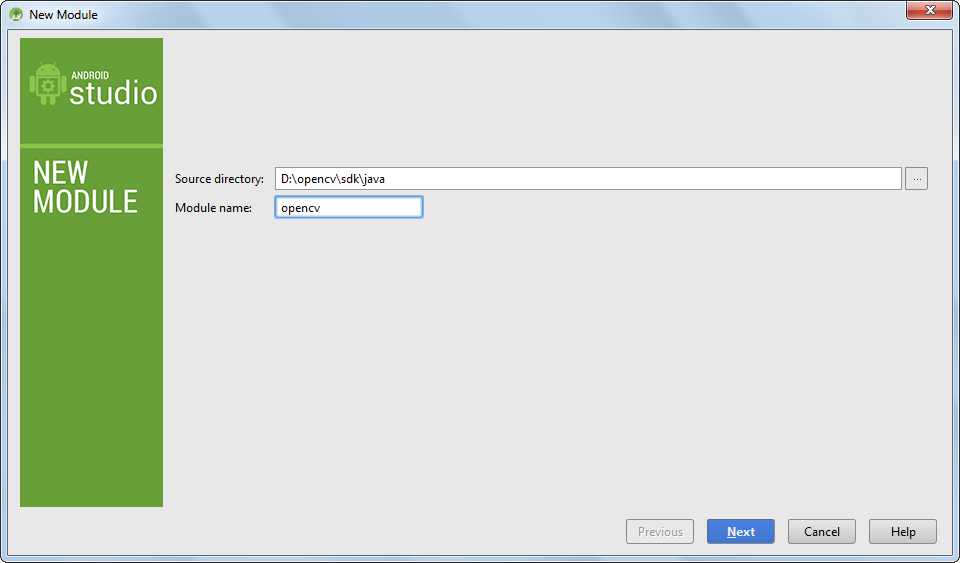
Importing an OpenCV module into an Android Studio project is easy. To do this, select the menu File -> New -> Import Module ... and specify the path sdk / java from the unpacked SDK archive. All other import settings do not need to be changed. The figure below shows the wizard window indicating the import path of the module and its new name in the project:
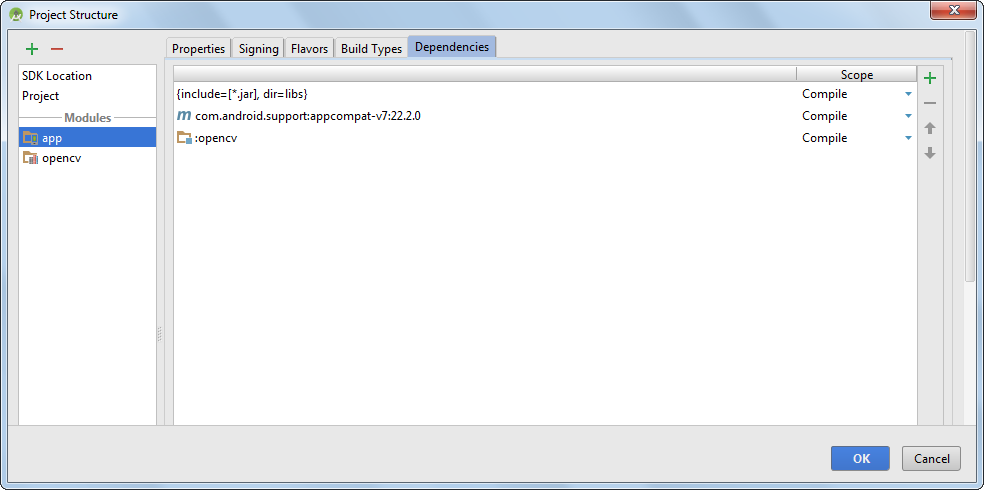
After importing the module into its build.gra, you need to update the compileSdkVersion , buildToolsVersion , minSdkVersion and targetSdkVersion parameters to match the corresponding parameters from the application module. After the OpenCV module has been added, it must be added as a dependency to the application module. To do this, select the menu File -> Project Structure ... and for the app module, specify the dependence on opencv . The figure below shows the dependency setup window:
The last thing left to do is add the OpenCV binary libraries to the project, so that they are packaged in an .apk application when building. To do this, copy the sdk / native / libs folder from the OpenCV SDK to the project folder on the app / src / main path. Then you need to rename the libs folder to jniLibs . It should be noted that there is no need to pack static OpenCV libraries (extension .a ) in .apk and store them in the project. In the resulting jniLibs folder for each architecture, you can leave only files with the .so extension. The figure below shows the resulting folder structure in Windows Explorer:

3. Developing an OpenCV sample application for Android
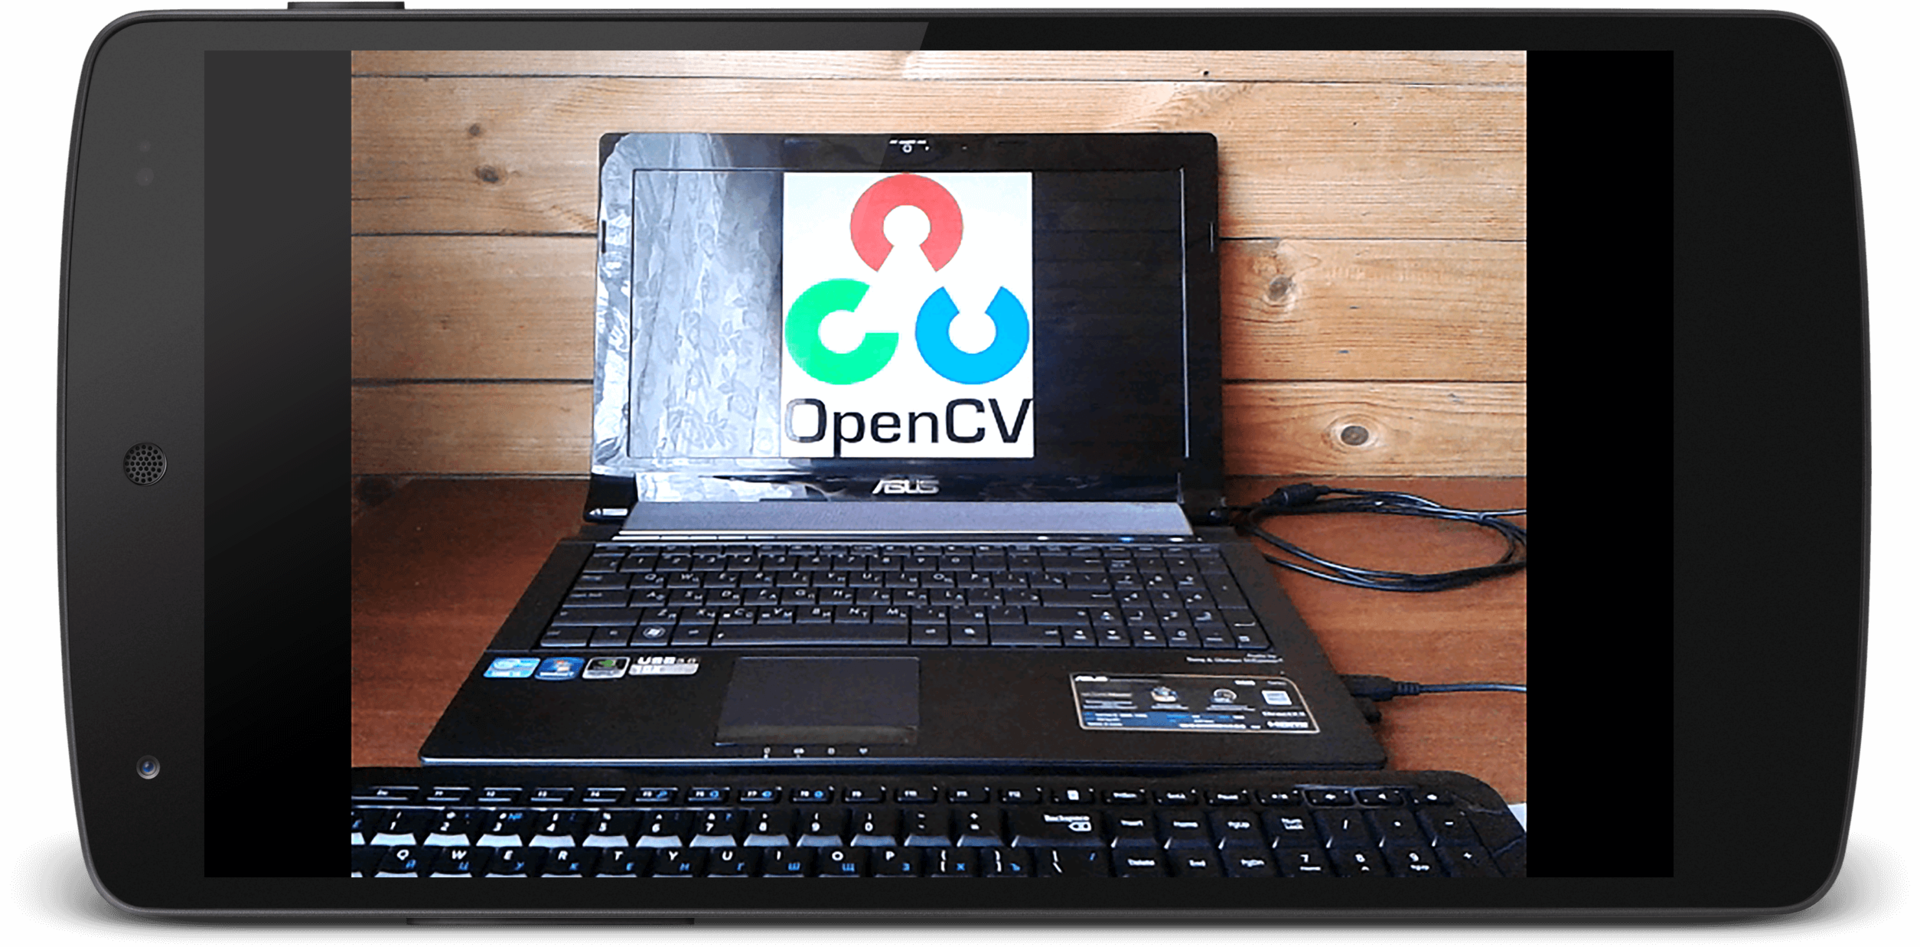
In order to start working with OpenCV faster, we will develop a simple application for displaying images from the camera. The following is the contents of the source files that you need to change to run the program:
MainActivity.java
package com.androidcv; import android.app.Activity; import android.os.Bundle; import android.view.SurfaceView; import android.view.WindowManager; import org.opencv.android.CameraBridgeViewBase; import org.opencv.android.CameraBridgeViewBase.CvCameraViewFrame; import org.opencv.android.CameraBridgeViewBase.CvCameraViewListener2; import org.opencv.android.OpenCVLoader; import org.opencv.core.Mat; public class MainActivity extends Activity implements CvCameraViewListener2 { private CameraBridgeViewBase mOpenCvCameraView; @Override protected void onCreate(Bundle savedInstanceState) { super.onCreate(savedInstanceState); getWindow().addFlags(WindowManager.LayoutParams.FLAG_KEEP_SCREEN_ON); setContentView(R.layout.activity_main); mOpenCvCameraView = (CameraBridgeViewBase) findViewById(R.id.view); mOpenCvCameraView.setVisibility(SurfaceView.VISIBLE); mOpenCvCameraView.setCvCameraViewListener(this); } @Override public void onPause() { super.onPause(); if (mOpenCvCameraView != null) mOpenCvCameraView.disableView(); } @Override public void onResume() { super.onResume(); OpenCVLoader.initDebug(); mOpenCvCameraView.enableView(); } public void onDestroy() { super.onDestroy(); if (mOpenCvCameraView != null) mOpenCvCameraView.disableView(); } public void onCameraViewStarted(int width, int height) { } public void onCameraViewStopped() { } public Mat onCameraFrame(CvCameraViewFrame inputFrame) { return inputFrame.rgba(); } } activity_main.xml
<FrameLayout xmlns:android="http://schemas.android.com/apk/res/android" xmlns:opencv="http://schemas.android.com/apk/res-auto" android:layout_width="match_parent" android:layout_height="match_parent"> <org.opencv.android.JavaCameraView android:layout_width="fill_parent" android:layout_height="fill_parent" android:visibility="gone" android:id="@+id/view" opencv:camera_id="any" /> </FrameLayout> AndroidManifest.xml
<?xml version="1.0" encoding="utf-8"?> <manifest xmlns:android="http://schemas.android.com/apk/res/android" package="com.androidcv" > <supports-screens android:resizeable="true" android:smallScreens="true" android:normalScreens="true" android:largeScreens="true" android:anyDensity="true" /> <uses-permission android:name="android.permission.CAMERA"/> <uses-feature android:name="android.hardware.camera" android:required="false"/> <uses-feature android:name="android.hardware.camera.autofocus" android:required="false"/> <uses-feature android:name="android.hardware.camera.front" android:required="false"/> <uses-feature android:name="android.hardware.camera.front.autofocus" android:required="false"/> <application android:allowBackup="true" android:icon="@mipmap/ic_launcher" android:label="@string/app_name" android:theme="@android:style/Theme.NoTitleBar.Fullscreen" > <activity android:name=".MainActivity" android:label="@string/app_name" android:screenOrientation="landscape" android:configChanges="keyboardHidden|orientation"> <intent-filter> <action android:name="android.intent.action.MAIN" /> <category android:name="android.intent.category.LAUNCHER" /> </intent-filter> </activity> </application> </manifest> The figure below shows the result of the application:
Conclusion
In conclusion, it should be said that although static linking of OpenCV libraries is convenient, the developers prescribe to use this method only at the debugging stage. With the release of the application, for example, in Google Play, it is better to use OpenCV Manager.
Source: https://habr.com/ru/post/262089/
All Articles