Plex media server on Raspberry Pi 2
This is my first experience with Debian and Raspberry pi 2. It all started with the fact that I saw the news about the release of Raspberry Pi 2 b + and immediately got to google - is it possible to install a Plex media server (PMS)? At the first mention of the fact that this can be done, it was decided: I buy. The fact is that I have been using a bunch of pc + PMS + apple tv + plexconnector for a long time. For me, everything is very convenient and excellent, but ... With Malinka it looked much tastier. Get rid of the computer is constantly turned on 24/7 noise, high power consumption.
It took me several days to learn Debian for the first time, by trial and error, by Google every command. I did not find instructions in Russian, so I decided to write myself to help the same users as me. What matters a lot, plex on Malinka is already working with transcoding, cheers, comrades!
So let's get started.
We need a microSD for 16gb or better 32gb, win32DiskImager and the Raspbian image from the official site .
')
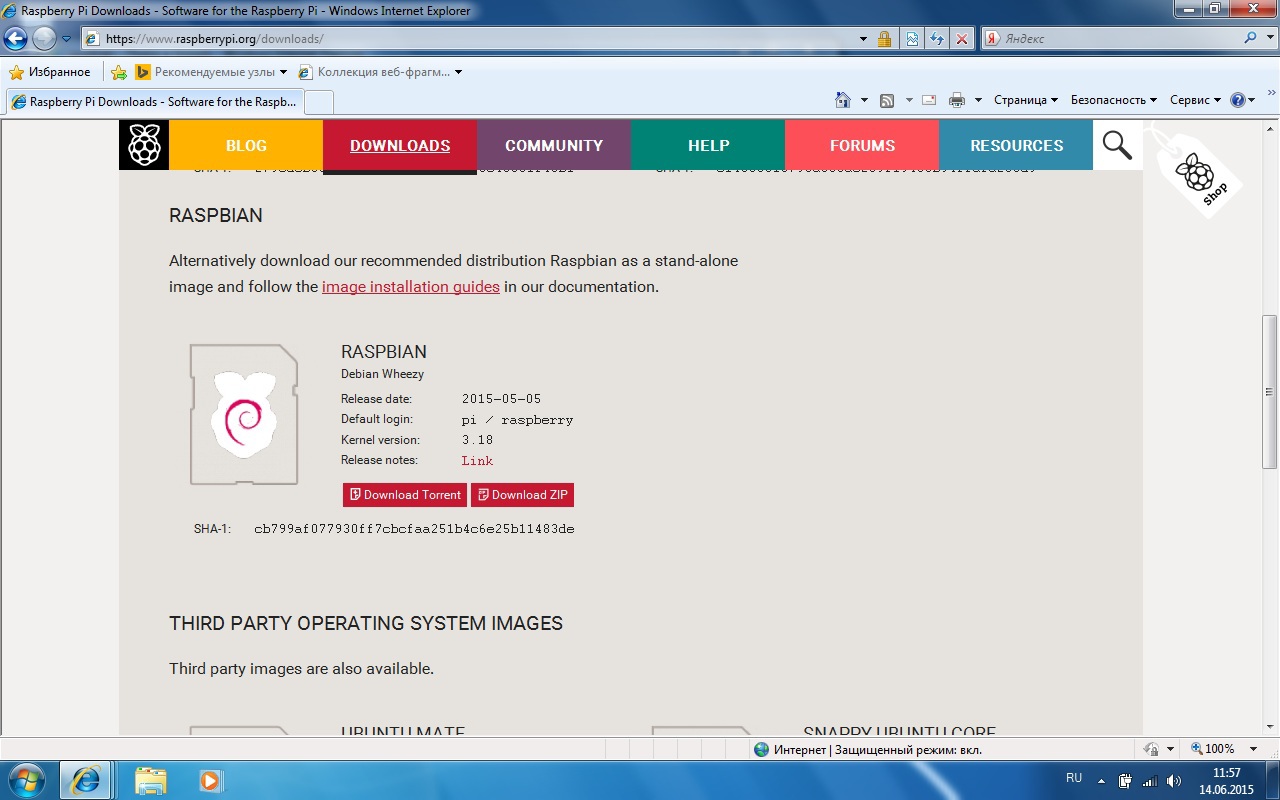
We download everything, unpack Raspbian and use win32DiskImager to upload it to microSD.
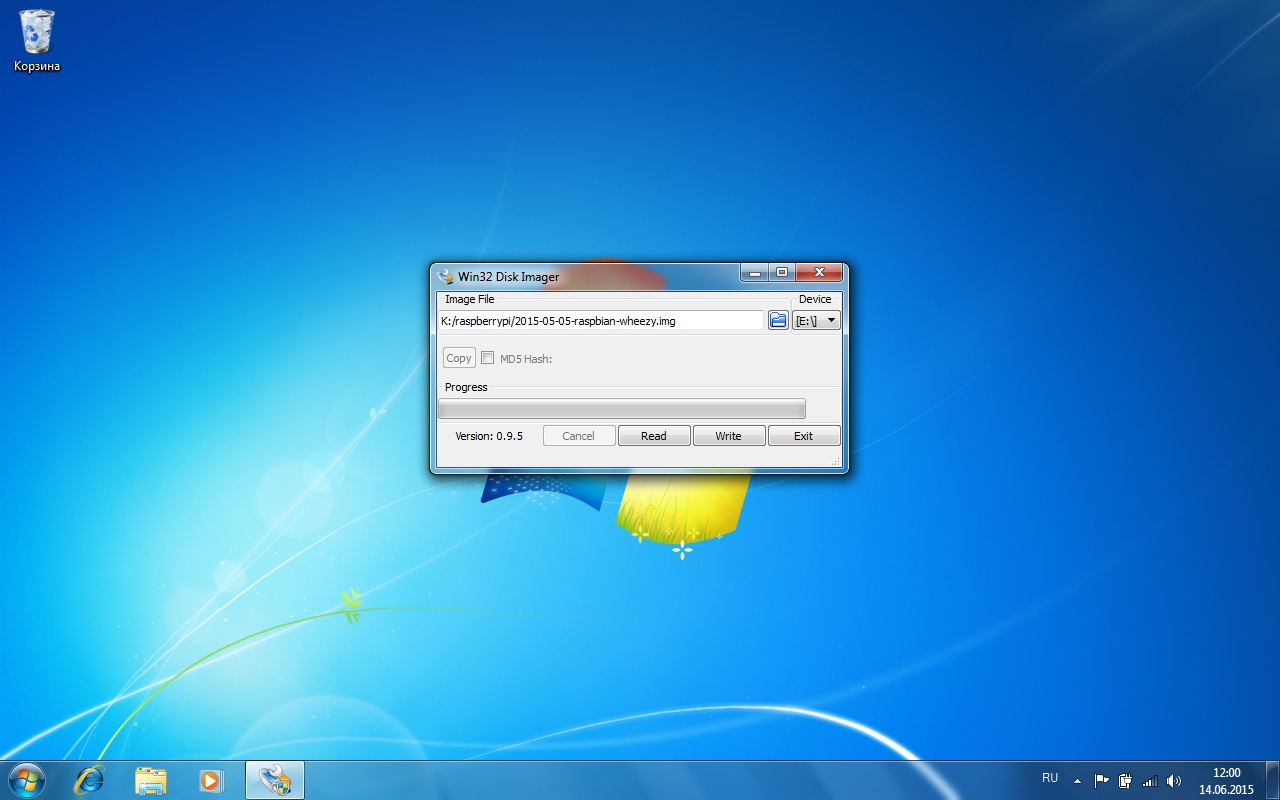
After a few minutes, our image was recorded, insert the microSD into the Raspberry pi, connect the monitor, mouse, keyboard, lan to the monitor and turn on the power.
Before us is raspi-config (sorry for the quality, fotkal from the TV):

We expose several settings:
1. Expand Felisystem to use the entire microSD space;
2. Chang User Password we set a convenient password for us (by default login: pi password: raspberry);
3. In Advanced Options, enable SSH for remote management;
4. Finish and reboot.
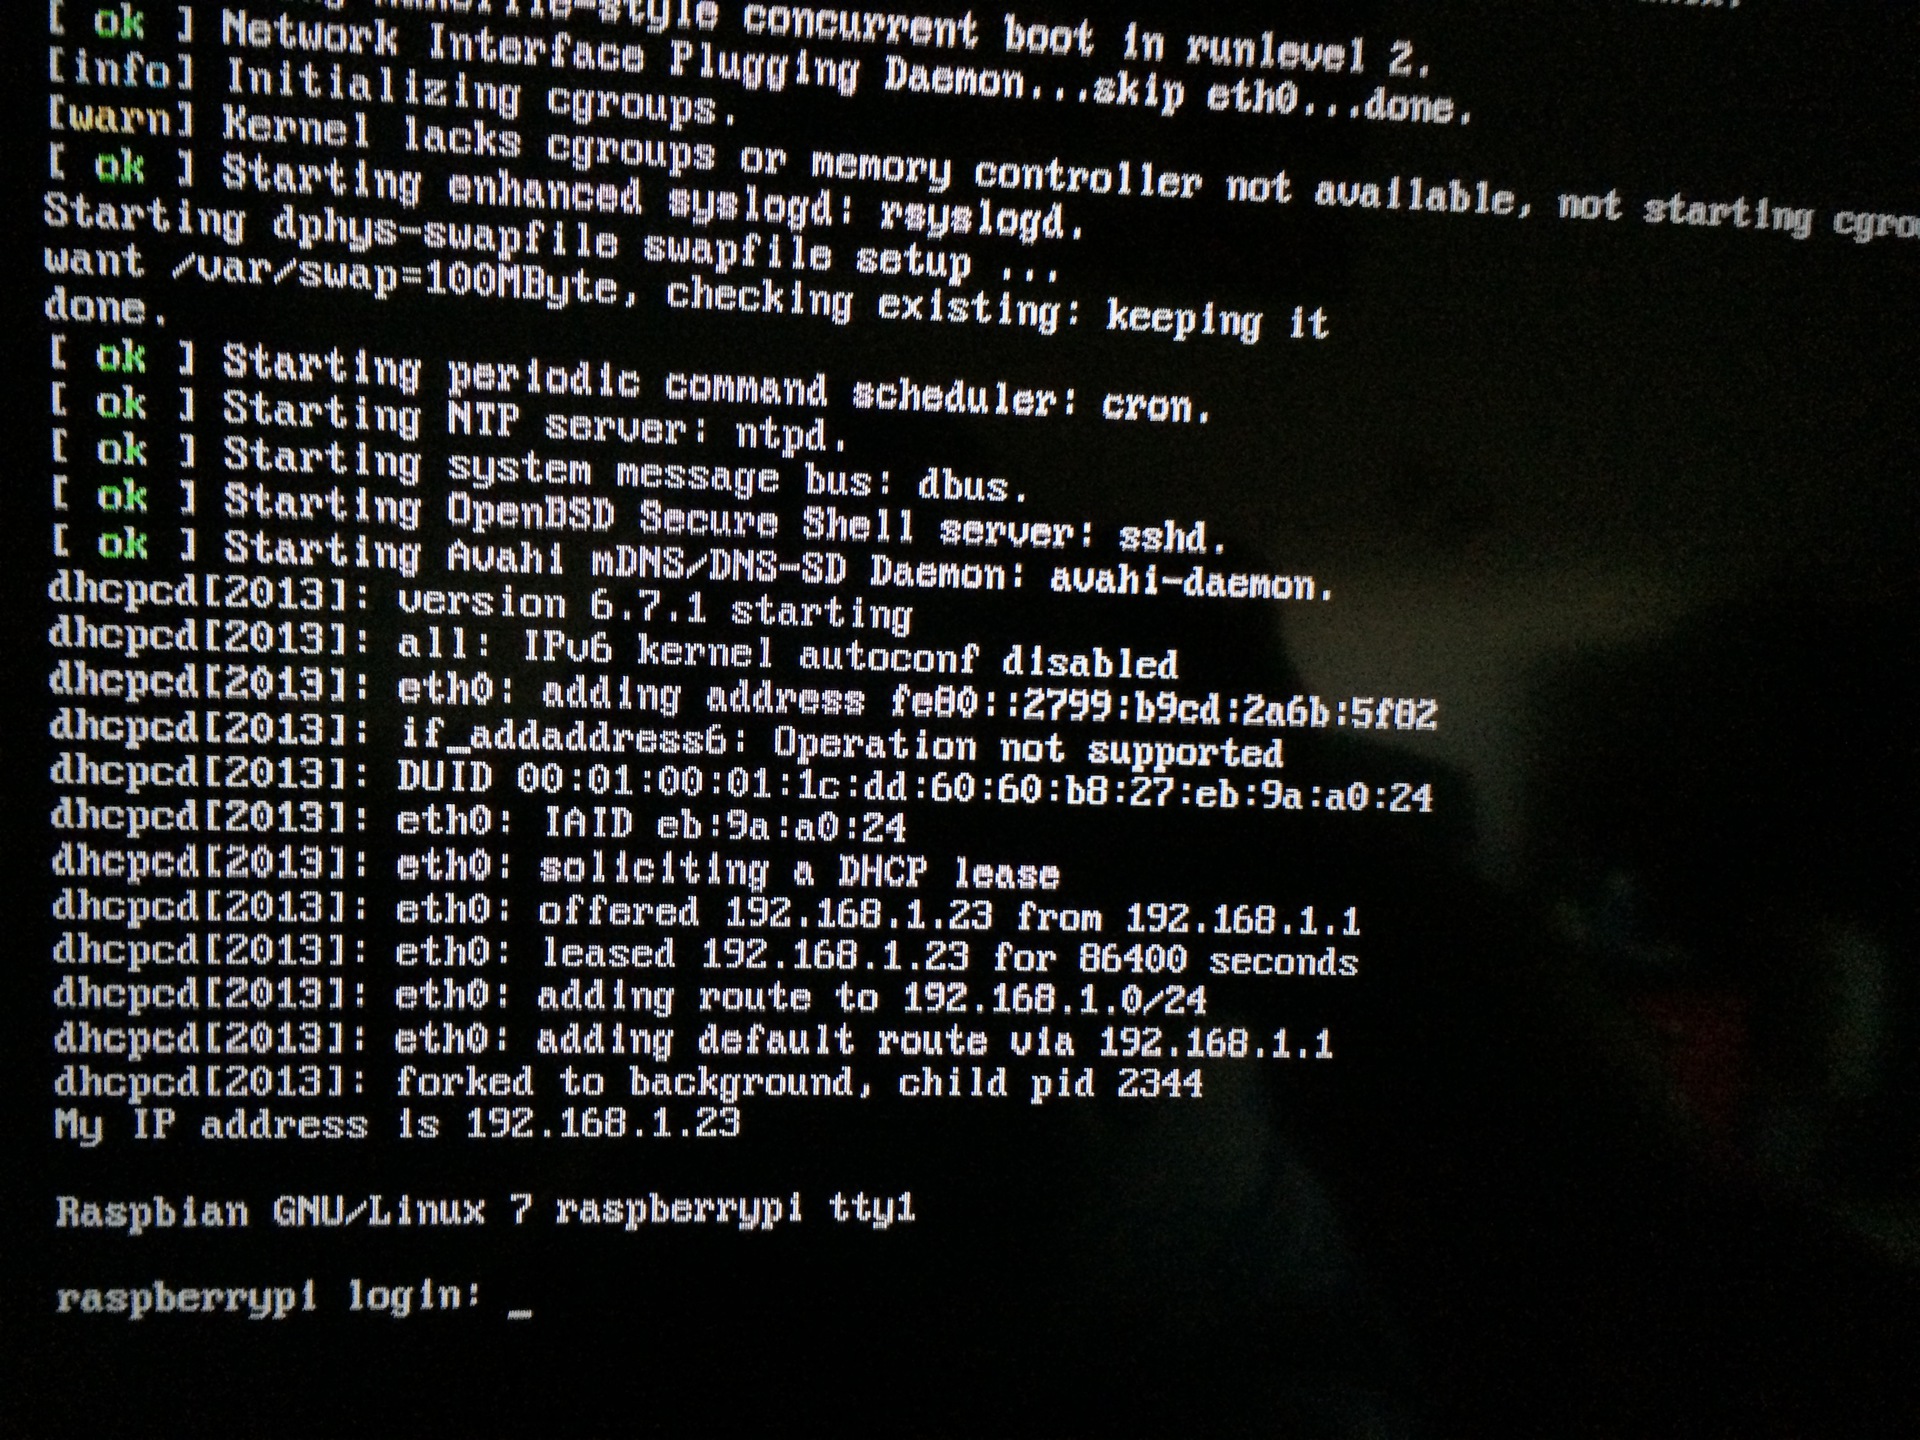
Enter the login: pi and our password.
Further:
And download PMS:
Download additional packages for plex:
Transcode pack for plex:

Restart PMS:
We now have a PMS installed; Go to check:
We write in the browser:
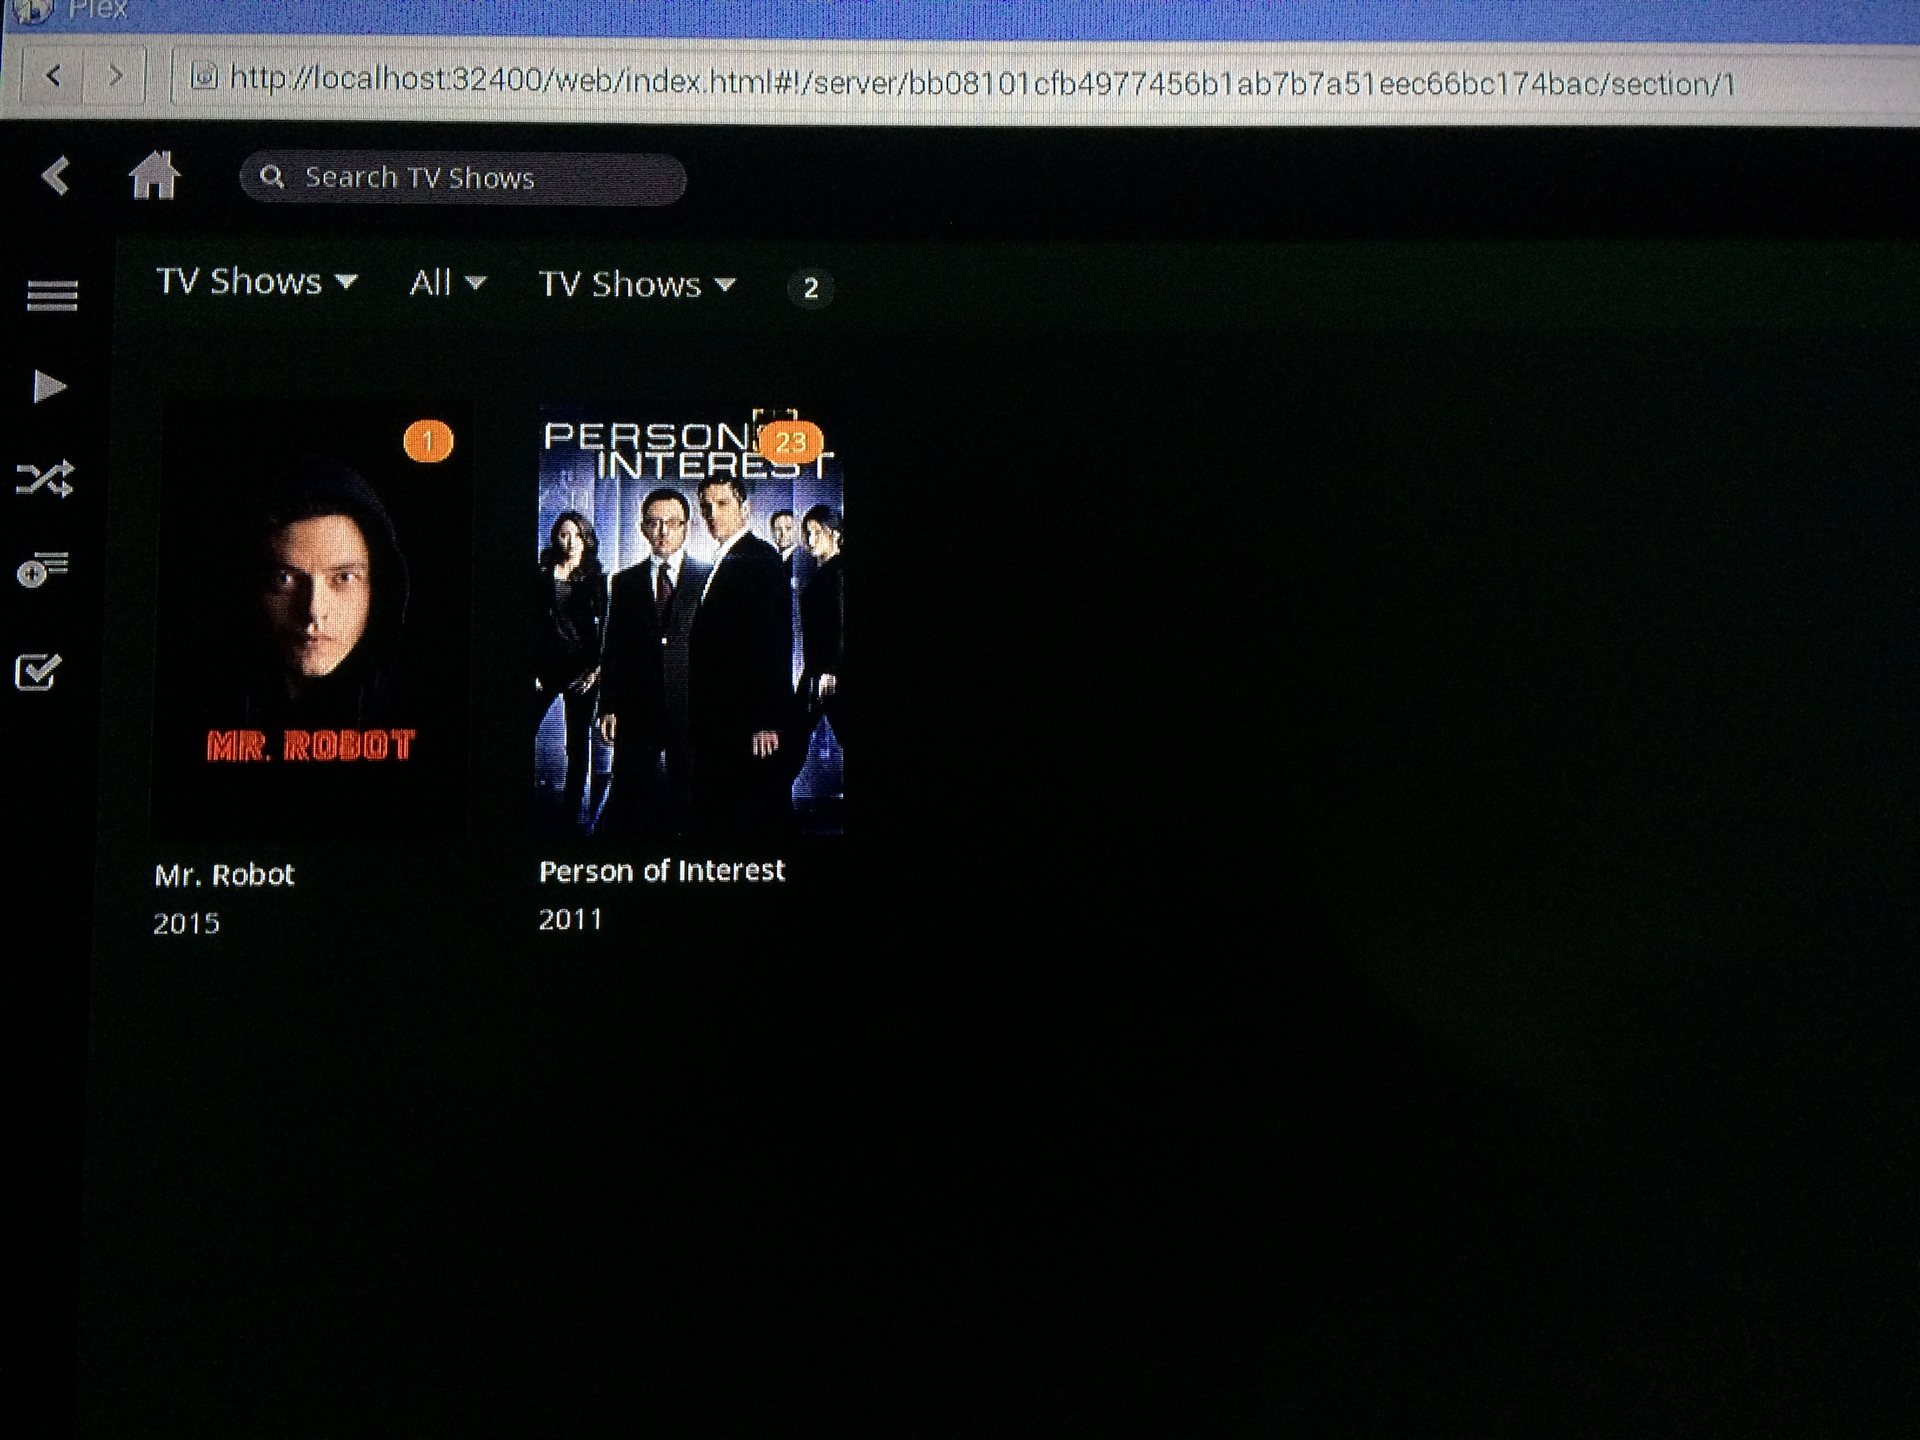
And here he is:

Customize PMS to taste.
We connect hdd with our media library and mount:
Check the name of the external disk:

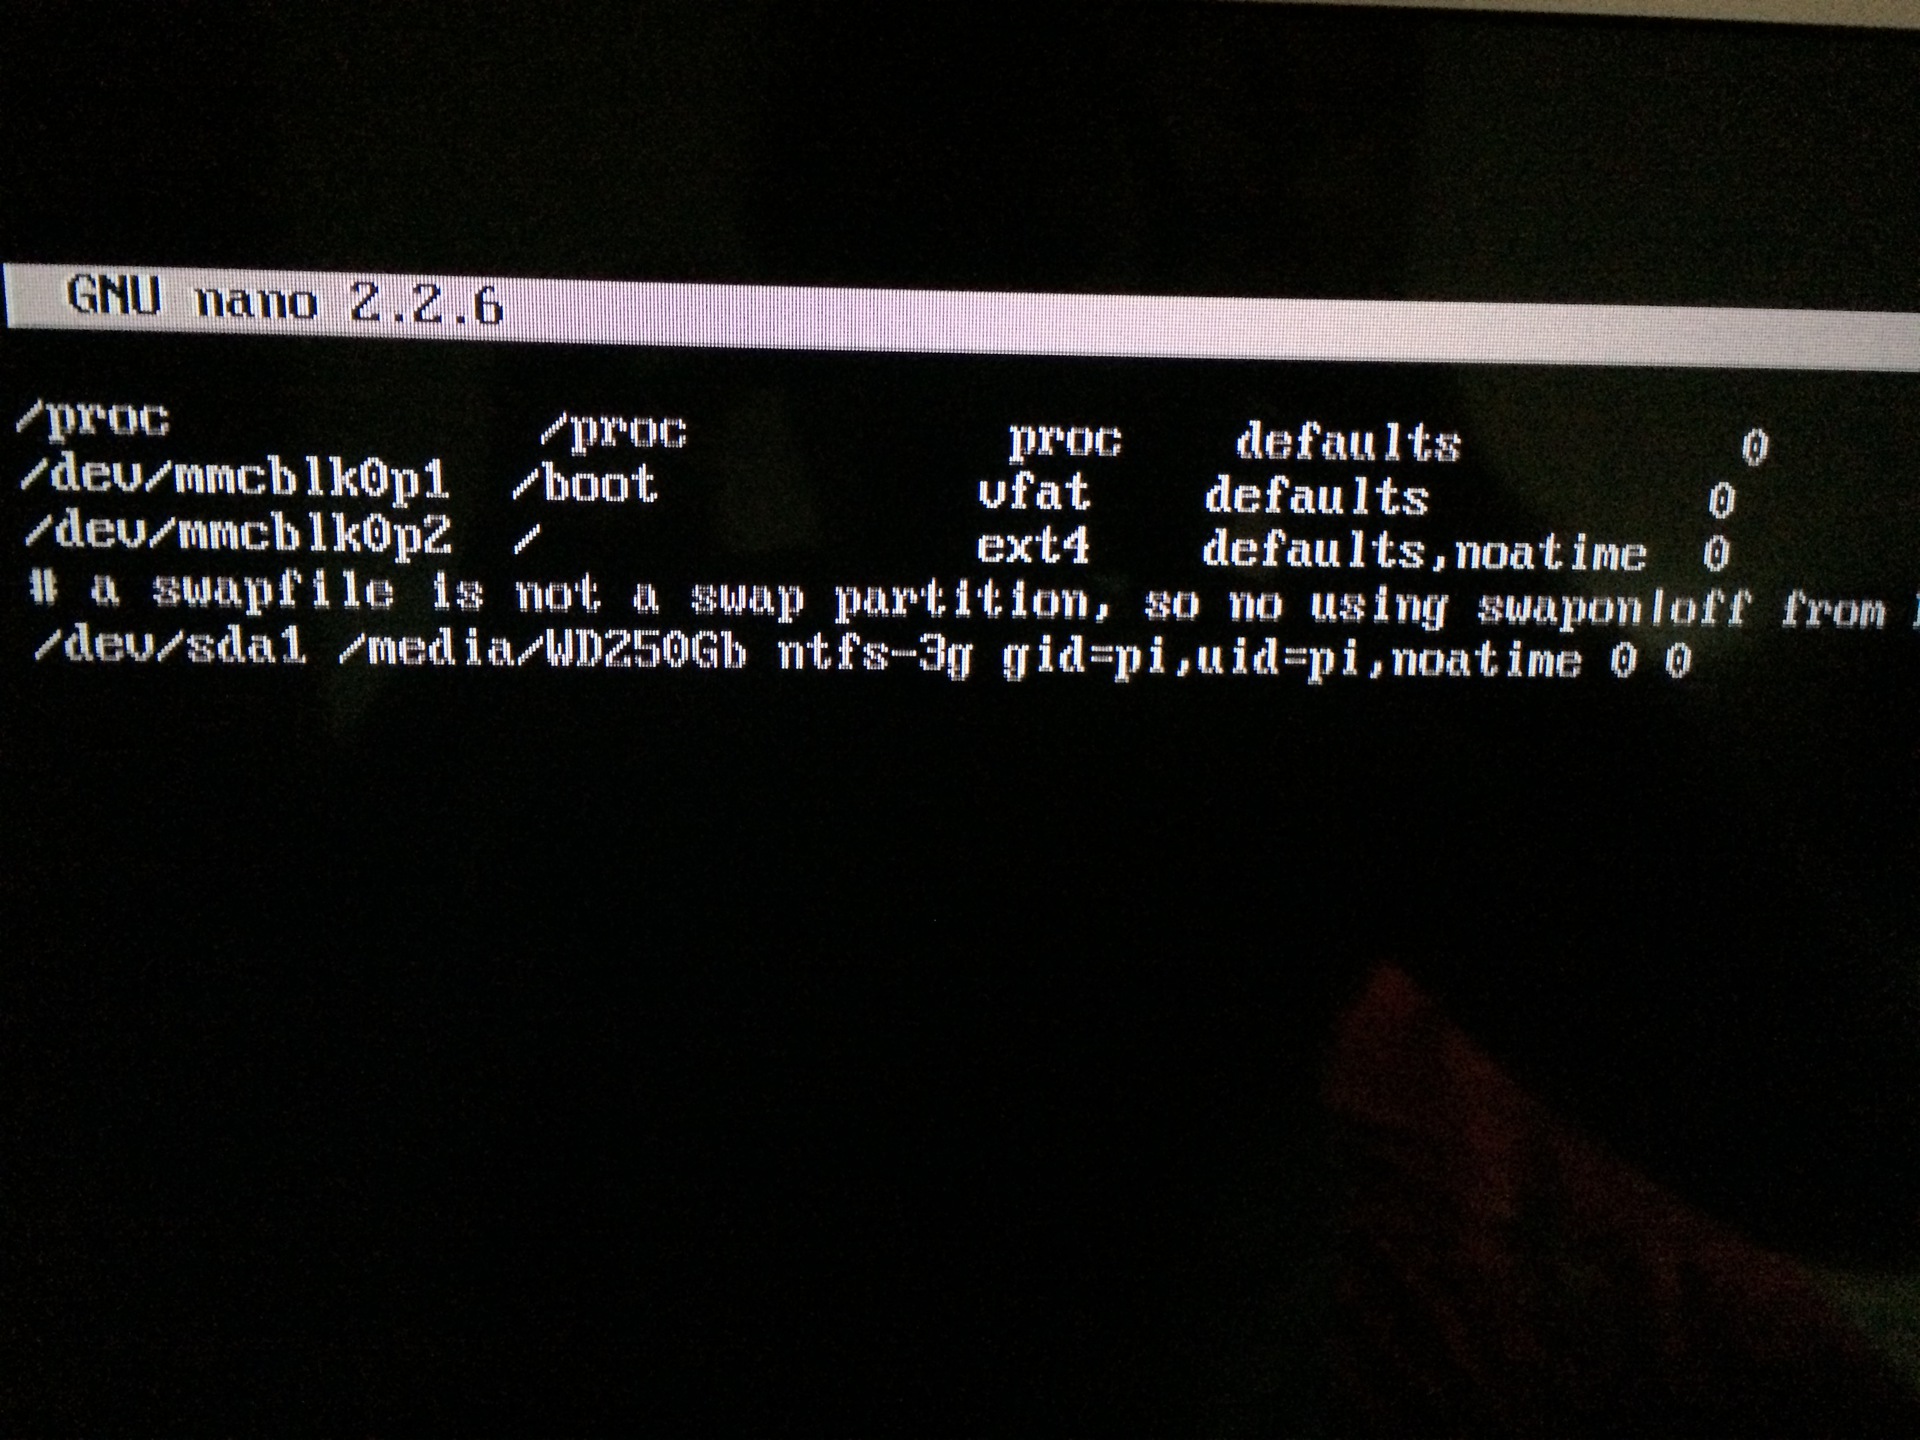
I have it sda1; edit fstab:
Save and exit, create a directory:
Reboot and go to graphic mode:
Mount HDD in the terminal
Add to our PMS our library:

Here and our plex is ready to use.
In order for the hdd to be automatically mounted on startup:
And add:
Starting the desktop at startup:
And enable boot to desktop.
I will not describe the plexconnect setup, it is already here .
Installed VNCserver for local access, transmission, everything is accessible from the iPad and displayed on Apple TV.
This is the media server on raspberry pi 2. I’ll be waiting for suggestions for improvement in the comments.
It took me several days to learn Debian for the first time, by trial and error, by Google every command. I did not find instructions in Russian, so I decided to write myself to help the same users as me. What matters a lot, plex on Malinka is already working with transcoding, cheers, comrades!
So let's get started.
We need a microSD for 16gb or better 32gb, win32DiskImager and the Raspbian image from the official site .
')
We download everything, unpack Raspbian and use win32DiskImager to upload it to microSD.
After a few minutes, our image was recorded, insert the microSD into the Raspberry pi, connect the monitor, mouse, keyboard, lan to the monitor and turn on the power.
Before us is raspi-config (sorry for the quality, fotkal from the TV):
We expose several settings:
1. Expand Felisystem to use the entire microSD space;
2. Chang User Password we set a convenient password for us (by default login: pi password: raspberry);
3. In Advanced Options, enable SSH for remote management;
4. Finish and reboot.
Enter the login: pi and our password.
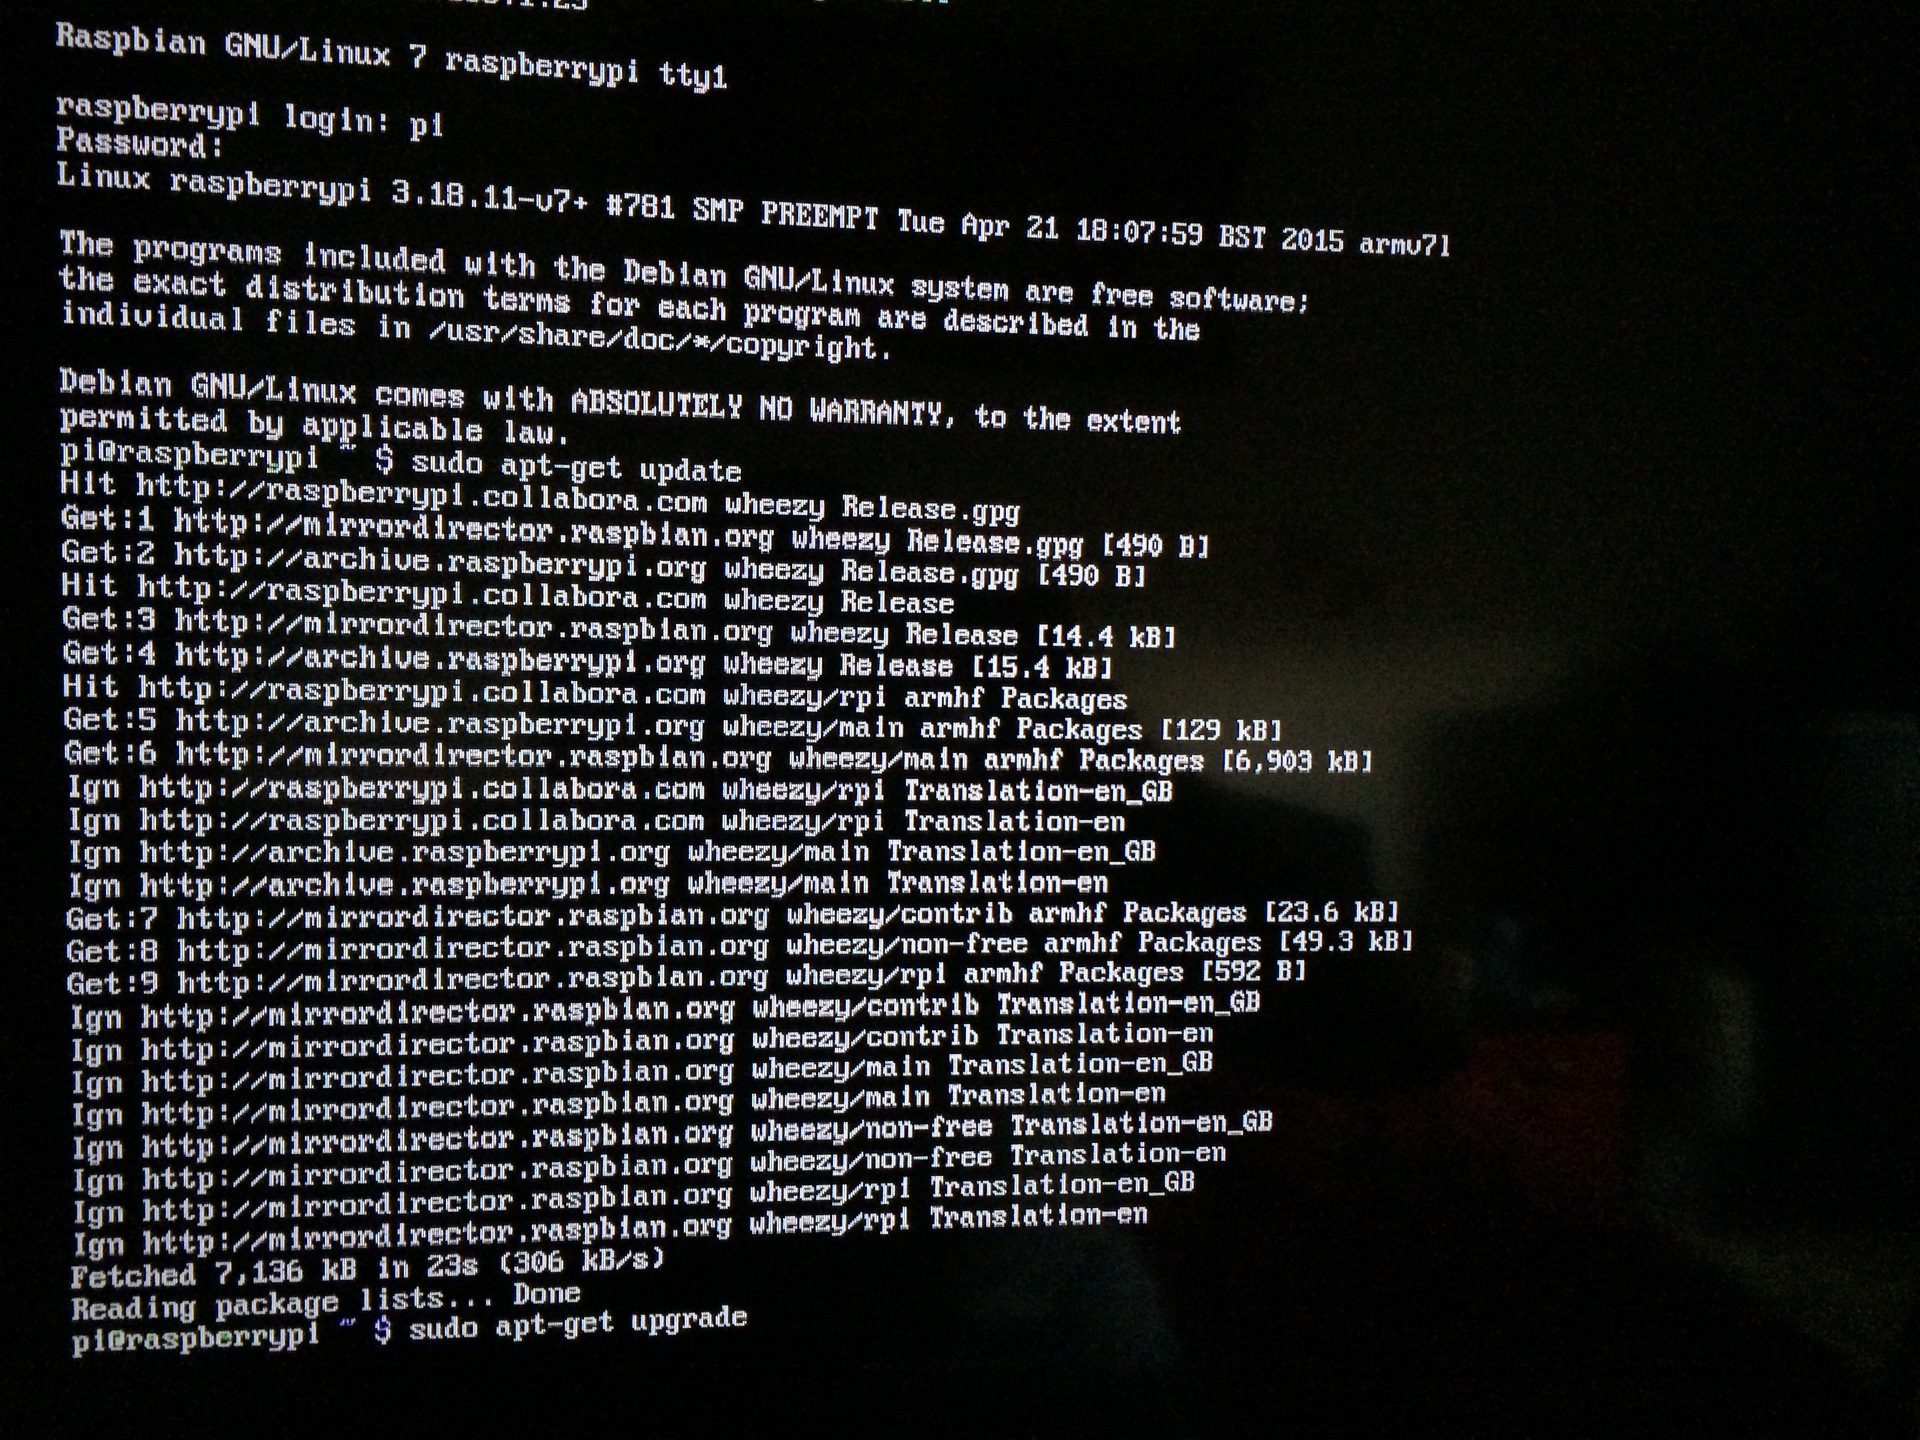
Further:
sudo apt-get update sudo apt get upgrade And download PMS:
sudo wget https://dev2day.de/plex-latest Download additional packages for plex:
sudo dpkg -i plex* Transcode pack for plex:
sudo apt-get install mkvtoolnix libexpat1 ffmpeg -y Restart PMS:
sudo service plexmediaserver restart We now have a PMS installed; Go to check:
startx We write in the browser:
http://localhost:32400/web/index.html And here he is:
Customize PMS to taste.
We connect hdd with our media library and mount:
sudo apt-get install ntfs-3g sudo apt-get install samba samba-common-bin Check the name of the external disk:
sudo fdisk -l I have it sda1; edit fstab:
sudo nano /etc/fstab /dev/sda1 /media/WD250Gb ntfs-3g gid=pi,uid=pi,noatime 0 0 Save and exit, create a directory:
sudo mkdir /media/WD250Gb Reboot and go to graphic mode:
Mount HDD in the terminal
sudo mount -a Add to our PMS our library:
Here and our plex is ready to use.
In order for the hdd to be automatically mounted on startup:
sudo gedit /etc/rc.local And add:
sudo mount -a Starting the desktop at startup:
sudo raspi-config And enable boot to desktop.
I will not describe the plexconnect setup, it is already here .
Installed VNCserver for local access, transmission, everything is accessible from the iPad and displayed on Apple TV.
This is the media server on raspberry pi 2. I’ll be waiting for suggestions for improvement in the comments.
Source: https://habr.com/ru/post/260307/
All Articles