Brief Making of Pinup Character
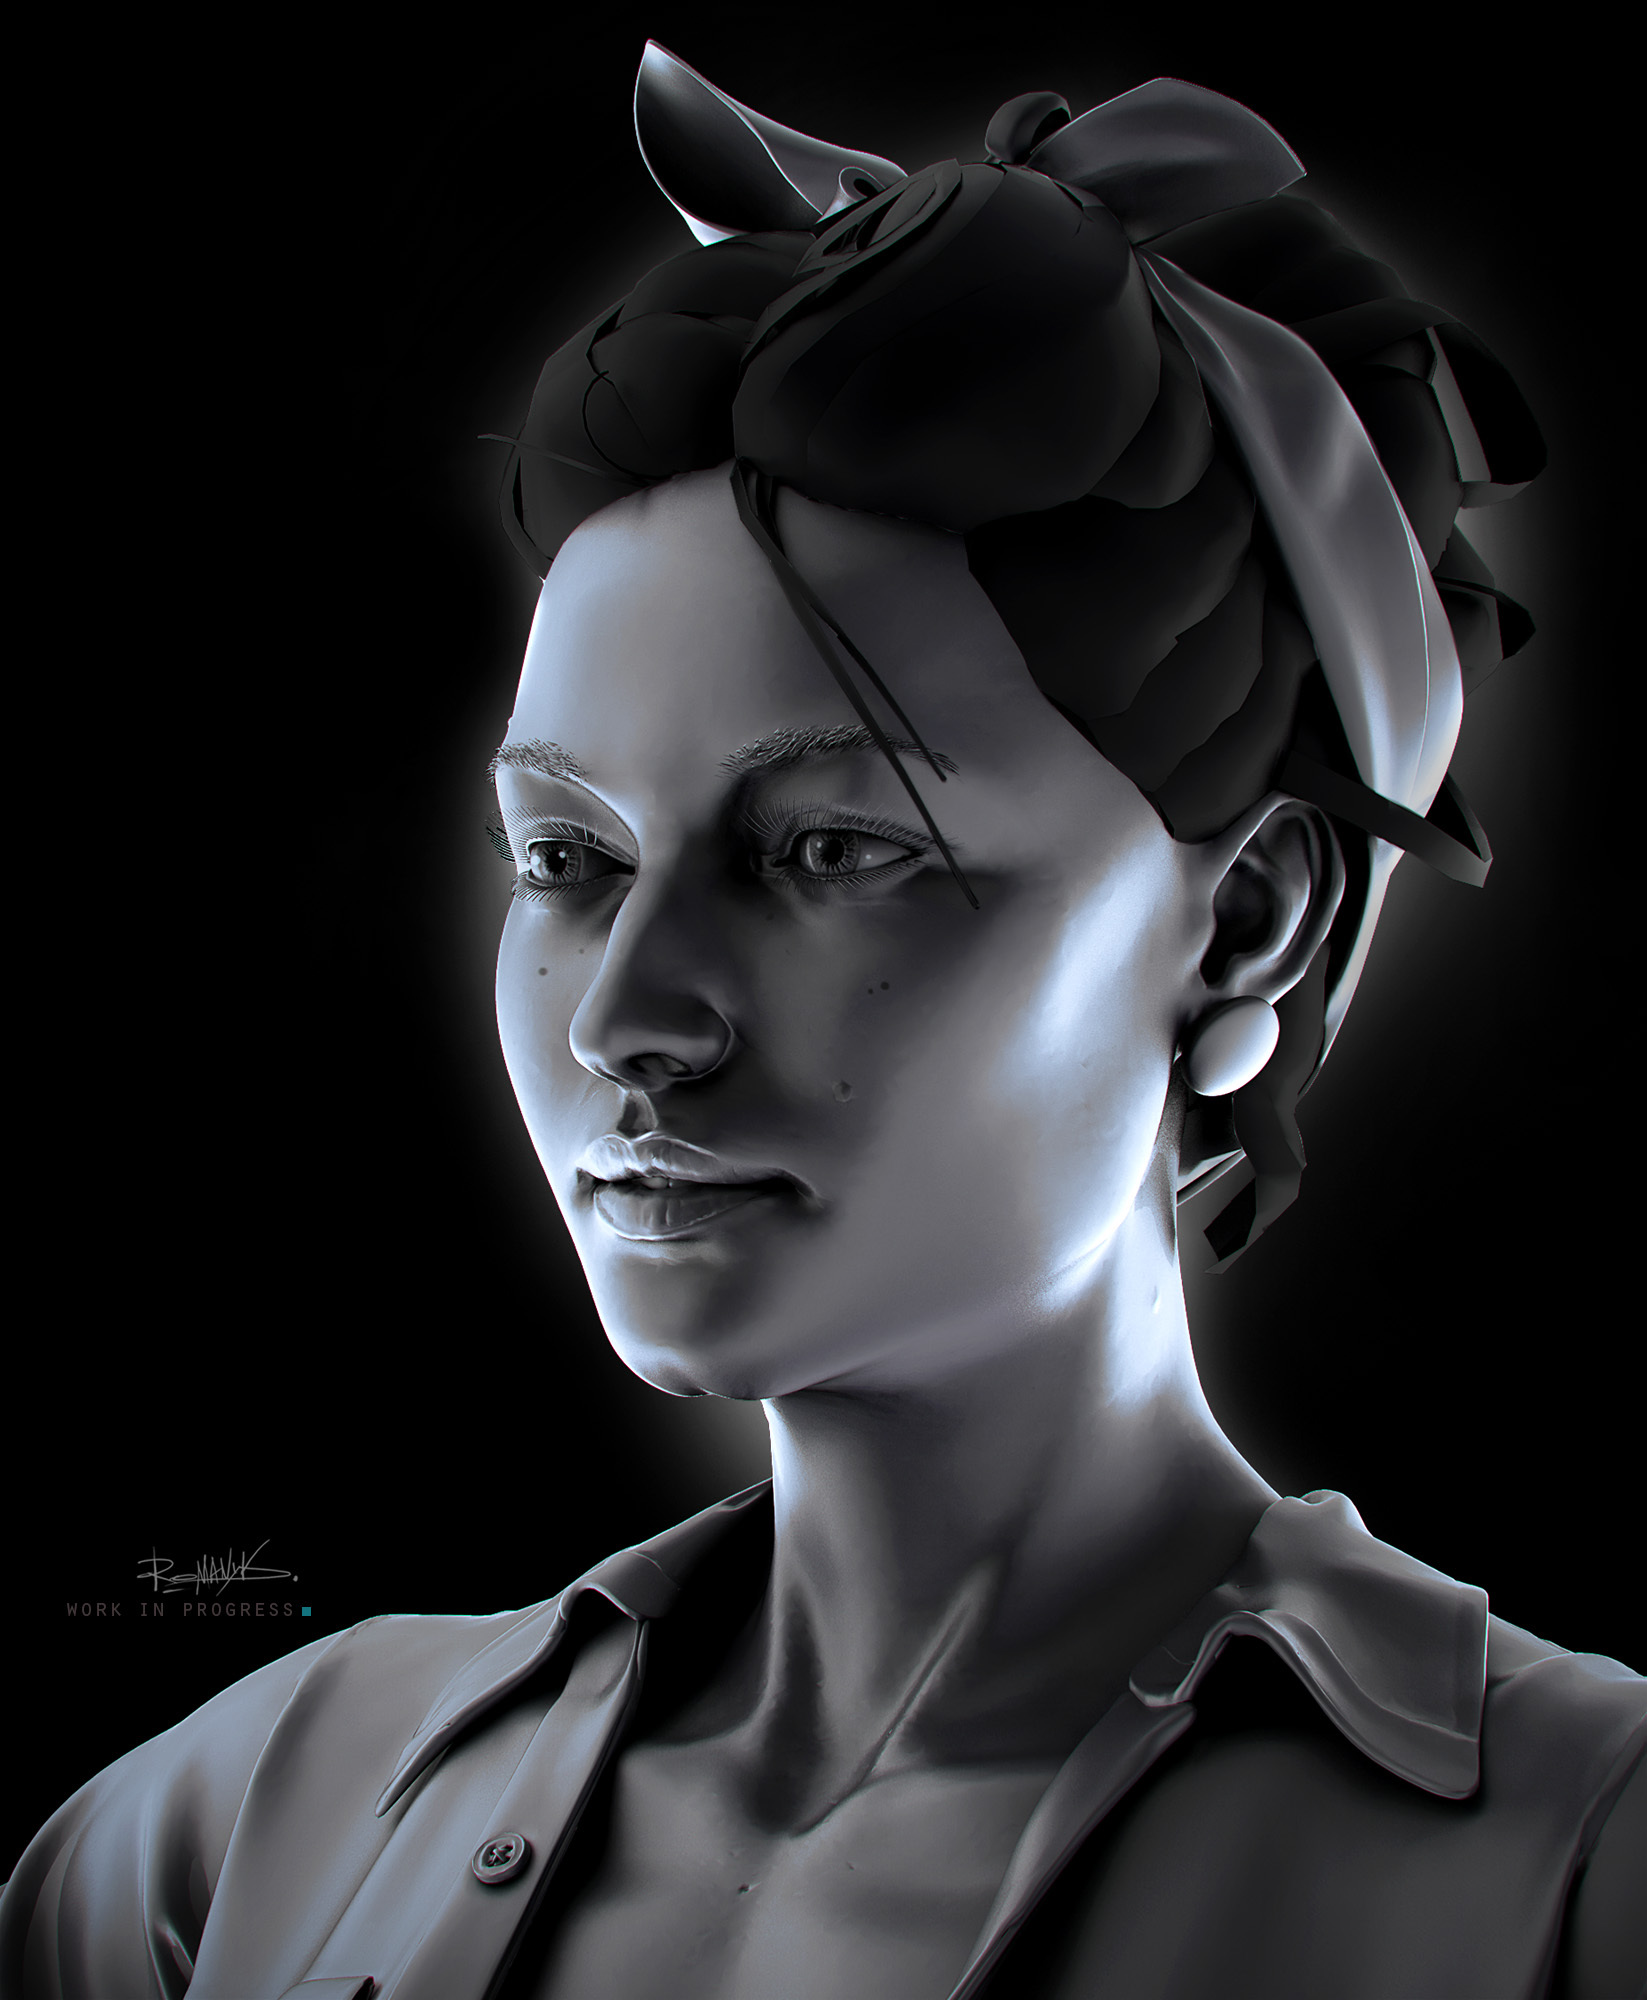
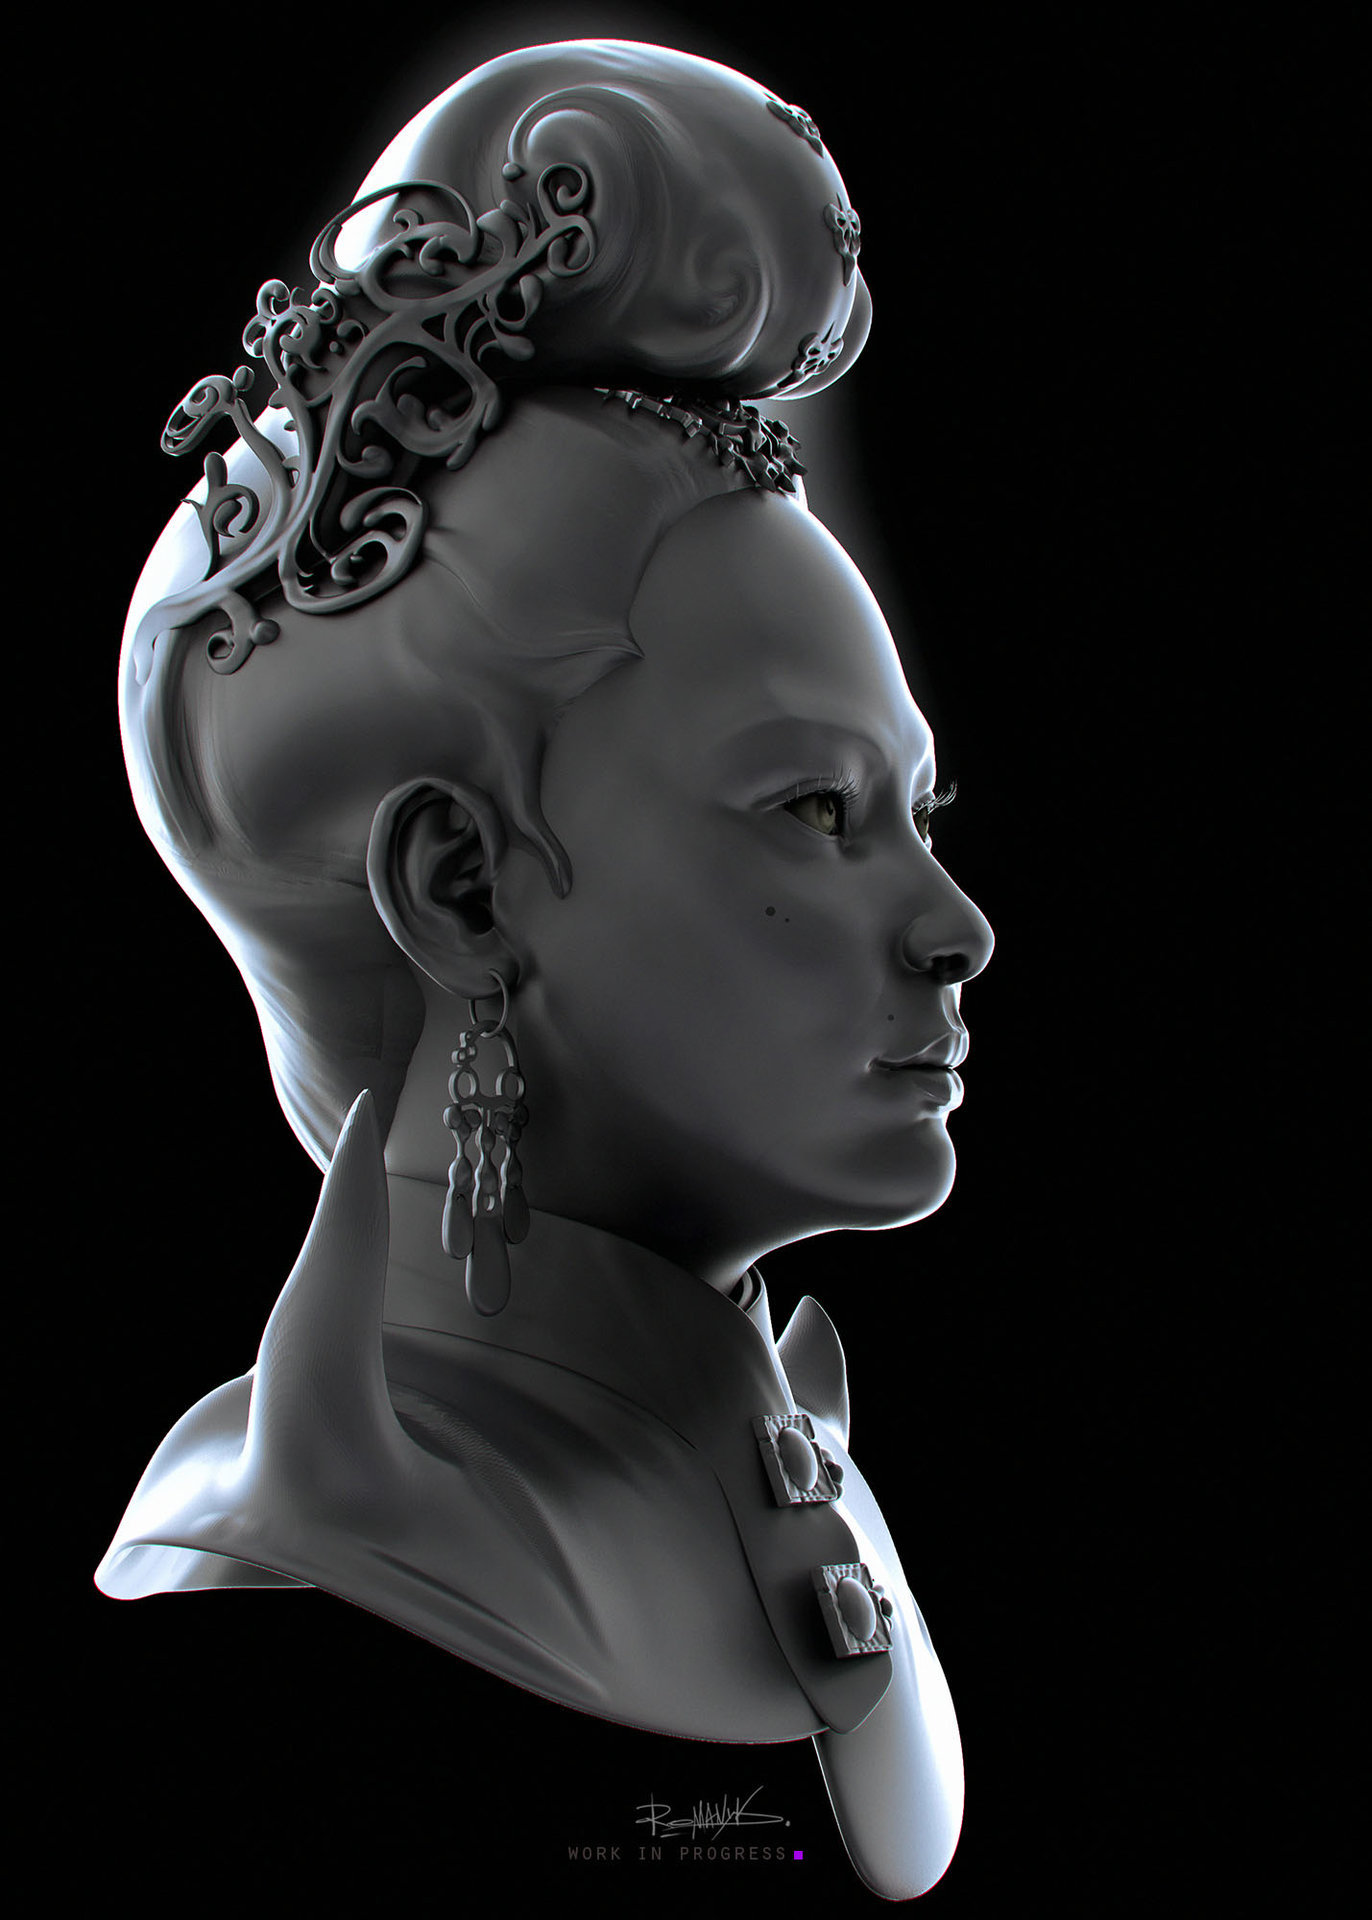
Recently finished a series of girls. Not too scary decided to save, c one will describe the stages. In my opinion, it turned out cosplay on Pin Up. For the bust render, I used KeyShot. Final rendered in Marmoset (program for real time game in-game preview). I prepared all the textures for the PBR shader.
The link can read in detail the description of the PBR-render and its subtleties.
')
It was interesting to work with hair. Since this is not often with me, I tried several ways. I will describe the one you like.
In the beginning, a sketch is made of the form in Zbrush with volumes that indicate the direction of the curls, but before that it is necessary to prepare several planes-curls with scanning and texture. After that, it remains only to copy the curls and bend under the form of a pig. In modo there is a tool Linear, it is not difficult for them to bend surfaces (Edit> Falloff> Linear):

The prepared curls that I used:
clothing
Clothes set up in MarvelousDesigner. By the way, about him. It is very easy to get the feel of wrinkles that look more like a tarp or thick polyethylene. I think this applies to most of the models made in this program.
The model from marvelous is not suitable for Hayrez, so I made a re-topology in zbrush, through zremesher and threw a couple of subdivs.
The note
By the way, about highpoly. It is important to remove everything unnecessary from the hague in zbrush, for example, uv, SDiv, Morph Target, as this can significantly increase the baking time. If possible, you can make a decimation of 20% of the original amount of polygons. This can reduce .obj high poly from 1GB to 250MB. After that, it is important to contrive and assign to the resulting Smooth group high-end of 180%, so that the surface is uniform. Because of the triangles, it may not be perfect:

Skining
I'll add on skinning. Not so long ago, I found the www.mixamo.com resource where you can get a character autoskining. The resource was immediately tested and, in my opinion, it did much better than I expected. This lesson took me no more than 15 minutes. I went to the site, signed up, uploaded fbx and in my account I placed markers on the joints of the model. Next, it will remain to generate the skeleton and download the updated fbx.
Below you can see that the model has averaged vertex paint, with which you can already work. For me personally, this exemption from the work I absolutely hated!
On the resource there is a large number of animations where you can test a low-cut for the presence of jambs. Loupoli made in manual mode. Since the generation of lowpoles, which turned out to be in Zbrush, absolutely did not suit me. It often happens that the hands to make a re-topology goes faster than trying to find and apply a button that will do everything for you. Smooth group on the entire model one, instead of scattering the Smooth group, I again cut the Ages on the edges and on the seams of the sweep. I like this way as hell and I would like to completely abandon the breakdown of the model in the Smooth group.
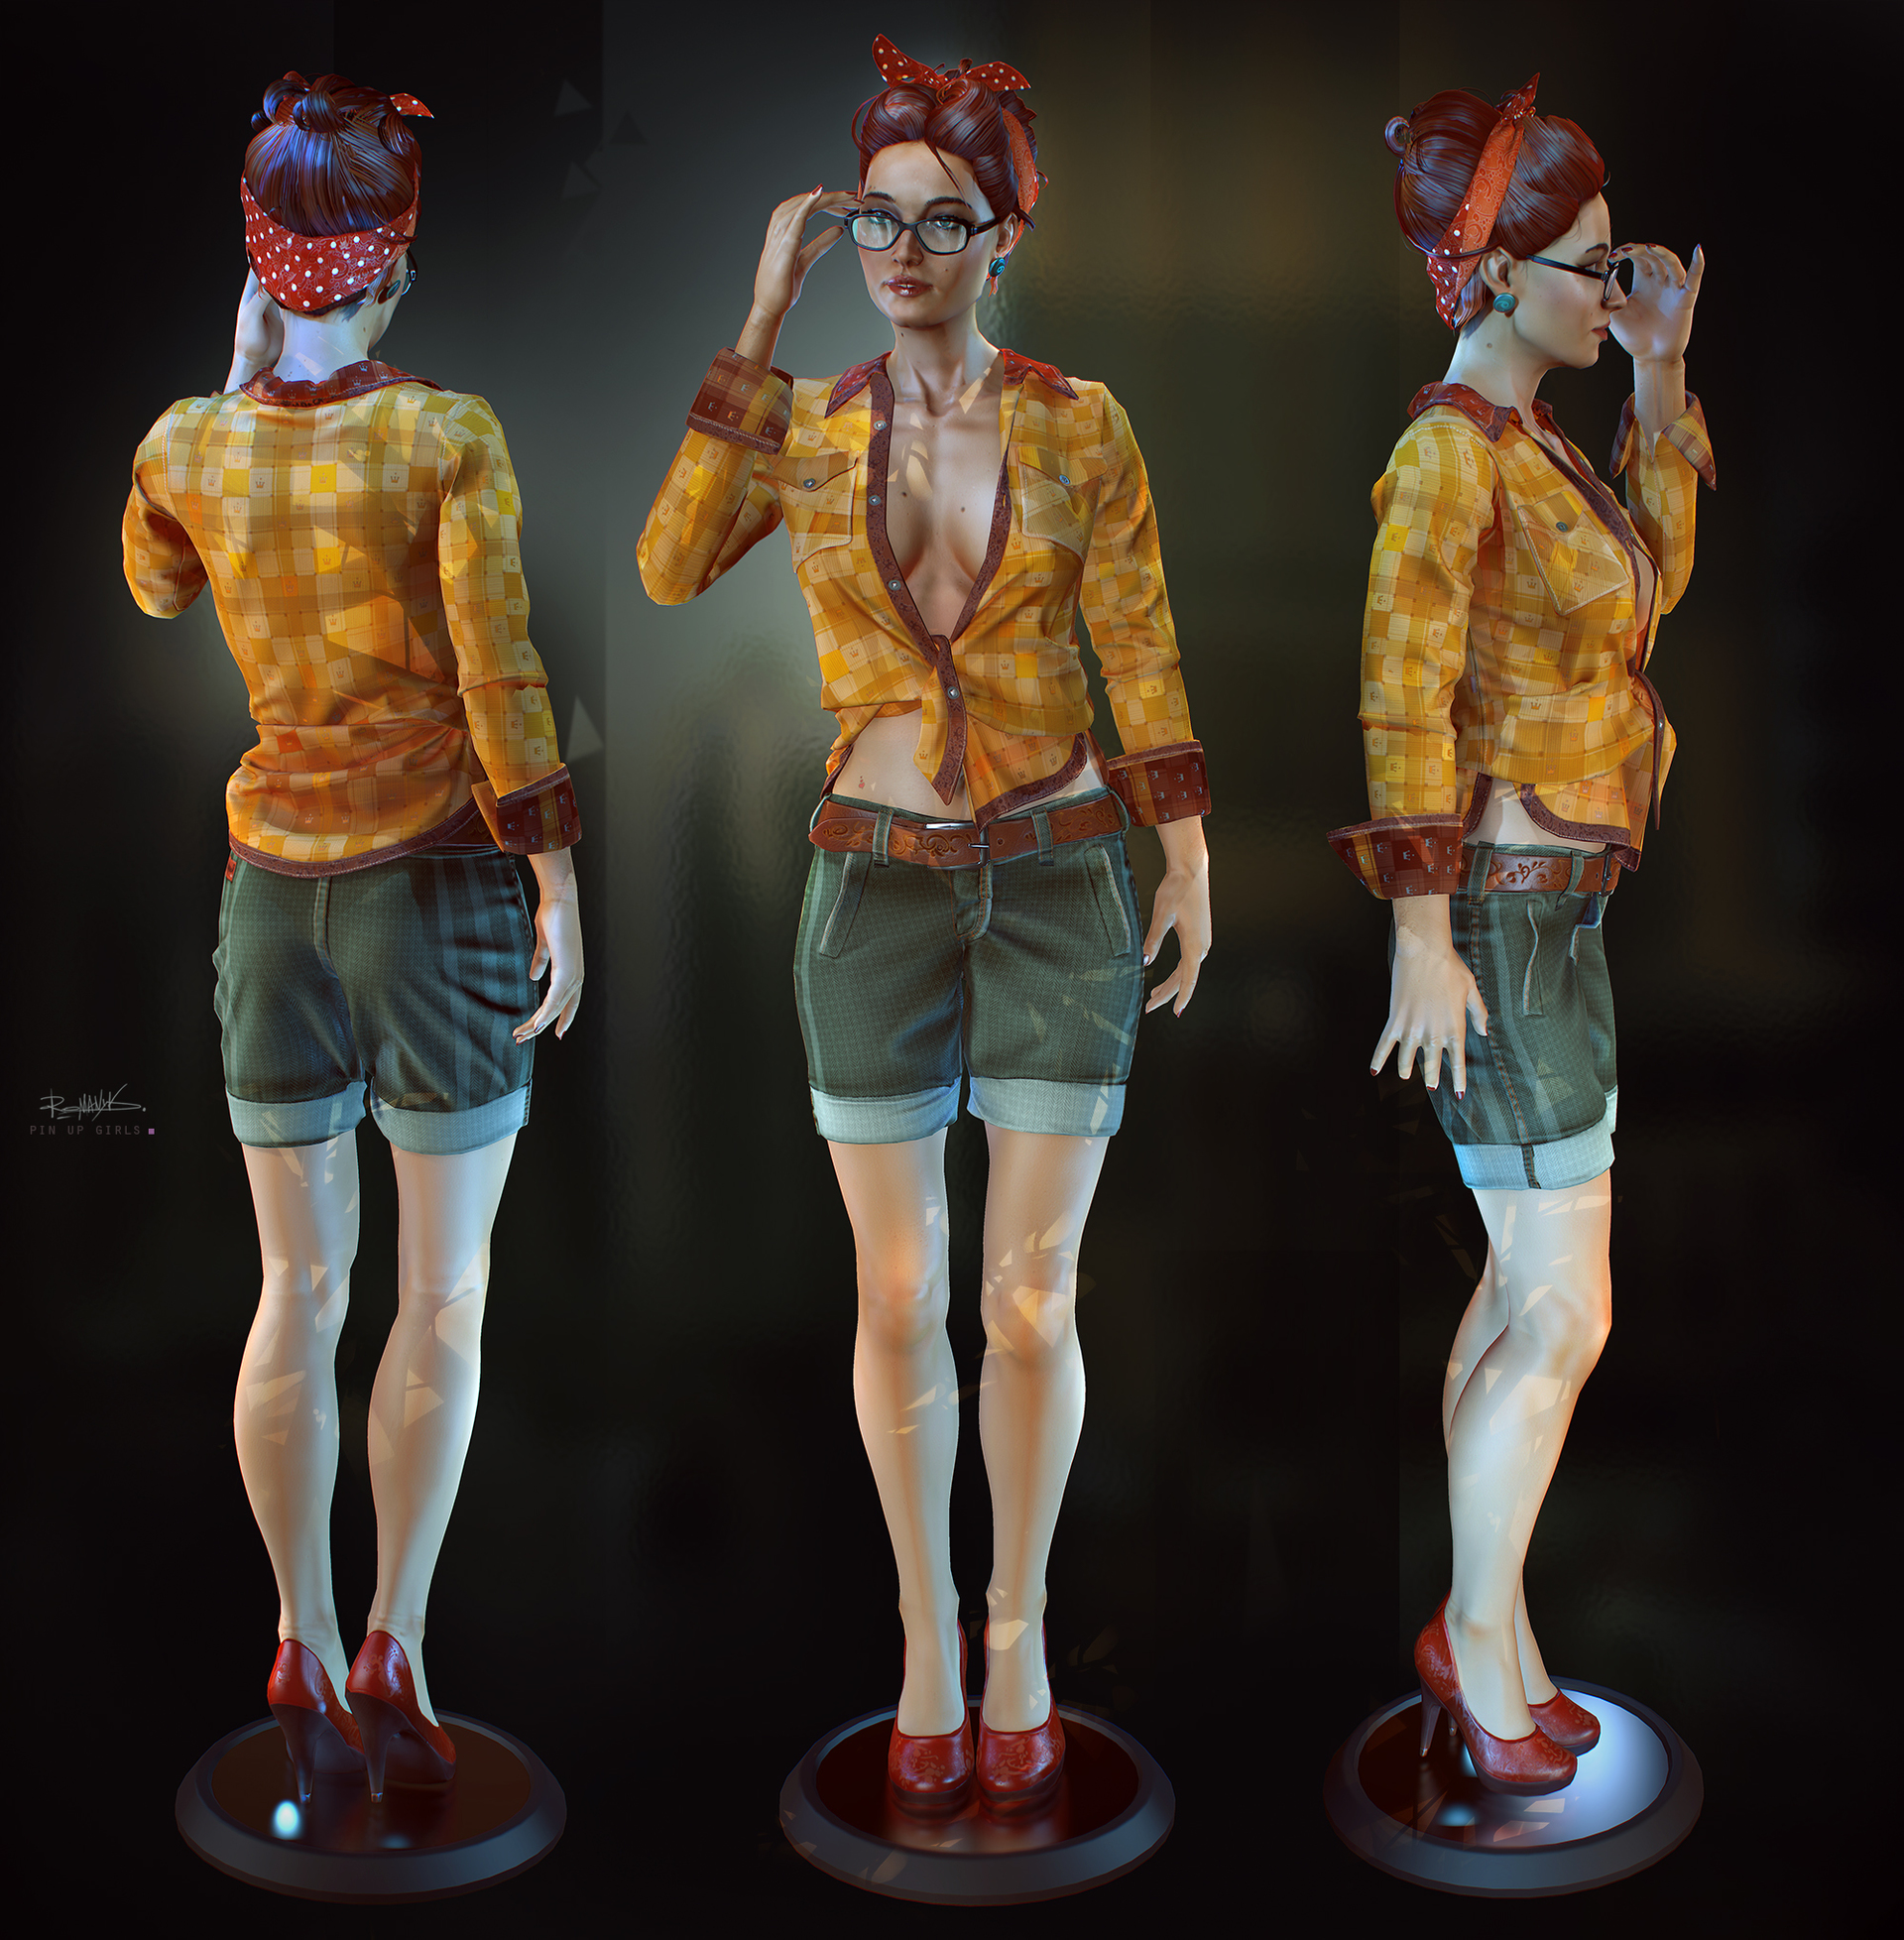
The character has three uv-sweeps, respectively, and three different textures. One for the body, the second for clothes, the third for hair. The amount of polygons - 64K.
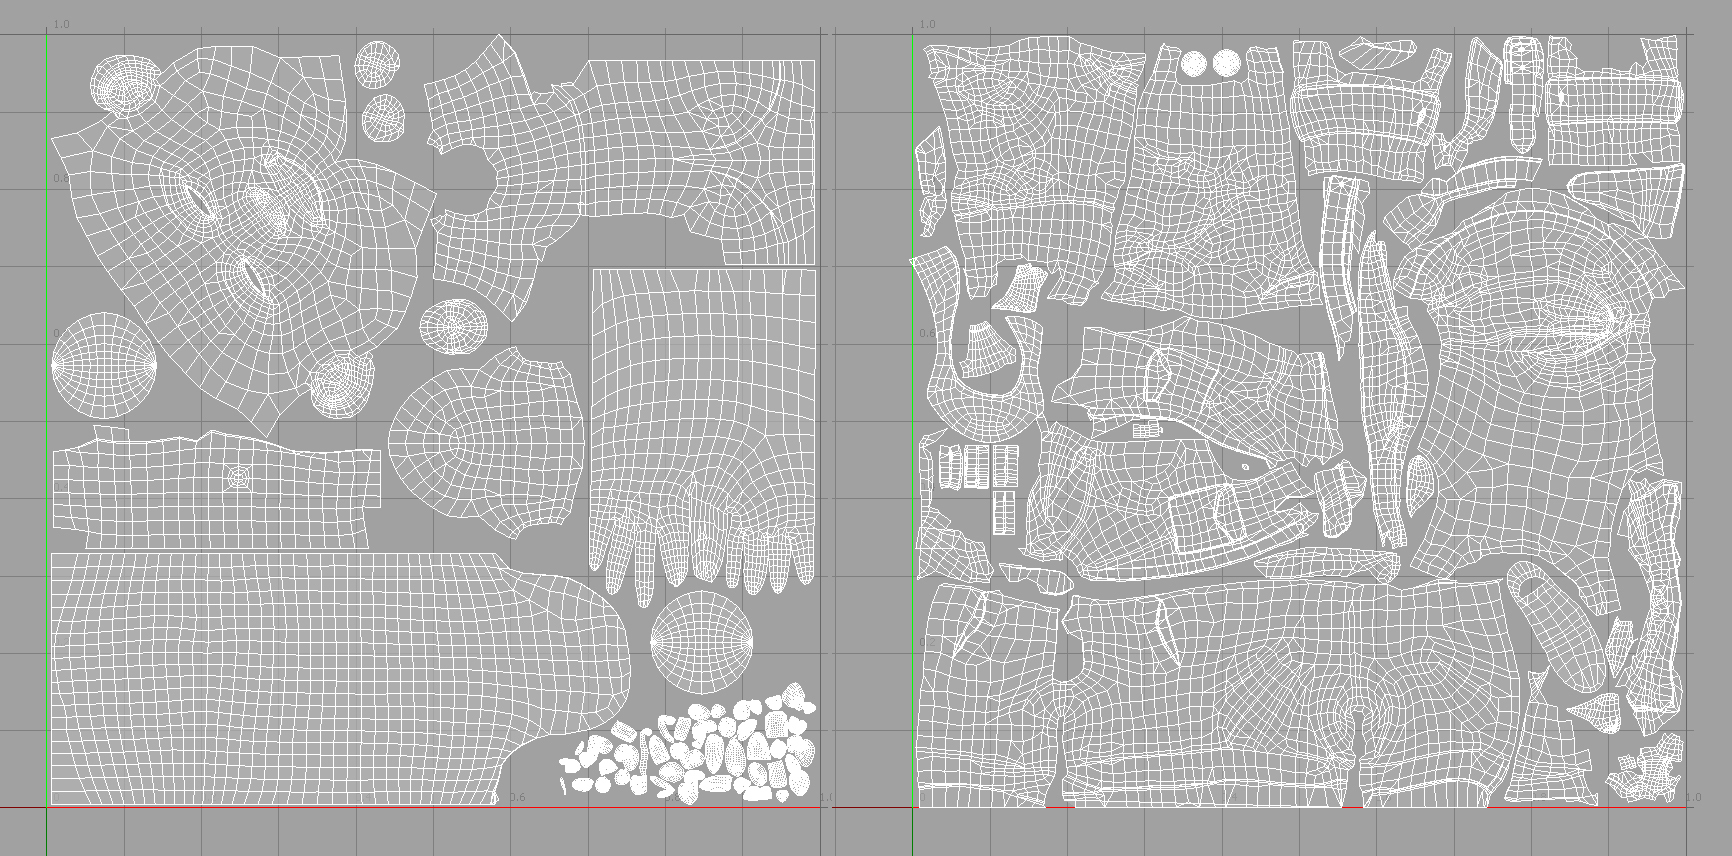
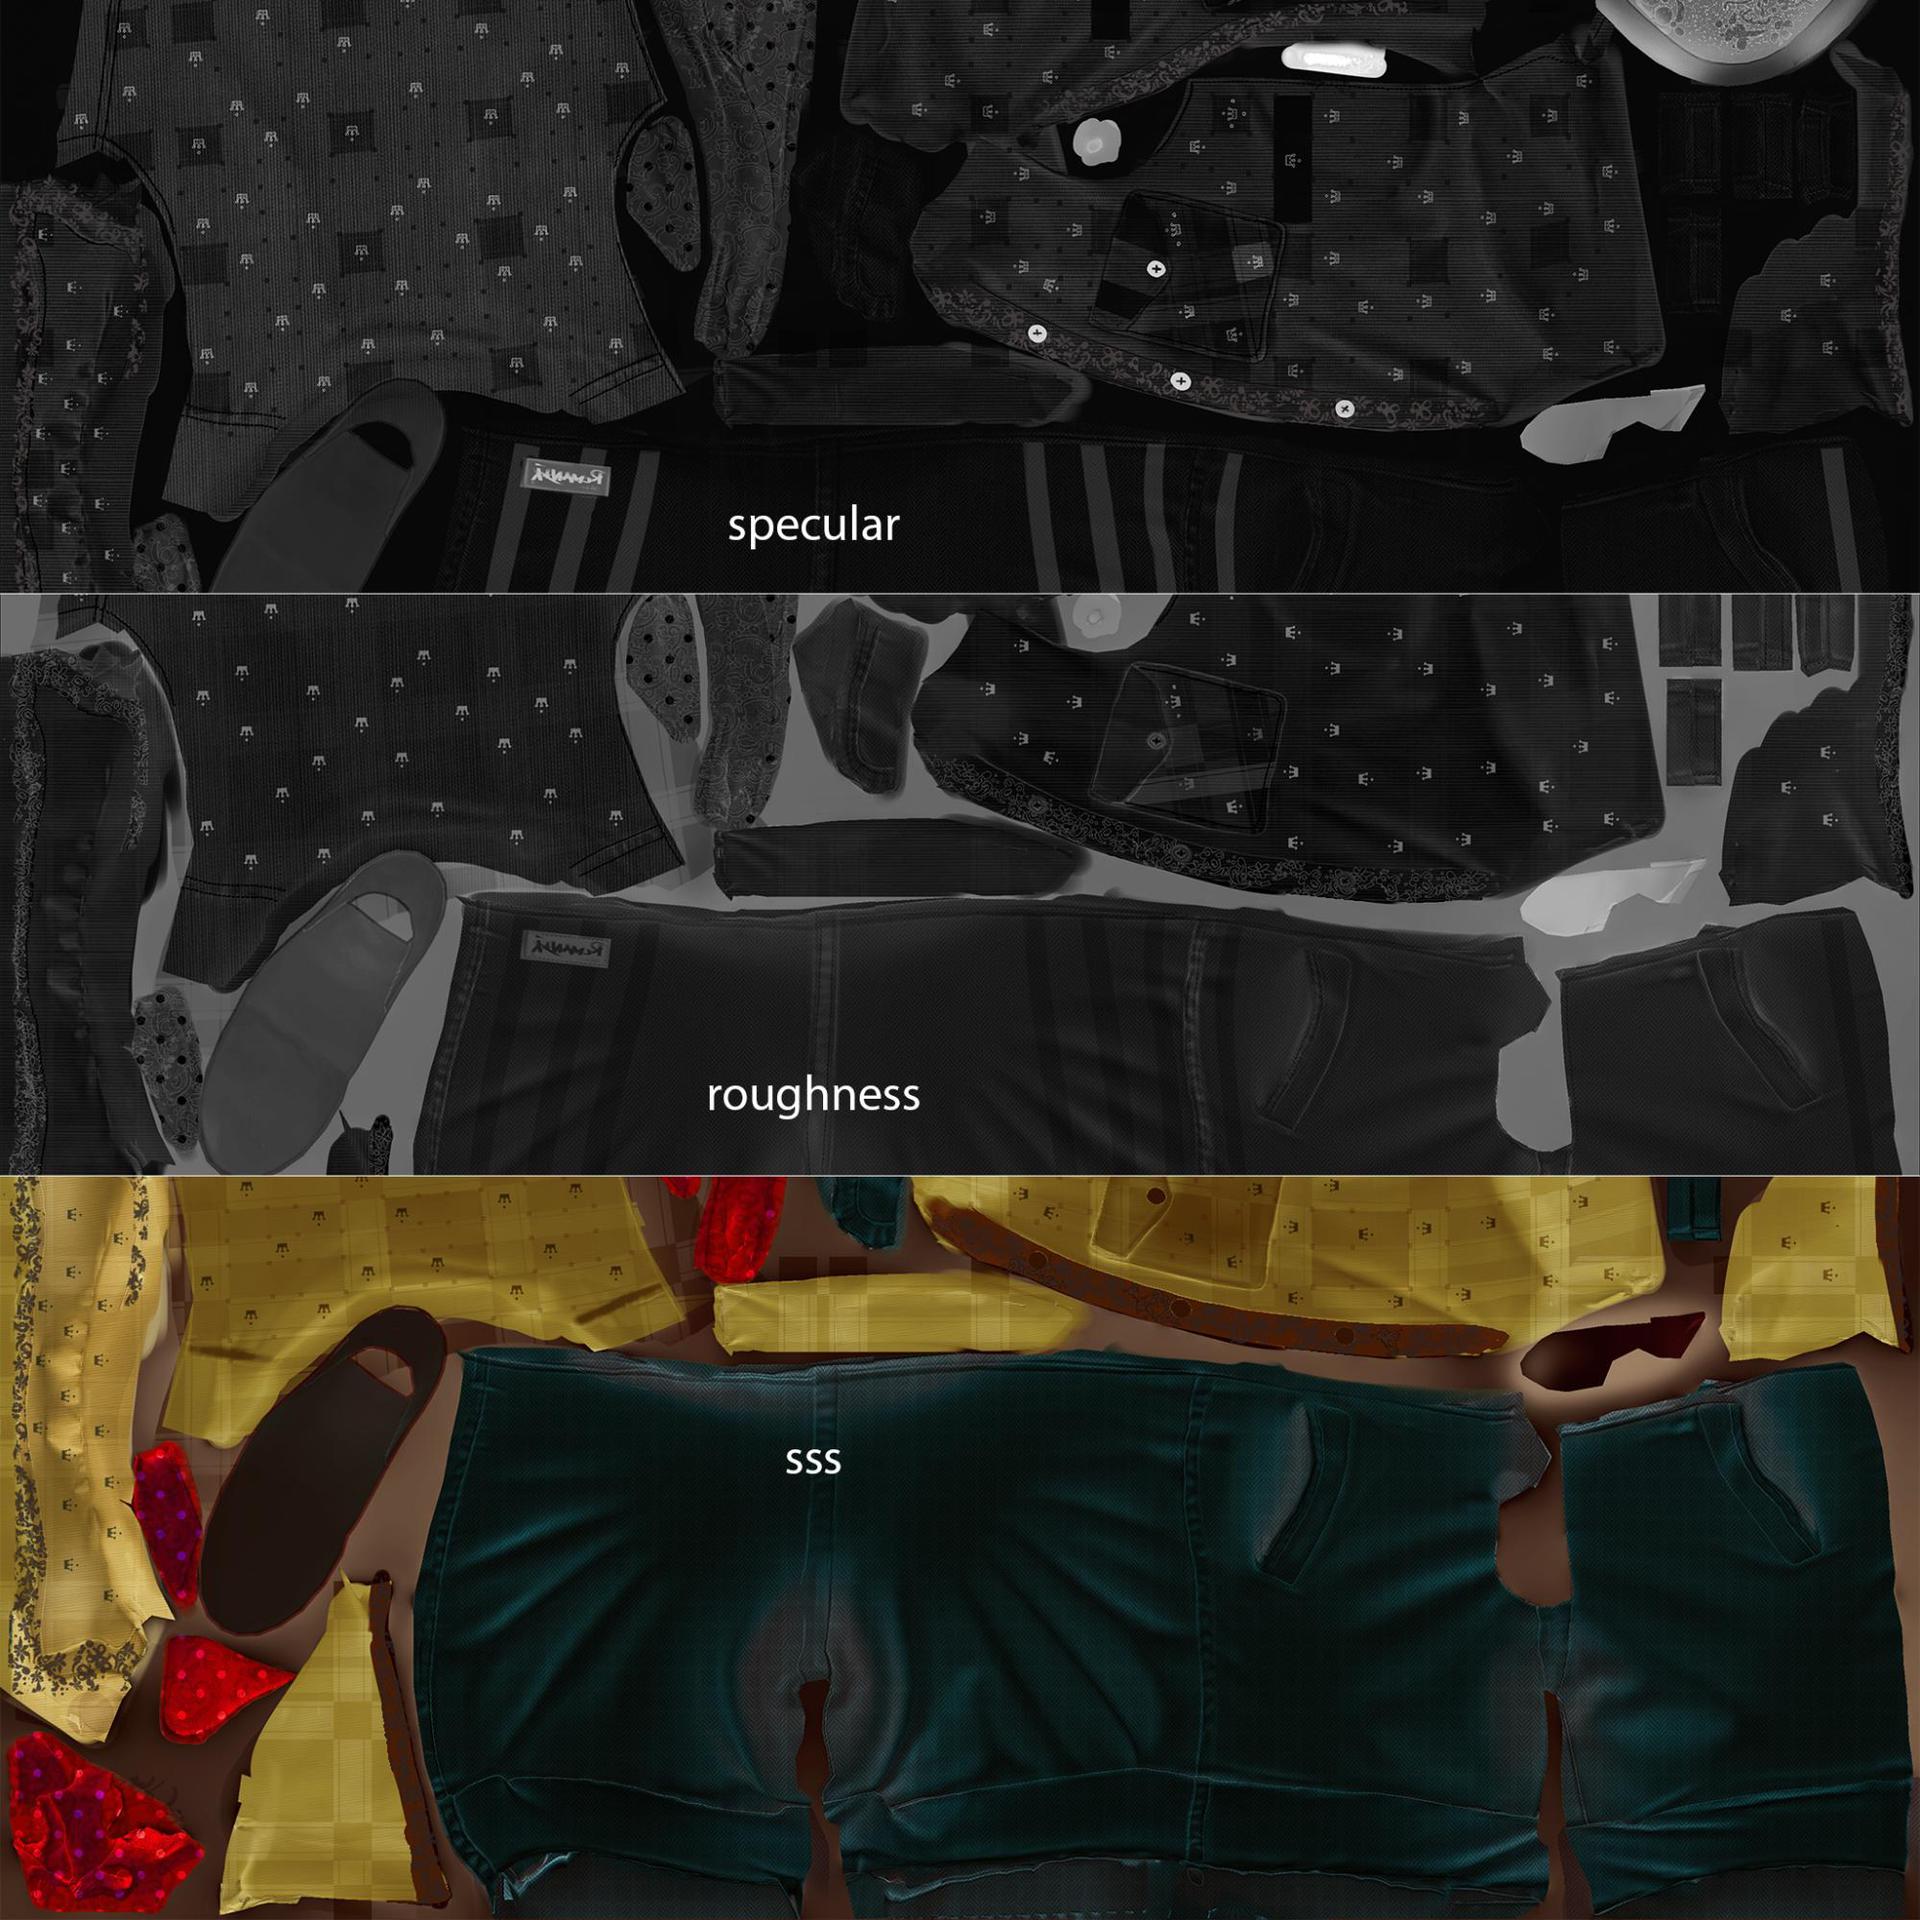
Texture
Baking I have thoroughly turned into the substance designer. For convenience, I made a scene with pre-configured nodes that I use every time. In this case, you only need to re-specify the folder with the resources, in consequence of which the nodes will be rebuilt themselves. For example, I have a block in which a color mask will lie, colors are taken from it, corresponding to future materials or a tile, which will be added to this pre-configured color. To fulfill this condition, it is required to make vertex paint on the highpoly with the same colors. Or assign the appropriate ID Material. Ideally, I plan to expand this file and create a pre-configured resource separately for vehicles, rag characters, soldiers and sci-fi with their own sets of tiles and scratches.

The size of the textures of the body and clothing 4K x 4K, this size allowed me to make clothes completely non-symmetrical on the scan.
Shine
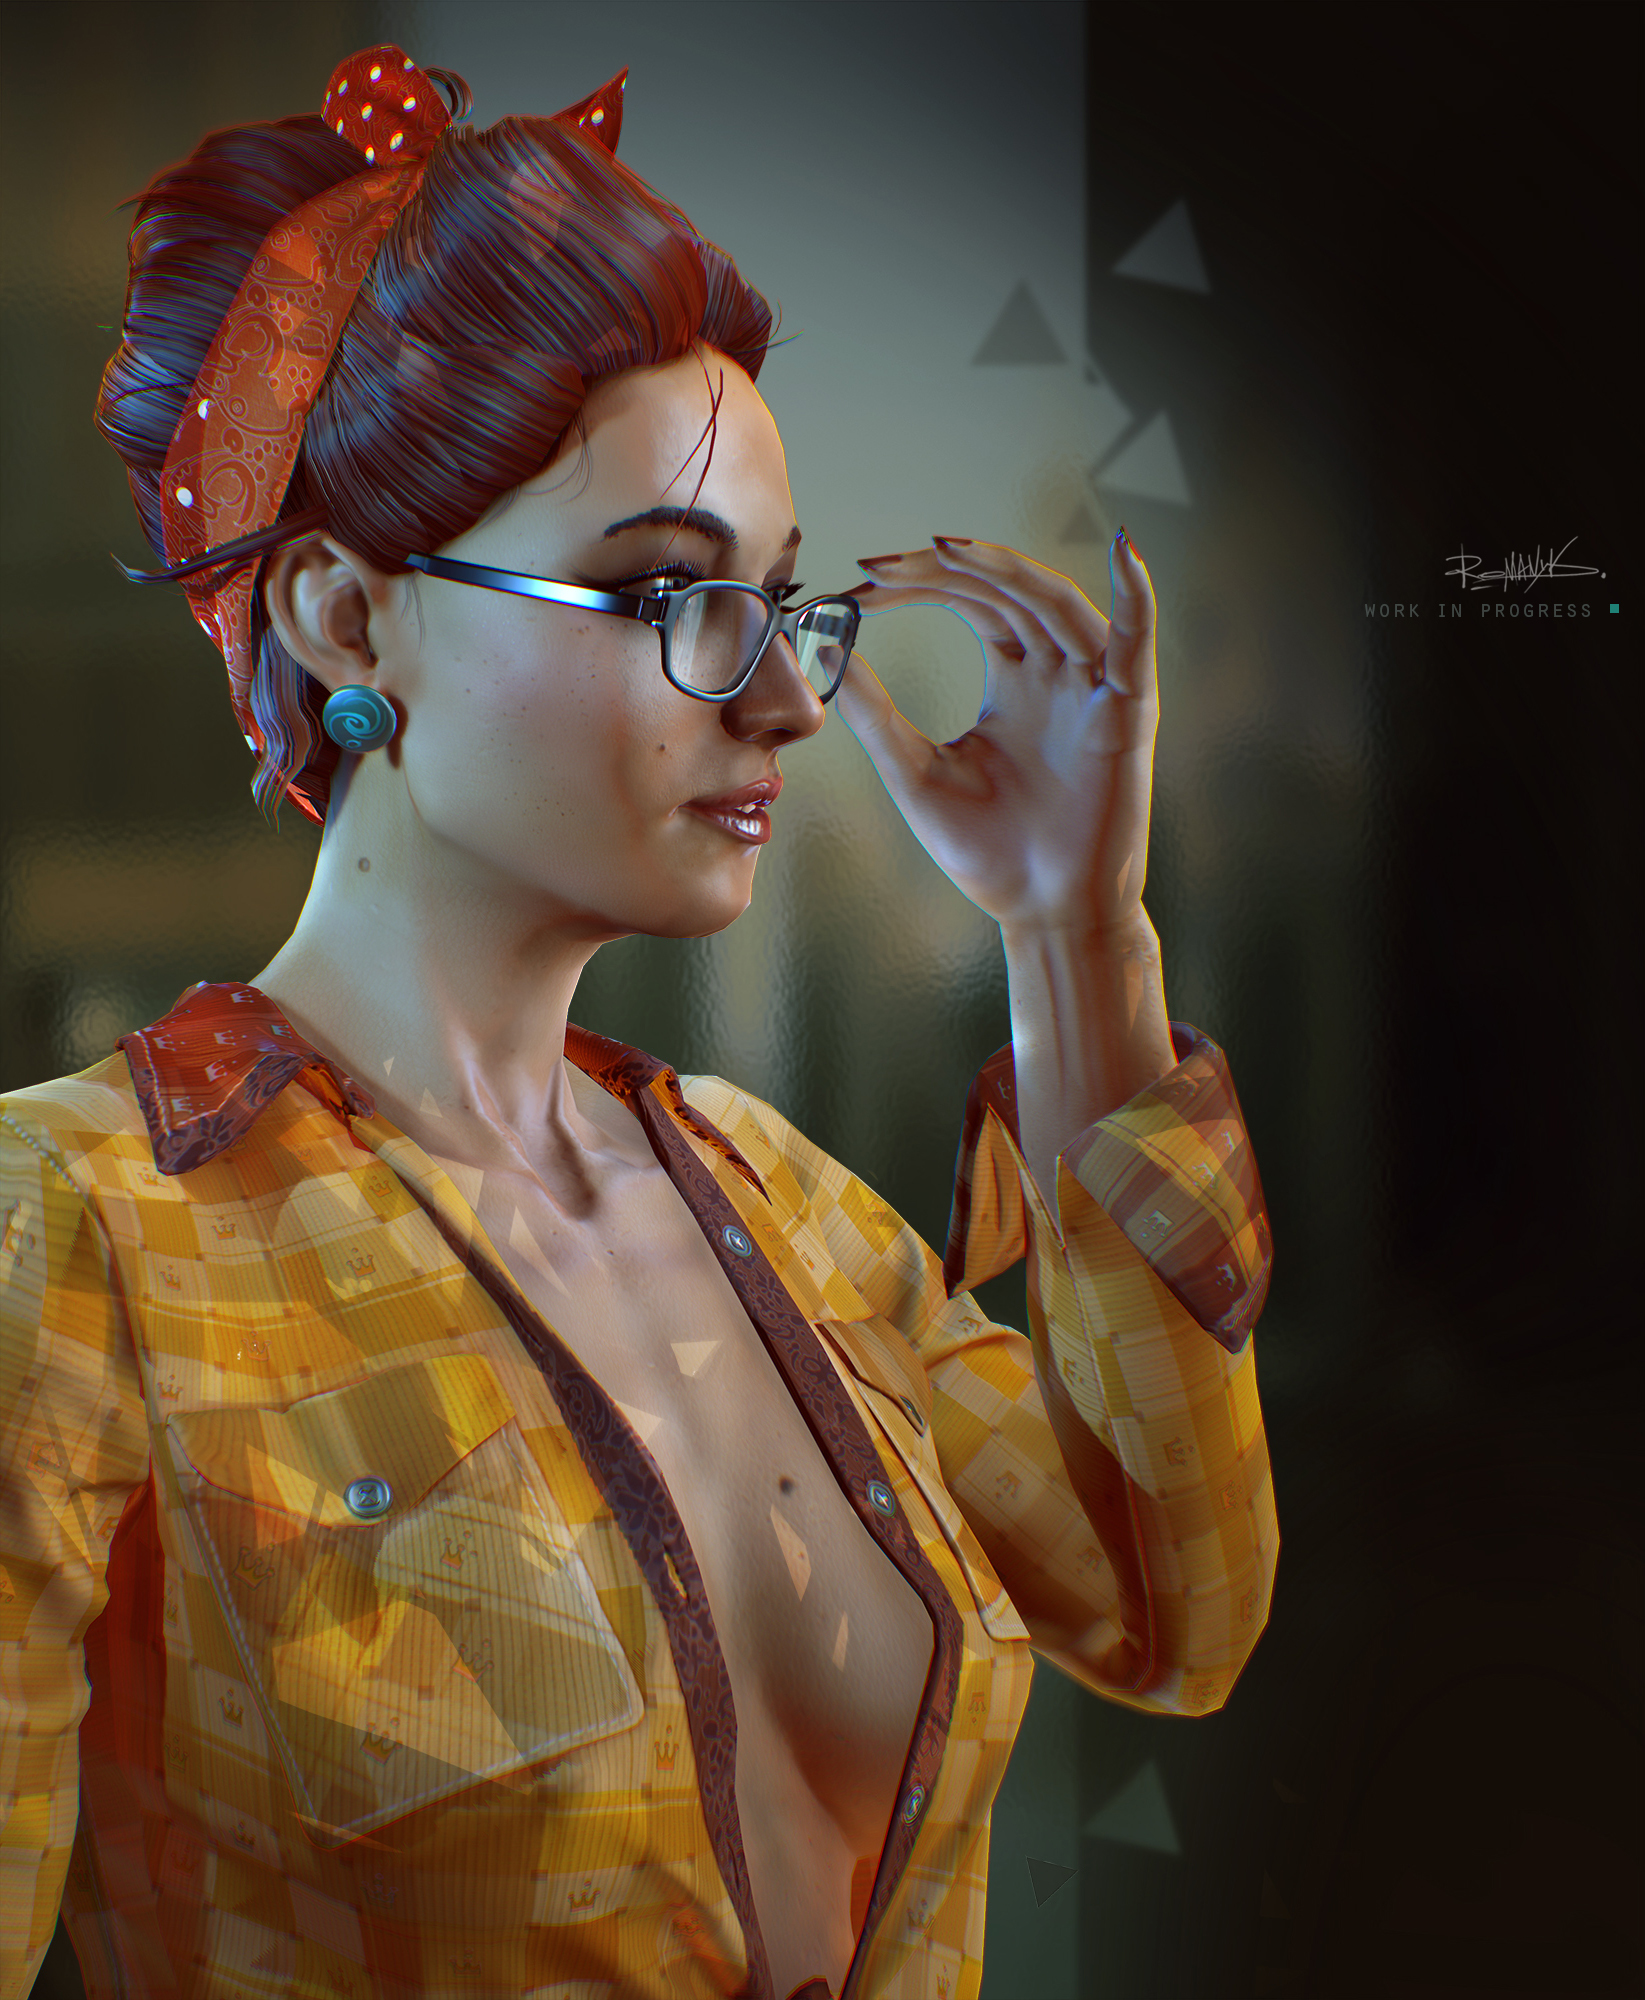
In any incomprehensible lighting situation, he exhibited another light point source of opposite color, but mostly it was bluish. I do not understand people who like to expose physically "correct" lighting and fanatically refuse to use additional light sources.
The whole silhouette of the character tried to beat the light. Since the entire texture of the model consists of a warm color, the lighting was destined to become cold.
Material Settings
Screenshot of fabric and leather material settings in Marmoset:

Highpoly


Source: https://habr.com/ru/post/258847/
All Articles