As I passed the first hack quest CTF Ratazana

Introduction
As an introduction, I will talk briefly about the hack quest Ratazana CTF. It was organized by specialists from the CIS (Information Security Center), whose office is located in Bishkek, Kyrgyzstan. This is the first well-organized hack quest. It was simple and interesting and most likely served as a so-called starting point (as it were, the organizers wanted to test the level of the participants).
Briefly about the quest
According to the quest legend, VideoCorp faced a leak of the source codes of its product, with the result that EvilCorp released a very similar software version before VideoCorp, which led to losses for the company and the loss of good customers. It was necessary to find a mole and collect evidence. The whole quest was given 7 days. In the quest, 8 missions. So let's get started!
# 1 Start
First mission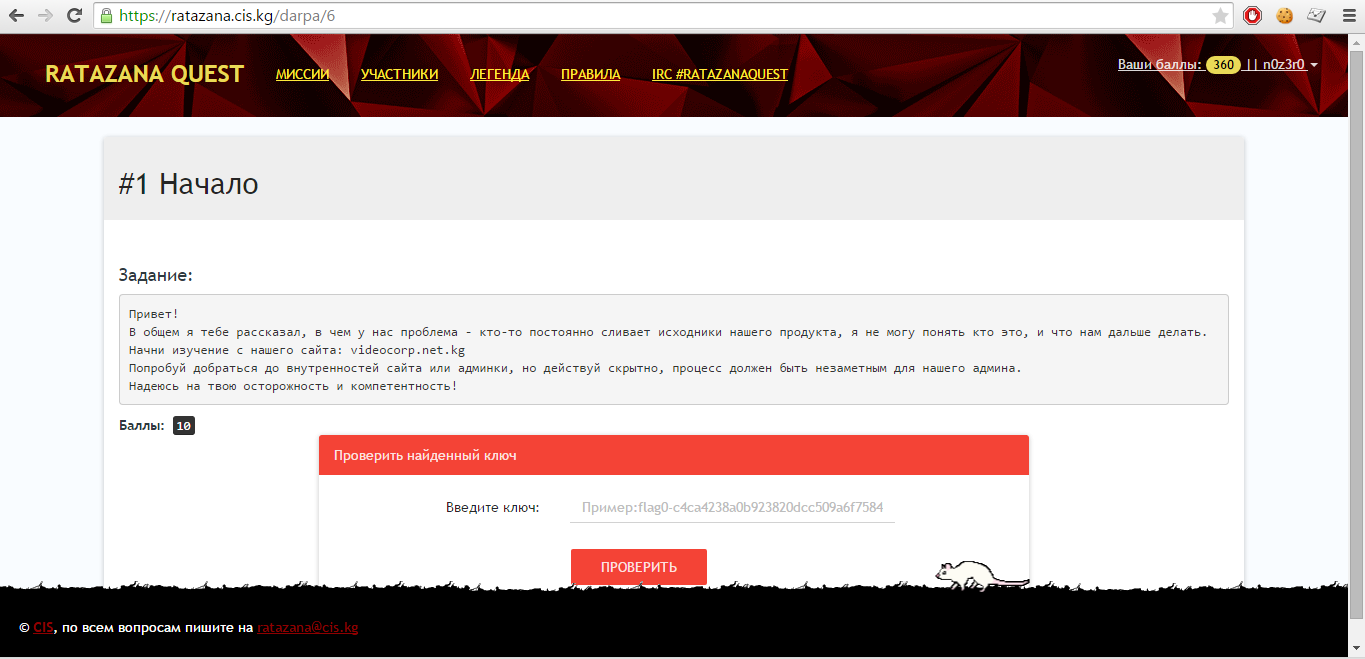
Everything is simple, you only need attention to detail. As usual, this happens, but a certain category of users chooses passwords that match their login, which we will use in the first case. Go to the "News" tab and see the username of manager01 there , remember it, it will be useful to us. Next, look for how you can get on the admin login form.
')
News page on the site
Trite / admin / and we can now use the login manager who published the news.
Enter the login manager01 and, accordingly, assume that the password is the same!
Login form to admin panel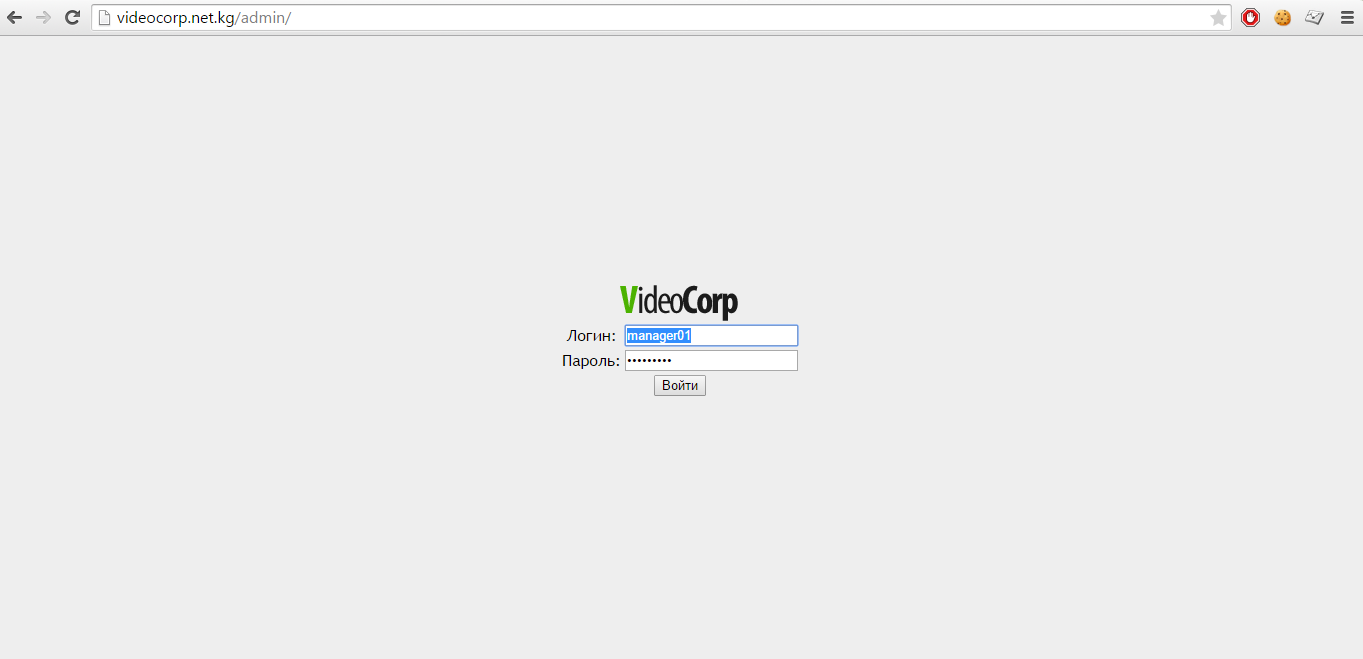
And lo and behold! We are in admin panel! And as a reward we get the first flag. Now we can continue with the second mission!
Get the first flag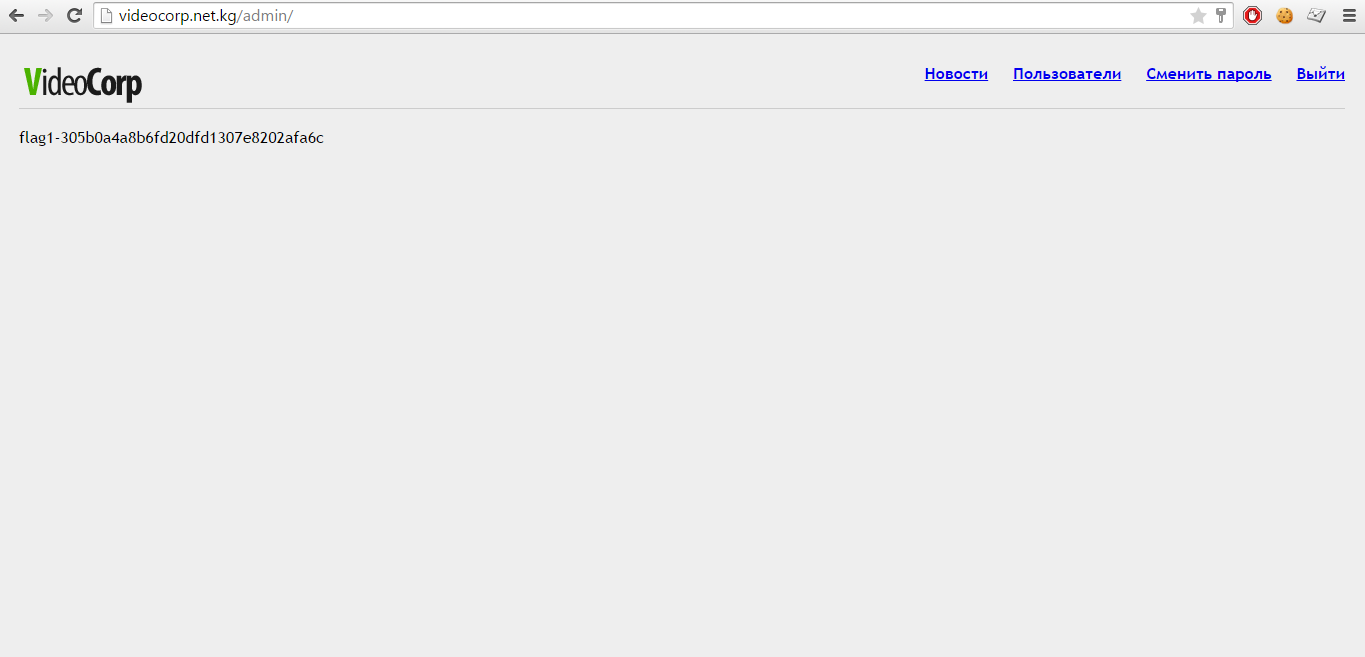
# 2 Staff
So, in the second mission we need to get information about the staff!
Second mission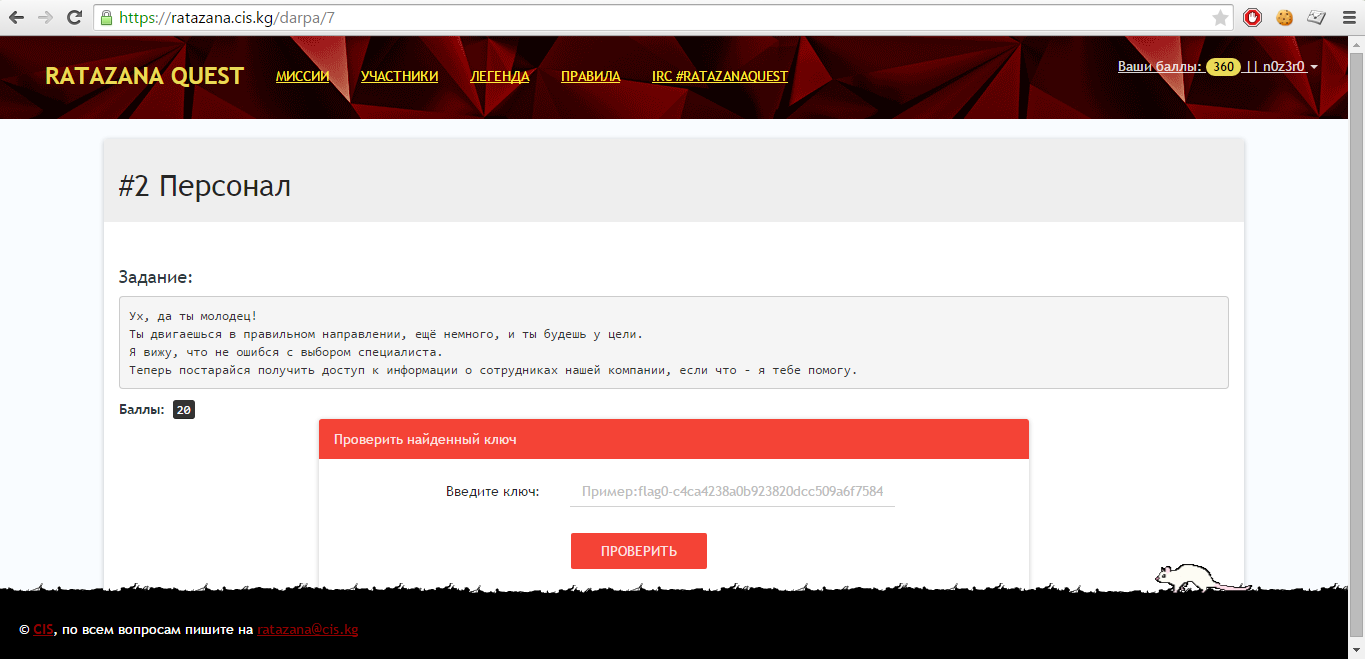
So, we are in the admin and are ready to receive information about employees. But disappointment awaits us in the menu, there is a “List of Employees” item, but unfortunately we cannot use it, because we don’t have enough rights, we are not an admin. But attention is drawn to the menu "Change Password". Click on it and see your login and password. The URL is an interesting parameter that also attracts attention and this is user_id = 3 . When you see the password change form, you really want to see what will be displayed, for example, if you change the value, it is trivial to 1.
Password change form
Change the value of 3 to 1 and press Enter, after which we see that instead of the login manager01, the login admin is displayed and the field with the password also seems to be filled with the value from the database for the admin. But we cannot visually see the password, since dots are displayed.
But we can see the HTML element. And what we see, and we see the admin password! Oh yes today we are very lucky.
It remains to log out from the account manager and log in under the administrator.
Admin password retrieval process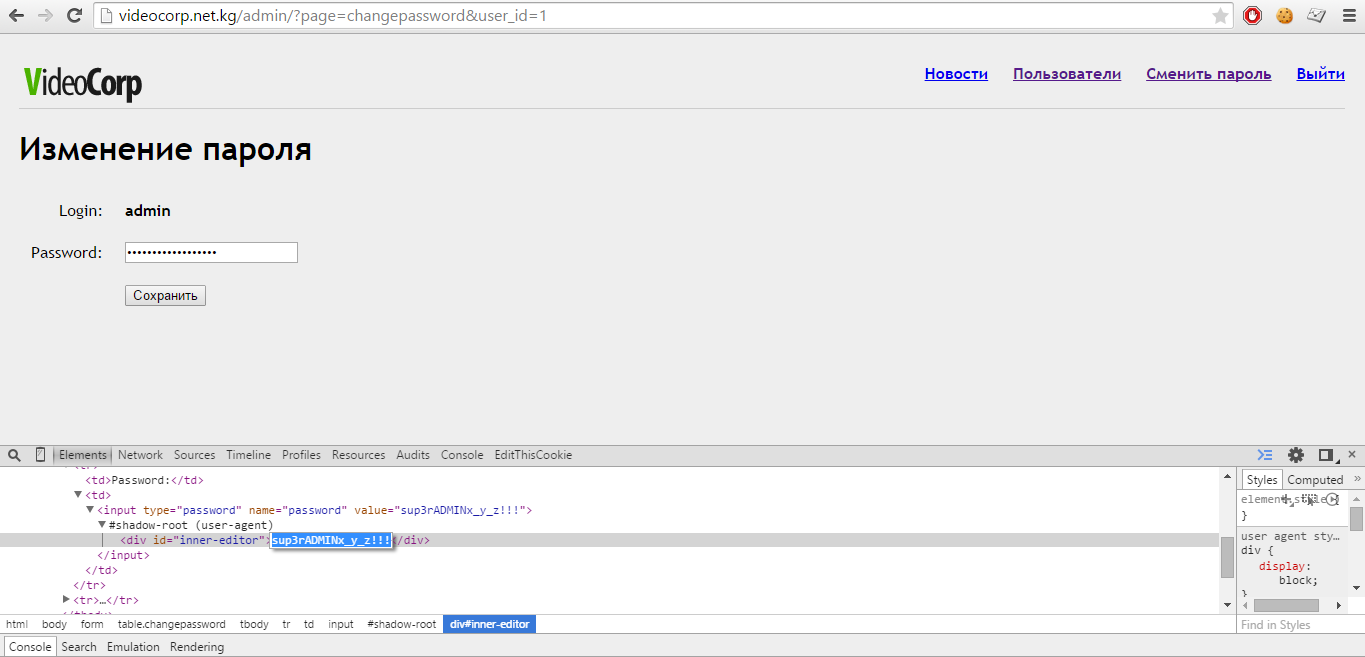
We go under the administrator and we pass on the form of the list of employees. And as a reward we get the second flag!
Login under admin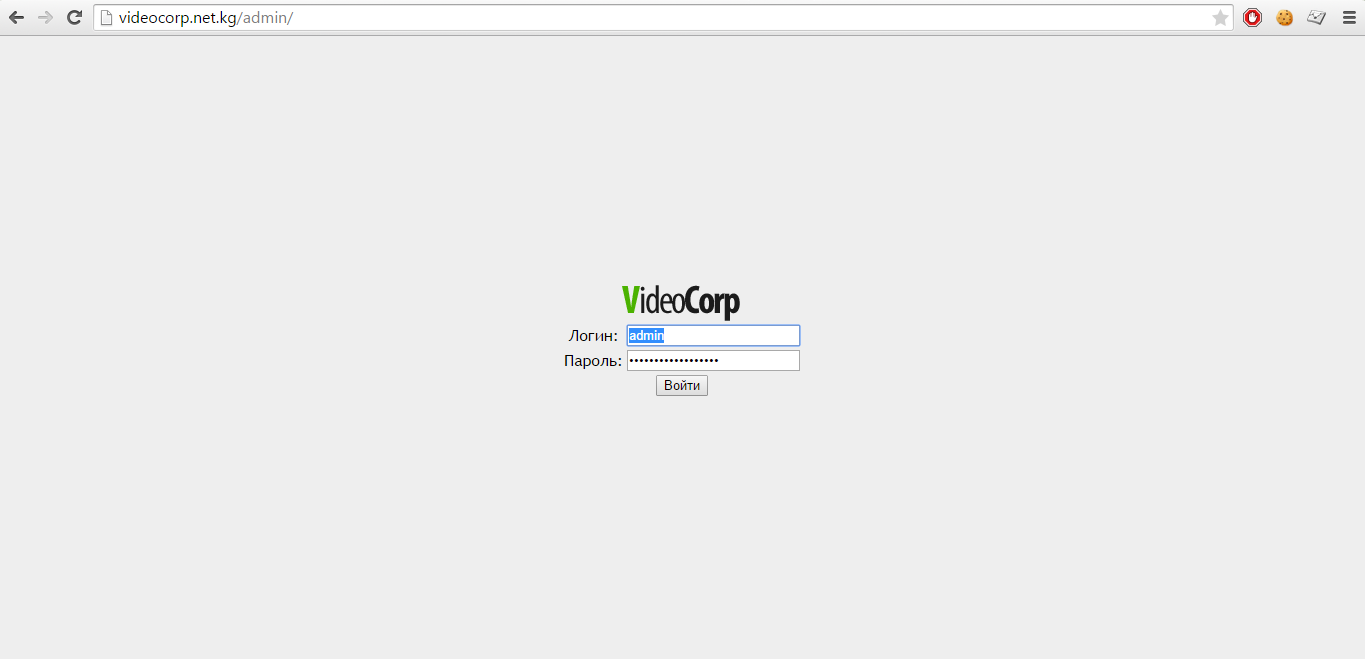
Employee List Form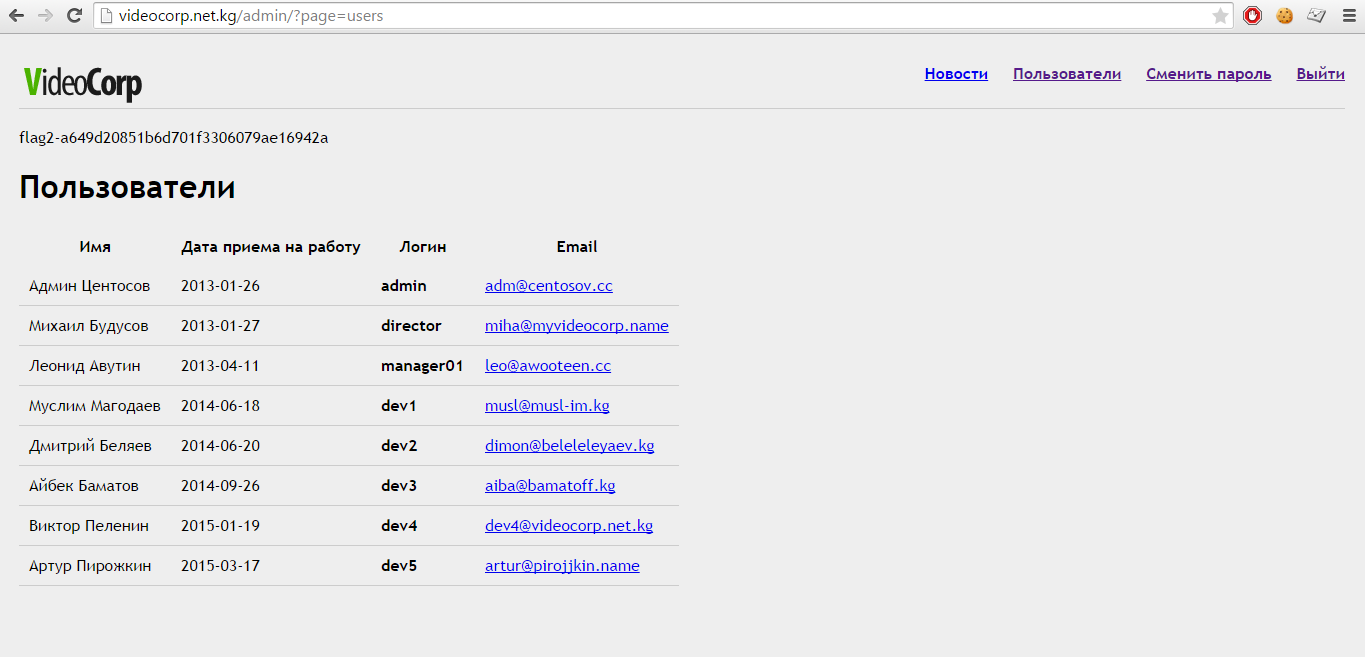
# 3 Learn
In this mission, you need to examine the list of employees and draw conclusions, where to go further.
Third mission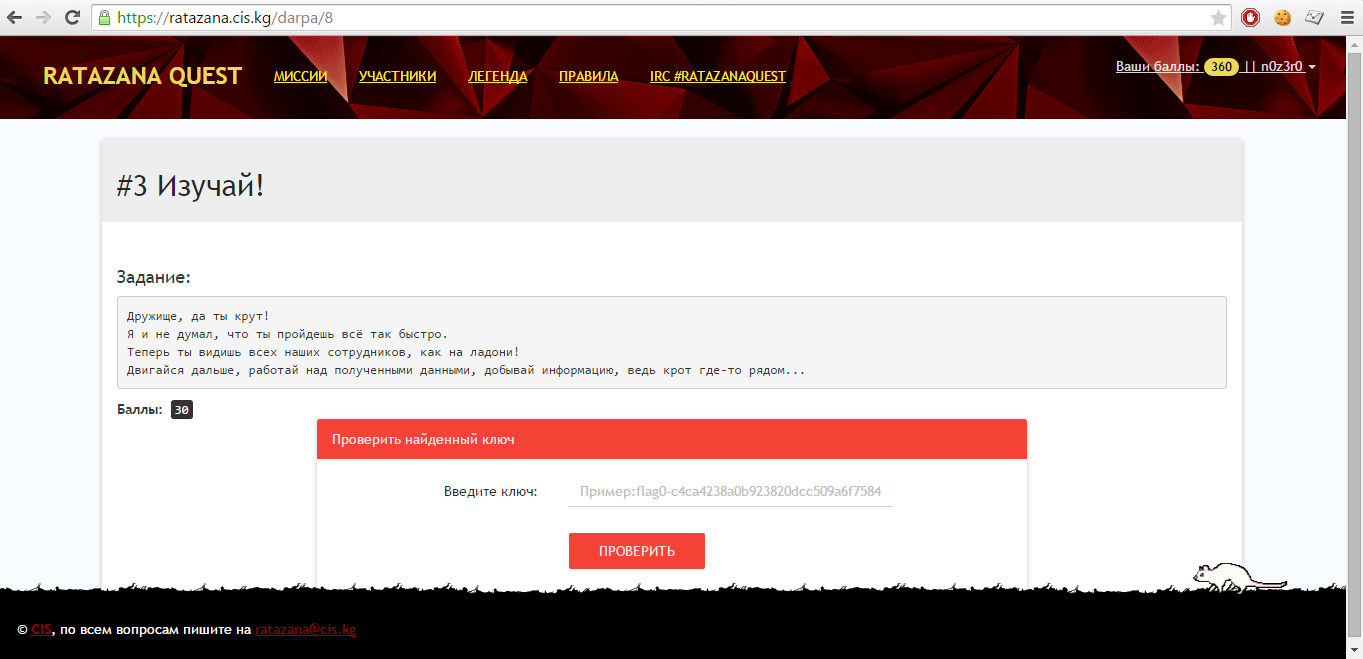
In general, we have a list of employees with their e-mail and full name, as well as dates of employment, but the question is what can be taken from this useful for us. At first glance, nothing useful, but take a look at the mailing list of employees. Almost all are on different domains (checked, none existed at the time of the mission), except for the employee under the login dev4
List of employees and interesting for on dev4
So it turns out, we see that the mail of this user is on the current domain. Yeah, you say! Here's where to dig. And this is the right direction. It is trivial to assume that if you add mail before the name of the domain videocorp.net.kg, then we will get to the mail service and its web interface.
But we need to first find out the password of dev4 , since we assume that its login and password may be suitable for mail.
Getting the password dev4 by analogy with admin
Next, go to the mail service mail.videocorp.net.kg
Login form of mail service
Enter dev4 mail as login dev4@videocorp.net.kg and as a password, what you took from the HTML password change page, press Enter and successfully enter the dev4 mailbox
Mailbox interface and third flag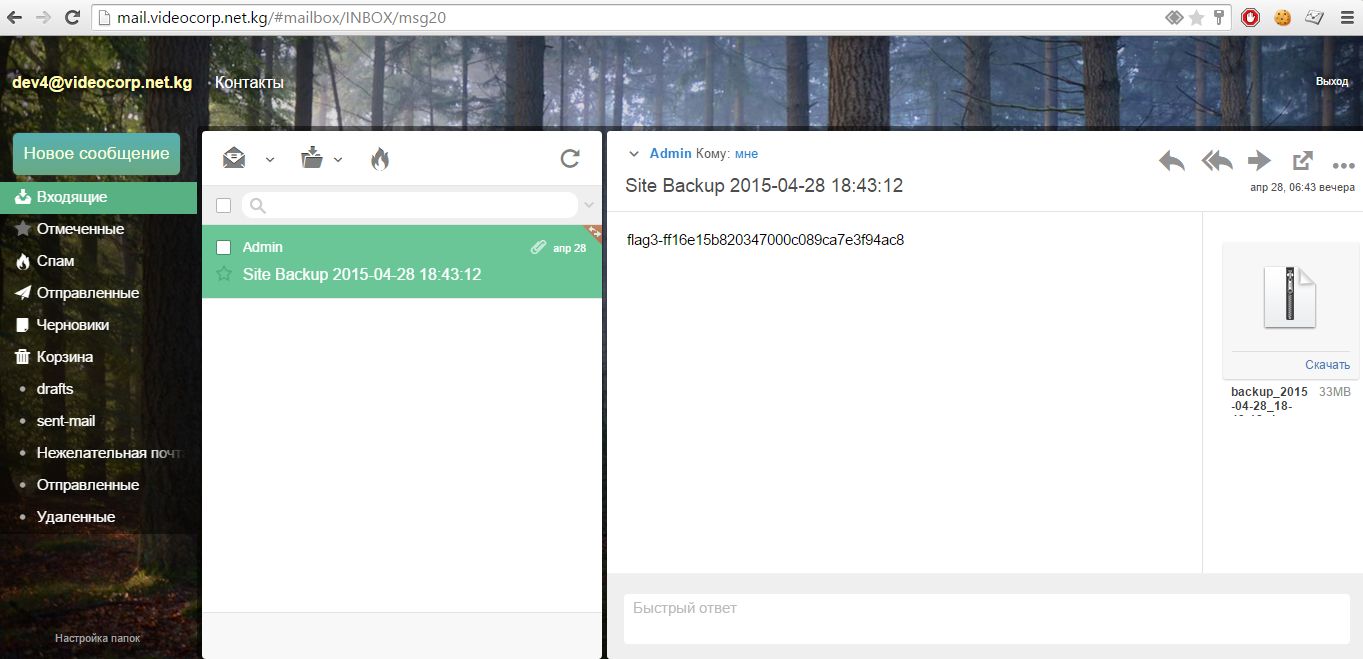
# 4 Backup
In this mission, we are kind of hinting that we will need to work with some kind of backup and extract from it the data we need.
Fourth mission
In general, we are already in the mailbox dev4 and here in the letter we see that there is some kind of archive called backup. We download it right away and try to unzip it, and then a surprise awaits us, the archive is password protected.
Backup in a letter
The first thing that comes to mind is, of course, to clear the password using fcrackzip . Hmmm, let's do that. Go to the virtual with Kali Linux, as there are all the tools we need and run fcrackzip on the backup archive (in fact, everything is more trivial, sometimes you should check if you can set the password as part of the file name, then you will not need brute, but went the long way).
Bruteforce password to the archive using fcrackzip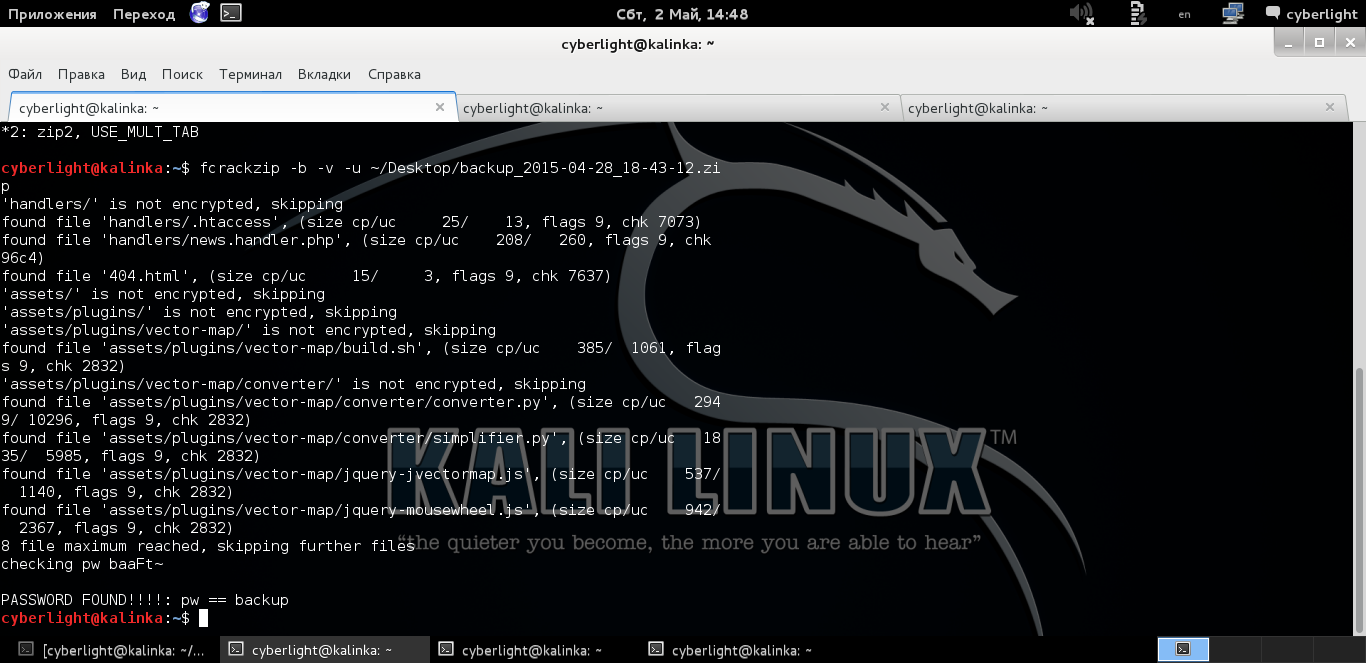
Since the password begins with the letter b, as it turned out later, the password brute force was not protracted, after a five-minute wait, the password became known! And as the password was used part of the file name, and specifically “backup”
I started fcrackzip with the following parameters fcrackzip -v -b -u path / to / archive_file.zip
Using a password, we get access to the contents of the archive!
Enter the password and unzip the archive
Next, look at the content and get the fourth flag as a reward.
The contents of the archive with the flag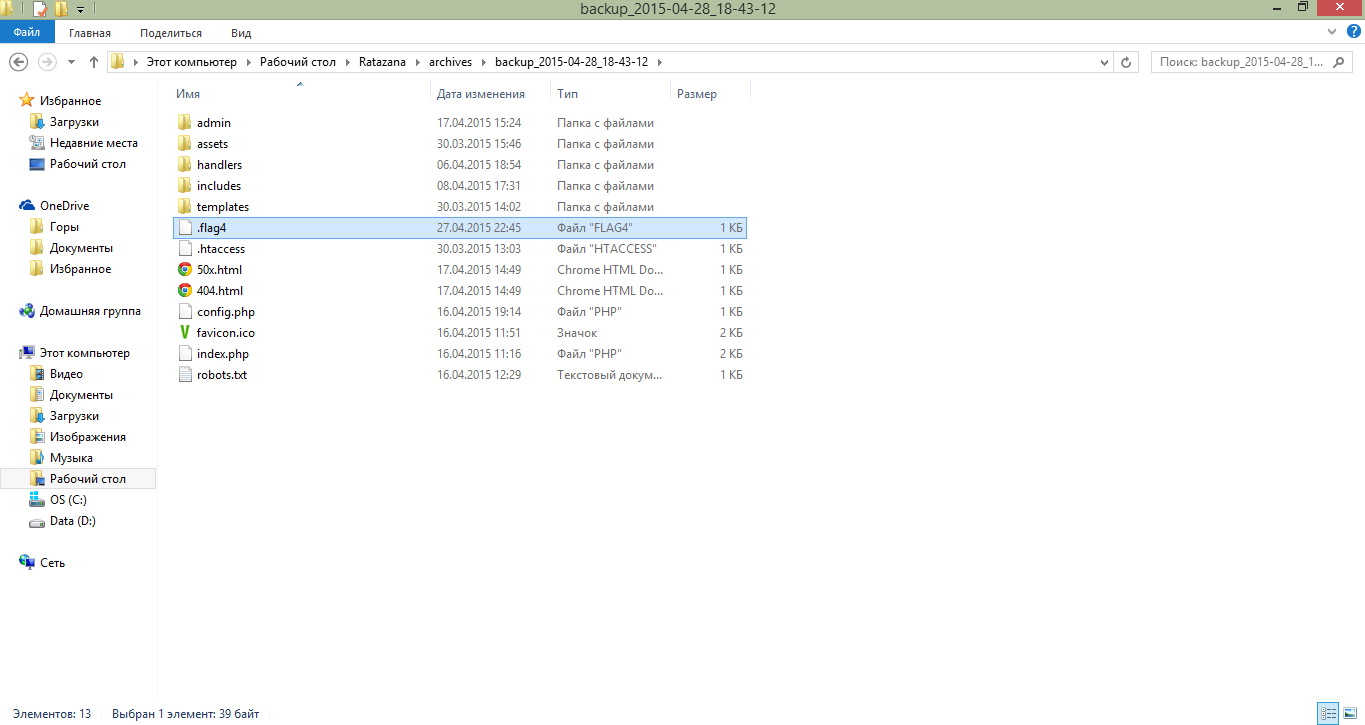
Fourth flag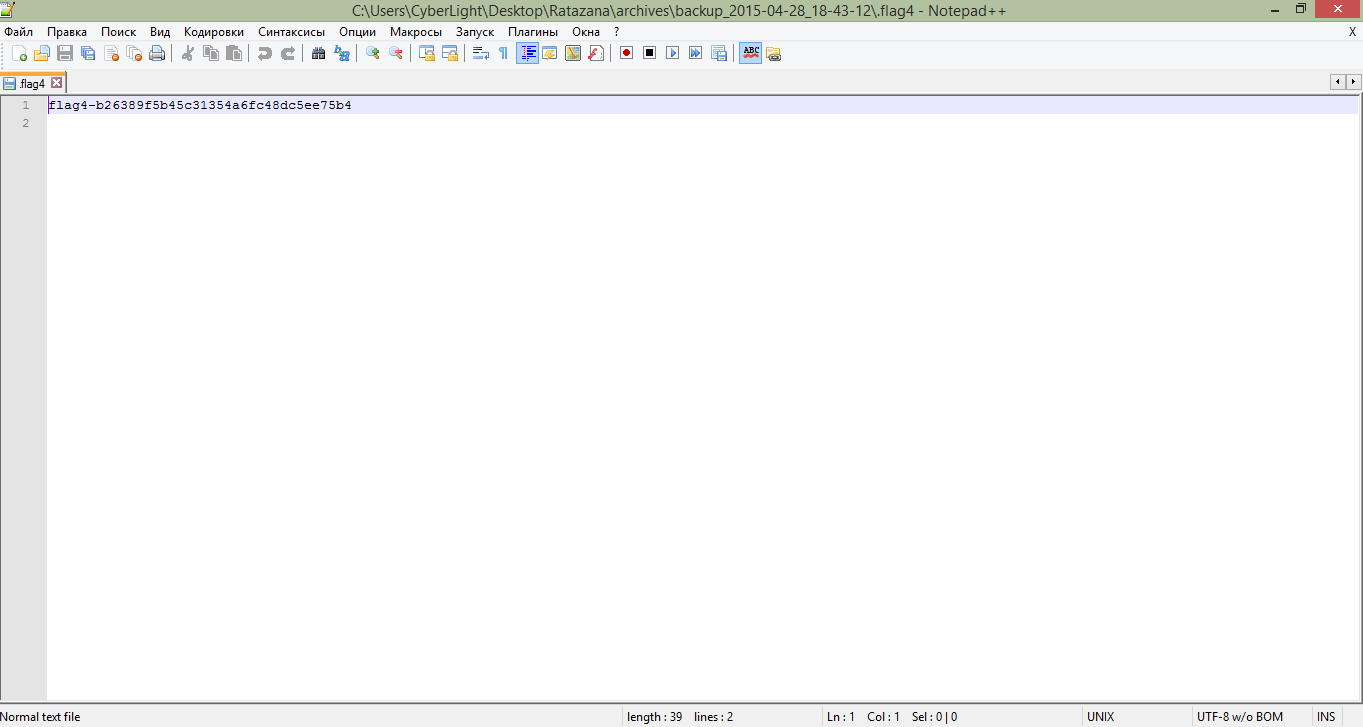
# 5 Go to the server!
In this mission, it is as if they hint that we have the source of the site and we can gather information from them in order to get inside the site. Hmm, let's start studying the source code.
Fifth mission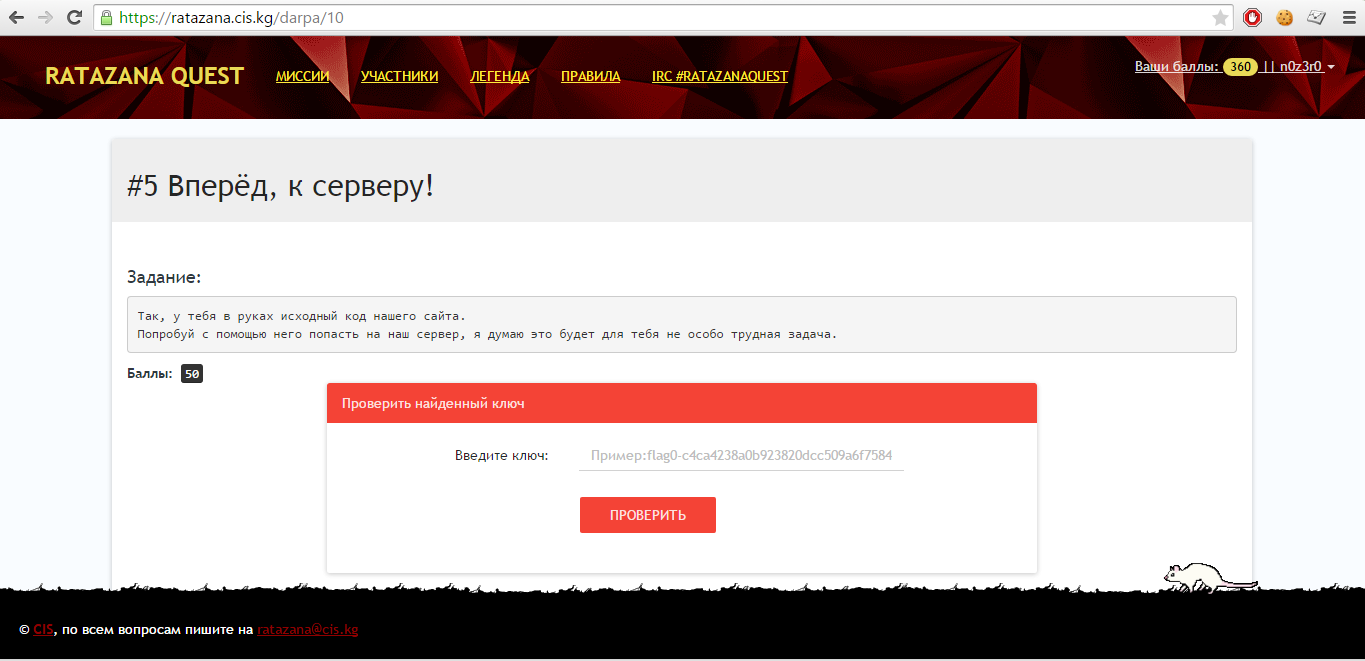
In general, we look at the contents of the archive and analyze what we see. And we see several folders there, for example, config.php is very interesting, because there passwords for access to the database, but we don’t need it now. A thought is generated in the brain, apparently, it is a question of shell uploading, since a less logical way to enter a site is some form of uploading files. We will look for the file responsible for this functionality. And not for long we had to dig, as the upload.php file rushed into the eyes
Contents of the admin / handlers folder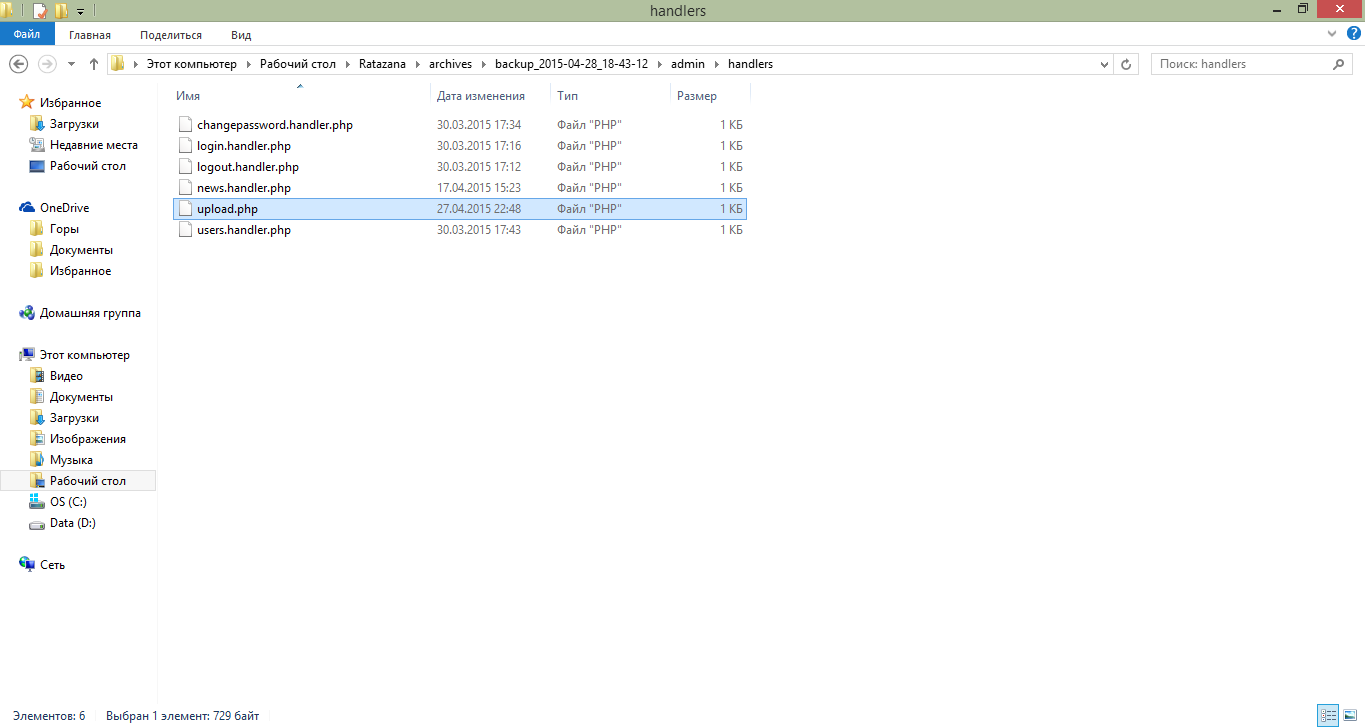
Let's see his code! Honestly, the devil wrote this file and put it in this directory.
The contents of the file upload.php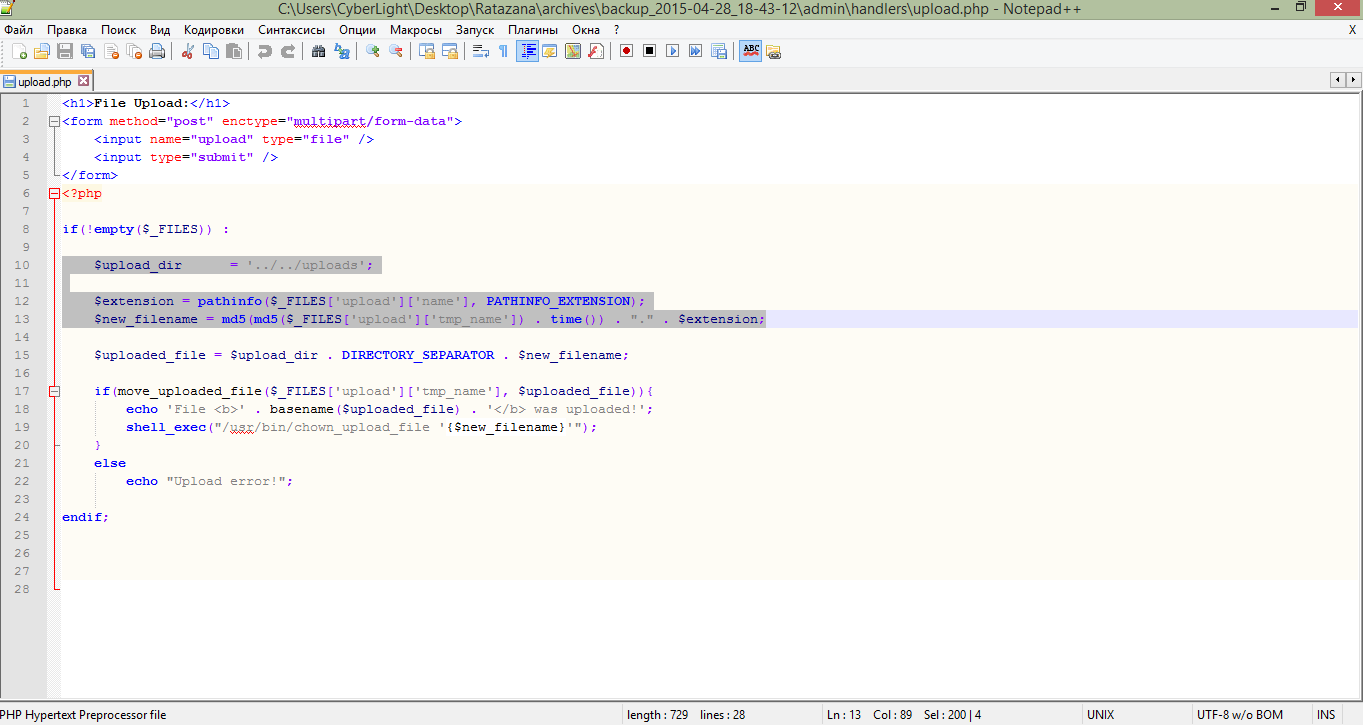
In general, we see that there are no checks on the composition of the file and there is no doubt that this is the right way. When a file is uploaded, only its name on the MD5 hash changes, but this is not a problem, the file name is displayed to us. In this case, the original extension (for example, php) remains unchanged. So! It's time to fill us with a shell.
As a shell, I chose a simple and convenient shell whose code lies on the githab. This shell does not burn antivirus, which I really liked. Here is the link to the repository with this shell github.com/b374k/b374k
Now we know how to get to upload.php on the site. We enter videocorp.net.kg/admin/handlers/upload.php and here we see the page for unpunished and impudent loading of our shell file.
Shell upload form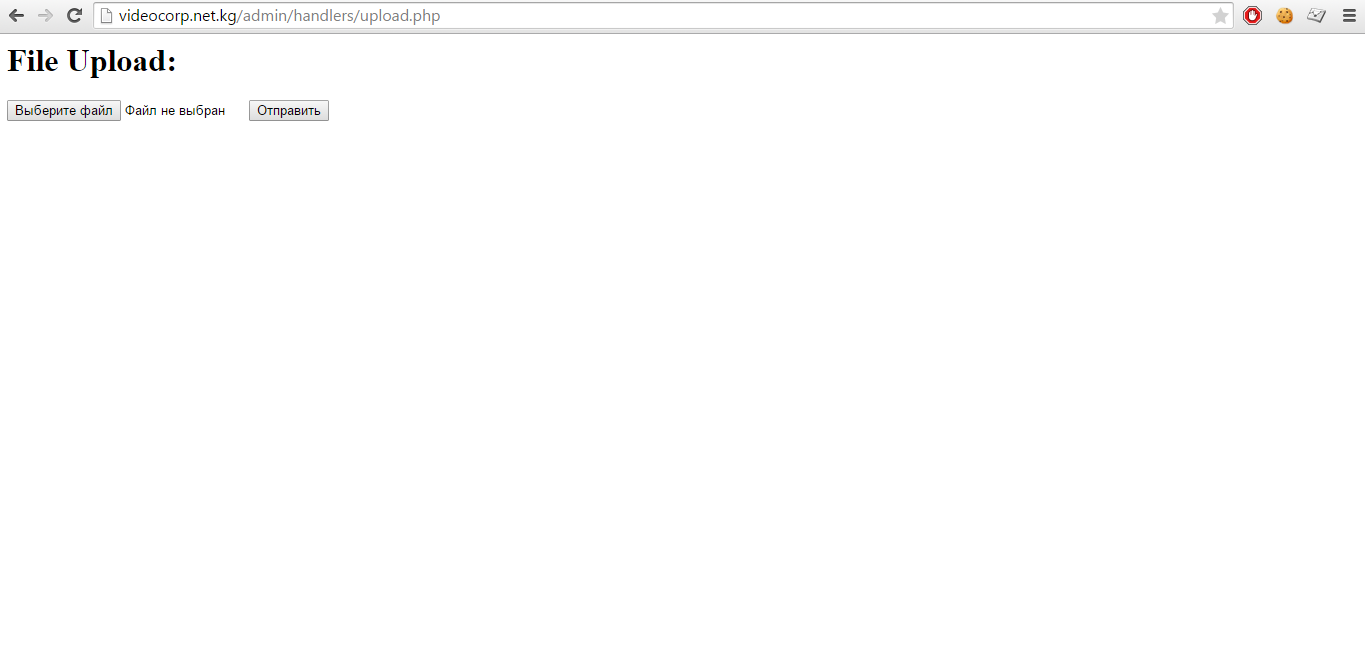
Fill our shell! And yes, I almost forgot, from the source file upload.php we know the folder into which the shell will be flooded, this folder is in the root of the site, i.e. access to the shell will be as follows videocorp.net.kg/uploads/a987eqwdiasuyq86we78q6e78qe6.php
Fill the shell, enter its interface and the fifth flag file immediately rushes to our attention!
Fifth flag file, view through shell flooded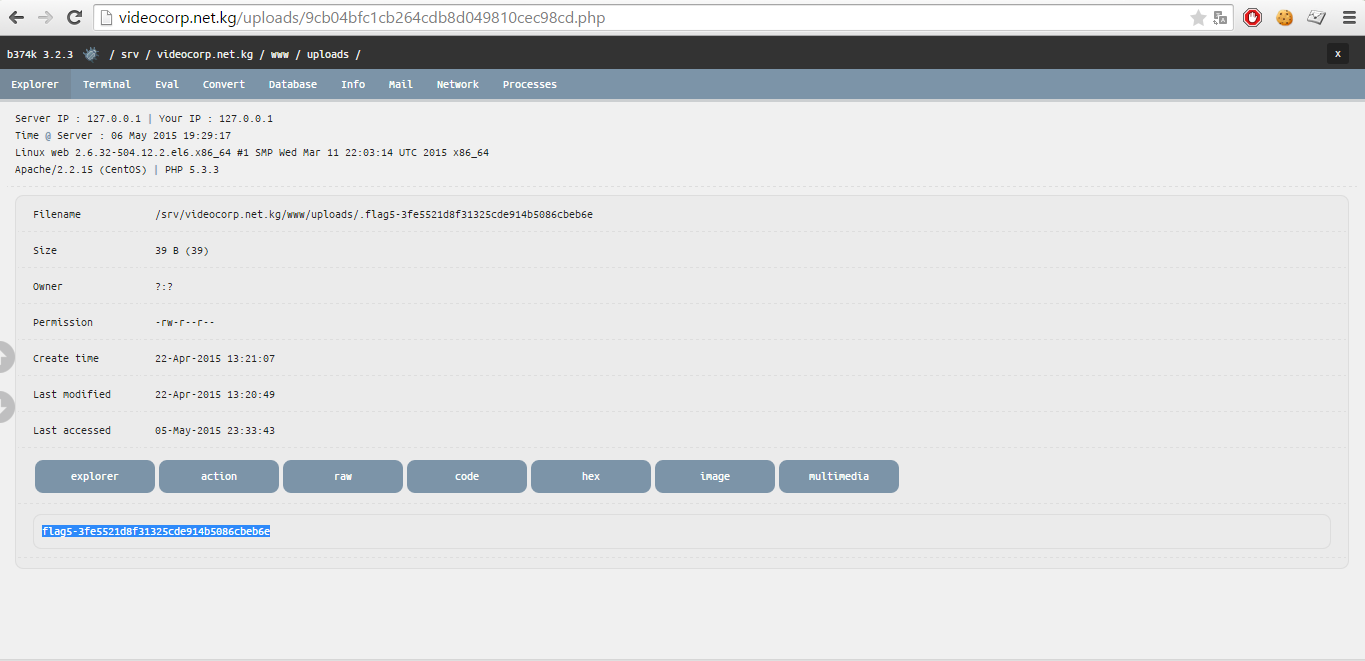
# 6 He is yours! But there are several ...
In this mission, we are hinted that we will soon be able to find clues and find out who the mole is. And we are offered to examine the server for interesting data that will allow us to go further.
Sixth mission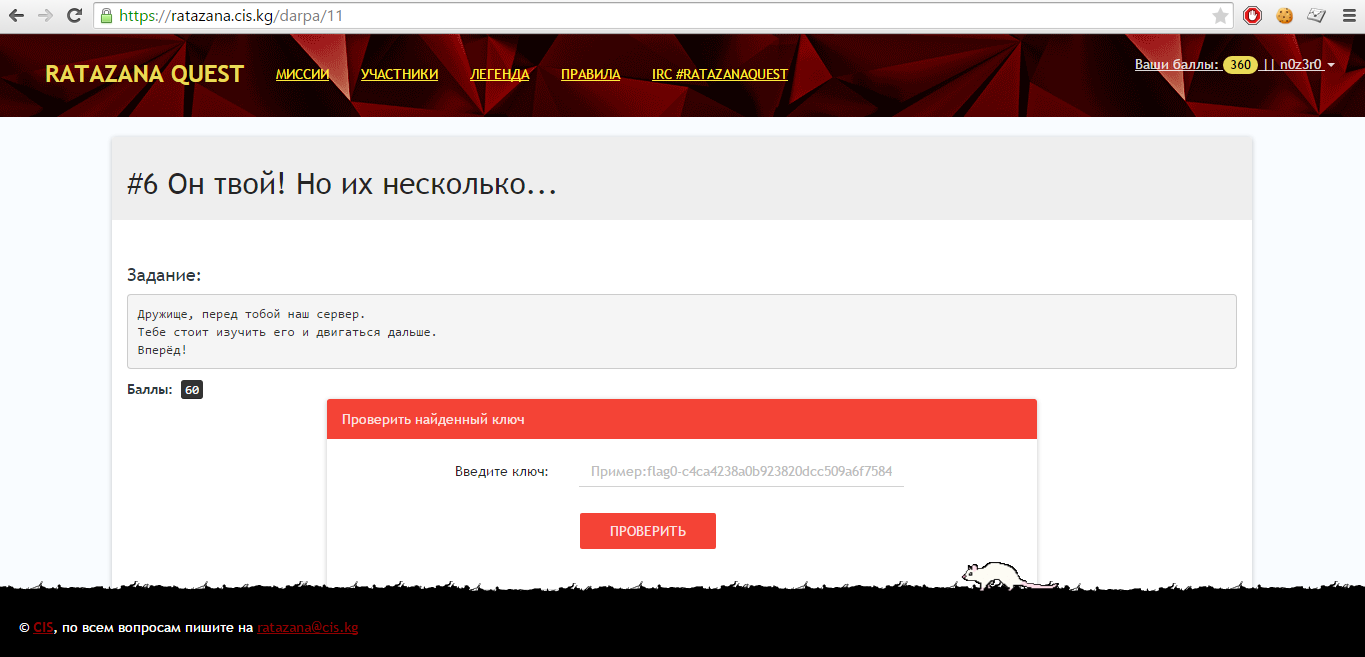
In general, we have access to server content through a shell. Now we need to be attentive and find the data we need. Well, we go in folders and after a brief review of the source of the site and parent folders we see in the backup folder an interesting file called dev4.tar.gz.
Location of the dev4.tar.gz file
We download it and start looking at what is in it. Shel provides a cool dialogue with the actions, and we use the menu to download the file.
Archive Download Process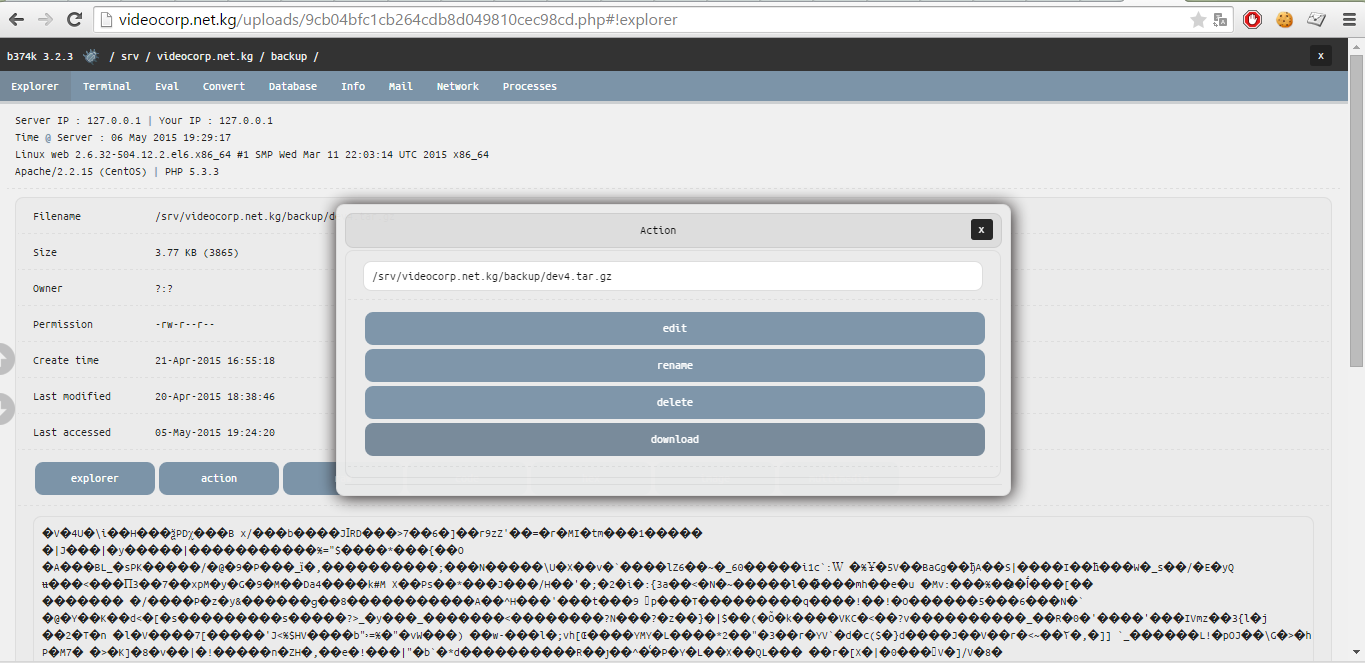
Next, unzip it and see the contents.
Archive content dev4.tar.gz
Of the entire file set, the .bash_history file and the .ssh folder are very interesting. In .bash_history, of course, we can see the history of the executed commands, which show that the ssh key was generated and then this key was added authorized_keys , which means that we can access it via ssh using this key
Content .bash_history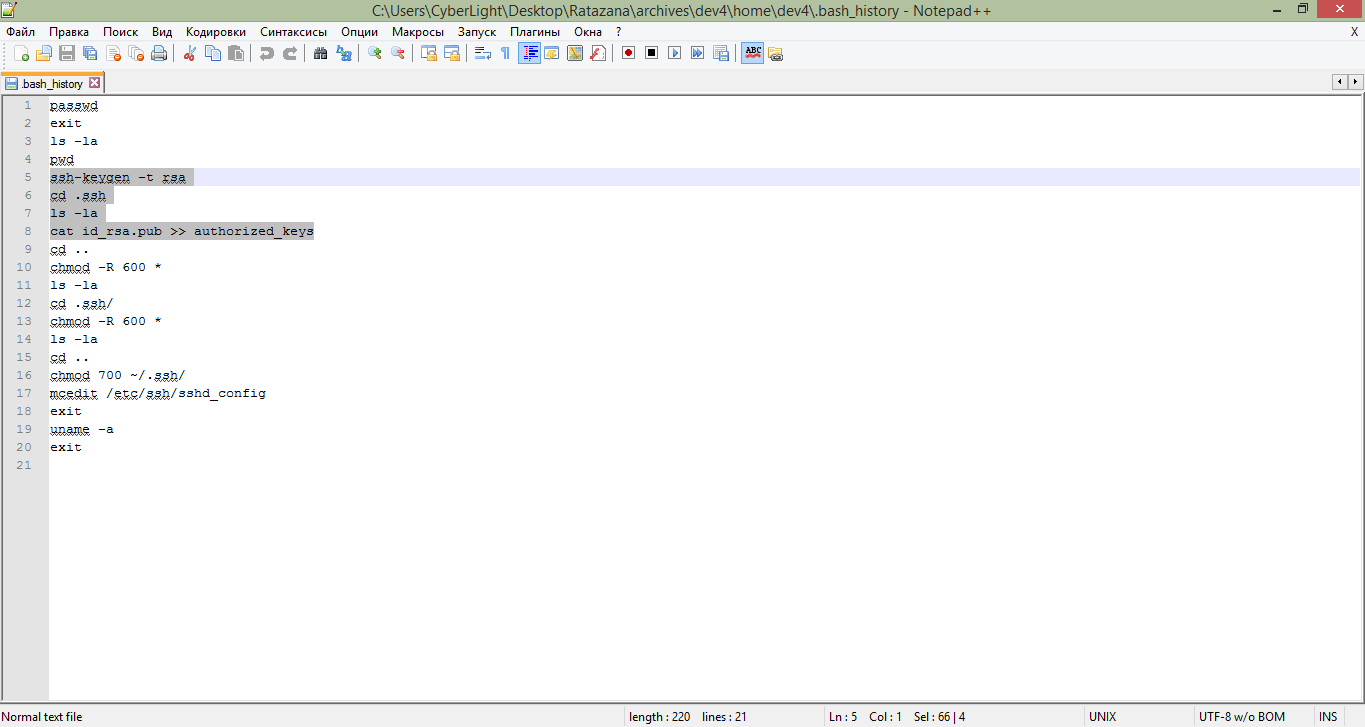
In general, take the private and public keys of ssh and create a config inside the .ssh folder
Private and public keys from the archive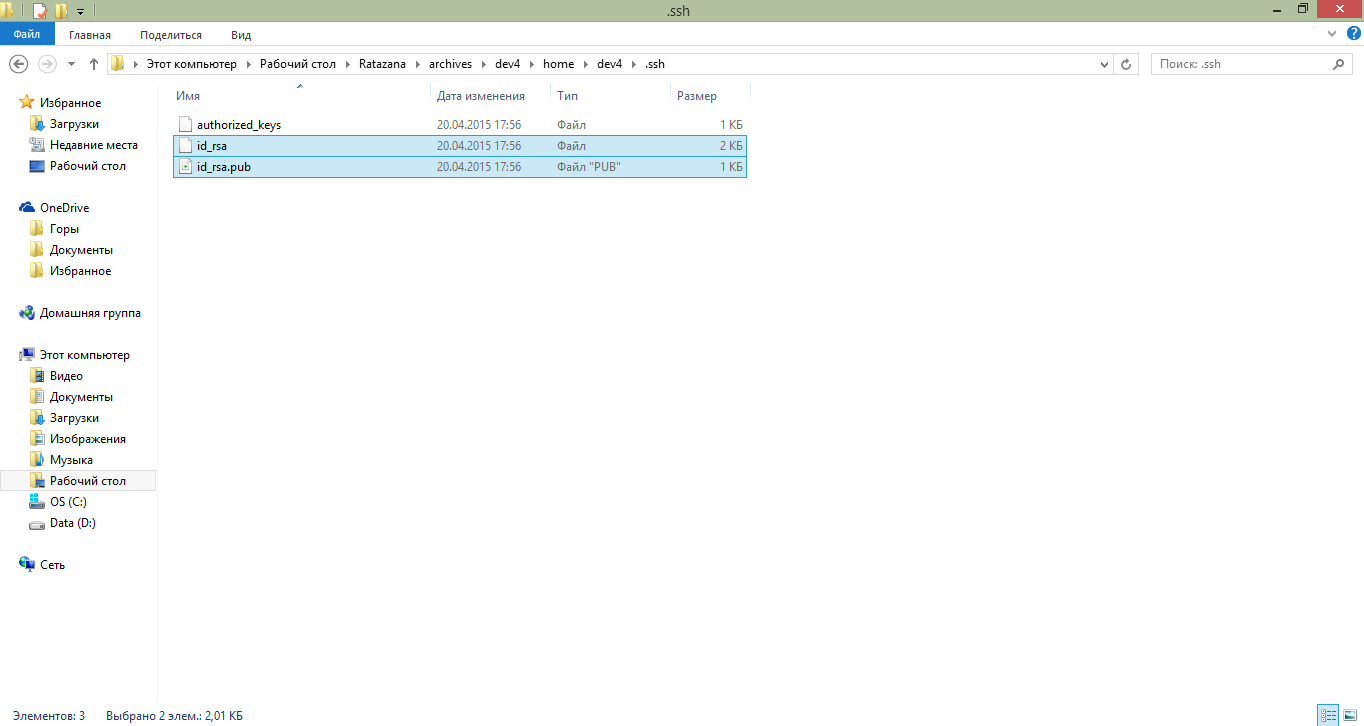
Even when passing the first task, I found out with nmap that there are two open ports 80 and 22, so now it's a little
The contents of our config file in the .ssh folder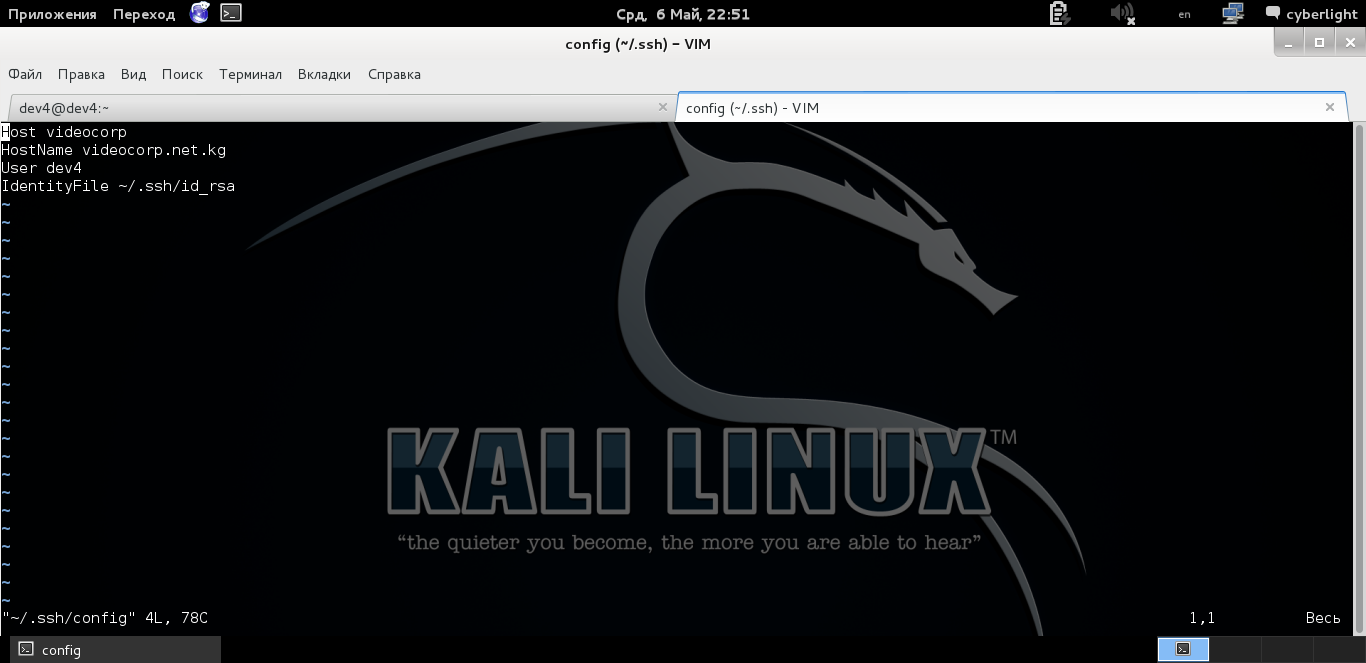
After creating the config, try to connect using ssh using the ssh command videocorp
Enter the ssh command with convenience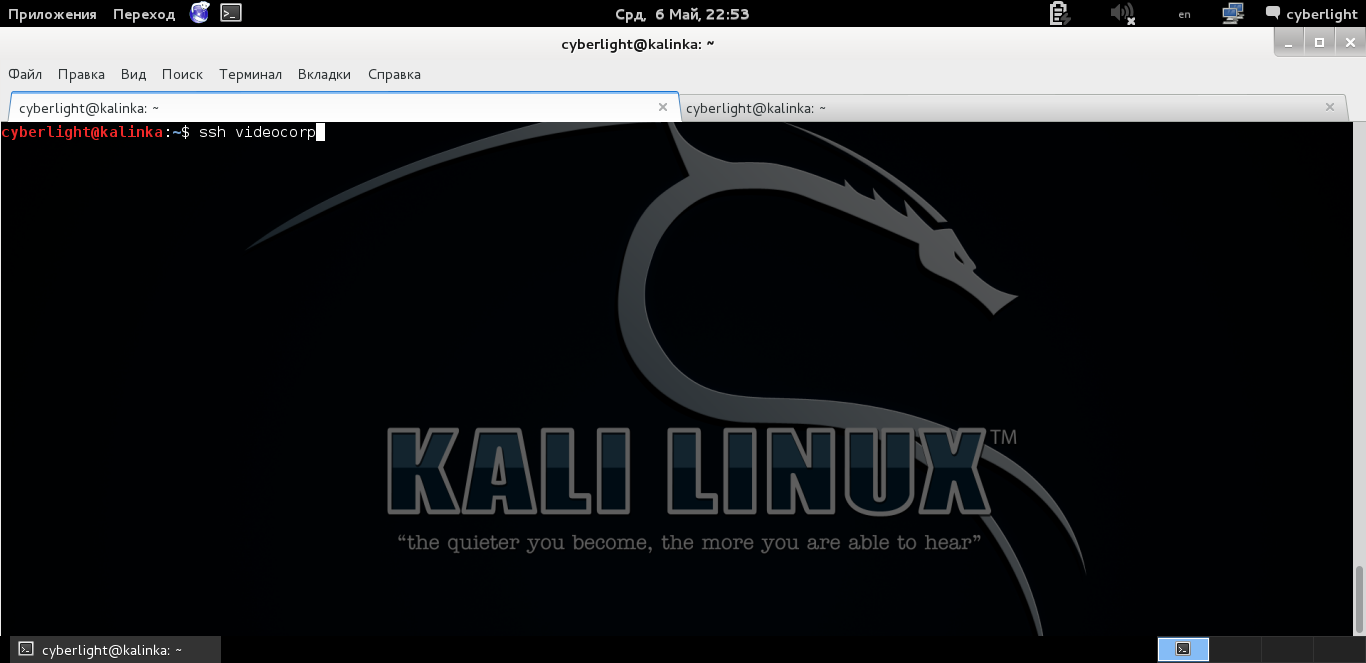
And oh yeah! We managed to connect to the server via ssh
Here is such a cute rat welcomes us
So, we are on the server, but so far there is no flag.
The contents of the folder we are in when logging in via ssh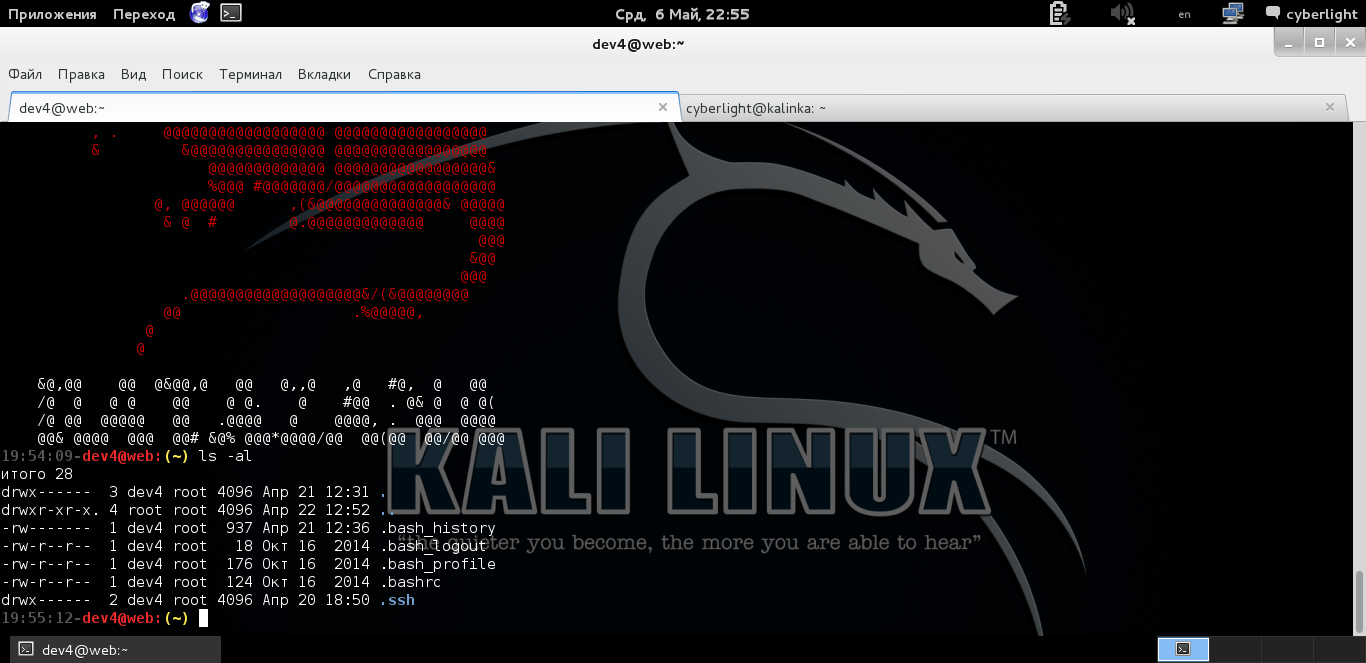
But then there is again .bash_history which will help us again. Open it and look.
Contents of the .bash_history file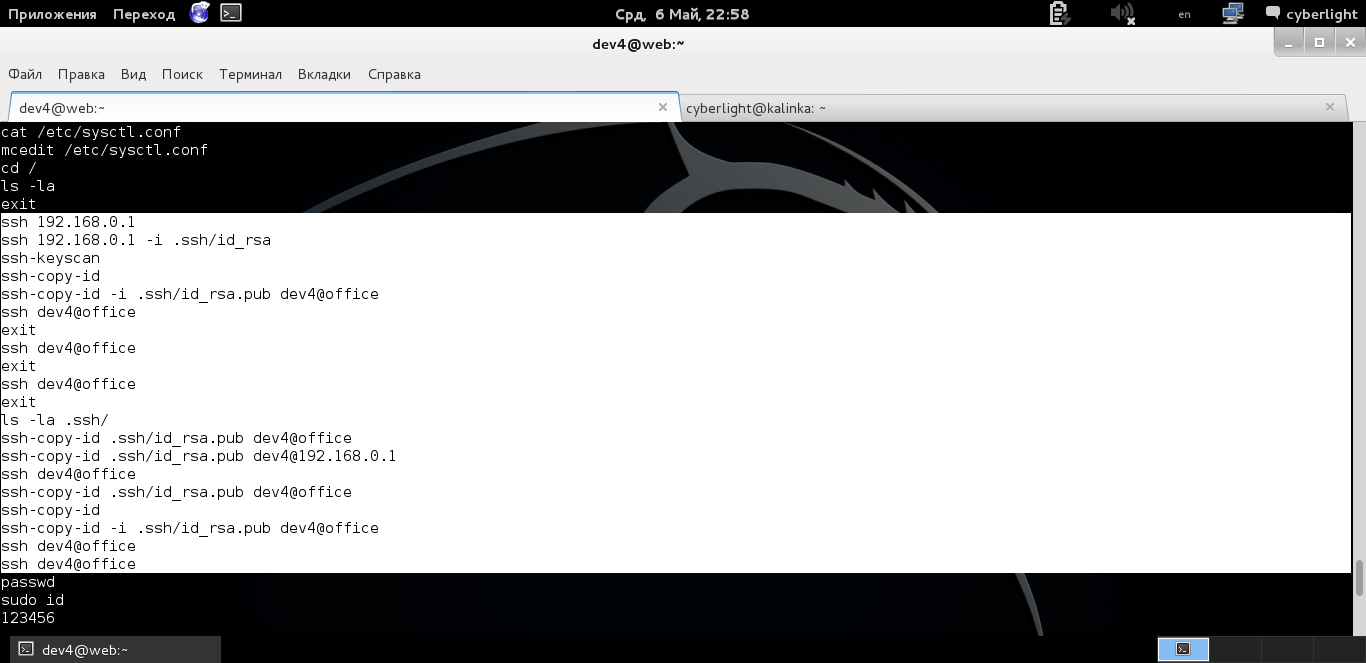
From the contents we see that the ssh key was installed on the machine with IP 192.168.0.1. Yeah, what it gives us, and gives us the following, we need to find out what the IP address of the machine we are on. After typing the ifconfig command, we see that we are on a machine with IP 192.168.0.2
Output of the ifconfig command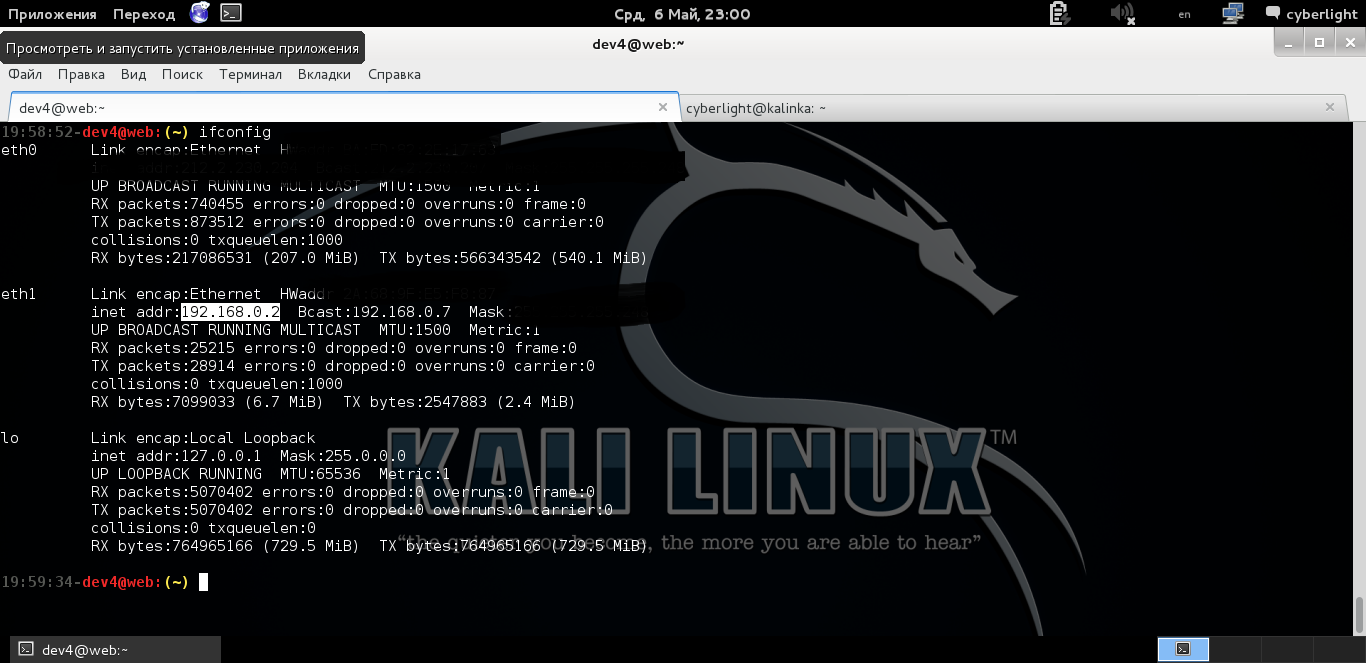
So, we can freely go to the 0.1 machine using the ssh command dev4@192.168.0.1
So we go to a 0.1 car. We look around and as a reward we get the sixth flag.
Getting the sixth flag
Content of the sixth flag
# 7 Personal?
In this mission, we have to dig into the dirty linen and personal data of the user dev4
Seventh mission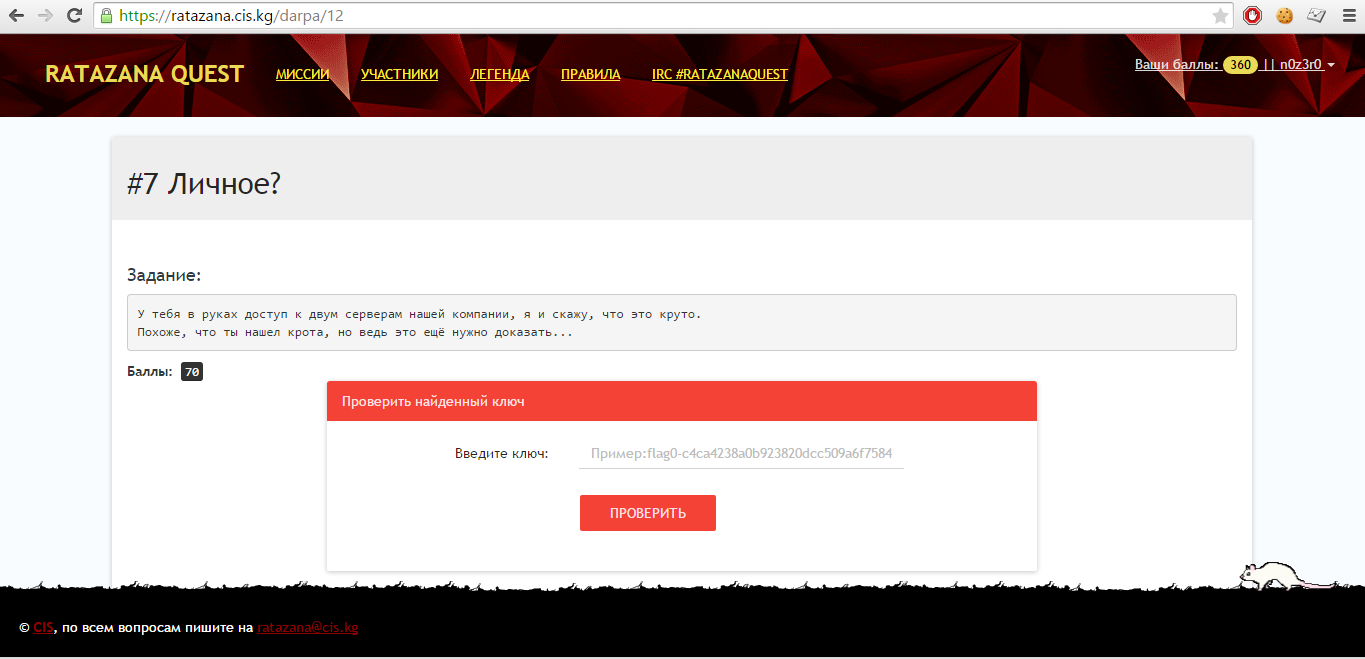
So, we are on the dev4 development machine and what interesting we see in the folder, of course, we are attracted by the .Skype folder in which you can certainly find something interesting. Let's see that there, and there main.db of the current user under the nickname peleninv
The folder of interest .Skype
We know that this is a sqlite database, so it means we can open it and read the data. Let's do it!
The path for the main.db file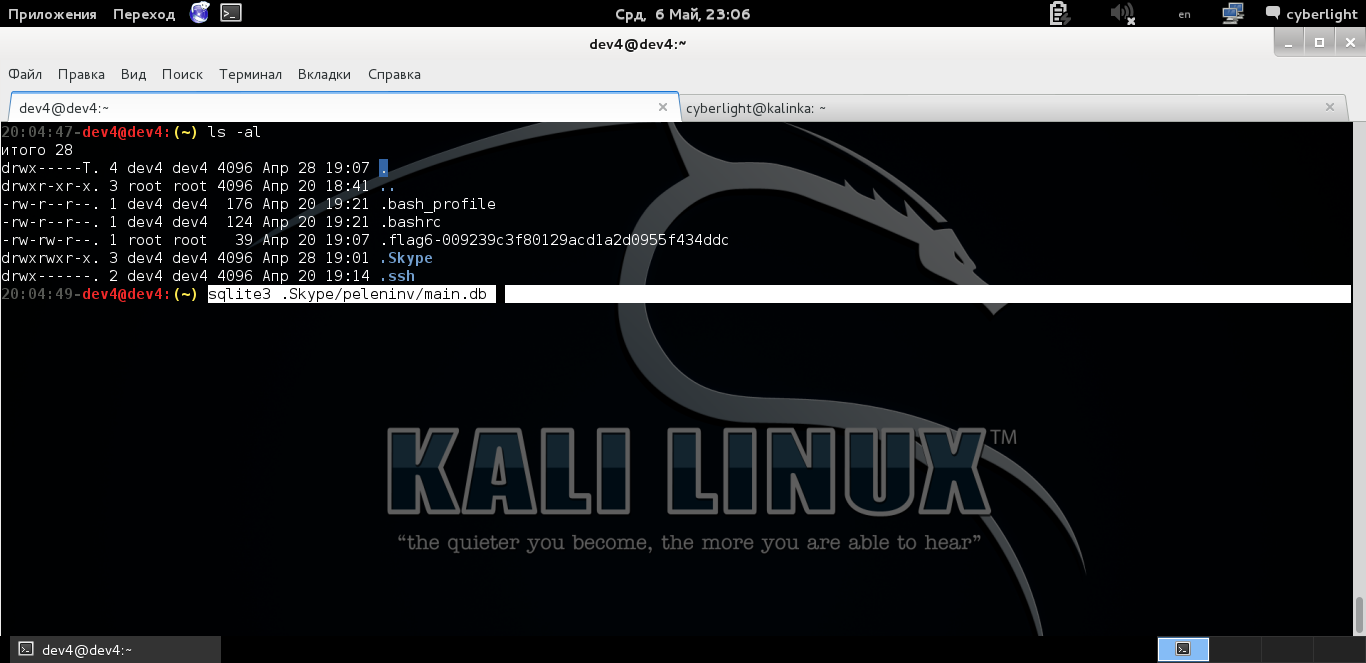
In order not to go into much detail, here you need to know the structure of Skype database tables. The table of interest to us, called Messages , contains data about messages between users and the column we need with the contents of the message is body_xml
Execute the query select body_xml from messages; and that's what will be presented to our eyes
Skype correspondence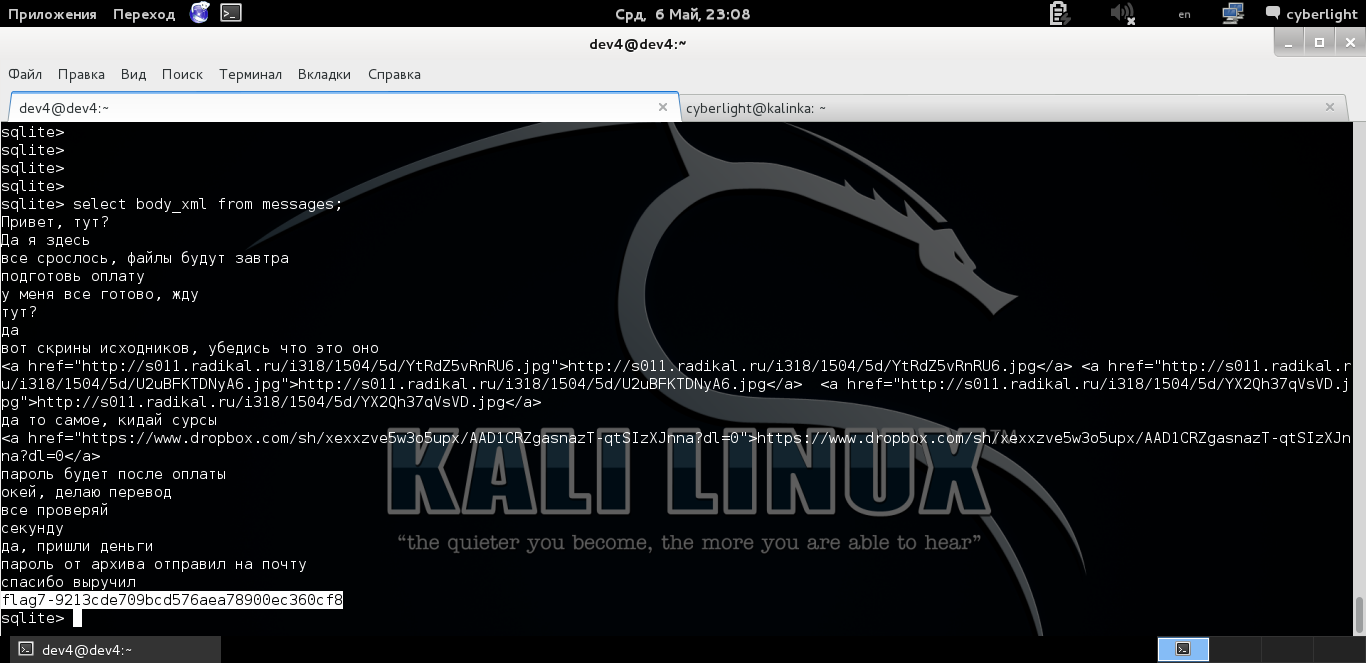
Carefully reviewing the messages, you understand that dev4 transferred some source code and received money for it.
Immediately as a reward we get the seventh flag. And it becomes clear to us who, it turns out, the mole is, of course, dev4!
The dev4 interlocutor is calculated from the accounts table, receiving its data.
Information about the customer of some source code
Well, correspondence with nicknames, from the same table, we can add another author field to the request and get more readable correspondence.
Correspondence with included nicknames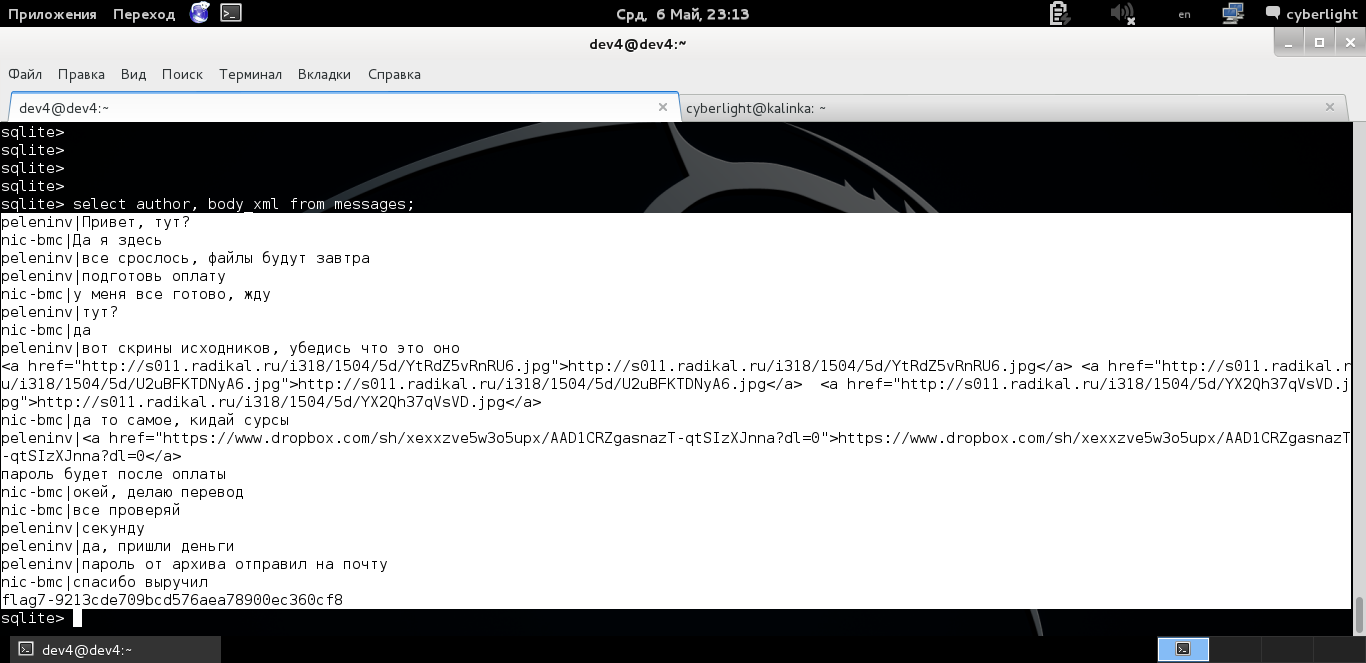
# 8 Really ???
So, in this mission, we need to get the source code and make sure that it is the source code of the company's product videocorp.
Eighth Final Mission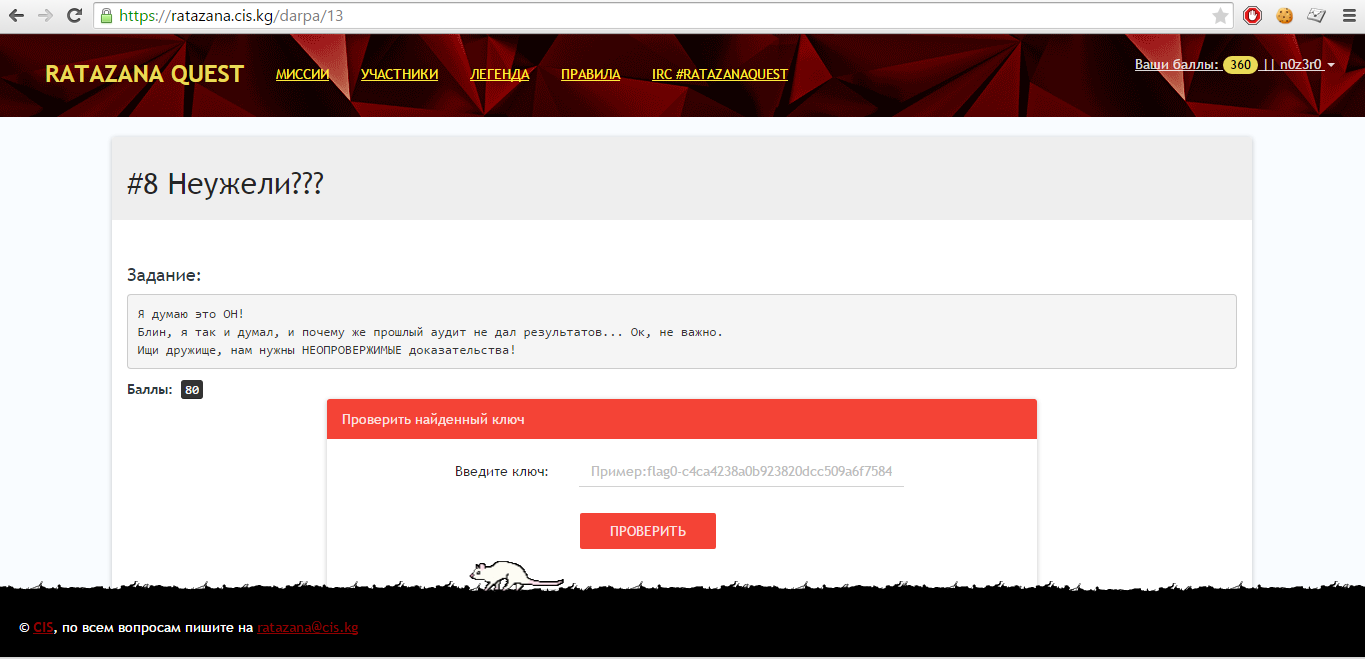
Well, as they say, we have no evidence so far and we need to download the source from the dropbox, follow the link from the correspondence and make sure that these are the sources whose leakage caused losses to the company videocorp
So, download the source and, of course, we face again the problem of the lack of a password, since the archive is again protected by a password. From the correspondence it is clear that the password was sent to the mail to the customer. But there is no real mail from the customer’s Skype profile, so here again is brute or savvy.
Link from the correspondence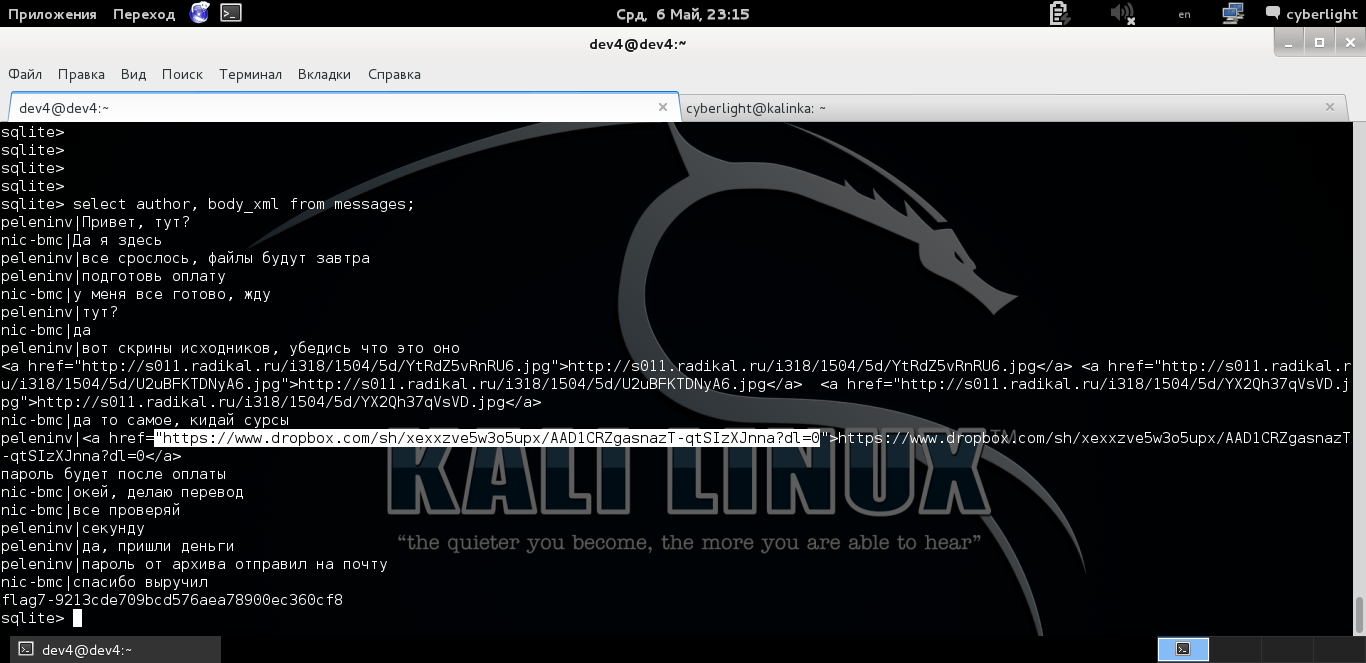
After downloading the archive, we try to unzip it with a password identical to the name of the archive, i.e. we use the word source as a password
Unzip archive with source code using password source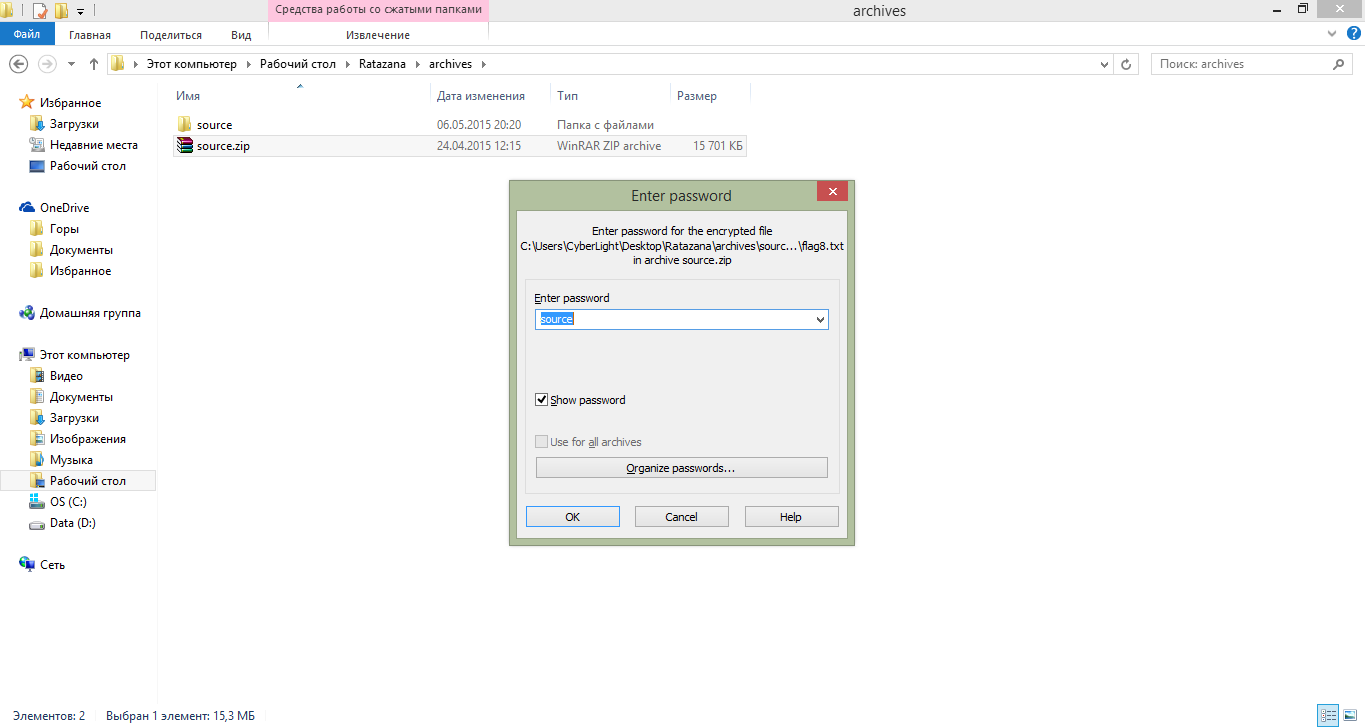
As a result, we receive as a reward the eighth flag and make sure that these are the source code of the videocorp product. We found a mole and we have irrefutable evidence.
Eighth flag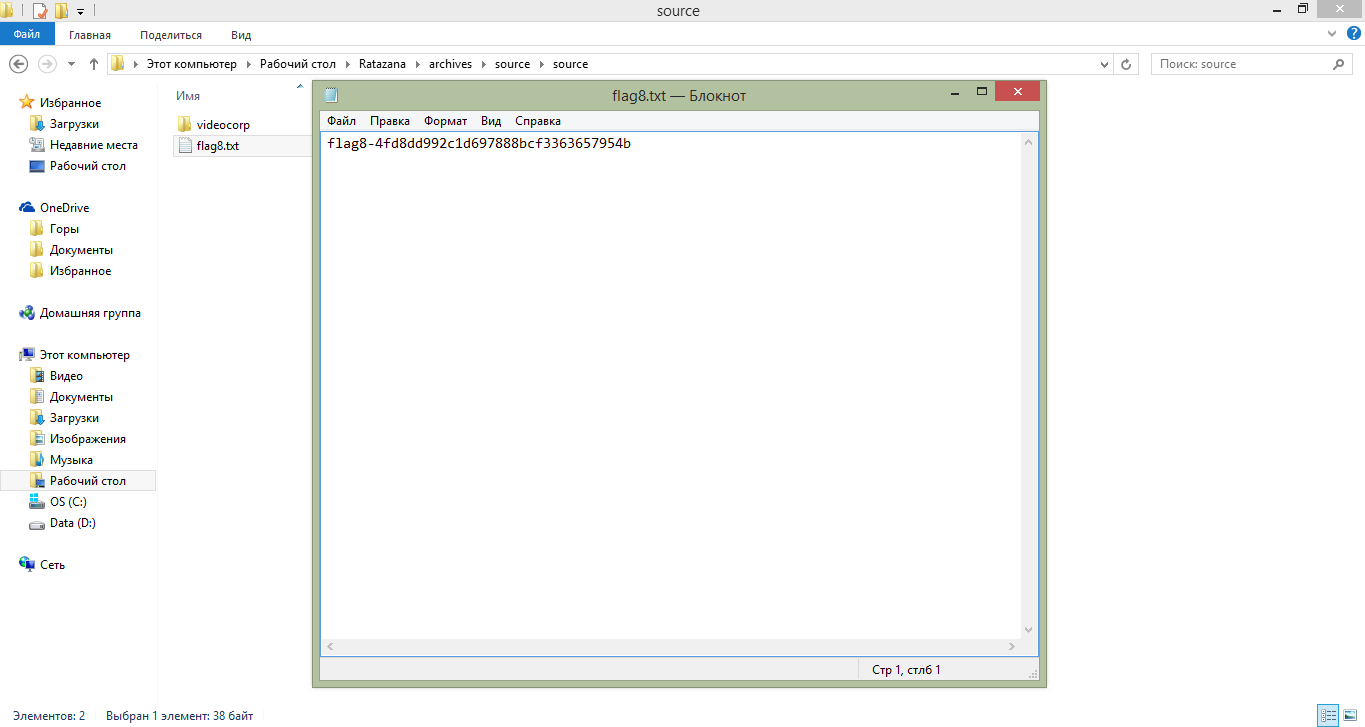
Final part
So this hack quest was passed so easily and naturally. After entering the eighth flag in the mission form and sending us congratulations on the successful completion of the mission. We are great!
Congratulations and hunting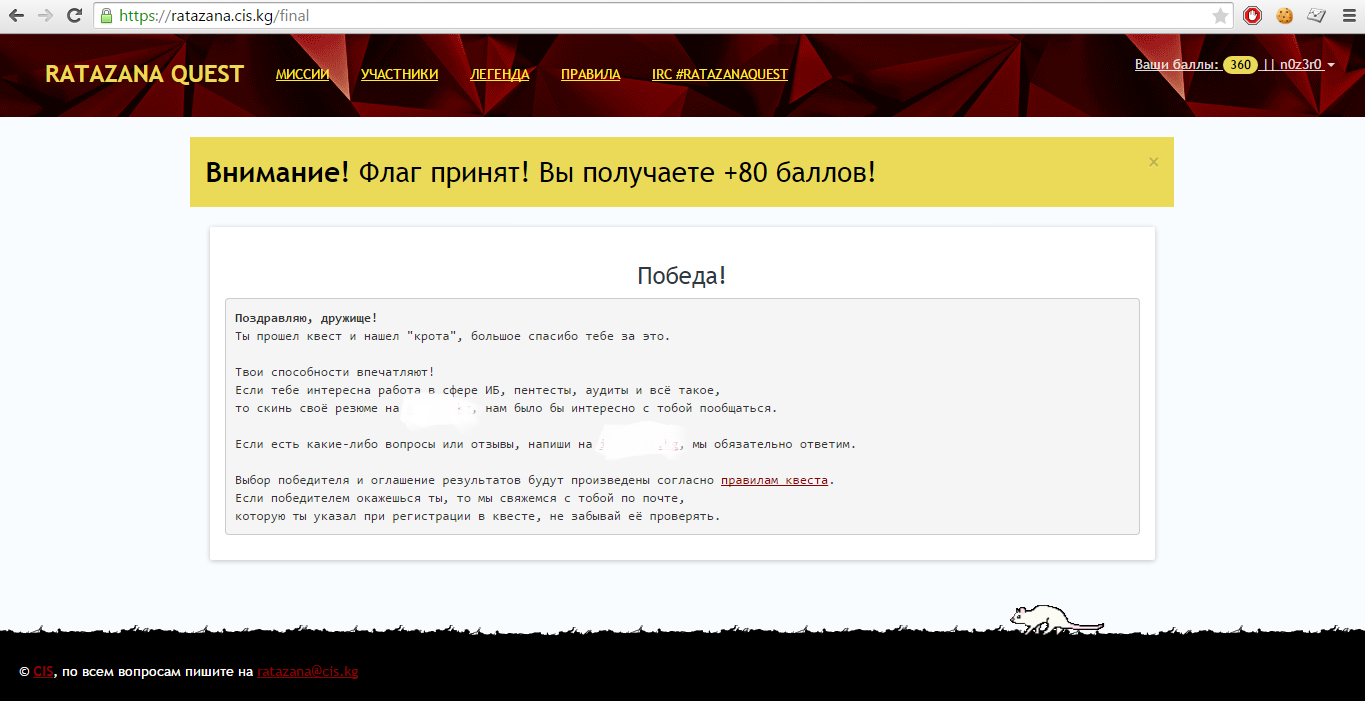
In general, I liked the contest, it is easy and interesting. This is the first hack quest in CTF format, conducted in Kyrgyzstan. Many thanks to the organizers! I hope that soon there will be more complex and interesting quests!
Thank you all for your attention! I hope it was interesting.
Source: https://habr.com/ru/post/258065/
All Articles