Simple quadcopter repair (with microscope)
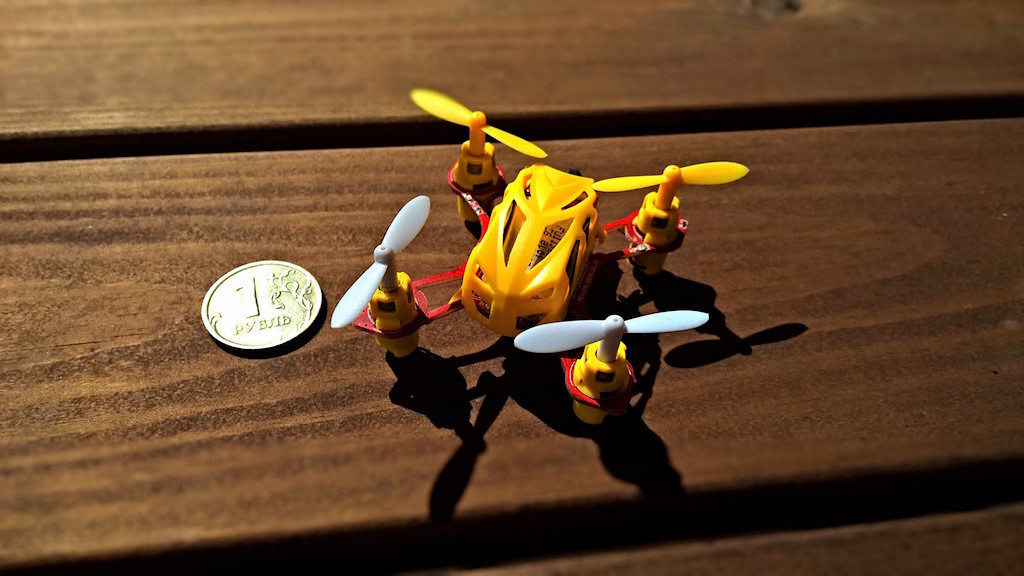
Recently, a good friend of mine asked me to “see” a quadrocopter WLtoys v272 , which, as a result of an unsuccessful pirouette, was attached to one of the rays, after which the indication of this beam stopped working and the motor began to work with obvious interruptions. At the same time, if you put a little effort "on the bend" - somewhere, something was restored and the engine began to work in normal mode.
He agreed "without looking." And he was very impressed with the size of the "patient":
We must understand what is wrong with this tiny LA.
')
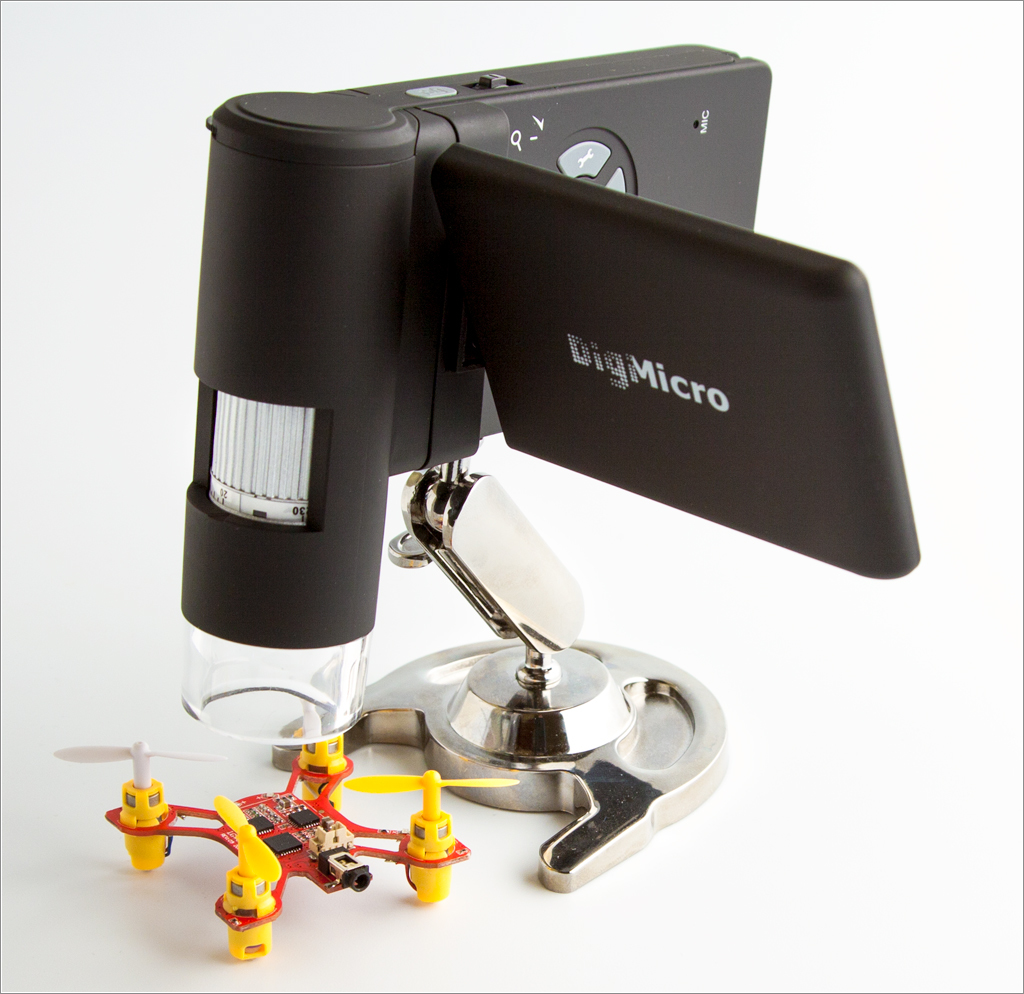
A visual inspection with the naked eye did not show anything (as expected). But dadget.ru provided the portable microscope for testing very timely.
And here it went much more fun (and more interesting, because I had never used a microscope for my projects in microelectronics before).
One of the first photos of the quadcopter "motherboard" (to assess the capabilities of the microscope):

I’ll tell you right away that this quadrocopter is built according to a rather original scheme: the whole mechanical part (“cross”) is combined with the electronic part (“printed circuit board”). Actually, the entire “skeleton” of a quadrocopter is a printed circuit board (well, or vice versa: a printed circuit board is a “cross”).
On the one hand, this is very convenient: no unnecessary mechanical parts, but on the other hand, if problems with the printed circuit board (for example, one of the “rays” broke off), the quadcopter can be thrown away, since normally the printed circuit board will most likely not be restored.
But who knows, suddenly, specifically in this case, lucky and you can fix it?
He began to scrutinize the "problem" beam and immediately discovered the absence of one of the LEDs (size 0603) - it simply was absent, apparently, it just completely torn off when struck:
Also, the LED at the top of the “beam” was in doubt (and not groundlessly):
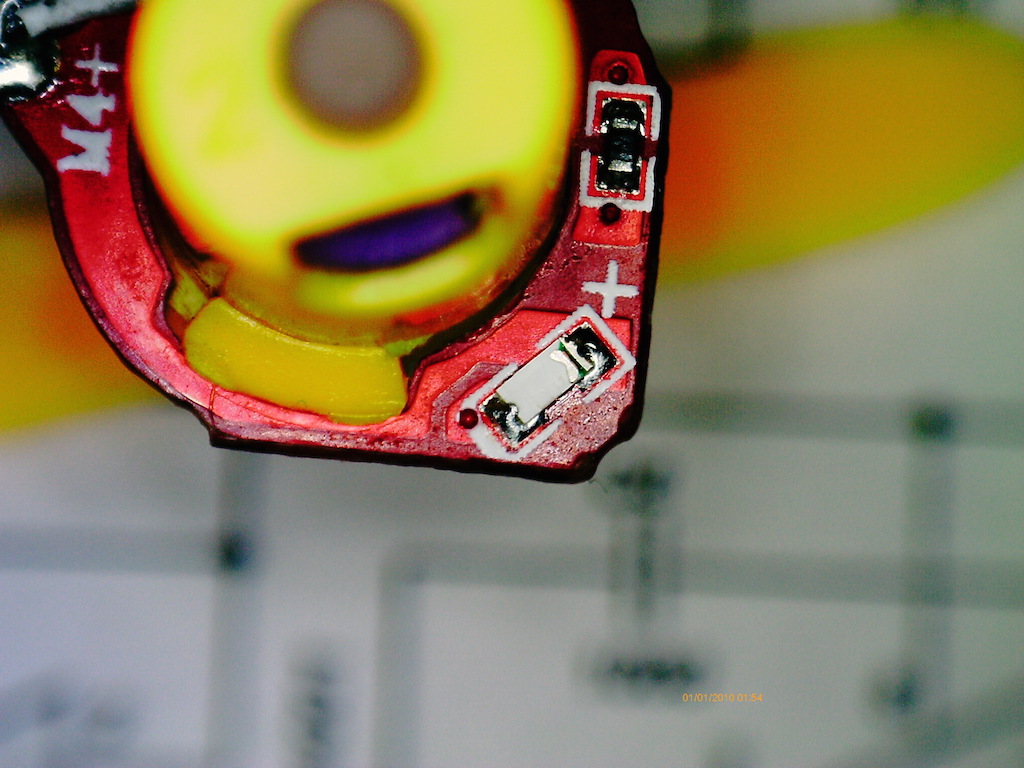
The photo shows that only the substrate remains from the LED. The crystal itself and the lens are absent.
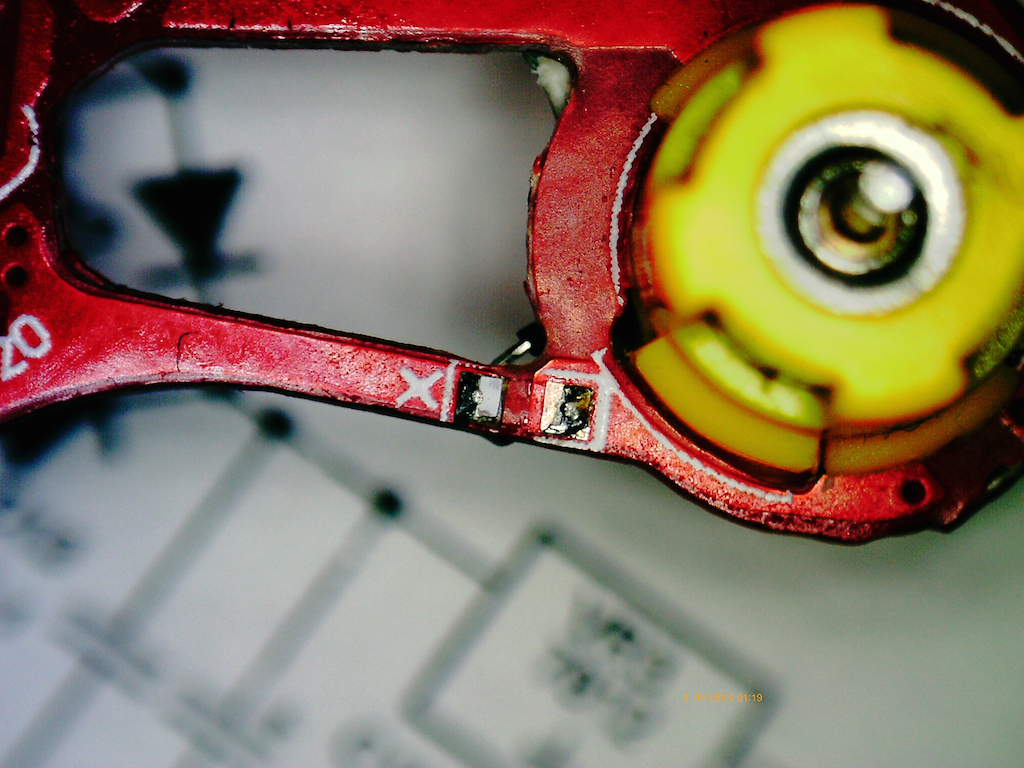
With LEDs figured out, but this is not the main problem. It is necessary to find the place of the microcrack on the beam in the supply chain of the corresponding engine.
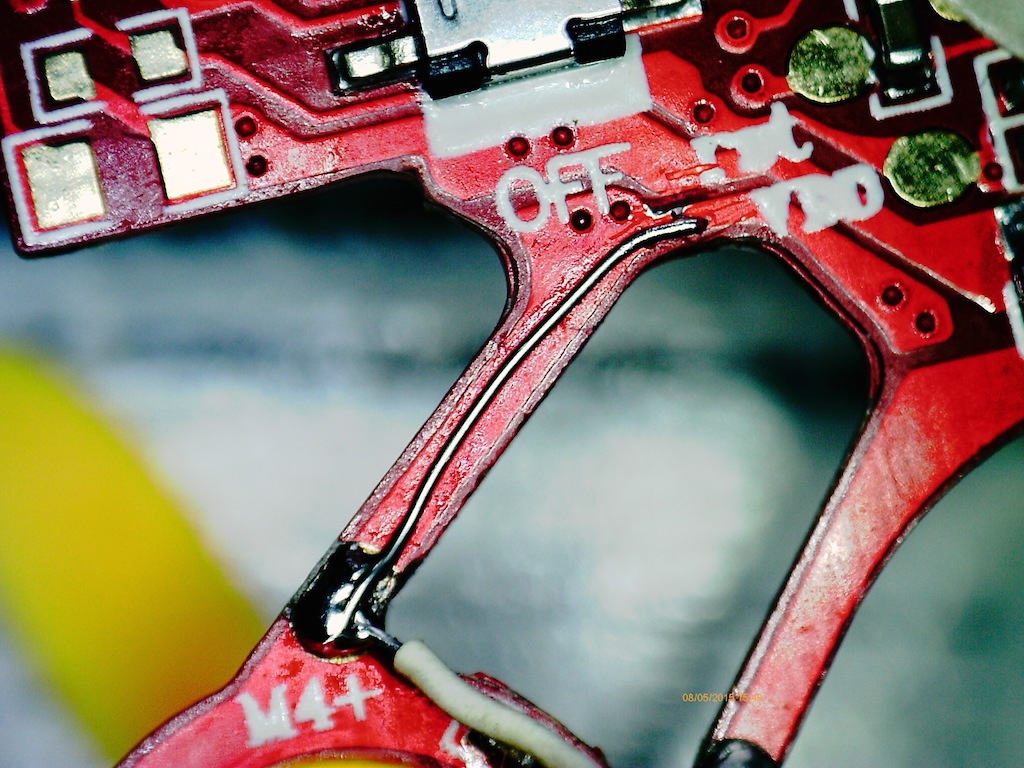
And again the microscope helped. Almost immediately this place caused doubts:
After the main malfunction had been localized, the repair was already a “matter of technology”: neatly removed part of the solder mask with a sharp knife, tipped the “naked” place and soldered the thin wiring.
LEDs soldered to their rightful place. I was lucky that it was the red “lights” that suffered and I had them (among the “signal lights” there are still blue ones - I didn’t have such and would have had to disrupt the manufacturer’s plan or refuse to display on this beam at all).
The recovered LEDs did not take pictures (no new information, just controlled the quality of their soldering).
After these actions, the quadrocopter "returned to service" (the functionality was fully restored). The video with the flight of a “fly” will not be - it’s too high-spirited, it’s almost impossible to keep track of it with the phone (and I’m not very comfortable with the controls for “slow” movements suitable for shooting). Flight can be viewed, for example, in this video .
Now comments on the new instrument - a portable microscope:
Tasks that I personally feel more comfortable and easier to do with a microscope :
Safe flight to you. Take care of your "toys".
He agreed "without looking." And he was very impressed with the size of the "patient":
We must understand what is wrong with this tiny LA.
')
Dropped the bear on the floor
Torn bear paw.
I won't leave him anyway -
Because he is good.
A visual inspection with the naked eye did not show anything (as expected). But dadget.ru provided the portable microscope for testing very timely.
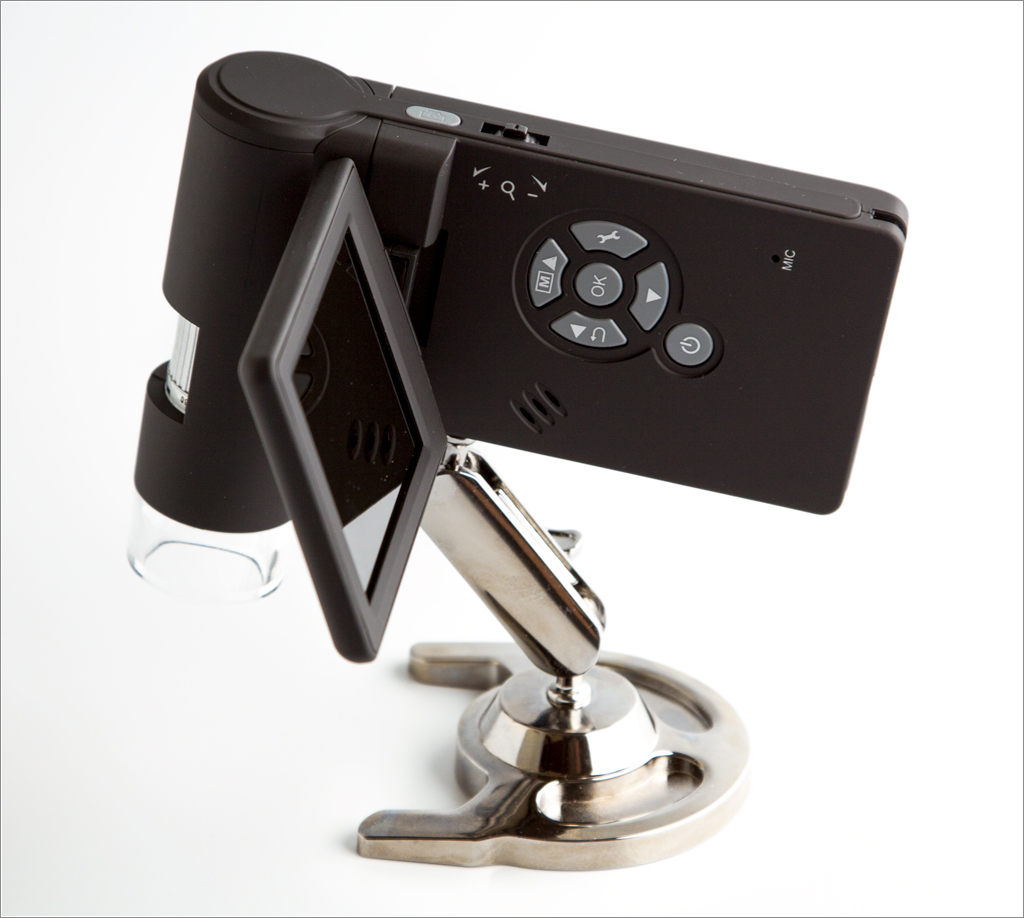
- The microscope is equipped with a 5Mp matrix, it allows you to take photos and shoot video, it is powered by a battery (charging 5 hours, work from a fully charged battery - 4 hours).
- LED backlight (adjustable, 8 white matte LED with a diffuser).
- The increase from x20 (optical) to x500 (digital).
- Record photos and videos on a microSD memory card.
- Connect to computer (USB cable included).
- Using a computer (or TV) as a viewfinder (computer software included, as well as an A / V cable for TV).
And here it went much more fun (and more interesting, because I had never used a microscope for my projects in microelectronics before).
All subsequent photos were taken with a microscope, were not subjected to any treatments (only scaling). Each photo is a link to the full-sized original image.
One of the first photos of the quadcopter "motherboard" (to assess the capabilities of the microscope):
I’ll tell you right away that this quadrocopter is built according to a rather original scheme: the whole mechanical part (“cross”) is combined with the electronic part (“printed circuit board”). Actually, the entire “skeleton” of a quadrocopter is a printed circuit board (well, or vice versa: a printed circuit board is a “cross”).
On the one hand, this is very convenient: no unnecessary mechanical parts, but on the other hand, if problems with the printed circuit board (for example, one of the “rays” broke off), the quadcopter can be thrown away, since normally the printed circuit board will most likely not be restored.
But who knows, suddenly, specifically in this case, lucky and you can fix it?
He began to scrutinize the "problem" beam and immediately discovered the absence of one of the LEDs (size 0603) - it simply was absent, apparently, it just completely torn off when struck:
Also, the LED at the top of the “beam” was in doubt (and not groundlessly):
The photo shows that only the substrate remains from the LED. The crystal itself and the lens are absent.
The same, but with the use of digital 4x magnification and a photo of a "healthy" LED on another beam:
LED residues:

Healthy LED:

Healthy LED:
With LEDs figured out, but this is not the main problem. It is necessary to find the place of the microcrack on the beam in the supply chain of the corresponding engine.
And again the microscope helped. Almost immediately this place caused doubts:
Same with digital zoom:
This is simply not identified through the eyes ...
This is simply not identified through the eyes ...
After the main malfunction had been localized, the repair was already a “matter of technology”: neatly removed part of the solder mask with a sharp knife, tipped the “naked” place and soldered the thin wiring.
LEDs soldered to their rightful place. I was lucky that it was the red “lights” that suffered and I had them (among the “signal lights” there are still blue ones - I didn’t have such and would have had to disrupt the manufacturer’s plan or refuse to display on this beam at all).
The recovered LEDs did not take pictures (no new information, just controlled the quality of their soldering).
After these actions, the quadrocopter "returned to service" (the functionality was fully restored). The video with the flight of a “fly” will not be - it’s too high-spirited, it’s almost impossible to keep track of it with the phone (and I’m not very comfortable with the controls for “slow” movements suitable for shooting). Flight can be viewed, for example, in this video .
Some more photos from the microscope:
Chip BK2423 is responsible for the radio channel (by the way, this is an analogue of nRF24L01 +). Case QFN20, size 4x4mm.

2.4GHz Printed Antenna

N-channel MOSFET in the case of SOT23 MTN2310N3 (in fact, they "rule" the engines).

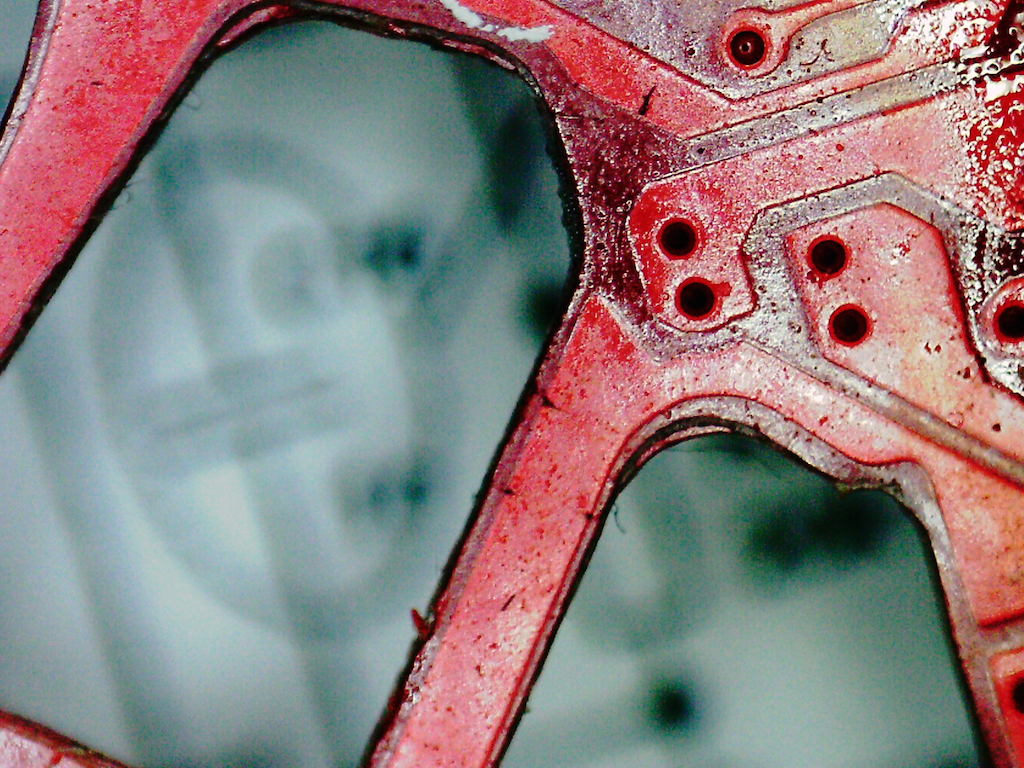
A fragment of a ruble coin from the title photograph of the post. Maximum optical zoom.
Chip BK2423 is responsible for the radio channel (by the way, this is an analogue of nRF24L01 +). Case QFN20, size 4x4mm.
2.4GHz Printed Antenna
N-channel MOSFET in the case of SOT23 MTN2310N3 (in fact, they "rule" the engines).
A fragment of a ruble coin from the title photograph of the post. Maximum optical zoom.
Now comments on the new instrument - a portable microscope:
- In general, I liked the device - simply, conveniently, visually, affordable.
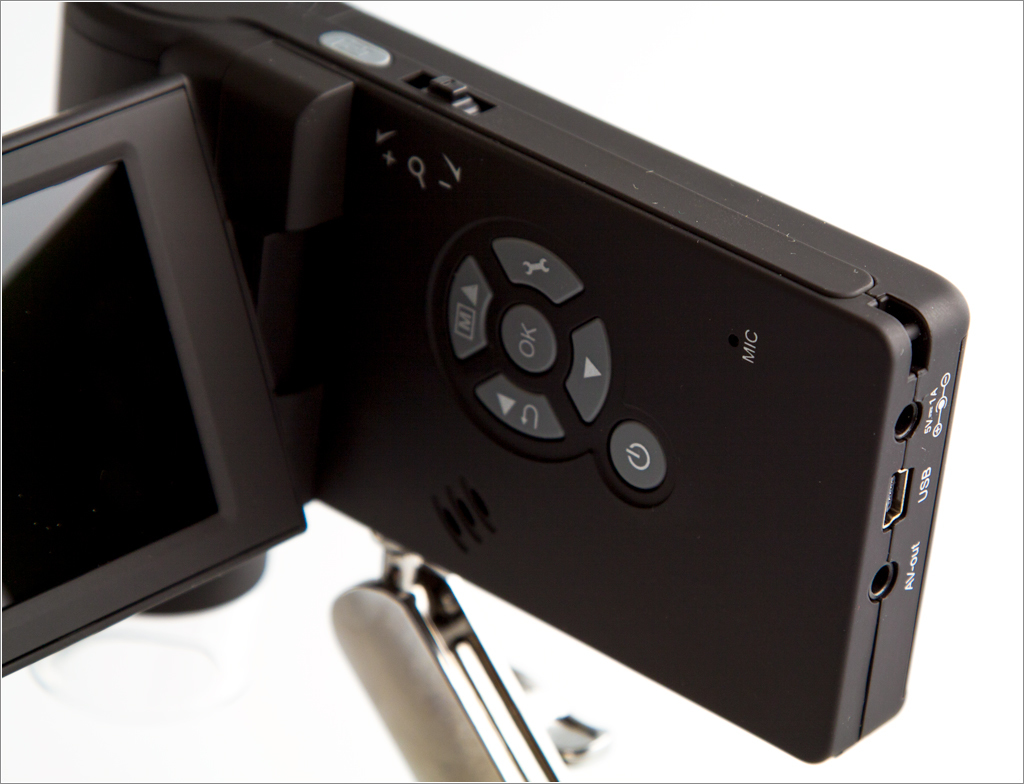
- The built-in color screen allows you to quickly view small details, but the screen is still too small and it is convenient to use it as a rough “viewfinder”.
- When connected to a computer (with the appropriate software, included in the package) - it is possible to view images directly on the computer screen (and here the size of the displayed image is limited only by the size of the monitor).
- You can connect to almost any TV (through the "tulips") and use the TV screen to watch.
- The illumination system built into the microscope (8 white frosted LEDs and an annular diffuser) - copes well with its task and makes the work much easier.
- It is almost impossible to use the “hand” microscope (a very shallow depth of field, which is expected), but a weighty metal tripod in the kit solves this problem.
- You can get both original images (color) and black and white (two options: positive and negative image - in some cases it is convenient to use these modes, especially when you need to read the marking of chips, made by laser engraving).
- It is possible to make a “time-lapse” (automatic series of photos at specified intervals) and shoot video (photos and videos are saved on the microSD card (not included in the package of delivery).
- The built-in screen does not shine with characteristics (poor viewing angles, “acidic” colors, and a “broken” pixel appeared on the second day of use).
- In the description, support for the Russian language is stated, but it was not found in the menu of the microscope (apparently, the old firmware, but the new one could not be found either). I'm not critical, but as it is.
- A rich package includes a microscope, a charger, a rechargeable battery, a case, an A / V cable, a USB cable, a tripod, a software disk, a microfiber cloth.
Tasks that I personally feel more comfortable and easier to do with a microscope :
- Definition of marking of small components.
- Quality control of manufacturing printed circuit boards (both at all stages of LUT, and factory).
- Control of installation of SMD components.
Safe flight to you. Take care of your "toys".
Source: https://habr.com/ru/post/257587/
All Articles