Deploying Oracle Database 12c DBMS on Windows Server to InfoboxCloud Cloud
And as if they tell us: "I am an oracle,
When I broadcast, even if the dog does not bark! "
Shakespeare.
That was how one of the chapters of the Oracle Database 6 Administrators Guide began.
We can say nothing about the significance of this database in the large corporate sector - this is the de facto standard. Our users are actively using Oracle technology for solving production problems and working with enterprise databases. InfoboxCloud is great for this task. The cloud allows you to concentrate on work and not on server maintenance, increasing the availability, reliability and safety of the production process.
')

In this article we will look at the process of installing Oracle Database 12c on Windows Server 2008 R2 in the cloud on a single server. The deployment of cluster configurations and performance testing will be discussed in the following articles.
Creating a cloud server
To create a cloud server, you need to access InfoboxCloud. After that, go to the control panel and create a cloud server. To install the Oracle database on Windows, we recommend using a server with at least 4 GB of RAM and at least 35 GB of disk space. In the section "operating system" select "Windows". Do not forget to allocate a public ip – address for the client and set a sufficient network speed.

In the next step, select the Windows Server 2008 R2 operating system and complete server creation.

You will receive data for access via RDP to email. Connect to the server .
Installing Oracle Database 12C
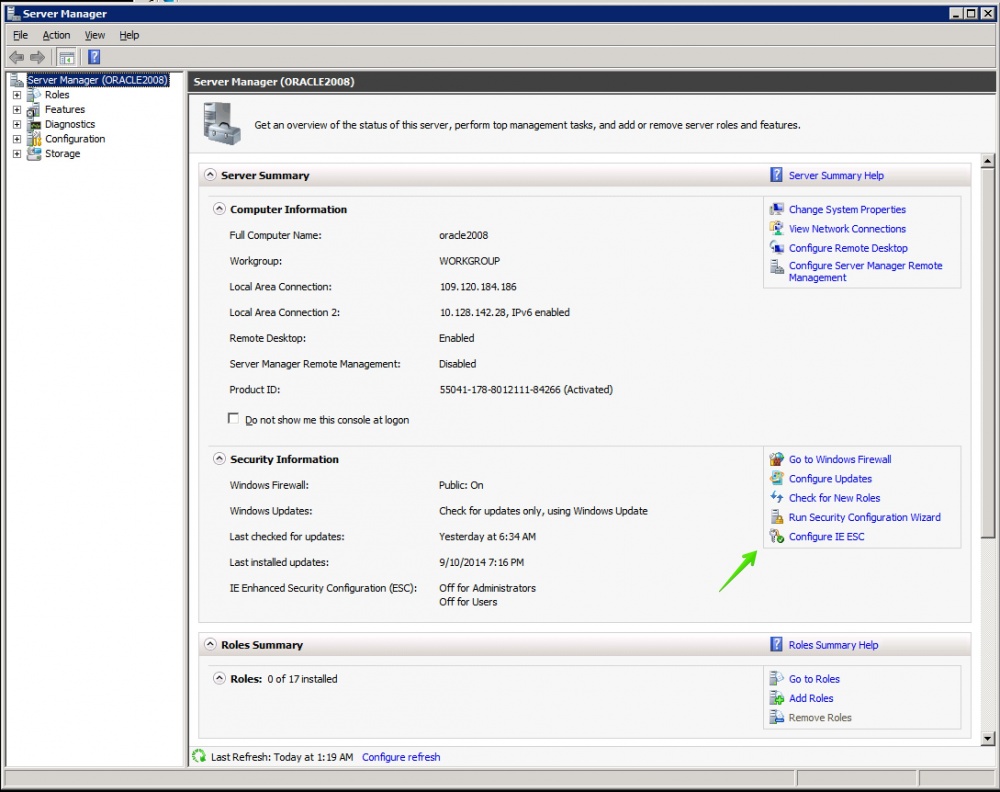
In order to upload files using Internet Explorer in Windows Server 2008R2, you need to start the “Server Manager” and select the “Configure IE ESC” option.
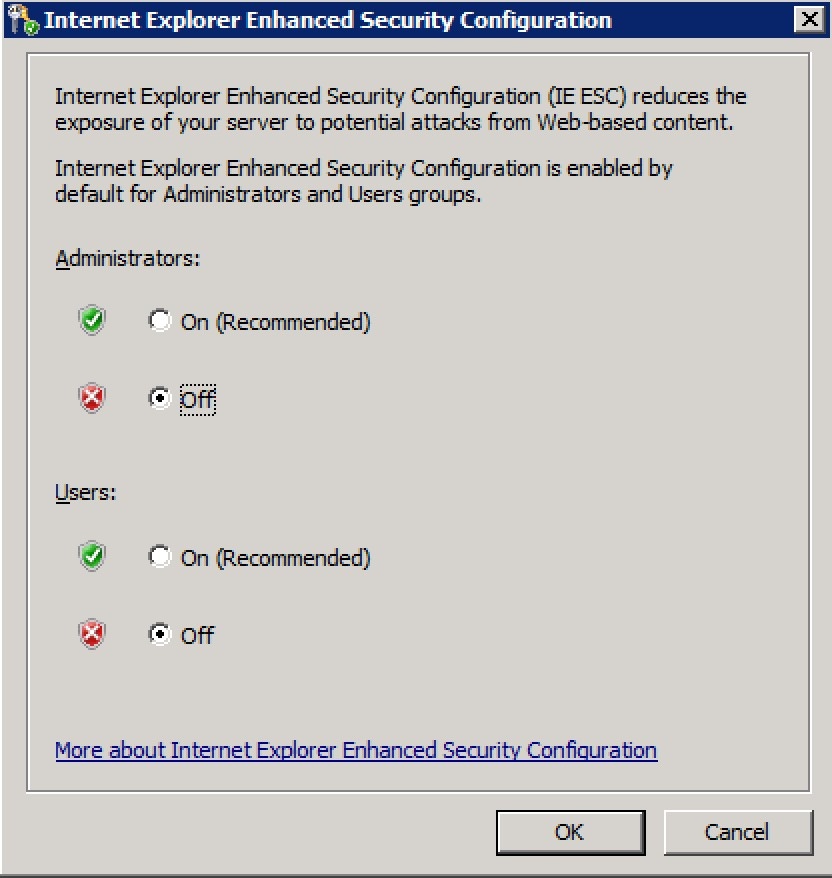
Then you need to disable advanced security settings for all categories of users.
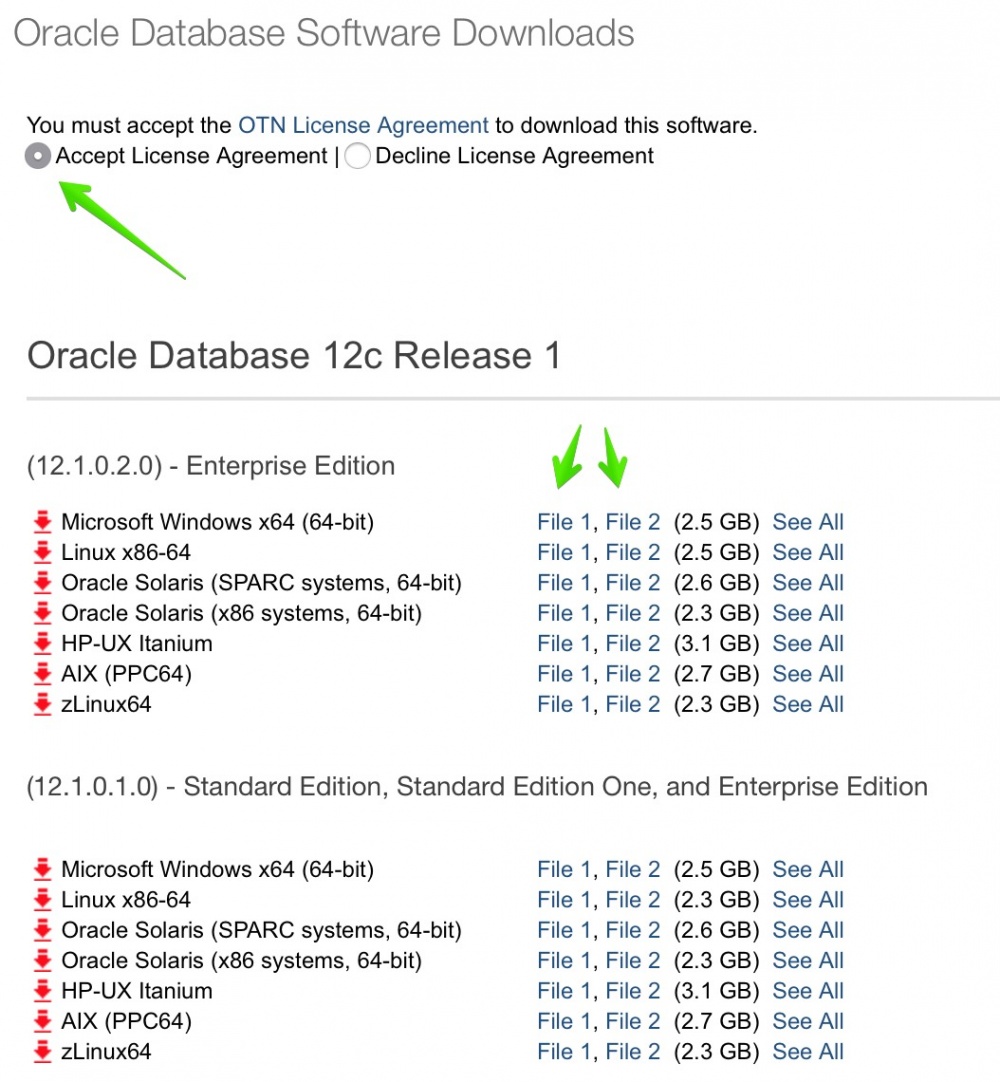
Download the required database distribution from the Oracle Technology Network . In this article, we review the Enterprise edition. The process of installing other editions is not significantly different. To download, you need to set the consent flag with the license agreement “Accept license agreement” and click on each of the links. You will be prompted to enter your Oracle account details. If you do not have an Oracle account yet, you will be prompted to create one.
Unzip each of the installer archive files into the same directory.
Then go to the database folder of the unpacked folder and run setup to start the installation.
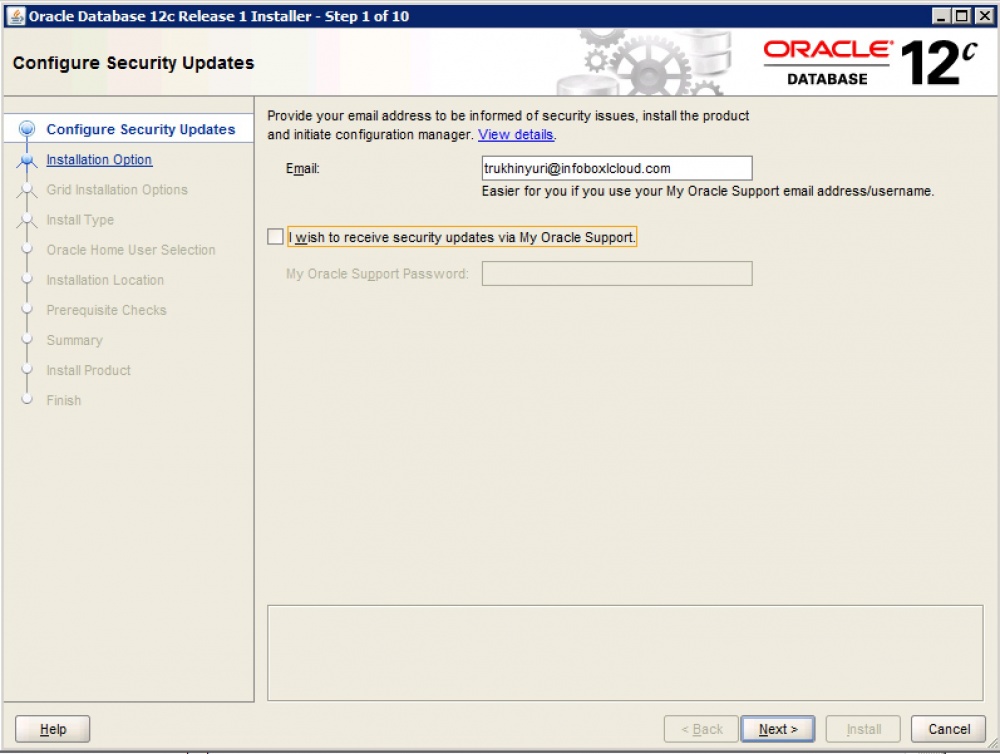
Enter your email address and click “Next”.
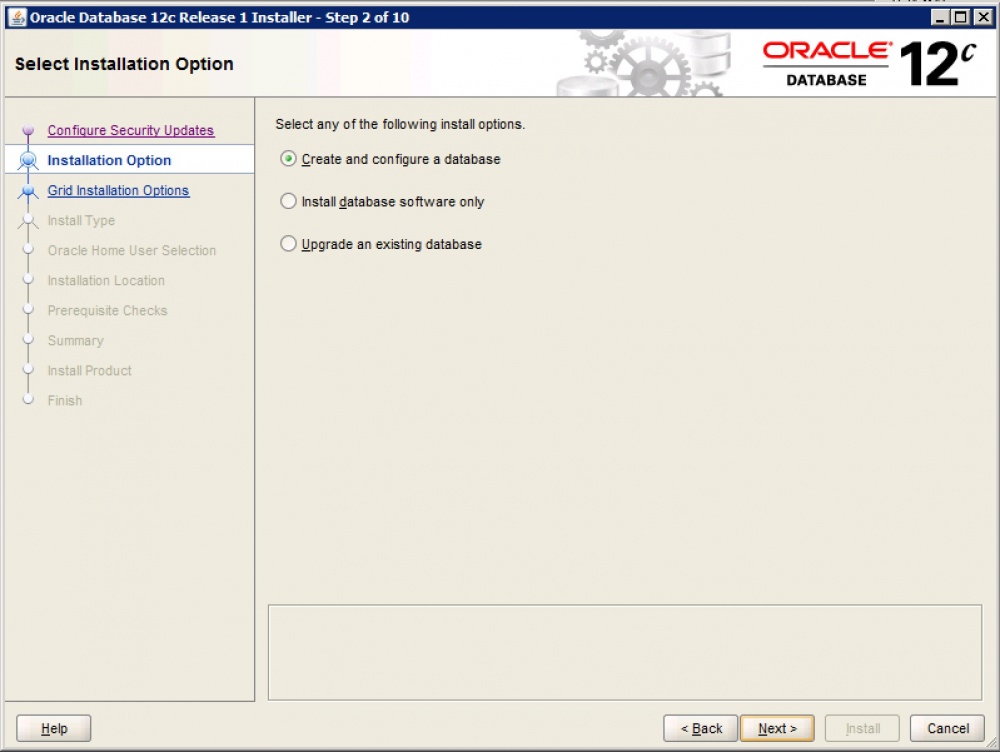
Select "Create and configure a database" and click "Next."
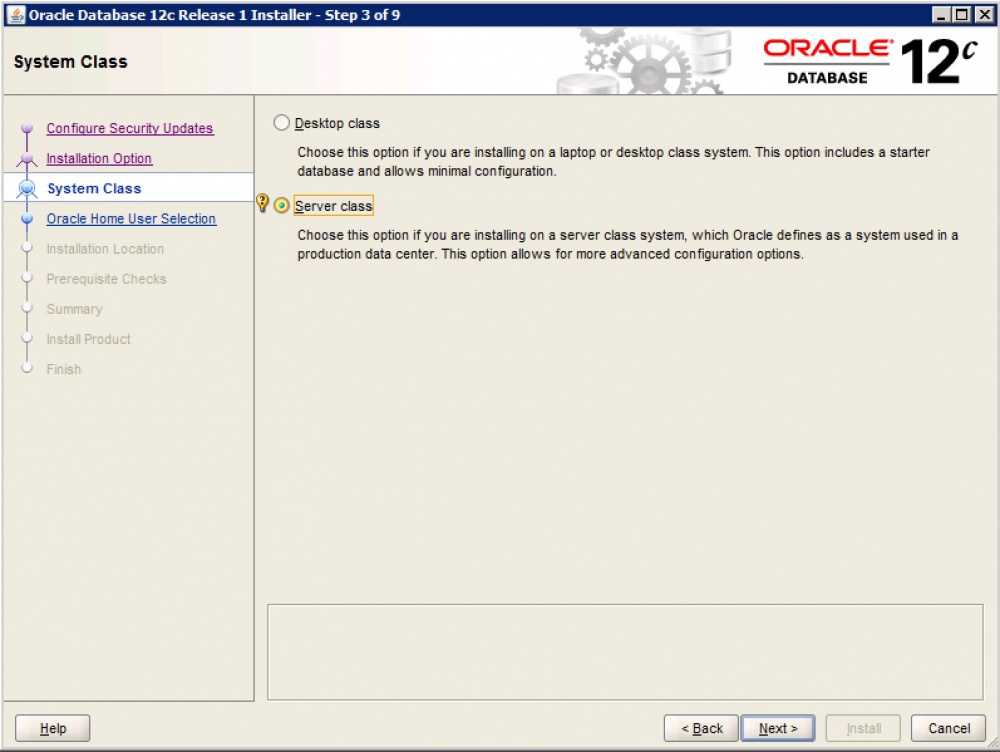
If you use the development base, in the next step, you can select the “Desktop Class” item and the installation process will be simplified. If you are using a database for industrial use, select “Server Class”.
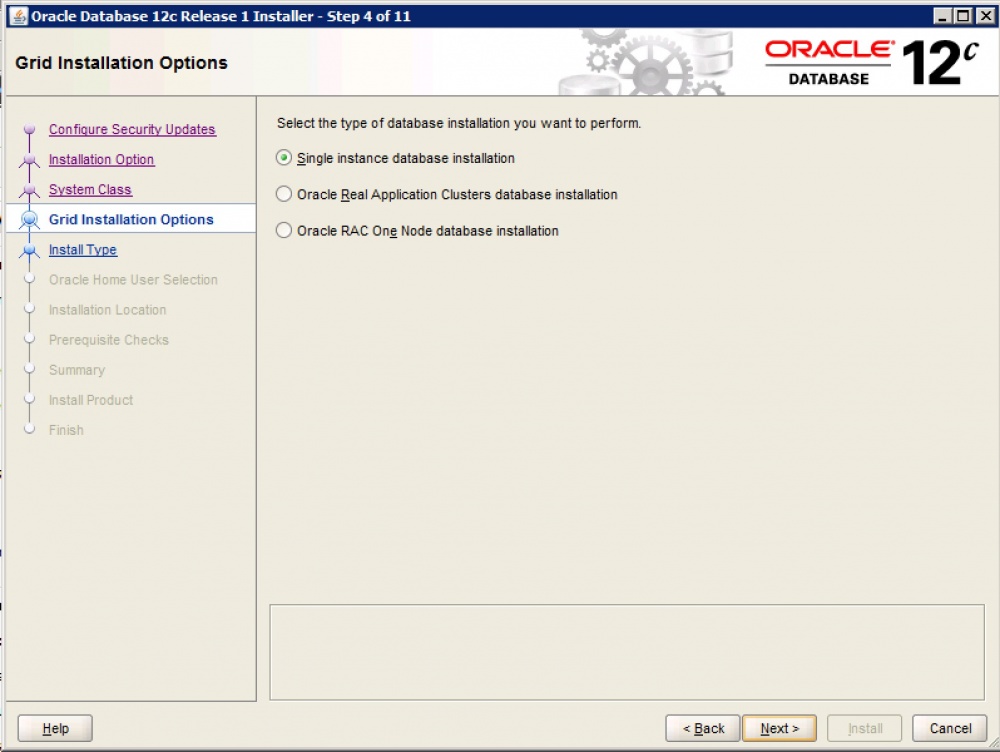
In this article we do not consider the possibility of clustering, so you need to select the "Single instance database installation".
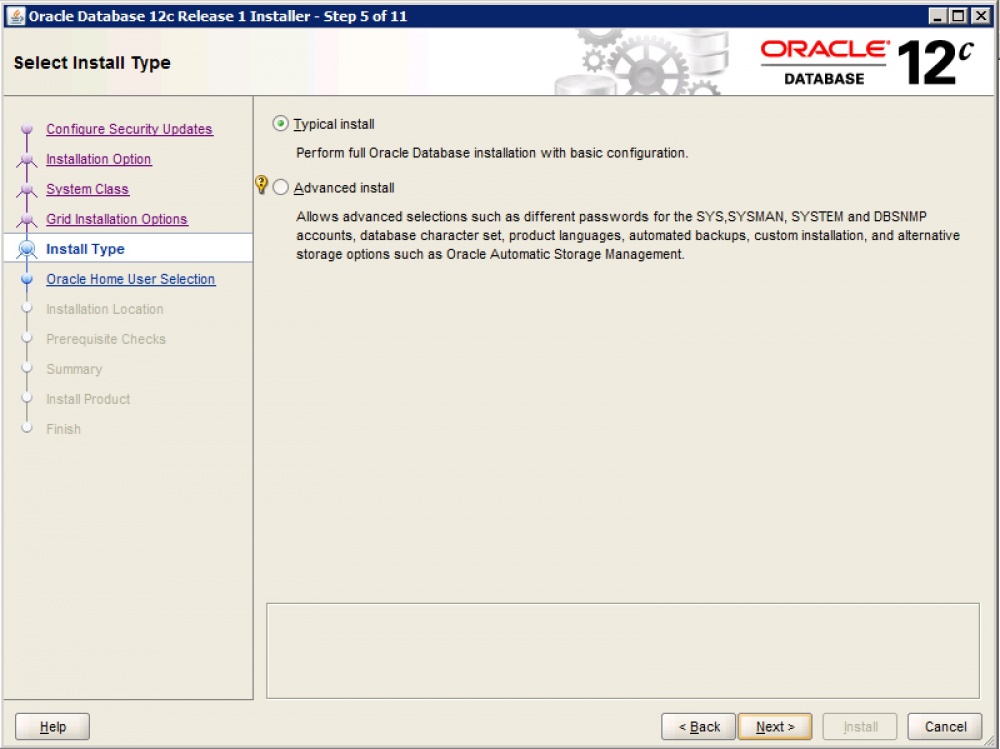
In the next step, select Typical Database Installation.
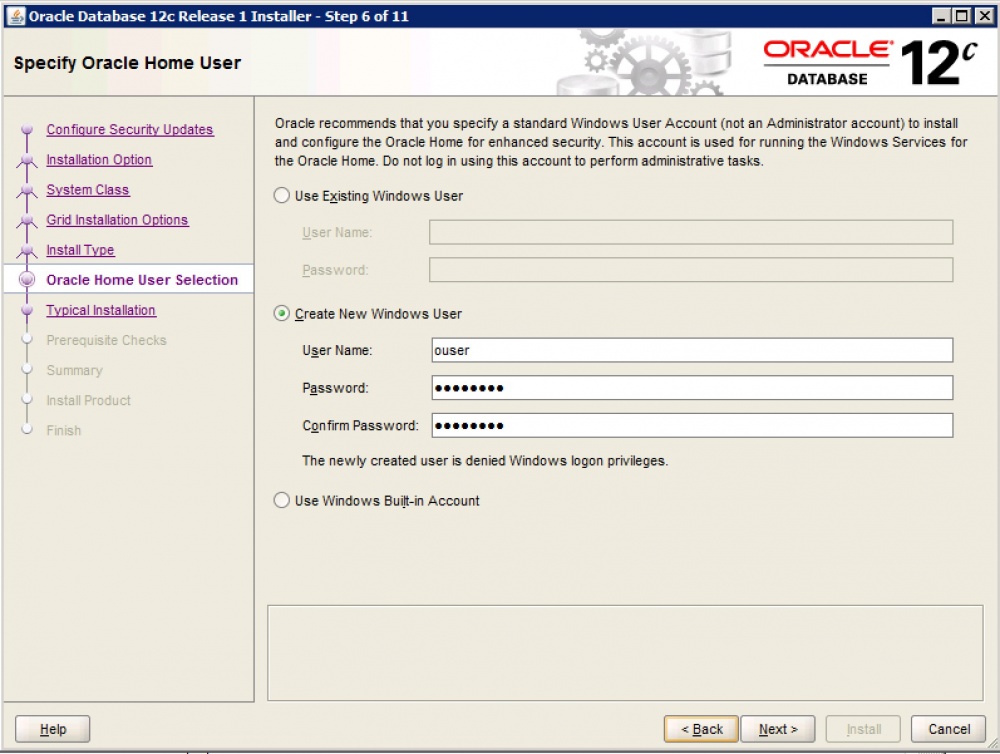
Now you need to create a user in Windows for the operation of Oracle services. Select "Create New Windows User", enter the username and password of the user to create.
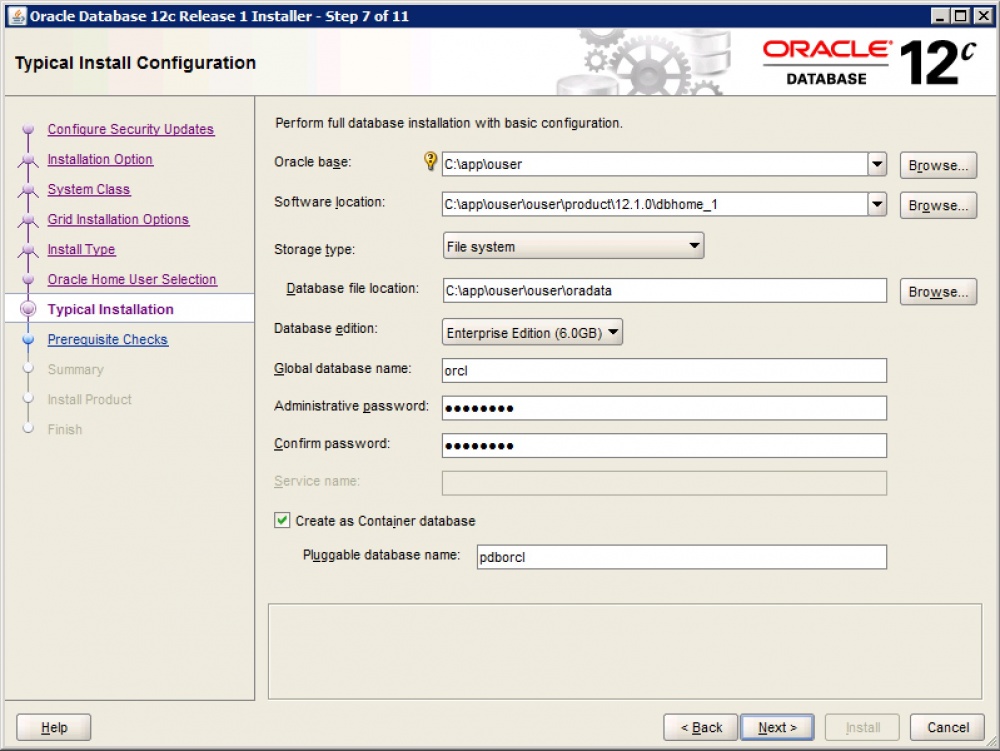
In the next step, specify the paths for installing the DBMS, specify the database administrator password and click “Next”.
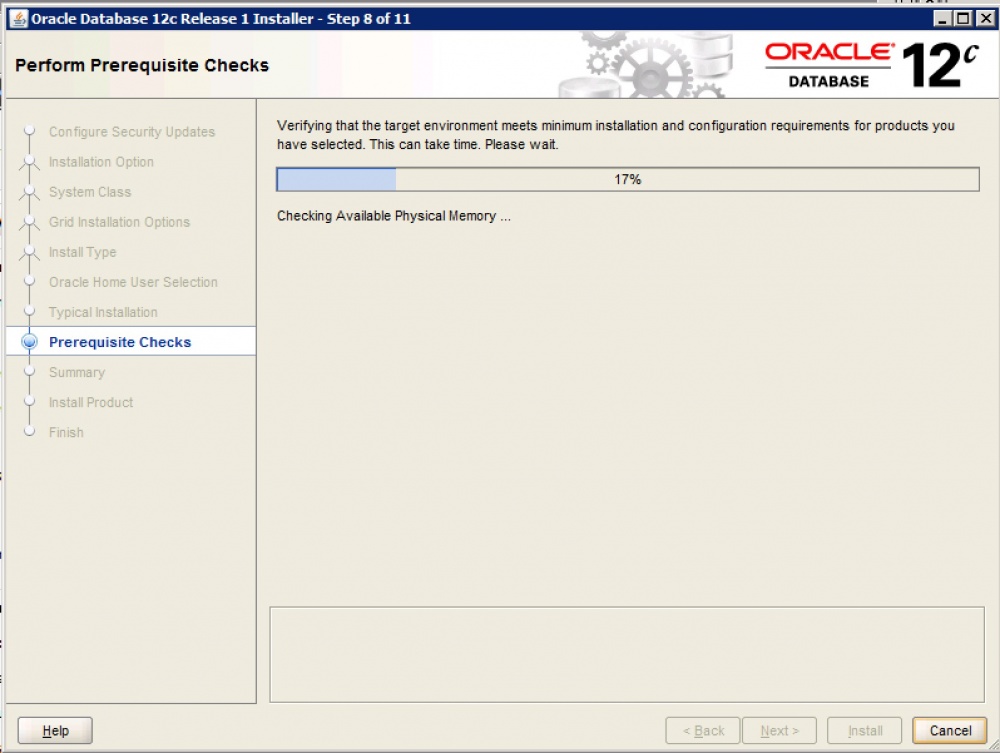
The automated pre-installation process begins.
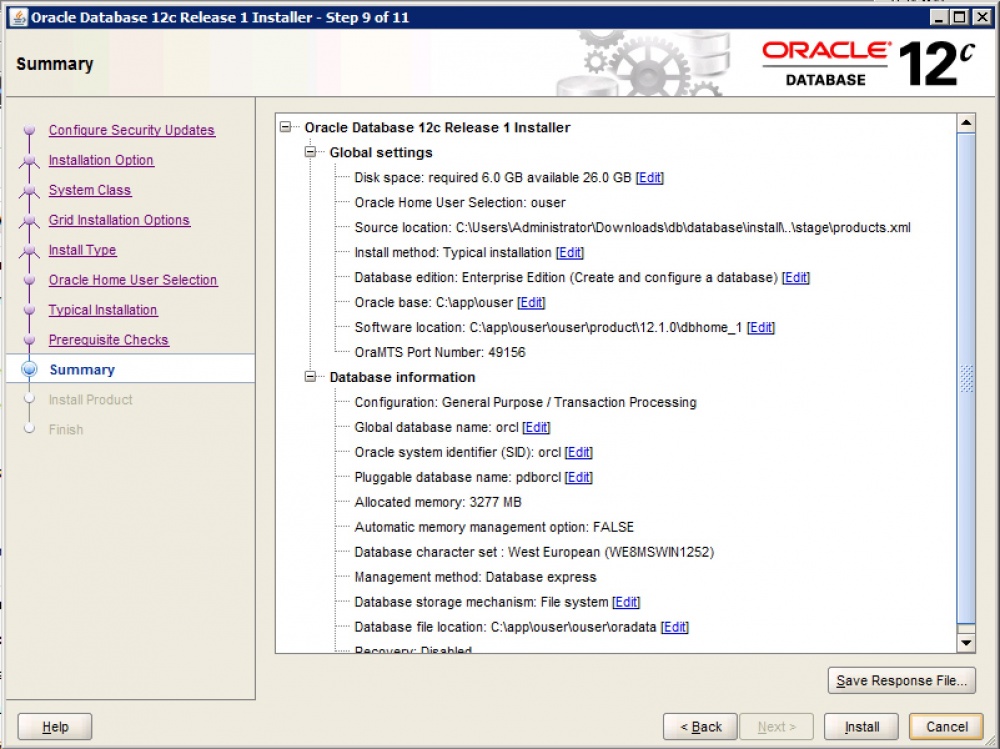
Click “Install” to start the installation.
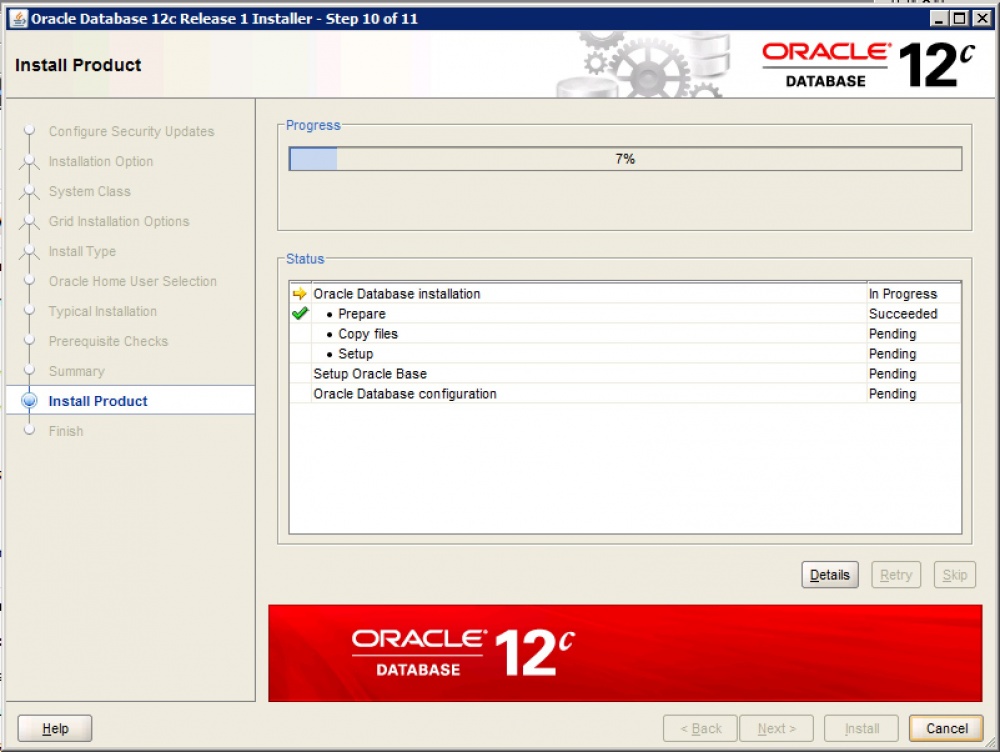
After some time the installation is complete.
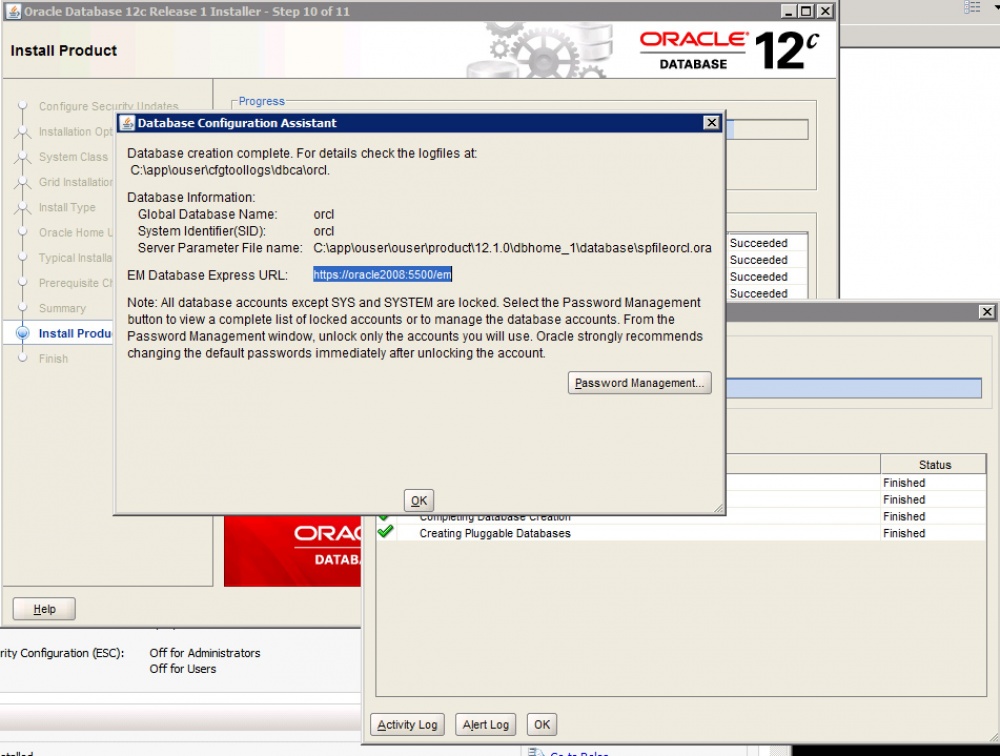
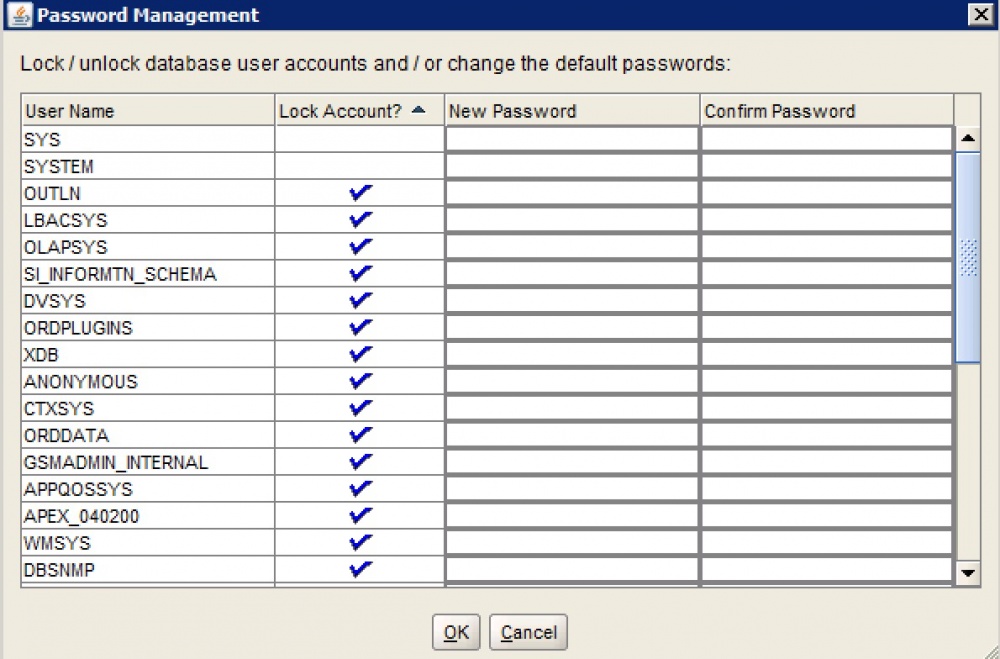
You can set a password right there and unlock the necessary accounts by clicking "Password Management".
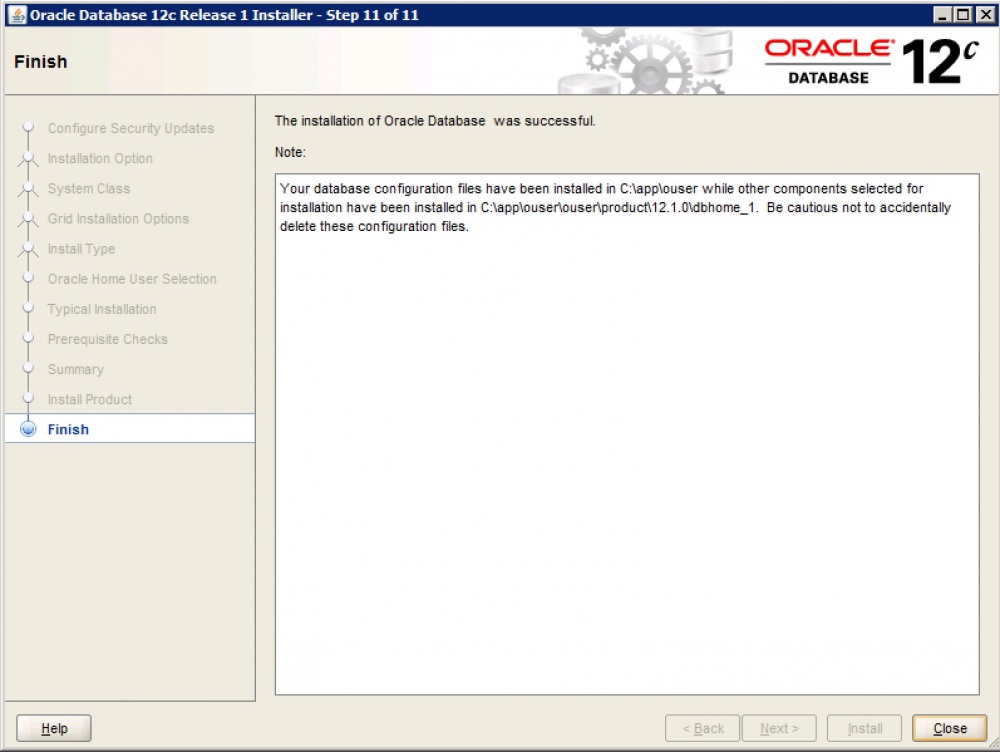
The Oracle database is now fully installed.
You can enter the SQLPLUS command line utility:
sqlplus / as sysdba 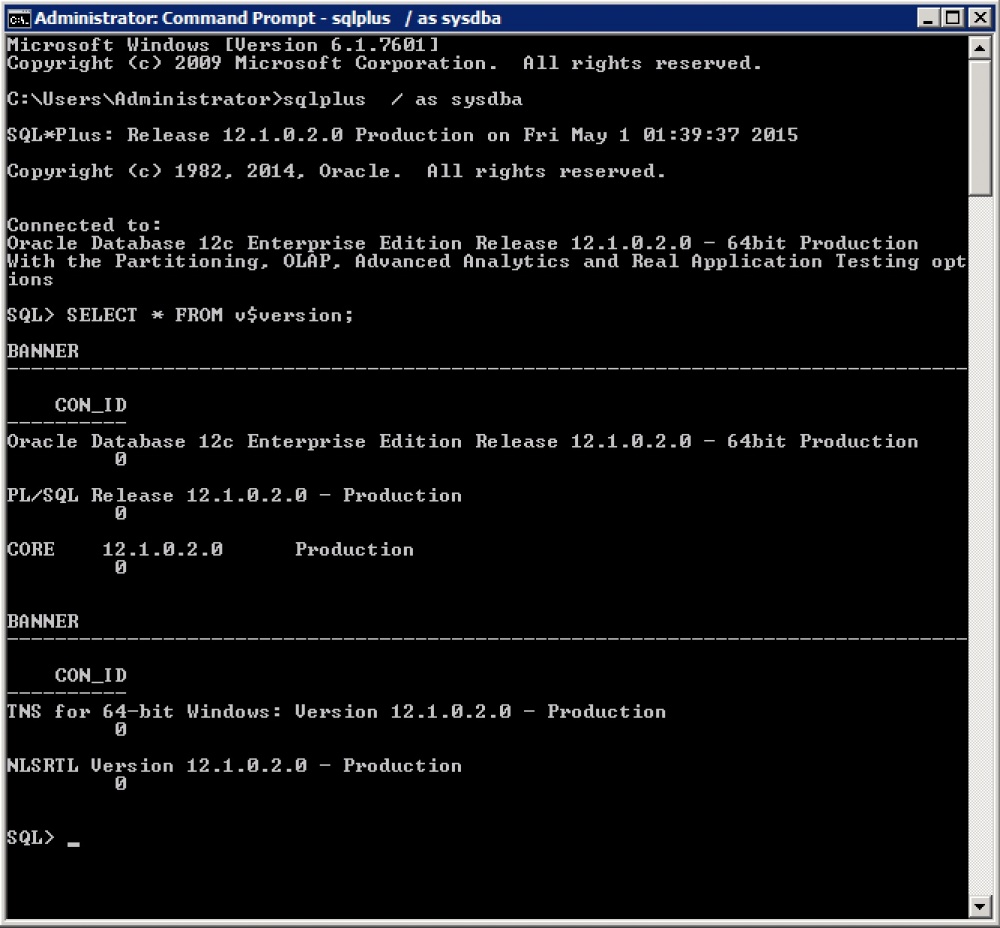
If during the installation phase you did not set a password for the required user, you can do it through SQLPLUS like this:
alter user SYS identified by "newpassword"; where newpassword is your new password.
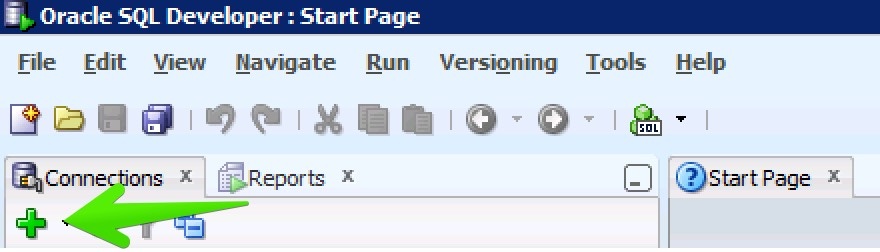
You can also connect locally to the database via SQL Developer (Start -> Oracle - OraDB12Home1 -> Application Development -> SQL Developer).
Click "+" to create a new connection.
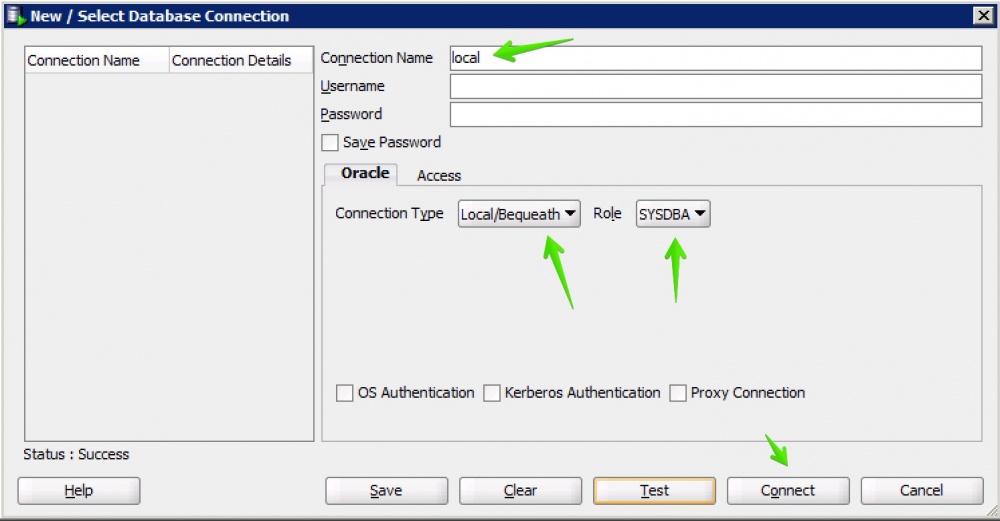
Set the settings shown in the screenshot below and click "Connect".
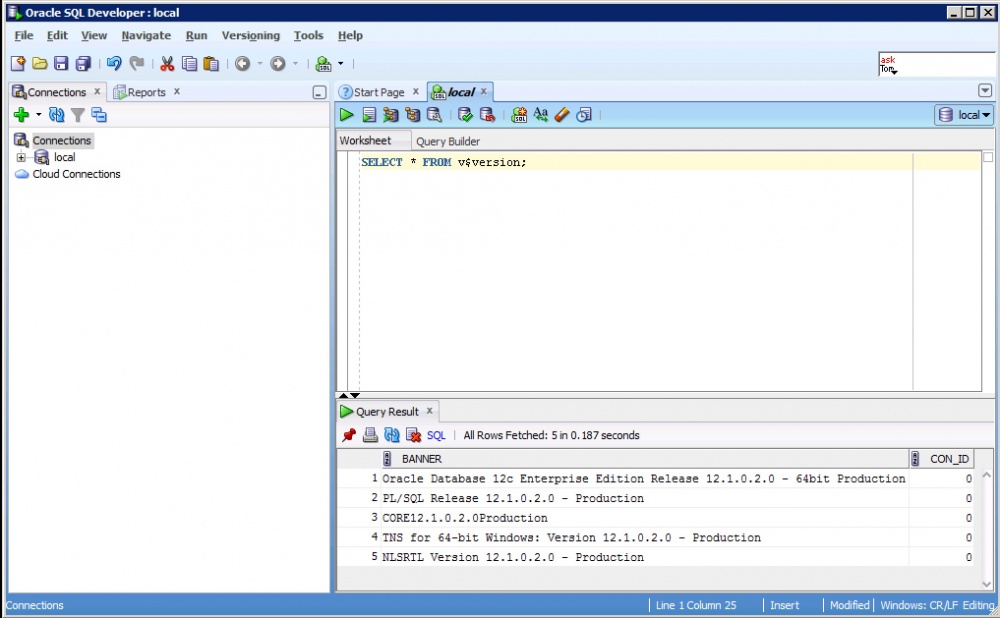
Connection established successfully. You can enter a query to verify.
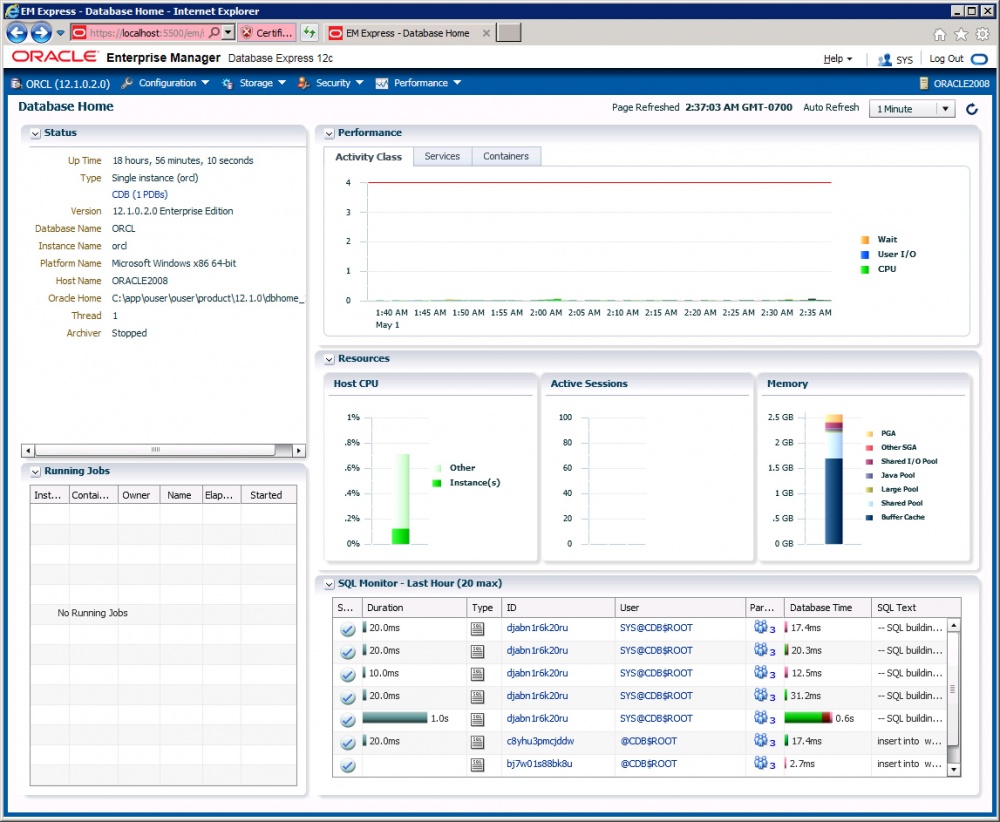
To log into Oracle Enterprise Manager, use the following address:
https://localhost:5500/em In the process, allow the use of a self-issued certificate and install Adobe Flash Player (by unchecking the checkbox of another third-party software offered by Adobe).
For access, you can use the login SYS and the password that we set earlier.
Thus, we have successfully installed the Oracle database on the cloud server in InfoboxCloud . If you find a mistake in the article or you have a question, please email us on the LAN or by email . If you can not leave comments on Habré - write in the InfoboxCloud Community .
Successful work!
Source: https://habr.com/ru/post/257105/
All Articles