Webix. The first acquaintance with the JavaScript framework

This article is intended for those who want to learn about the basics of using this framework. In it I will try to tell you in detail about how to get started with Webix. You should also pay attention to what additional useful tools, in addition to the library, the developers offer.
As an example, I created such a blank for an online player, which corresponds, in my opinion, to the spirit of the times, because literally everything now seeks to leak online, whether it is storing data in the clouds or streaming audio and video.
')
You can write the source code as you read the article, or you can immediately download it from the github and deal with it in the process.
In a nutshell
Webix is a JavaScript framework with which you can create desktop and mobile web applications with responsive designs. The framework is available under two licenses: GNU GPLv3 and commercial.
Features:
- Ease of development . The documentation is quite detailed, and it’s easy to understand how everything works. In order to get started, you do not need to be a JS-guru or JS-ninja. You do not even need to understand the difference between them.
- Integration with popular frameworks . Implemented integration with Backbone.js , AngularJS and jQuery . The last feature, for example, allows you to create Webix widgets using jQuery syntax.
- Integration with third-party widgets . At this point we limit ourselves to the list: Mercury, Nicedit, Tinymce, CodeMirror, CKEditor, Raphael, D3, Sigma, JustGage, Google Maps, Nokia Maps, Yandex Maps, dhtmlxScheduler and dhtmlxGantt.
- Size - small, speed - big . In a compressed form, the .js file weighs only 128 KB, and at the same time, everything works pretty quickly (according to the developers, it “flies”).
- Touchscreen support . The created widgets feel equally good both on desktops and smartphones / tablets.
From words to deeds
From the list of features that, I think, very few people read from beginning to end, let's move on to practice. But first I propose to visit the main page of the library again and pay attention to the interactive demo. It consists of only ten (10!) Lines of code. The result looks pretty nice. If you open this demo in a separate window (here is the link to it in the online editor, if you don’t want to mess around) and experiment with its size, you can make sure that the widget is displayed correctly regardless of the proposed circumstances. A suspicion may creep in that such behavior is not given in vain and you need to pretty much tinker with the style sheet. Well, here and check. Start should, as expected, from the beginning.
Download and unzip. However, you can do without it
In order to start using the library, you must first obtain the necessary files. To do this, go to the download page . Choose the version you like (I bet, in 99 cases out of 100 it will be Standard) - and we get the coveted zip-file. Inside you can find the files `license.txt`,` readme.txt` and `whatsnew.txt`, which may seem curious to those who like to learn everything thoroughly. In addition, the contents of the `samples` folder can be interesting, in which you can see examples of what is useful with Webix you can make.
But most of all at the moment we are interested in the contents of the `codebase` folder, namely the two files that will be needed for work:` webix.js` and `webix.css`. In order to be able to use Webix, you need to include these files in the HTML file of the future project:
<!DOCTYPE html> <html> <head> <title>Online Audio PLayer</title> <link rel="stylesheet" href="codebase/webix.css" type="text/css"> <script src="codebase/webix.js" type="text/javascript"></script> </head> <body> <script type="text/javascript"> </script> </body> </html> I also added tags, inside which the code of the future application will be placed.
However, the archive with the library can not even download. All necessary files are available via CDN. To use this feature, you can attach these files as follows:
<link rel="stylesheet" href="http://cdn.webix.com/edge/webix.css" type="text/css"> <script src="http://cdn.webix.com/edge/webix.js" type="text/javascript"></script> But it is better to download the entire library. In addition to samples, you can also find a set of skins in the archive. Using them is easy and later I will show you how to do it.
Initialization
Now you can go directly to working with Webix.
All Webix-magic happens inside the
webix.ui() constructor. If you need to make sure that the code starts to run after the page has completely loaded, you should put it in webix.ready(function(){}) . It should look like this: webix.ready(function(){ webix.ui({ /* */ }); }); Layouts
Before going directly to the application, you need to figure out how you can create layouts. Our future player will consist of the following main parts: a directory tree in which all available albums will be displayed; album cover ; table playlist and control panel .
In order to fill the page with content, you need to add a description of the required element in JSON format. So let's get started.
When creating the layout, the
rows and cols attributes are used, with which you can create rows and columns, respectively. Here is an example of creating a simple two-line layout: webix.ui({ rows: [ { template:"Row One"}, { template:"Row Two"} ] }); Here's what the result will look like:
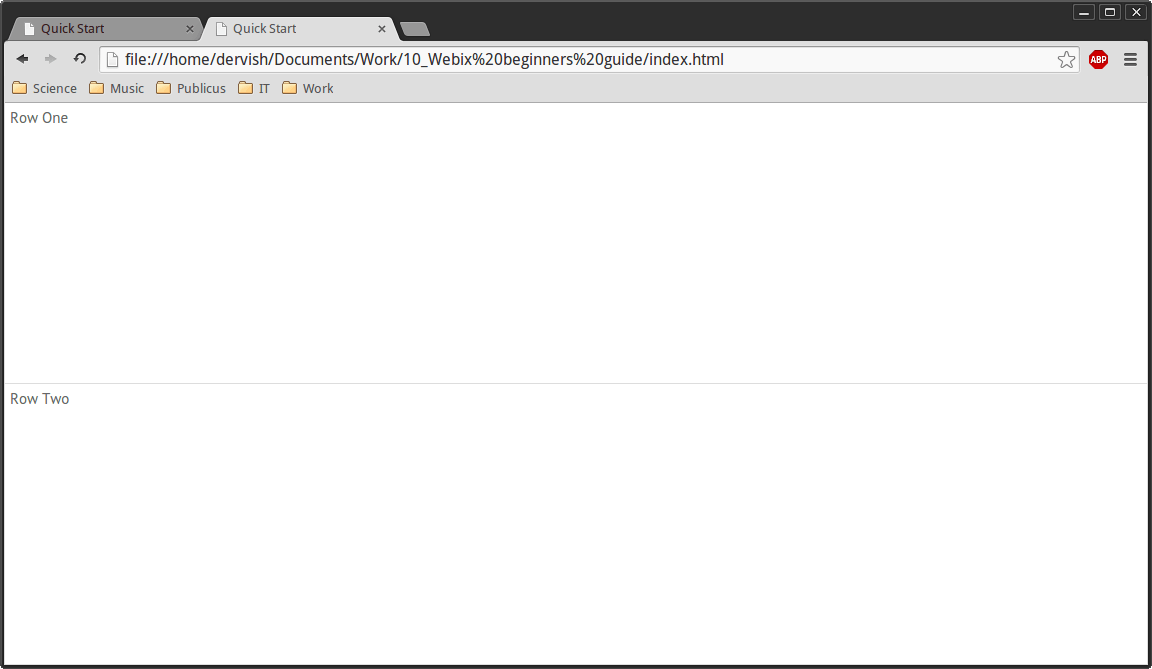
In this example, a simple container was created using
template:"Row One" into which you can put any HTML content.You can create nested containers:
webix.ui({ rows: [ { template:"Row One"}, { cols:[ { template:"Column One"}, { template:"Column Two"} ]} ] }); Result:
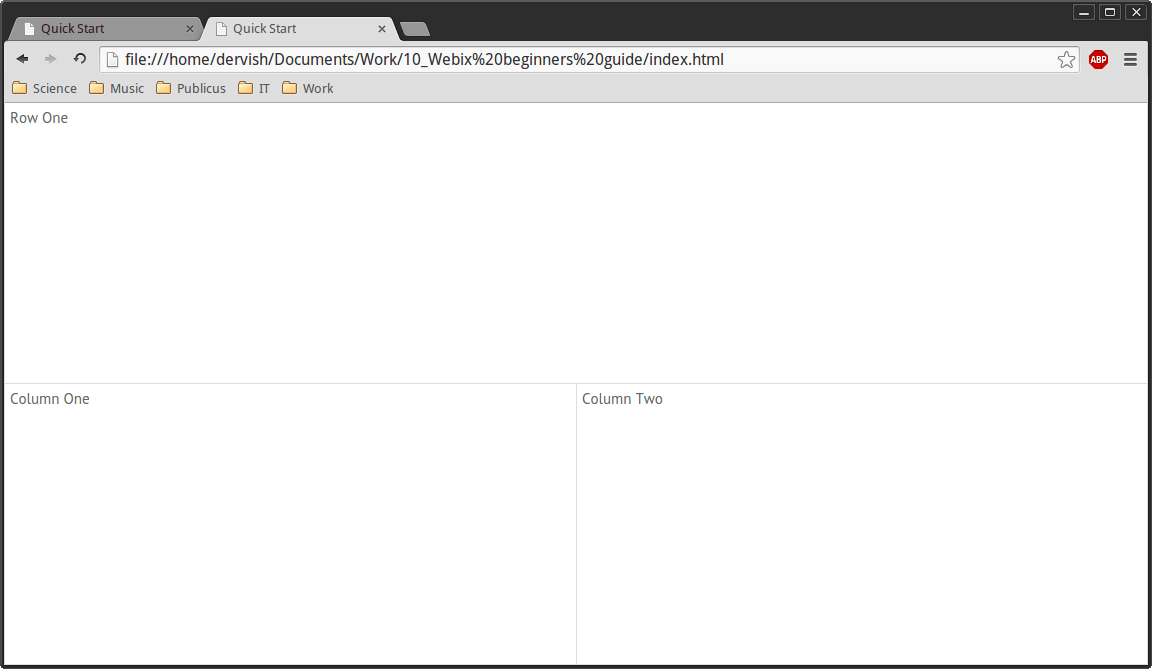
By combining nested rows and columns, you can achieve the desired result. By default, containers fill all available space and, by creating four containers, we get four identical rectangular areas. In order to set the desired size of elements, you can use the familiar CSS properties
width and height .Thus, the code for the layout of our future player will look like this:
webix.ui({ rows: [ {type:"header", template:"Online Audio Player"}, {cols: [ {rows: [ {template:"Tree"}, {view:"resizer"}, {template:"Album Art", width: 250, height: 250} ]}, {view:"resizer"}, {rows: [ {template:"Playlist"}, {template:"Controls", height: 60} ]} ] } ] }); In addition to the already familiar columns and columns, I also added something new.
type:"header" turns an element into a header. Several resizer elements have also been added, which, as the name implies, are needed to resize the container. A resizer, like all other UI components, is created using the view property, which allows you to create lists, buttons, forms, etc.Here is the layout of the future application at this stage:
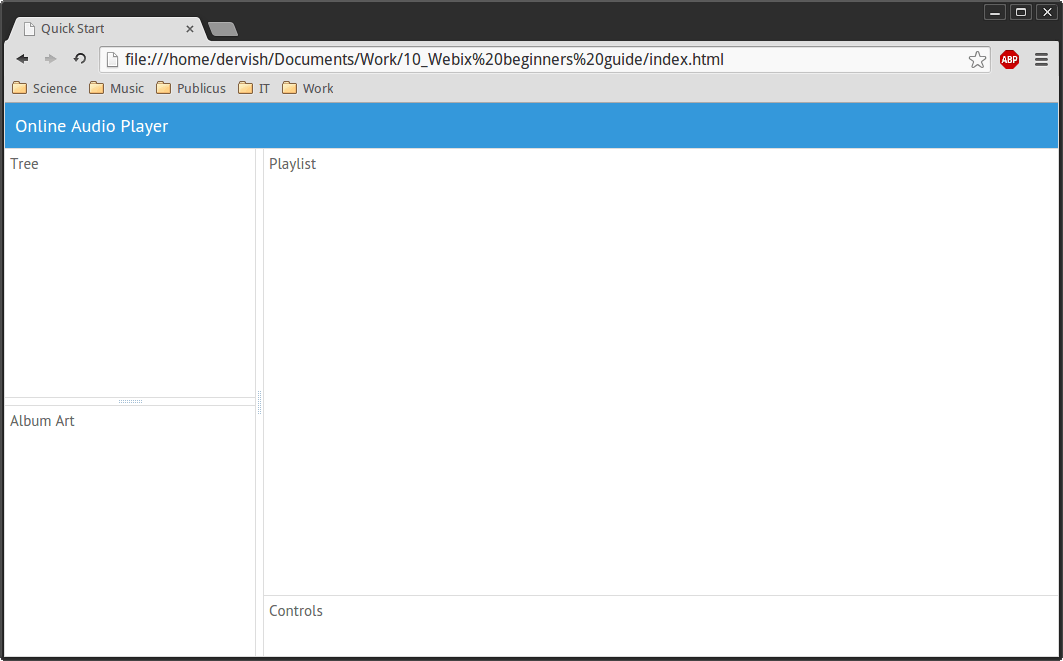
Now we have areas of the right sizes and the ability to change these sizes to your own taste.
The page is marked, it is time to breathe life into the elements of our application.
Plant a tree ... Meet the Tree Widget
Let's start with the directory tree . Since the creation of a full-featured player is beyond the scope of this article (and also from the reluctance to face possible problems with copyright), instead of real files, I used simple text data to be placed in the
data.js file, which will be filled with content as needed. First you need to add information about artists and albums to it: recordsData = [ {id:"1", value:"Oceansize", data: [ {id:"1.1", value:"Everyone Into Position"}, ]}, {id:"2", value:"Little People", data: [ {id:"2.1", value:"Mickey Mouse Operation"}, ]}, ]; Two performers with one album for each of them will be enough to understand the basic principle. Now we need to make the tree work. First, you need to connect the data file to the HTML file. To do this, add the following code between the tags:
<script src="data.js"></script> Secondly, instead of
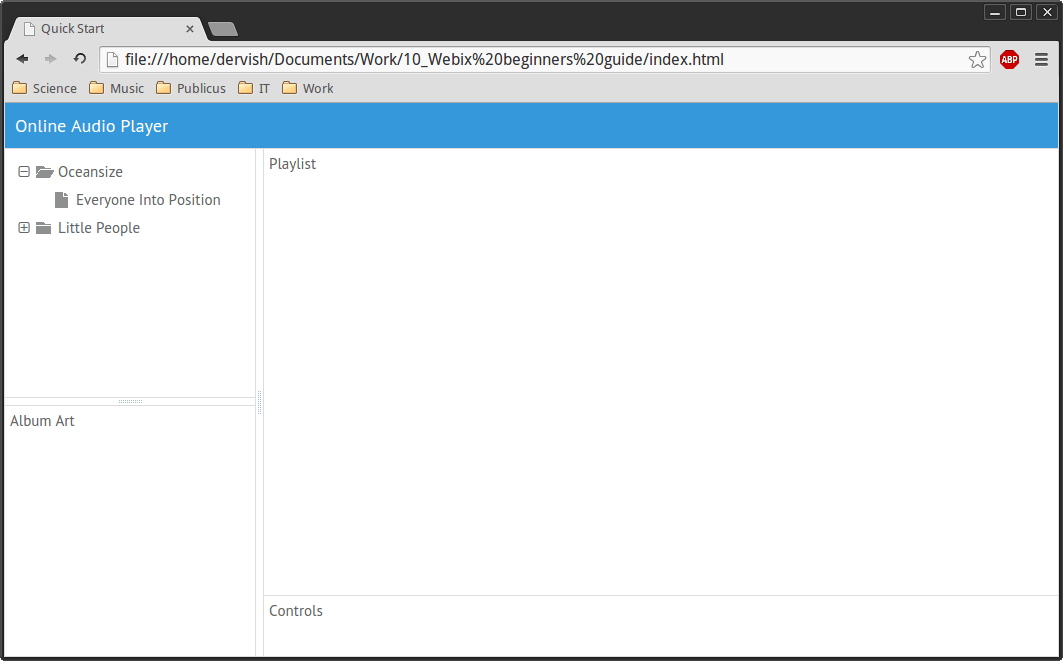
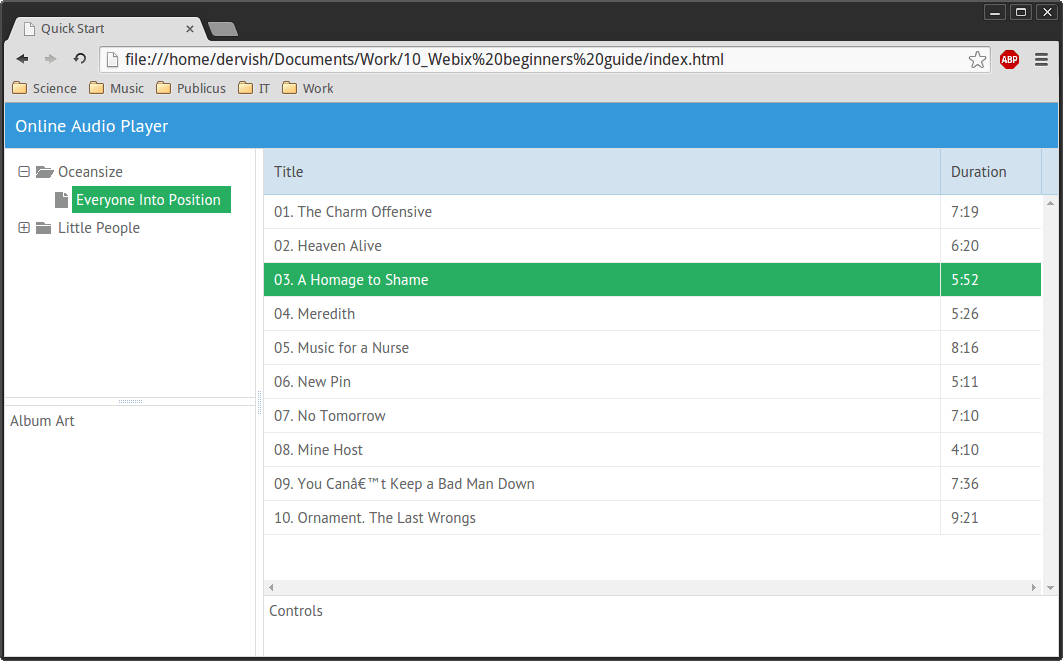
template:"Tree" in braces you need to insert code that will create a tree: view:"tree", data:"recordsData", select: true This line creates a tree based on data from the
recordsData array from the data file. select: true allows you to select one of the tree items, disabled by default.Here is what it looks like at the moment:
We catch information. Using tables to display data
Now let's see how the data tables work. In order to check their work, you need to add two new arrays to the
data.js file. gridColumns contains the names of the columns that will be displayed in our list, and oceanData contains information about the tracks for the first album of the first artist: the name and duration of each song. gridColumns = [ { dataIndex: "title", header: "Title" }, { dataIndex: "duration", header: "Duration" } ]; oceanData = [ {id: "1", title: "01. The Charm Offensive", duration:"7:19"}, {id: "2", title: "02. Heaven Alive", duration:"6:20"}, {id: "3", title: "03. A Homage to Shame", duration:"5:52"}, {id: "4", title: "04. Meredith", duration:"5:26"}, {id: "5", title: "05. Music for a Nurse", duration:"8:16"}, {id: "6", title: "06. New Pin", duration:"5:11"}, {id: "7", title: "07. No Tomorrow", duration:"7:10"}, {id: "8", title: "08. Mine Host", duration:"4:10"}, {id: "9", title: "09. You Can't Keep a Bad Man Down", duration:"7:36"}, {id: "10", title: "10. Ornament. The Last Wrongs", duration:"9:21"} ]; In order to display this data in the form of a sortable table, you need to replace
template:"Playlist" with: view:"datatable", autoConfig:true, data:oceanData This code works like this:
view:"datatable" creates a data table, autoConfig: true helps to configure the table and create columns based on data from the gridColumns array. The oceanData array is used as a consumable for the table.Here is the application with the table:
Please note that the data in the table can be sorted by title or by song length.
Everything is good, but only here the tree and the playlist work separately from each other. It would be nice to teach them to interact.
Operation "Cooperation". Making the tree and the list work together
To do this, you need to do some preparatory work. I will try to minimize it in order to enjoy the result as soon as possible.
First, it would be
data.js to change the format of the data in the data.js file. You need to change the id for the albums, as well as add information for the album of the second artist, so that you can choose from. It does not differ from that of the previous one, so we will only peopleData part of the peopleData array: recordsData = [ {id:"1", value:"Oceansize", data: [ {id:"oceanData", value:"Everyone Into Position"}, ]}, {id:"2", value:"Little People", data: [ {id:"peopleData", value:"Mickey Mouse Operation"}, ]}, ]; peopleData = [ {id: "1", title: "01. Basique", duration: "3:38"}, {id: "2", title: "02. Moon", duration: "3:47"}, <......> ]; The
id value for albums from the recordsData array recordsData same as the name of the information array for the corresponding album. This is important because it will be faster.Now back to the application code. First you need to create a variable in which the value of the element selected in the tree will be stored. By default, it will contain the value of the first album in the list. Then you need to change the code to build the tree and the table so that they can interact with each other and react to events:
var selected = oceanData; webix.ui({ /*.....*/ {view:"tree", id:"myTree", data:"recordsData", select: oceanData, on: { onSelectChange: function(){ selected = $$("myTree").getSelectedId(); if (isNaN(selected)) { $$("myList").clearAll(); $$("myList").define("data", selected); $$("myList").refresh(); } } } }, /*...*/ {view:"datatable", id:"myList", autoConfig:true, data:selected} So what do we have here? The variable
selected by default stores the value of the first album from the tree, whose data is displayed in the table immediately after the application is loaded. Attributes of id with values of myTree and myList respectively were added to the tree and table code. They are needed in order to gain access to the contents of these elements. The `select: oceanData` property determines the` id` of the default list item. The following is an event handler. Code on: { onSelectChange: function(){ } runs when the user selects a new item in the tree. When this happens, the code placed in the function body is executed. In our case, the following happens: string
selected = $$("myTree").getSelectedId(); assigns the id variable of the currently selected tree item to the variable. For a folder, it will be a number corresponding to its number in the hierarchy, and for an album, the name of the array containing information about it. Since displaying folder information is not included in our plans, we first need to check if the returned value is a digit: if (isNaN(selected)) . If this is not a number (and we just need it), then the list is updated using this code: $$("myList").clearAll(); $$("myList").define("data", selected); $$("myList").refresh(); The list is first cleared, then initialized with the modified
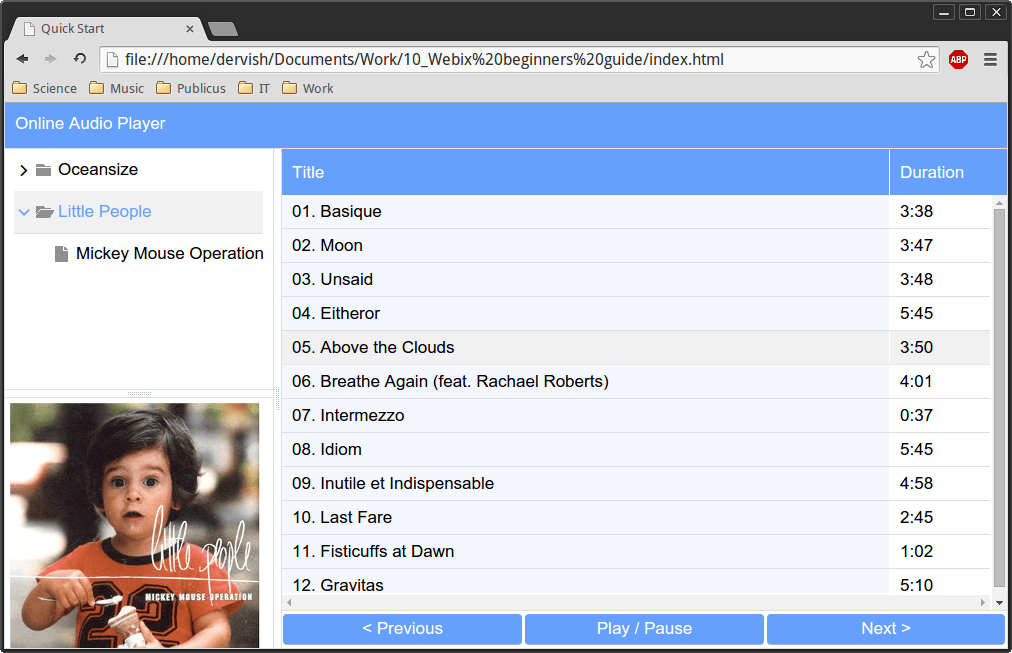
selected value using the define() method, which takes two values: the property to be changed and the new value for this property. Then the table content is updated.And, actually, the result:
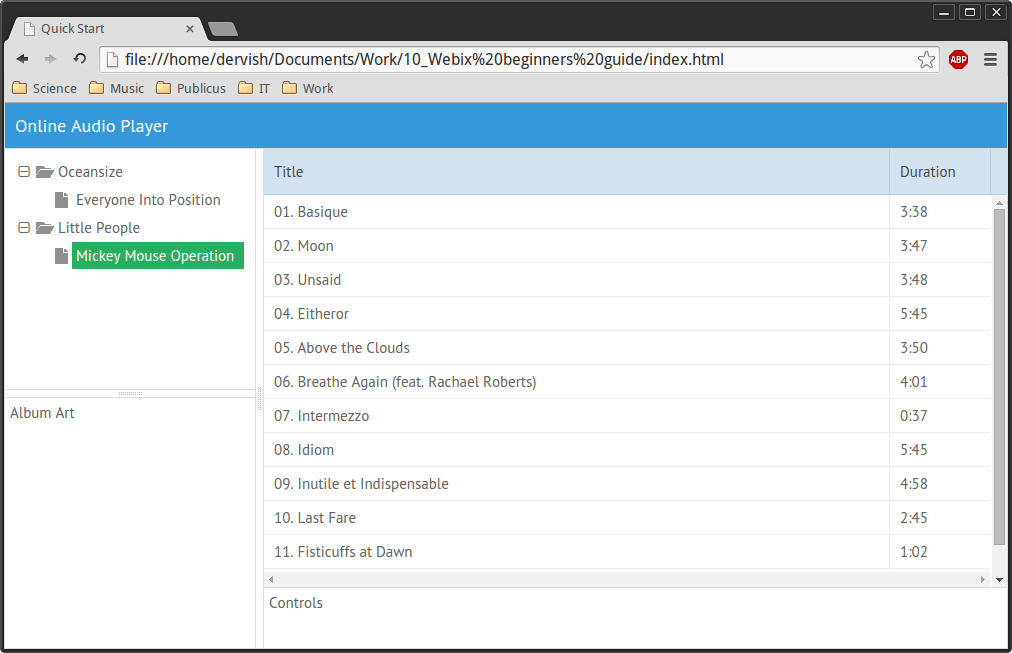
Now you can switch between different elements of the tree and the data in the table will be updated.
The obtained knowledge about the interaction of elements will be needed in the next stage, in which the ability to view album art will be added.
For visionaries
Well, you have to sweat a little more to see the covers. This will require a new variable, which will contain the default path to the cover:
var coverPath = "imgs/oceanData.jpg"; Since in this case, as in the previous one, the type of application changes in accordance with changes in the tree, the code necessary for changing covers also needs to be added to the tree code. Immediately after
$$("myList").refresh(); add the following lines: coverPath = "imgs/" + selected + ".jpg" $$("myCover").define("data", {src: coverPath}); The names of the cover files coincide with the
id values of the corresponding albums, which means that you can use the value of the selected variable again by analogy with the previous step. Then you need to change the state of the container `myCover`, which displays the cover. For this, the familiar define() method was used.It remains to force the corresponding container to display the image. For this line
template:"Album Art", width: 250, height: 250 should be replaced by: width: 250, height: 250, id:"myCover", data: {src:coverPath}, template: function (obj) { return '<img src="'+obj.src+'"/>' } This example is not so obvious at first glance. Let's figure it out.
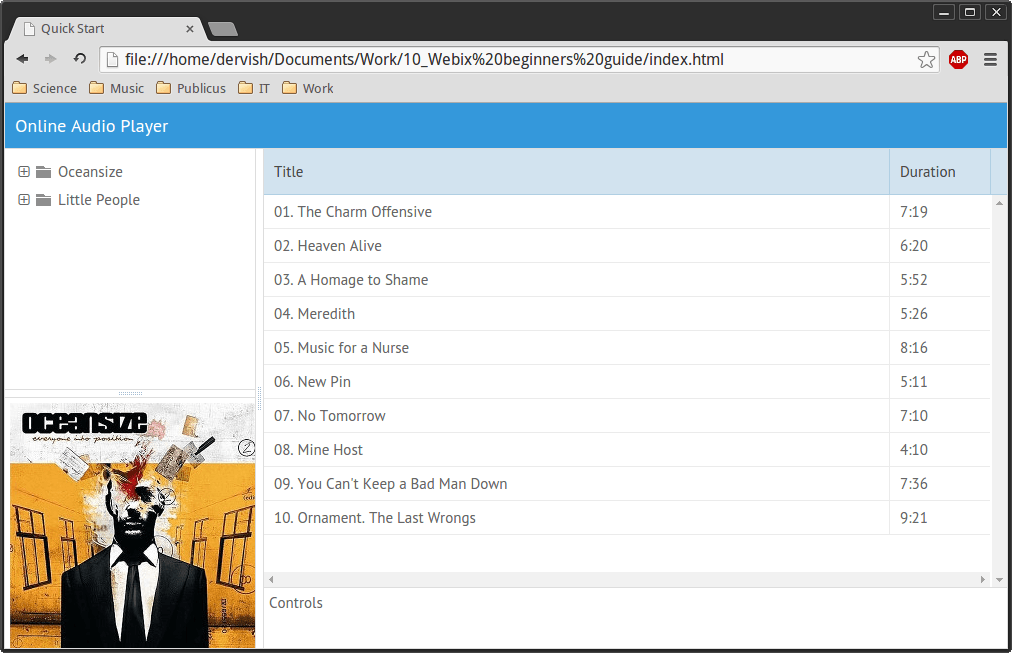
width and height were set in advance, there is nothing new here; id needed to access the contents of the container - also without surprises; and here the most interesting begins: the data property defines the contents of the container. The src value corresponds to the path to the image file, and it is this that needs to be changed to change the cover. The subsequent function is needed to generate HTML code, and it is better not to touch it without unnecessary need.Now let's check how the cover display works. Default appearance:
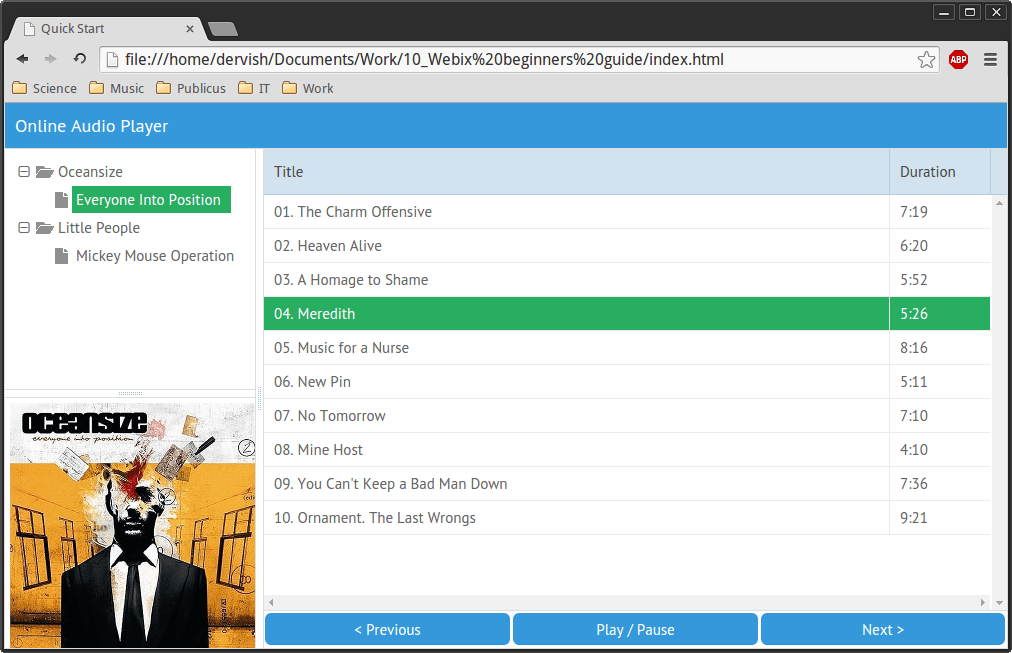
Appearance after selecting a new tree item:

Covers change as intended. It remains to add control buttons.
We take the application under control
The most crucial part of our example. Adding buttons. Since our player is minimalist, you can get by with three buttons:
Previous , Play / Pause and Next .Since some experience with Webix is already available, this final touch will not be so difficult. To add buttons, you need to replace the
template:"Controls", height: 60 with: cols: [ {view:"button", value:"< Previous"}, {view:"button", value:"Play / Pause"}, {view:"button", value:"Next >"}] Here are three columns, each of which is added by a button.
Here is the result:
Results
Well what can I say. The most difficult thing is creating an interface with some interactivity is over. Trivia, like the ability to play files, everyone can realize himself. In order to create a responsive interface, I did not have to mess with css-code. The developers have already tinker with it for me, and it remains for me to only use the properties `width` and` height` to give the elements the right size.
On this, perhaps, everything ... Or ..? Oh yes! I almost forgot about skins. It is easy to fasten them to the finished project, so it will not take much time.
Restyling on the fly
In the
skins catalog you can find such a list of available options:- aircompact.css
- clouds.css
- glamour.css
- metro.css
- touch.css
- air.css
- compact.css
- flat.css
- light.css
- terrace.css
- web.css
In order to try the one that seemed most tempting, you just need to connect the appropriate style sheet to the HTML file. For example, adding
<link rel="stylesheet" type="text/css" href="codebase/skins/touch.css"> You can change the appearance of the application to this:
You can check the application itself here . If you want to experiment, add new artists or new columns for a playlist, the source code is available on GitHub .
Well, on this, perhaps, really everything. I hope this article has helped you learn the basics of working with Webix. Available and detailed documentation with many examples will help you to continue the dive.
Adyo!
Source: https://habr.com/ru/post/256505/
All Articles