Motion Blur Effect with SVG

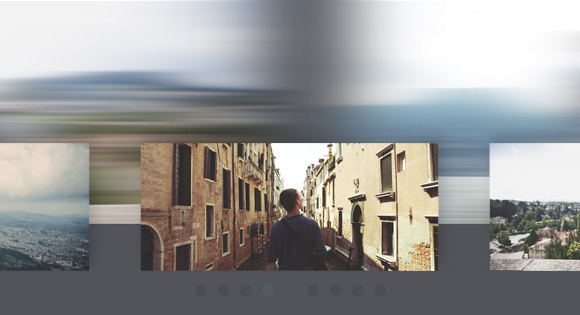
Today we will look at how to create a motion blur effect and apply it to CSS animations using SVG.
View on github
Demo (Russian)
Motion blur is a widely used technology in animation design and animation in general, to give movement a softer and more natural look.
Motion blur (pronounced: motion blur ) - blur the image when you play motion scenes or fast moving objects.
')
- Motion blur on Wikipedia
In this article we will look at how you can recreate this effect for horizontal and vertical movements.
Attention: Please keep in mind that this project is extremely experimental in nature and is supported only by some modern browsers. At the moment, Chrome shows the best results ...
To apply the motion blur effect, you need to apply a horizontal blur to the object in accordance with its speed and direction, for each frame separately.

Set the blur
Since the standard CSS blur filter does not support blur in a certain direction, we will use SVG filters.
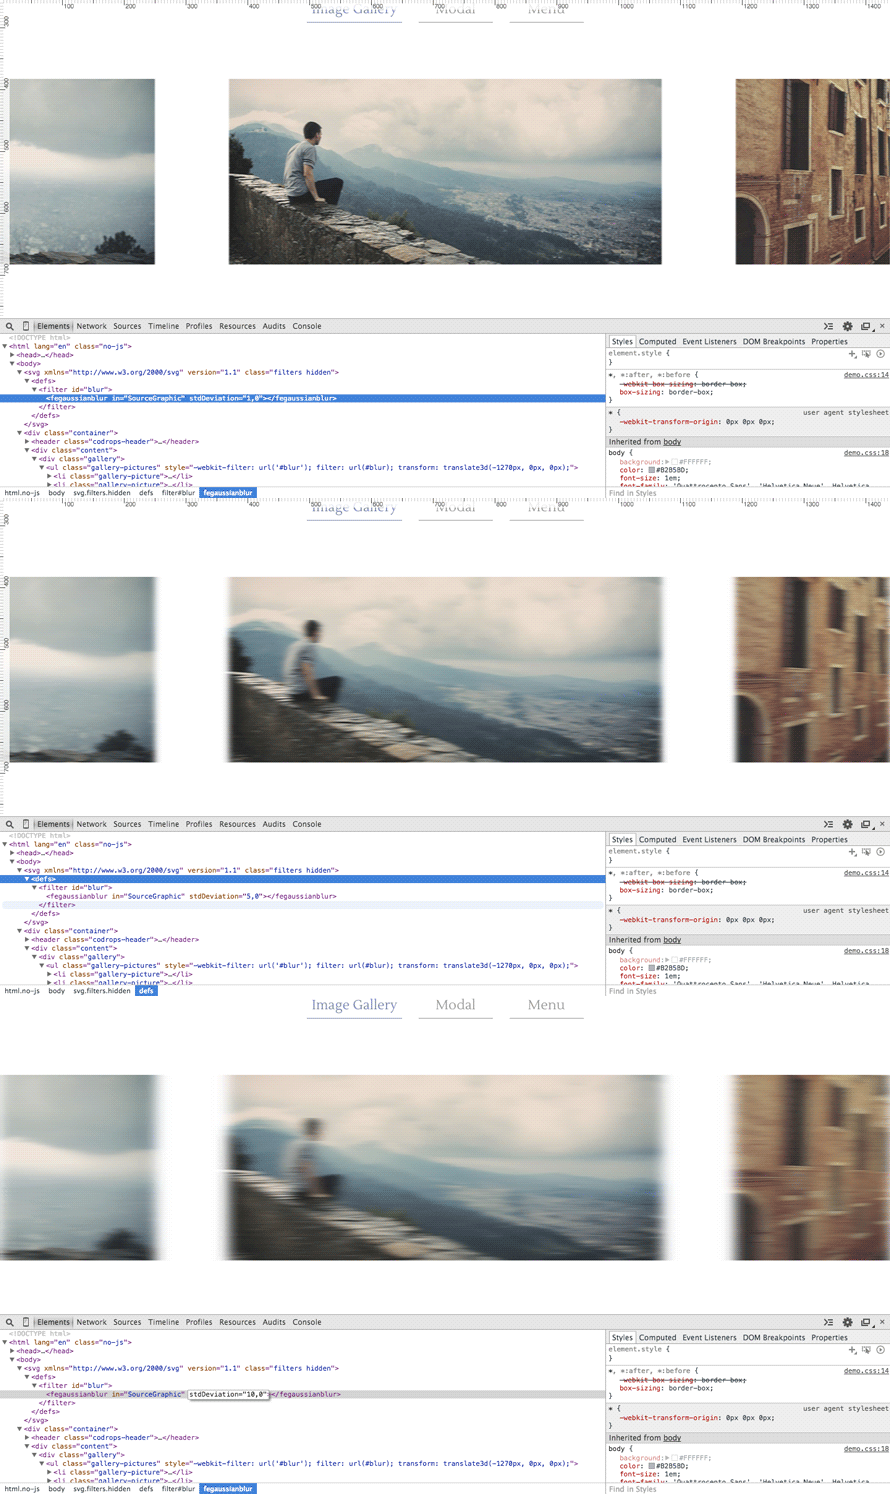
For the desired result, we will only use the feGaussian Blur filter.
<svg xmlns="http://www.w3.org/2000/svg" version="1.1" class="filters"> <defs> <filter id="blur"> <feGaussianBlur in="SourceGraphic" stdDeviation="0,0" /> </filter> </defs> </svg> The stdDeviation parameter is used to set the intensity of the blur and can take two values, one for horizontal and one for vertical blur.
Applying a filter to the desired element is quite simple:
.selector{ -webkit-filter: url("#blur"); filter: url("../index.html#blur"); } However, we need to change the parameter value for each frame. You can do this with JS.
First we need to select and then place the filter in a variable so that we can access it later. Since jQuery is not particularly friendly with SVG elements, we will use standard JS functions:
var filters = document.querySelector(".filters"), // SVG, defs = filters.querySelector("defs"), // SVG blur = defs.querySelector("#blur"), // blurFilter = blur.firstElementChild; // feGaussianBlur You need to change the intensity by adjusting the values of the stdDeviation parameter . For example, a horizontal blur at 12px:
blurFilter.setAttribute("stdDeviation","12,0"); 
Since this filter only supports blur in two directions, along the X axis and along the Y axis, you need to plan the animation in advance.
Note that changing the filter value applies to all objects with which it is associated. Therefore, we need to create a new
<filter> element for each new object to which we want to apply a filter. Here is an easy way to create these filters dynamically: // , $(".js-blur").each(function(i){ // var blurClone=blur.cloneNode(true); // ID, CSS var blurId="blur"+i; blurClone.setAttribute("id",blurId); defs.appendChild(blurClone); // CSS var filter="url(#"+blurId+")"; $(this) .css({ webkitFilter:filter, filter:filter }) // .data("blur",blurClone) ; }); Measure the speed
Now we need to calculate how far the object has moved compared to its last position. This must be done for each frame. The method of implementation depends on how everything is set up, how the animation is performed, etc. In our tutorial, we use the most common approach that will work with most CSS animations.
To get the position of the object, we will use the jQuery offset function . It returns the coordinates of the object relative to the entire document.
To check the changes for each frame, we will use requestAnimationFrame .
Here is an example:
// , var $element=$(".selector"); // , var lastPos=$element.offset(); // var multiplier=0.25; // function setBlur(x,y){ blurFilter.setAttribute("stdDeviation",x+","+y); } (function updateMotionBlur(){ // var currentPos=$element.offset(); // var xDiff=Math.abs(currentPos.left-lastPos.left)*multiplier; var yDiff=Math.abs(currentPos.top-lastPos.top)*multiplier; // setBlur(xDiff,yDiff); // lastPos=currentPos; // requestAnimationFrame(updateMotionBlur); })(); And here is our result:

This is the basic approach for applying the effect to only one element. Under each case, you need to optimize the code separately.

Well that's all! Take into account that this effect requires quite a lot of memory, so you should not use it for large objects.
From the translator. With all the wishes and comments about the translation, please contact me in PM. Thank!
Source: https://habr.com/ru/post/255423/
All Articles