Using Xen functionality
Good day. The Xen virtualization environment allows us to manage our server’s hardware resources quite flexibly for maximum performance. For comfortable management of virtual machines, displaying more detailed logs, managing allocated memory and processor cores, and conducting full monitoring of RAM consumption, so-called feedback between the host and virtual machine is necessary. This connection is achieved by installing a set of utilities that are referred to as “Xen tools” or “Xen guest utilities”. This publication is dedicated to them.
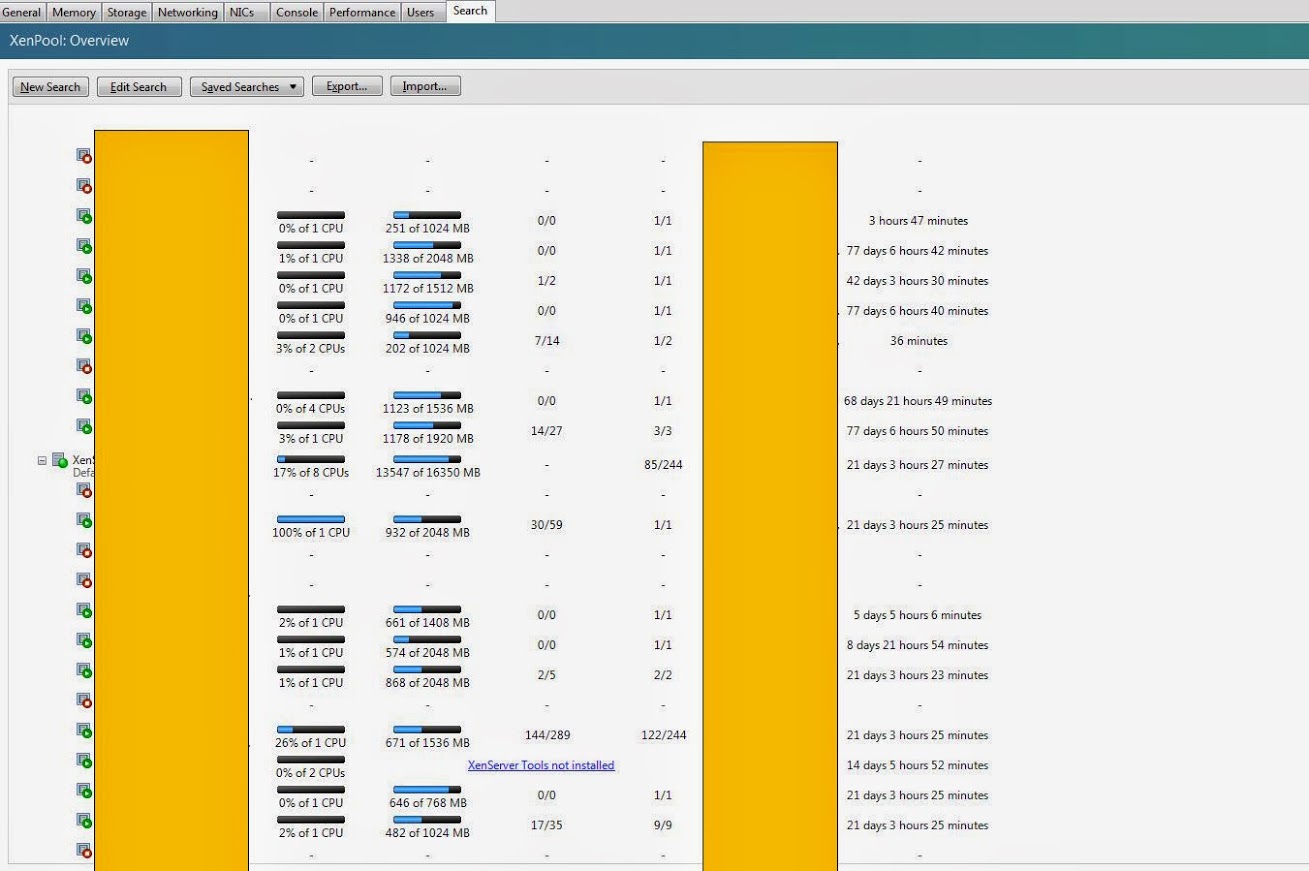
So, we have several host machines with Xen servers installed on them and a zoo of various virtual machines spinning on them (different tasks require different tools for solving). 60% of the zoo are Windows-based machines (win 7 32/64, win serv 2003/2008, there is even a couple of XP) the rest are based on Ubuntu Server / Debian / Centos and there are a couple of FreeBSD-based machines (one of them is the pfSense router 2.2). And it was these very machines that stood out in the XenCenter with the absence of many convenient features and white spots in the summary statistics.
And annoying inscription:
XenServer Tools not installed
')
With Windows-based virtual machines, it is very easy to manage this problem by simply clicking on this caption, or by right-clicking (PCM) on the desired machine in the list of virtual machines and selecting Install XenServer Tools ... - then a mini image containing the currently these utilities and, depending on the system settings, the installation will begin (or the installation prompt will appear, or nothing will appear and you will have to go into the virtual disk yourself and select the installwizard.msi file to start it). To install XenTools .Net Framework 4.0 is required. During installation, the system will require a reboot. After which the remaining components will be installed and the system will be ready for battle.
A bit more complicated with OS Linux.
For starters, you also need to connect the mini-image to our virtual OS. The next step is to mount this mini-image into the system - here the following command comes to our rescue:
Next step:
Personally, I usually look at the contents of a mounted directory using:
After that install the necessary package, for example, like this:
After the installation is complete, unmount the CD-Rom:
And overload the machine:
After the reboot, the terrible inscription disappears and tasty buns become available to us ...
The hardest part was making friends with the Freebsd OS, and more specifically with FreeBSD 10.1 pfSense 2.2 compiled on the basis of
So for pure FreeBSD, the sequence of actions is as follows:
After waiting for the packages to be downloaded and installed, we will edit the startup file, etc / rc.conf:
In this file you need to add this line:
xenguest_enable = "YES"
At the end, the file must be saved and reloaded.
To test the service without rebooting, you can start the service with the command:
Well, for sweet pfSense. In fact, there are not so many differences, but they are there, given implicitly and spoiled a little bit of blood. Installation is performed by the same command:
But further attention, the rc.conf file - is deleted upon reboot and its contents are not readable, therefore we add the entry for autoloading to the /etc/rc.conf.local file:
Since pfSense will not allow us to run a script at startup without the .sh extension, then we do a symlink on it:
After that, you can reload and enjoy the result:
I hope this material, collected in one place, will save your nerves from a long search, do not forget to make backup copies of data and machines snapshots before experiments.
All the best.
So, we have several host machines with Xen servers installed on them and a zoo of various virtual machines spinning on them (different tasks require different tools for solving). 60% of the zoo are Windows-based machines (win 7 32/64, win serv 2003/2008, there is even a couple of XP) the rest are based on Ubuntu Server / Debian / Centos and there are a couple of FreeBSD-based machines (one of them is the pfSense router 2.2). And it was these very machines that stood out in the XenCenter with the absence of many convenient features and white spots in the summary statistics.
And annoying inscription:
XenServer Tools not installed
')
With Windows-based virtual machines, it is very easy to manage this problem by simply clicking on this caption, or by right-clicking (PCM) on the desired machine in the list of virtual machines and selecting Install XenServer Tools ... - then a mini image containing the currently these utilities and, depending on the system settings, the installation will begin (or the installation prompt will appear, or nothing will appear and you will have to go into the virtual disk yourself and select the installwizard.msi file to start it). To install XenTools .Net Framework 4.0 is required. During installation, the system will require a reboot. After which the remaining components will be installed and the system will be ready for battle.
A bit more complicated with OS Linux.
For starters, you also need to connect the mini-image to our virtual OS. The next step is to mount this mini-image into the system - here the following command comes to our rescue:
mount /dev/cdrom /mnt Next step:
bash /mnt/Linux/install.sh Personally, I usually look at the contents of a mounted directory using:
ls -l /mnt ls -l /mnt/Linux After that install the necessary package, for example, like this:
dpkg -i /mnt/Linux/xe-guest-utilities_6.1.0-1031_amd64.deb After the installation is complete, unmount the CD-Rom:
umount /mnt And overload the machine:
reboot After the reboot, the terrible inscription disappears and tasty buns become available to us ...
The hardest part was making friends with the Freebsd OS, and more specifically with FreeBSD 10.1 pfSense 2.2 compiled on the basis of
So for pure FreeBSD, the sequence of actions is as follows:
pkg install xe-guest-utilities After waiting for the packages to be downloaded and installed, we will edit the startup file, etc / rc.conf:
ee /etc/rc.conf In this file you need to add this line:
xenguest_enable = "YES"
At the end, the file must be saved and reloaded.
reboot To test the service without rebooting, you can start the service with the command:
service xenguest start Well, for sweet pfSense. In fact, there are not so many differences, but they are there, given implicitly and spoiled a little bit of blood. Installation is performed by the same command:
pkg install xe-guest-utilities But further attention, the rc.conf file - is deleted upon reboot and its contents are not readable, therefore we add the entry for autoloading to the /etc/rc.conf.local file:
ee /etc/rc.conf.local Since pfSense will not allow us to run a script at startup without the .sh extension, then we do a symlink on it:
ln -s /usr/local/etc/rc.d/xenguest /usr/local/etc/rc.d/xenguest.sh After that, you can reload and enjoy the result:
reboot I hope this material, collected in one place, will save your nerves from a long search, do not forget to make backup copies of data and machines snapshots before experiments.
All the best.
Source: https://habr.com/ru/post/254659/
All Articles