10 tips on prototyping in Sketch

Since Sketch was created specifically to work on mobile and web interfaces, it is not surprising that it has become one of the fastest and most flexible tools for prototyping. These 10 tips will make it even more powerful tool.
1. Understand why and for whom you are doing the prototype
Ok, this item has nothing to do with Sketch, but this is an incredibly important part of the whole prototyping process, so we just have to turn it on.
')
Prototyping is the heart of the entire iterative design process. It reduces risks and uncertainty, and also allows you to save time and money that would be spent on developing untested solutions. A good prototype gives you the opportunity to test assumptions, identify and fix usability problems, describe interactions, and more.
How to make a good prototype? It depends on why and for whom you are doing it. The prototype created for testing the concept should use slightly different elements than the prototype, which explains the animation to the developers. Your goals and the people for whom you create a prototype determine its appearance, as well as its accuracy and functionality.
2. Sketch before proceeding to Sketch.
Sketch is an amazing tool. But a sketch on paper can help you quickly identify requirements and different states for your proposed concept. Lined up screen behind the screen, quick sketches of rectangles, circles and arrows can help you see the whole picture and organize your artboards in Sketch. However, do not expect that it will explain anything even to someone other than you.
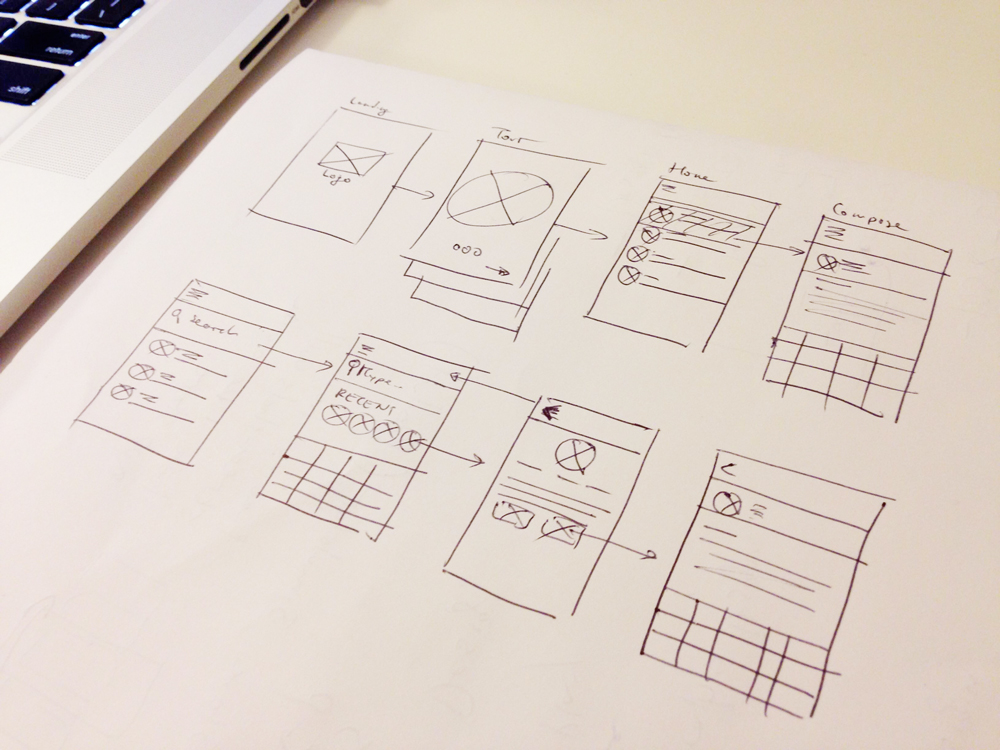
A sketch of the prototype of a mobile application before opening Sketch
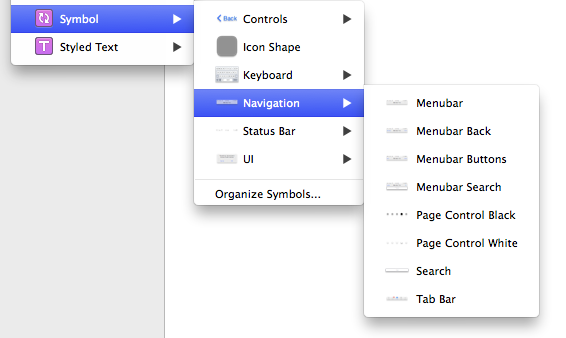
3. Use symbols for all repeating elements.
Your prototype can contain many artboards with a bunch of repeating elements: the same headers, footers, buttons, lists, etc. Changing the layout and styles of elements is almost inevitable, especially in the early stages of prototyping, which means a ton of tedious and boring work, unless you use symbols.
Let's assume that you want to change the background color of the header and the size of the button. If you save them as symbols, then you only need to make changes to one of the copies, all the others will change automatically. Or even cooler - you can exclude the text from the element, then after changing the color of the button that says “Start” to blue, the “Enter” button also turns blue without changing the copy.
To create a symbol, simply select a layer or group of layers and choose Layer> Create Symbol. Once you have created a symbol, you can quickly add it to your design using the Insert button.
Updating and using symbols between pages and artboards: Using symbols in Sketch
4. Create artboards and user interface elements quickly and easily
The Make Grid feature allows you to quickly create and distribute items along an artboard. It is especially effective when paired with symbols. You can create one display with several symbols (background, header, footer, buttons, etc.) and copy it as many times as you need.
Creating elements and artboards using the Make Grid feature
5. Generate content in one click.
Timur Karpeev's Content Generator for Sketch plugin allows you to fill your design with random data in one click. These can be photos and names of people, background, geolocation data or just random text. This plugin receives data and graphics from popular services: Unsplash , uiFaces , uinames and Mockaroo . Need random financial data? Then the Tyler Wolf plug-in sketchFinDataGen will suit you

On-the-fly data generation using the Content Generator for Sketch plugin
6. Use the overlay to simulate a more realistic interaction.
One way to improve your prototype is to add an overlay. Notifications, pop-ups, or image previews can often use an overlay to focus attention. You can create it by exporting one of the artboards as a .png-image directly to another artboard, simply by dragging it. After that, adjust the background fill, blending settings and transparency to achieve the desired effect.
Creating an overlay for a more detailed and realistic prototype
7. Add a keyboard to all screens where text entry is required.
User-centered design leads the product to success, and getting rid of unnecessary steps makes your users happier. Too often, a mobile app user has to click on input fields (such as an email address or login form) to bring up the keyboard. Instead, make sure the keyboard is displayed as soon as the screen loads.
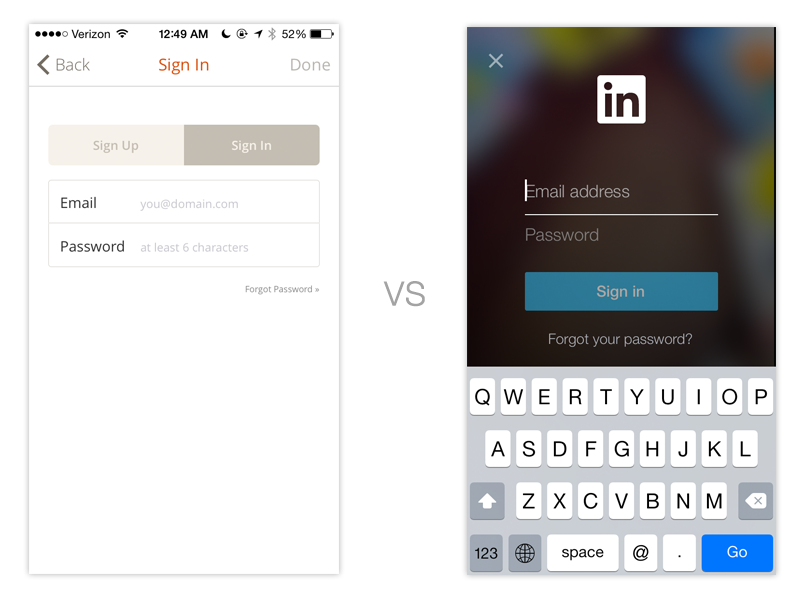
Getting rid of unnecessary steps, even such trifles as clicking on the login field for a login, really improves user interaction.
8. Organize your screens with pages in Sketch.
It's easy to turn all your artboards and layers into chaos. Fortunately, Sketch supports multiple pages, which allows you to organize all your materials while storing them in a single .sketch file. We usually use pages for the separation of prototypes, srnflou, concepts, wireframes and materials for the App Store.

Using pages to organize prototypes and screenshots
9. Create an interactive prototype directly from the source file.
If you have not heard yet - InVision supports Sketch and can synchronize with it . Just upload your source file to the site or make your life easier using InVision Sync or Dropbox sync. With the last two options, updating the prototype becomes as easy as saving it.
10. Use interface sets and other designers resources.
You can get a variety of both paid and free sets of interface elements such as TETHR and TERACY on the Sketch App Sources website. Using the work of other designers can be a great way to improve your workflow and learn new prototyping techniques.
Source: https://habr.com/ru/post/254215/
All Articles