Meet Envoyer.io (part 2)
Envoyer is a new service from Taylor Otvall, the creator of Laravel. Now you can see a series of screencasts on Laracasts about this service. This is the second and last part of the description of this service.
Meet Envoyer.io (Part 1)
This section will describe the more advanced features of Envoyer.
')
Envoyer has 4 steps in the deployment process, and you, in turn, can execute any of your scripts before and after any of these steps. These steps are: Clone of a new release , Installing a dependency composer , Activating a new release, and Deleting old releases .
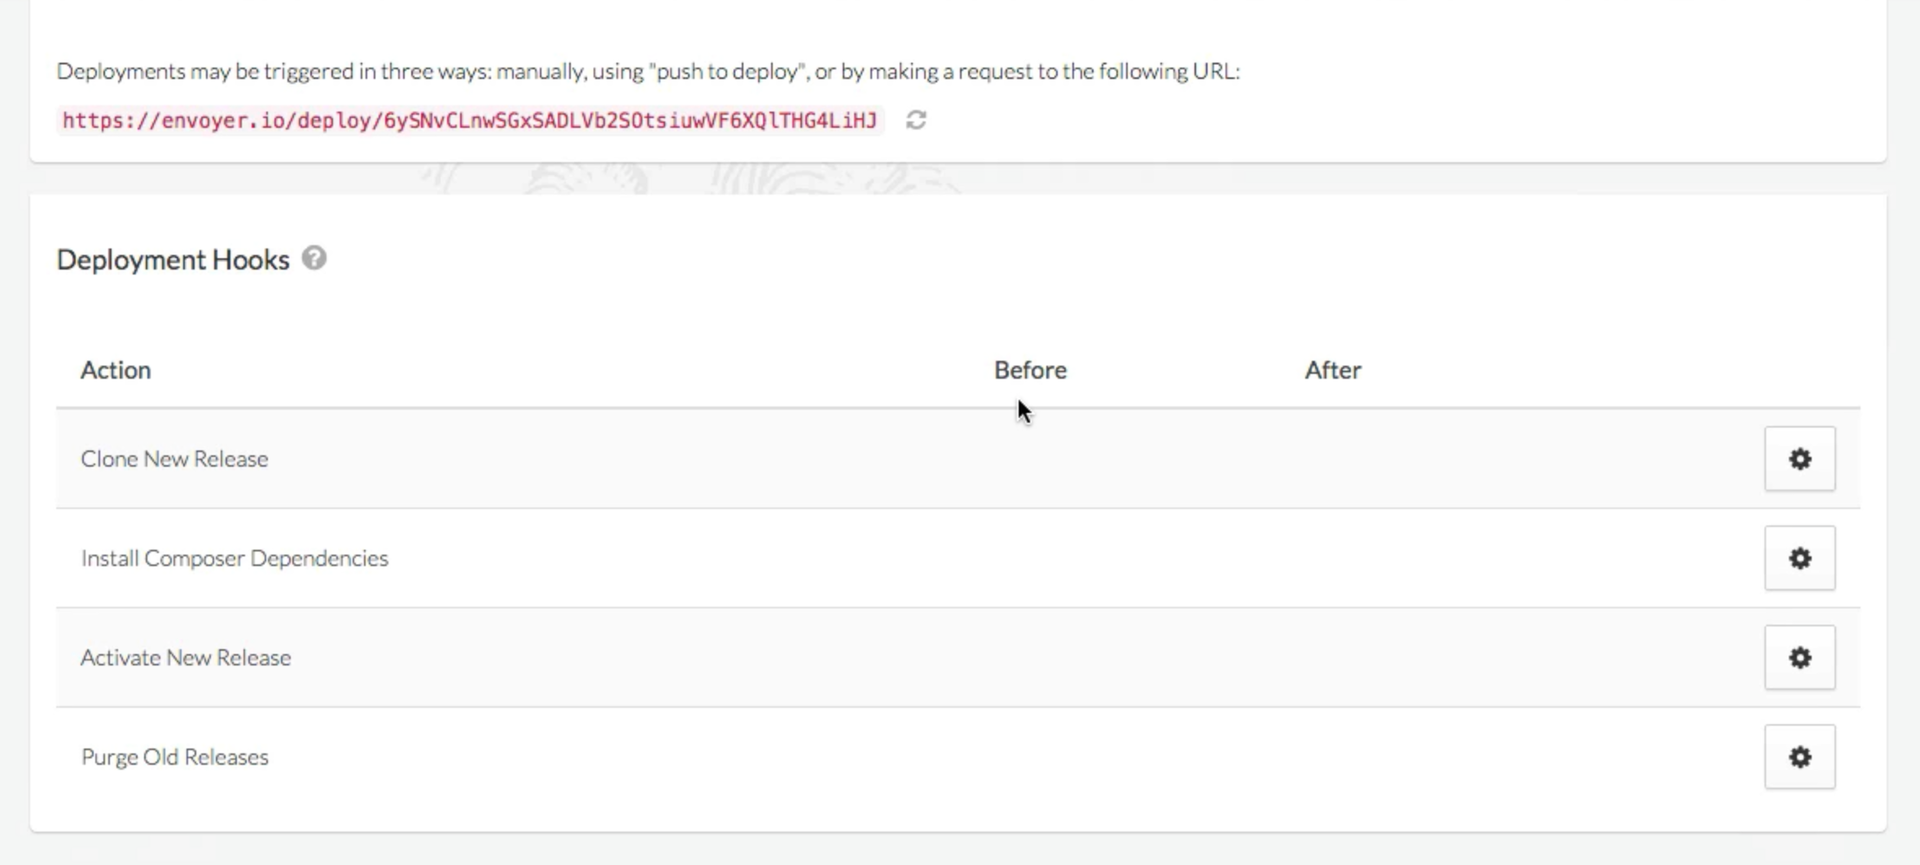
Next to each step there is a “gear” button, clicking on it takes you to the next screen:
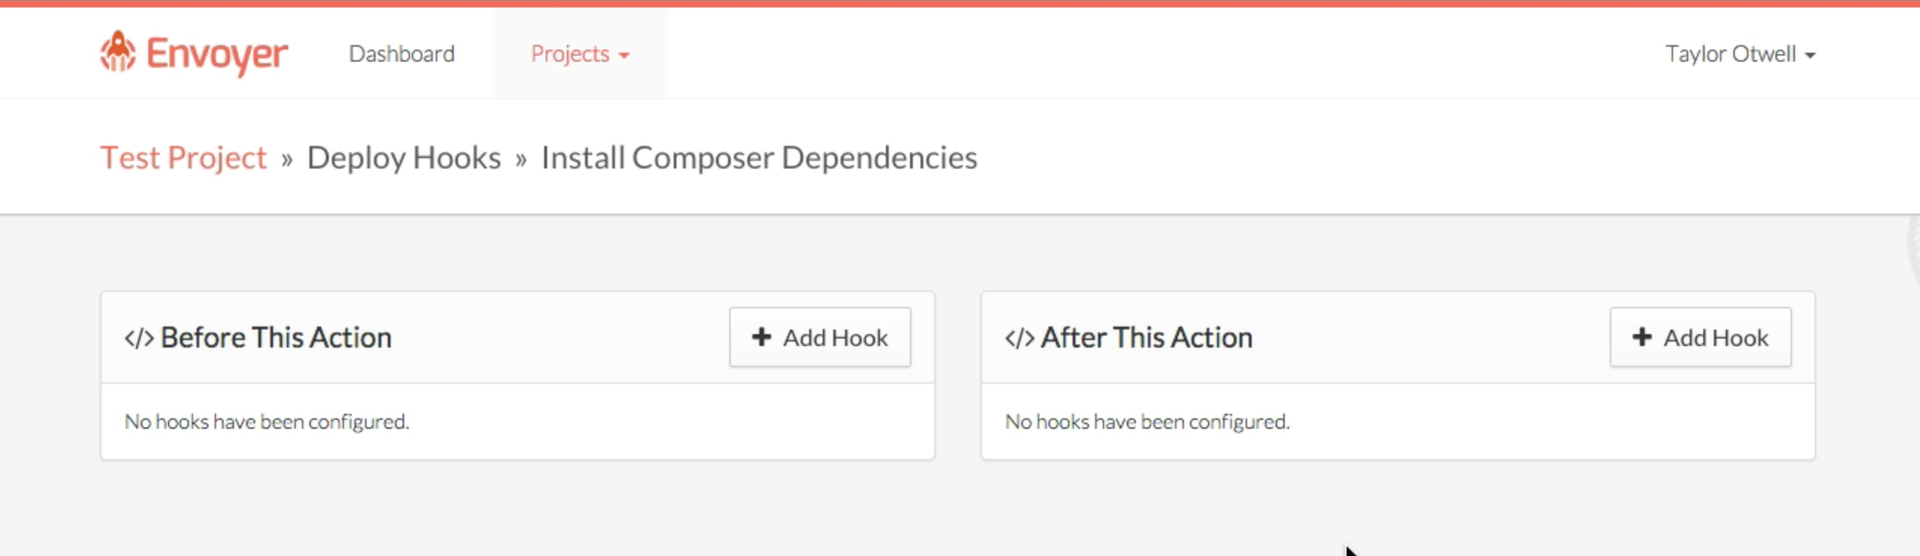
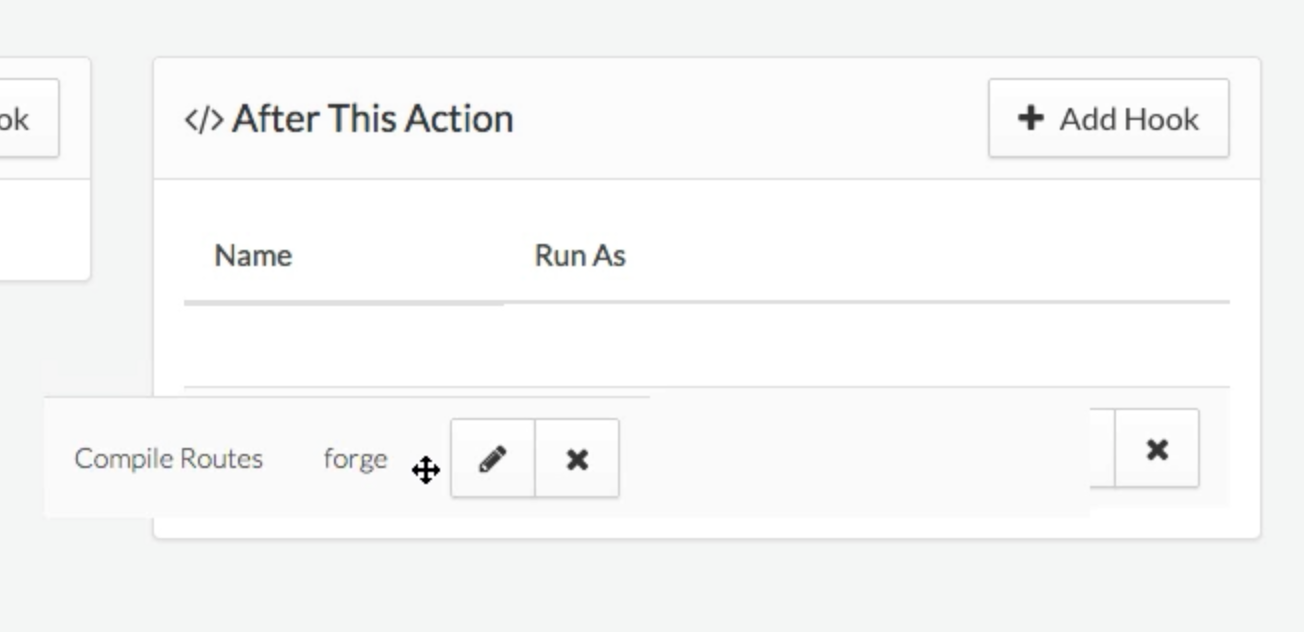
There you can add hooks before and after the selected step. Click on the Add Hook in the part you need.
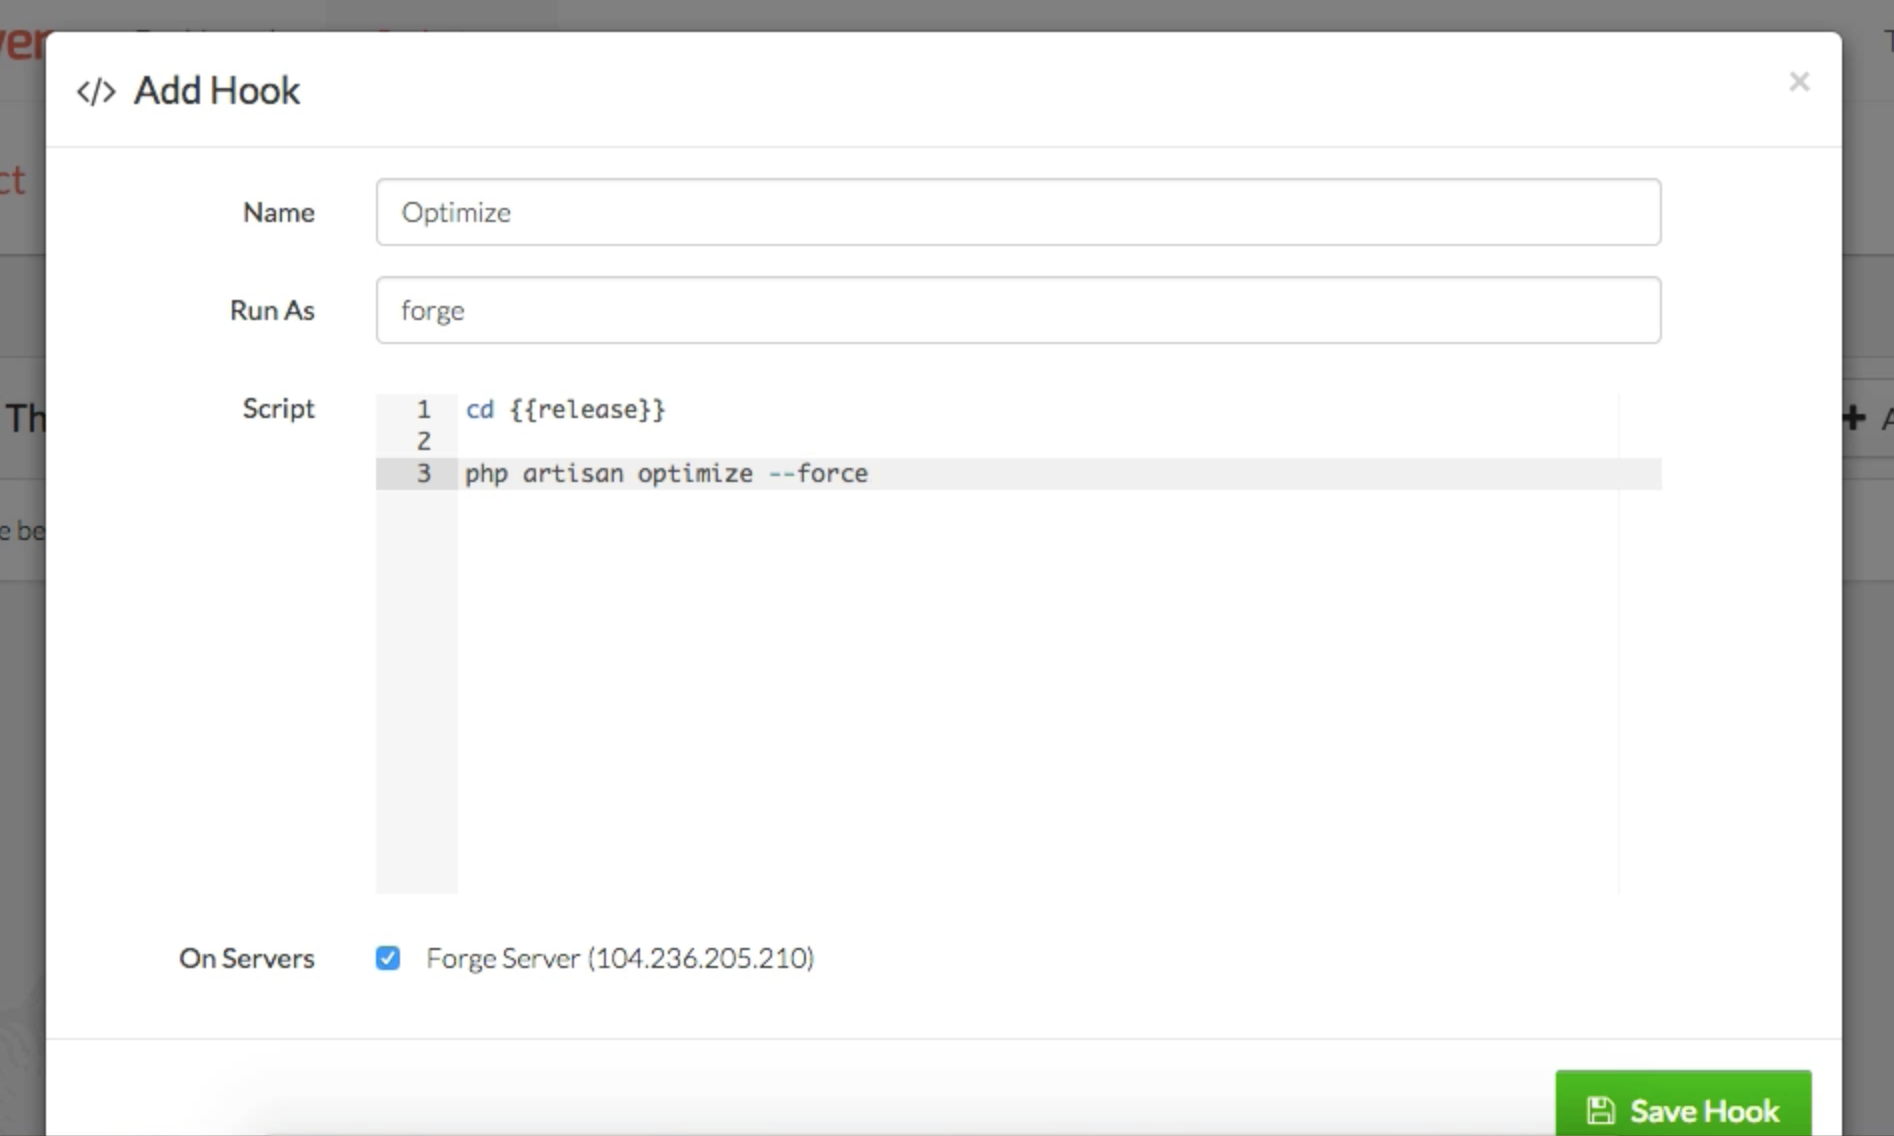
As you can see, for each hook you can specify your name, specify the user under which the script should be executed, and the body of the hook, which has access to the
Note that you can also change the order in which the hooks are executed via drag & drop.
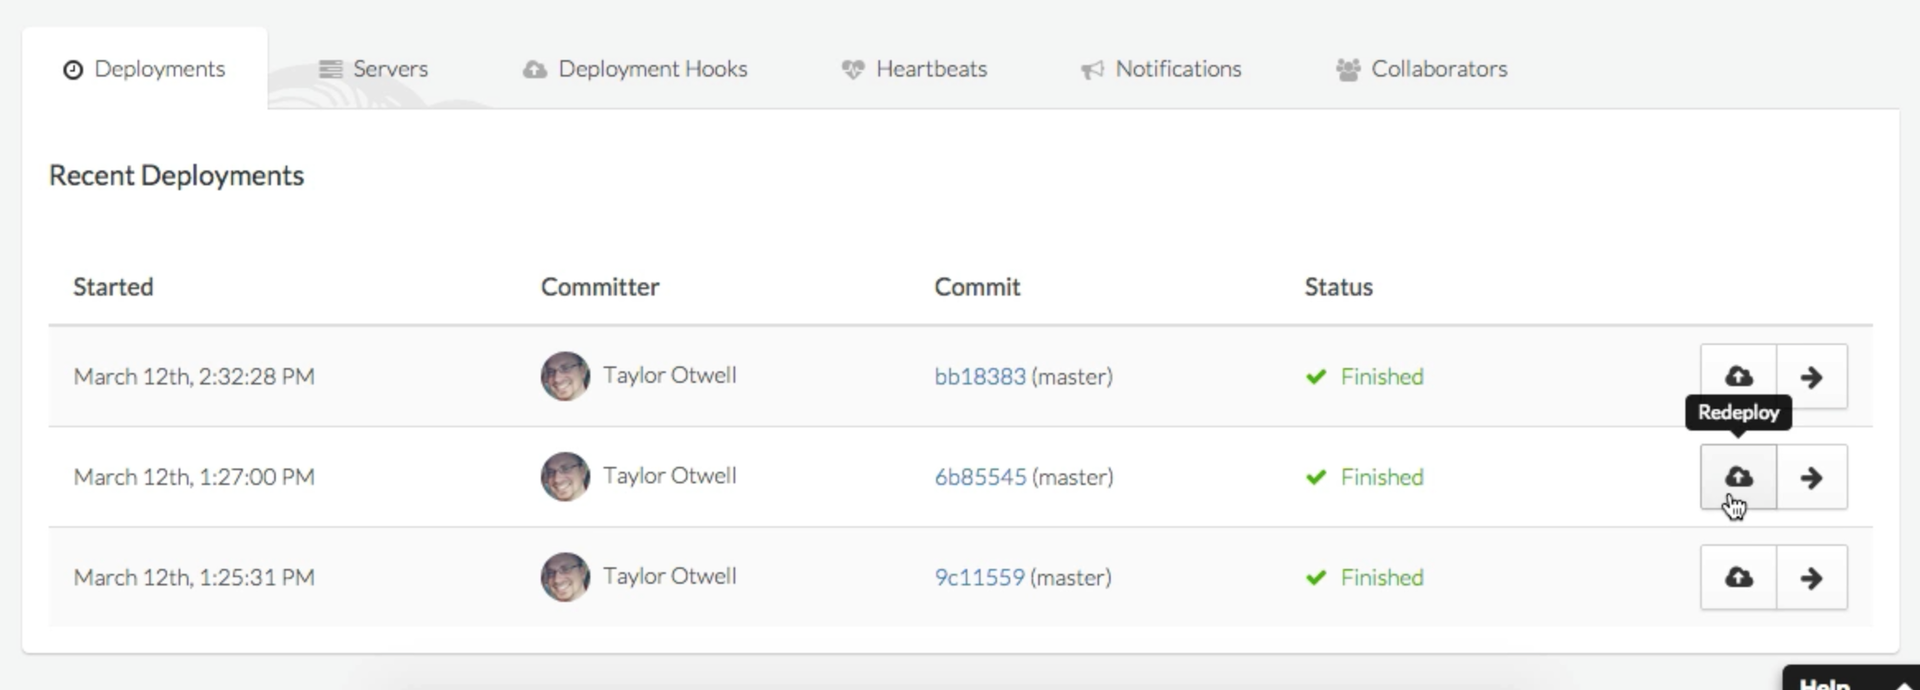
But what if you completed the new deployment and realized that you broke everything? Usually, you would connect to the server via ssh,
Using Envoyer, your previous release will be up and running in the
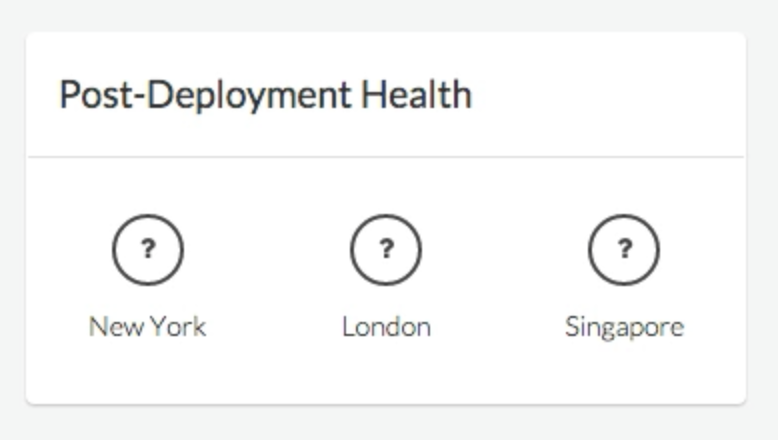
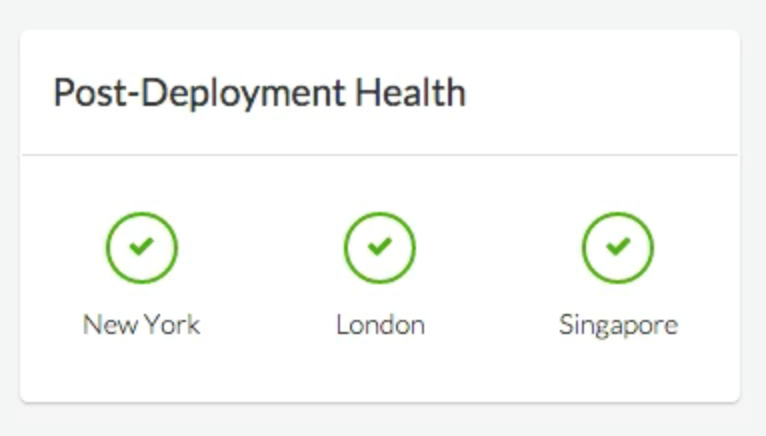
You may have noticed the Post-Deployment Health section on the project deshbord. There are icons for New York, London and Singapore - three regions from which Envoyer checks the availability of your application. Until you specify a Health Check URL, these icons will be question marks.
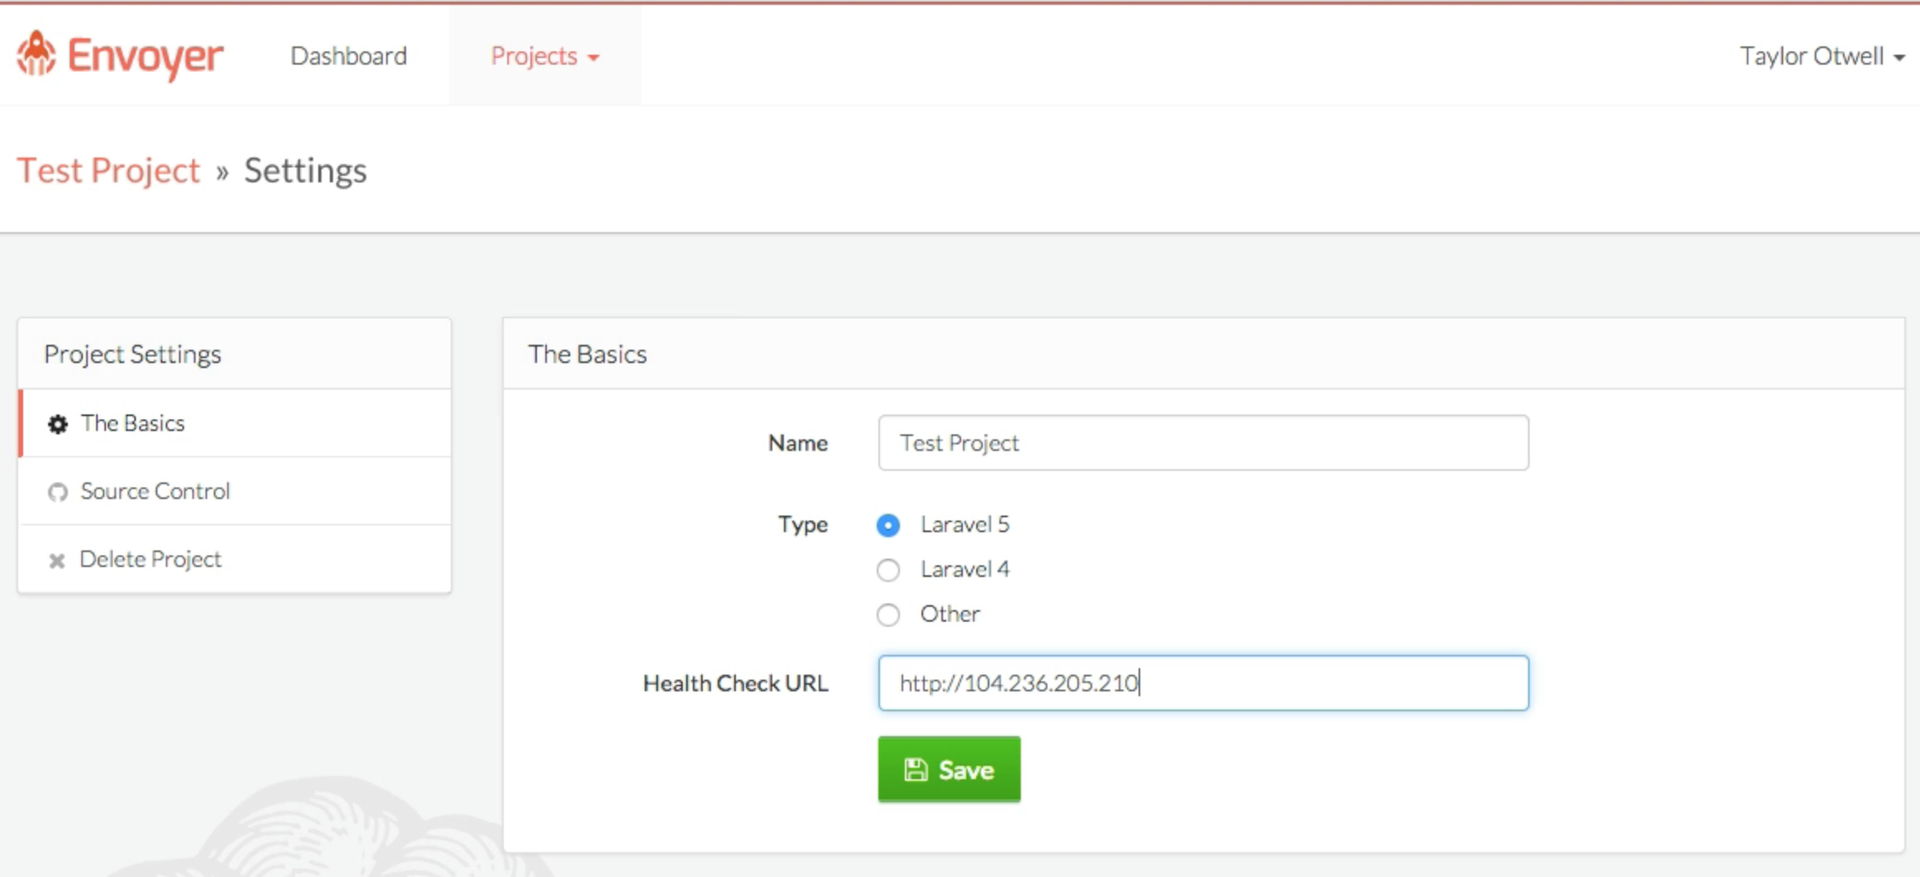
Each project can have a Health Check URL that will be called by Envoyer after each deployment. You can edit this URL in the project settings.
After deploying, Envoyer looks at the HTTP response from the specified URL, and will check if the response code is
If all is well, you will see green checkmarks.
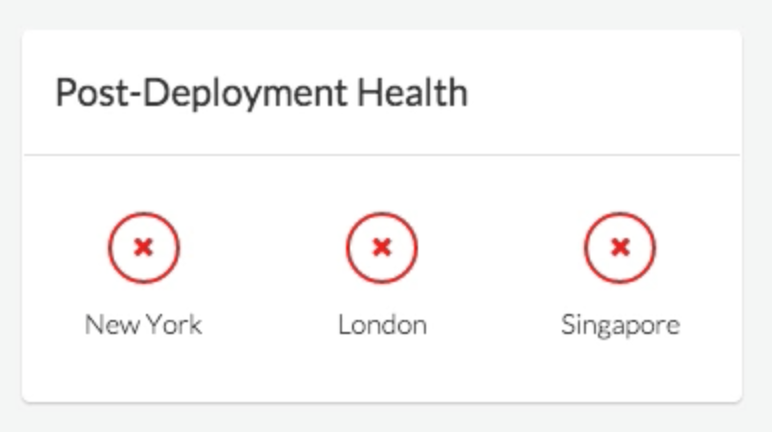
If something breaks, you will see red crosses (and then you will most likely need the Cancel section):
If you want to deploy to several servers at once, just add them to the project and the server will automatically participate in the deployment.
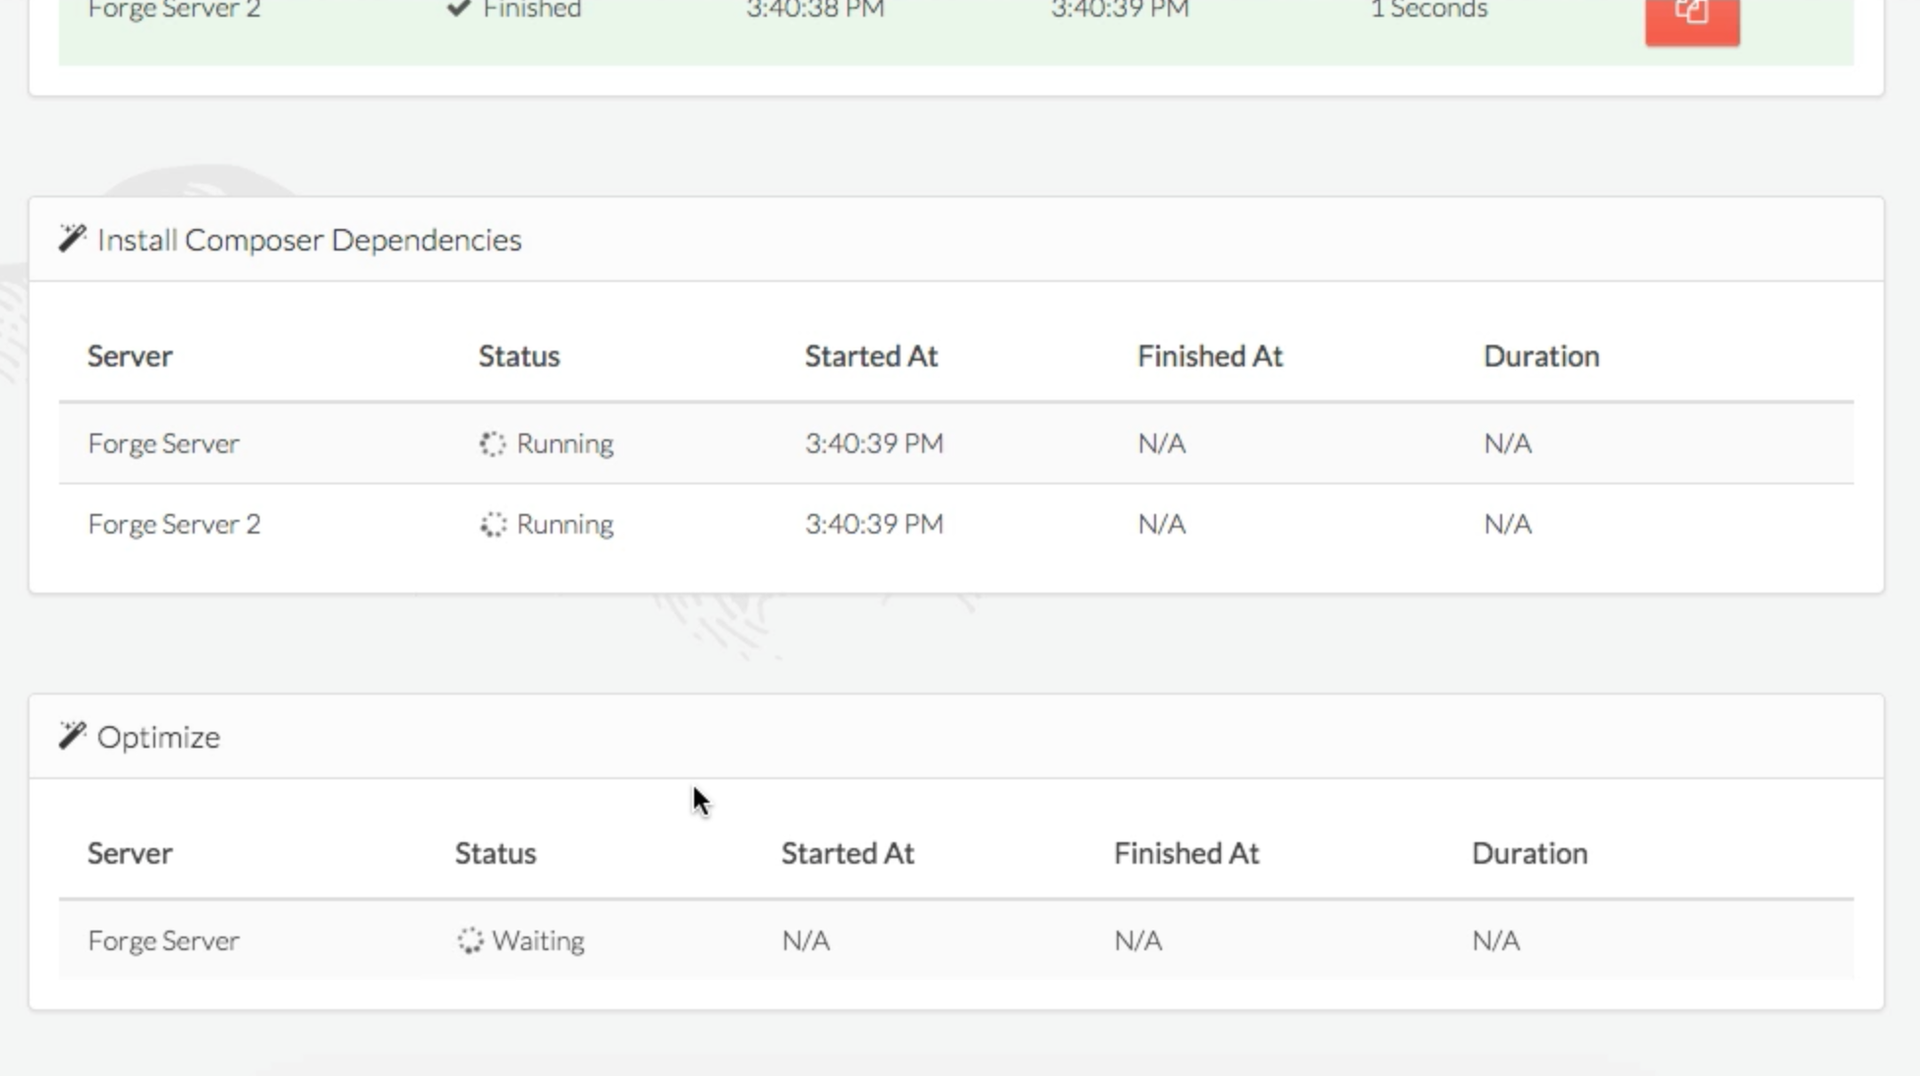
Note that when the deployment process is in progress, until the previous deployment step on each server is completed, no further steps are started, which allows the servers to remain fully synchronized with each other.
If you have a local configuration file that needs to be synchronized with the servers (
Note that the file is encrypted with a password that is not stored in Envoyer, so do not lose the “Environment Key”.
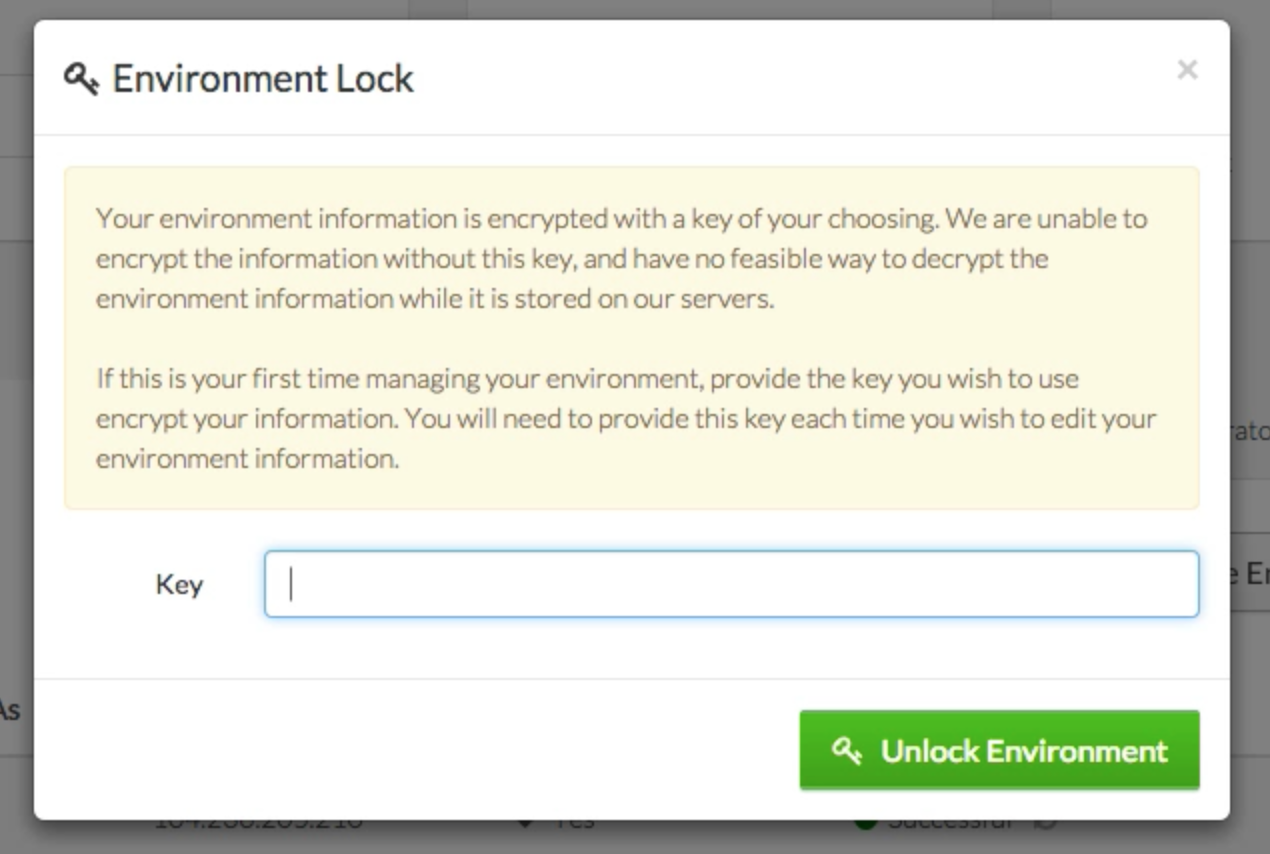
As soon as you enter the password, you will be given a text field, which is essentially a code editor. Write what you need in this field, and the contents will be saved to a file (
Now select the servers on which you want to save it and save.
Envoyer will save this file to the project root on servers and create all the necessary symbolic links.
In the “Notifications” tab, you can configure Envoyer to notify you about important events. Currently, Envoyer can notify in Hipchat and Slack.
One of the biggest challenges in managing the “health” of servers is ensuring that all cron tasks always work. Envoyer Heartbeats allows you to establish the condition that if the specified URL is pinged with the specified frequency, then cron work is “alive”. If there is no ping, Envoyer will notify you.
To add Heartbeat, in the Heartbeats tab, click on the Add Heartbeat button.
You can specify the name and specify the frequency with which the expected ping from the cron task.

Once you add it, the status will be Healthy. Until that time passes, the status will remain Healthy. That is, if you choose 10 minutes, it will remain Healthy for 10 minutes after creation.
Each Heartbeat has its own unique URL, which can be obtained from the Heartbeats tab. It will be in the following format:
In a regular cron file, you can do this in order to pingan Heartbeat:
If you are using Laravel, in the latest version, the

Here is the notification if there is no ping:

Envoyer allows unlimited people to access your servers. If someone in your team wants to work with you on the deployment of servers, but does not want to create your account with details of the payment card, you can create an account by selecting “I'm just collaborating with others.” During registration.

Each project has a Collaborators tab, where you can add people by entering their email.
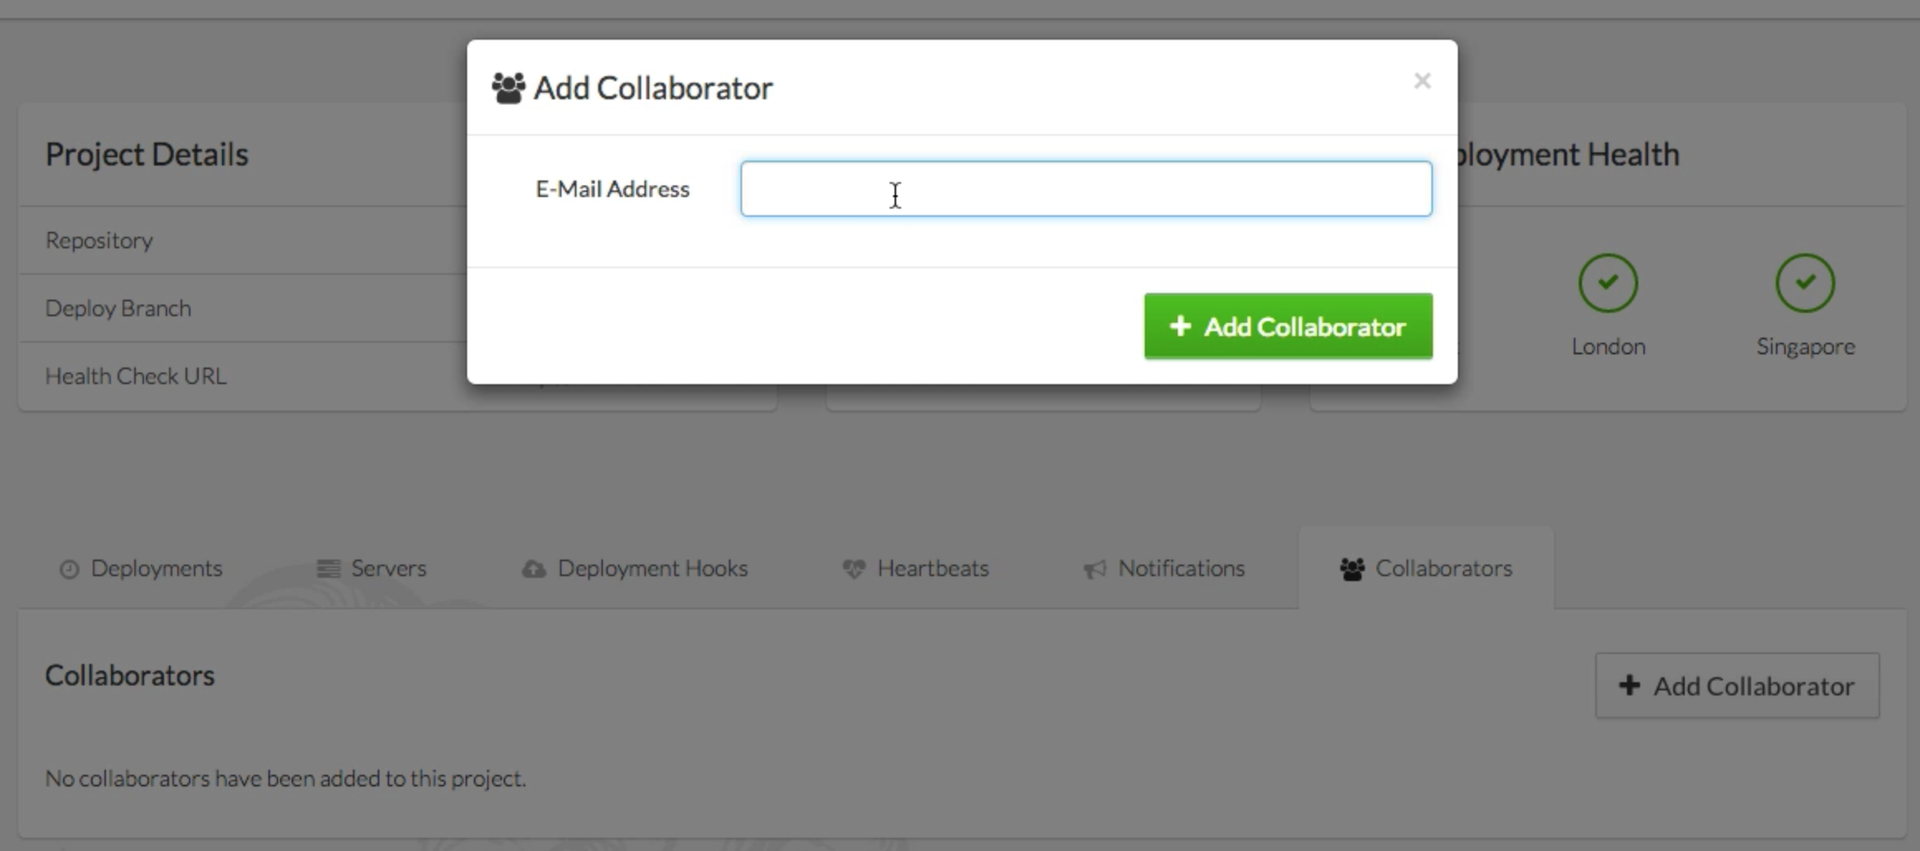
Notice that these people will have access to all functions except deleting the project.
Not. Envoyer does not manage servers. But he will make a great pair of Forge.
After adding a new server, Envoyer will give you the SSH key that you need to add the desired user to the
Yes of course. True, some automatic settings will not work. For example, automatic creation of symbolic links to the
No, just start the site without connecting to any repository. Everything else will make Envoyer himself.
Envoyer will notice this and notify you. Depla will be canceled.
Meet Envoyer.io (Part 1)
This section will describe the more advanced features of Envoyer.
')
Customization Deploy Hooks
Envoyer has 4 steps in the deployment process, and you, in turn, can execute any of your scripts before and after any of these steps. These steps are: Clone of a new release , Installing a dependency composer , Activating a new release, and Deleting old releases .
Next to each step there is a “gear” button, clicking on it takes you to the next screen:
There you can add hooks before and after the selected step. Click on the Add Hook in the part you need.
As you can see, for each hook you can specify your name, specify the user under which the script should be executed, and the body of the hook, which has access to the
{{release}} variable, which stores the path in the folder of the newest release (for example, /home/my-user/website.com/releases/20150316083301 ).Note that you can also change the order in which the hooks are executed via drag & drop.
Cancellations
But what if you completed the new deployment and realized that you broke everything? Usually, you would connect to the server via ssh,
git log , search for the desired commit, copy the hash of the commit, git checkout THAT_HASH , composer install , and only then, perhaps, calm down for a few minutes.Using Envoyer, your previous release will be up and running in the
releases folder. Just go to the dashboard of your project, find the deploy that deploil the working code and click the “Redeploy” button. The current symbolic link will simply point to the working folder in the releases folder and everything will work again.Health
You may have noticed the Post-Deployment Health section on the project deshbord. There are icons for New York, London and Singapore - three regions from which Envoyer checks the availability of your application. Until you specify a Health Check URL, these icons will be question marks.
Each project can have a Health Check URL that will be called by Envoyer after each deployment. You can edit this URL in the project settings.
After deploying, Envoyer looks at the HTTP response from the specified URL, and will check if the response code is
200 (OK). If so, then Envoyer considers the application "healthy." You can specify the home page of your site or make a special test URL that can fully indicate whether your server is “healthy”.If all is well, you will see green checkmarks.
If something breaks, you will see red crosses (and then you will most likely need the Cancel section):
Multiple server deploy
If you want to deploy to several servers at once, just add them to the project and the server will automatically participate in the deployment.
Deploy stage
Note that when the deployment process is in progress, until the previous deployment step on each server is completed, no further steps are started, which allows the servers to remain fully synchronized with each other.
Synchronization environment settings
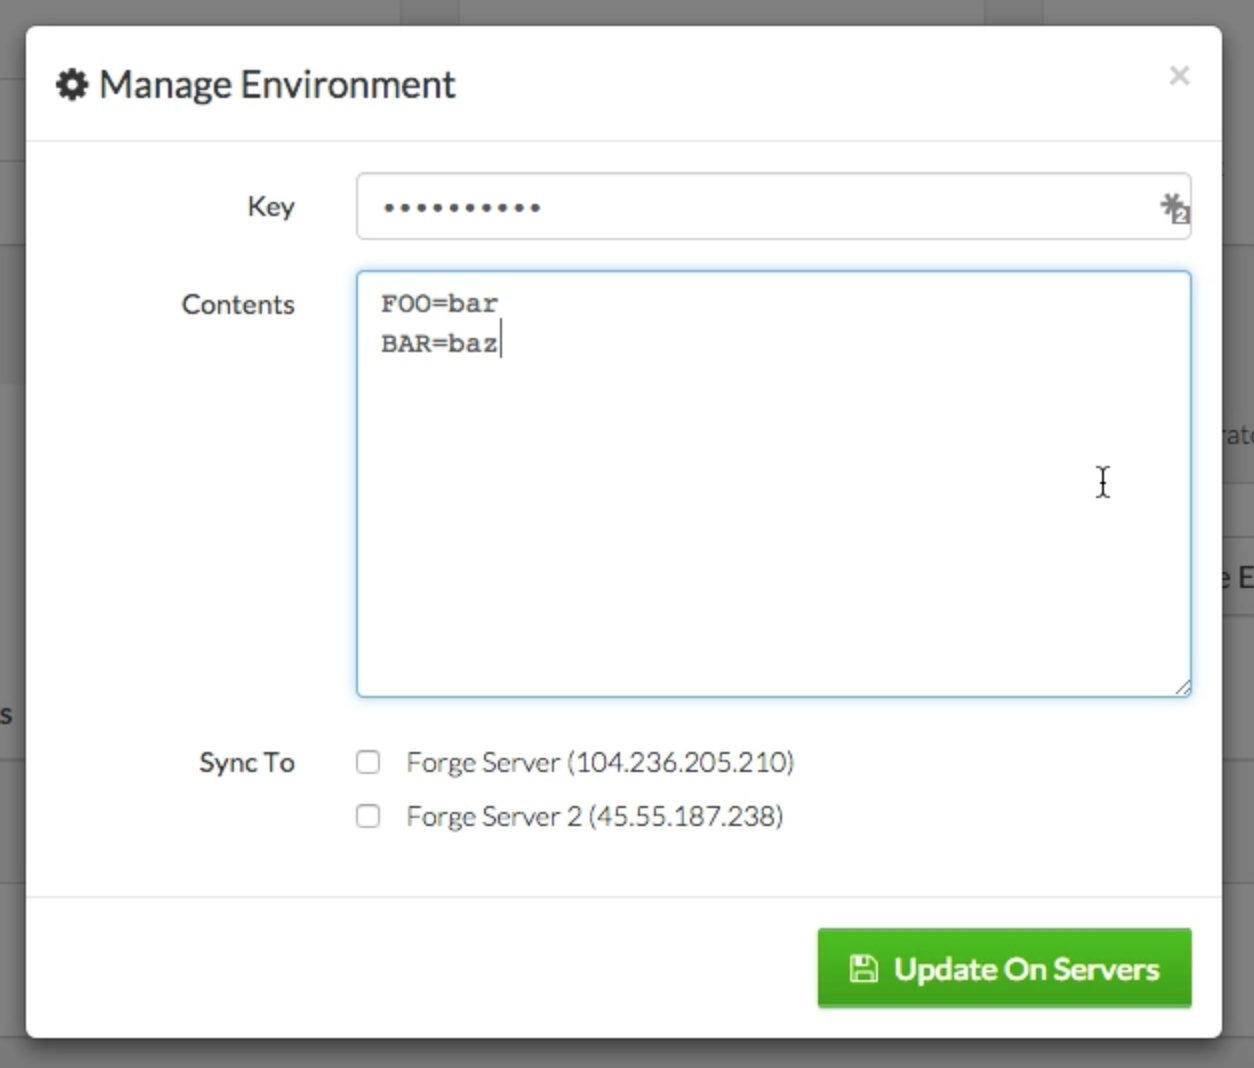
If you have a local configuration file that needs to be synchronized with the servers (
.env in Laravel 5, .env.php in Laravel 4), click the Manage Environment button in the project dashboard.Note that the file is encrypted with a password that is not stored in Envoyer, so do not lose the “Environment Key”.
As soon as you enter the password, you will be given a text field, which is essentially a code editor. Write what you need in this field, and the contents will be saved to a file (
.env if you have selected the project type Laravel 5 or Other and .env.php if the project type is Laravel 4).Now select the servers on which you want to save it and save.
Envoyer will save this file to the project root on servers and create all the necessary symbolic links.
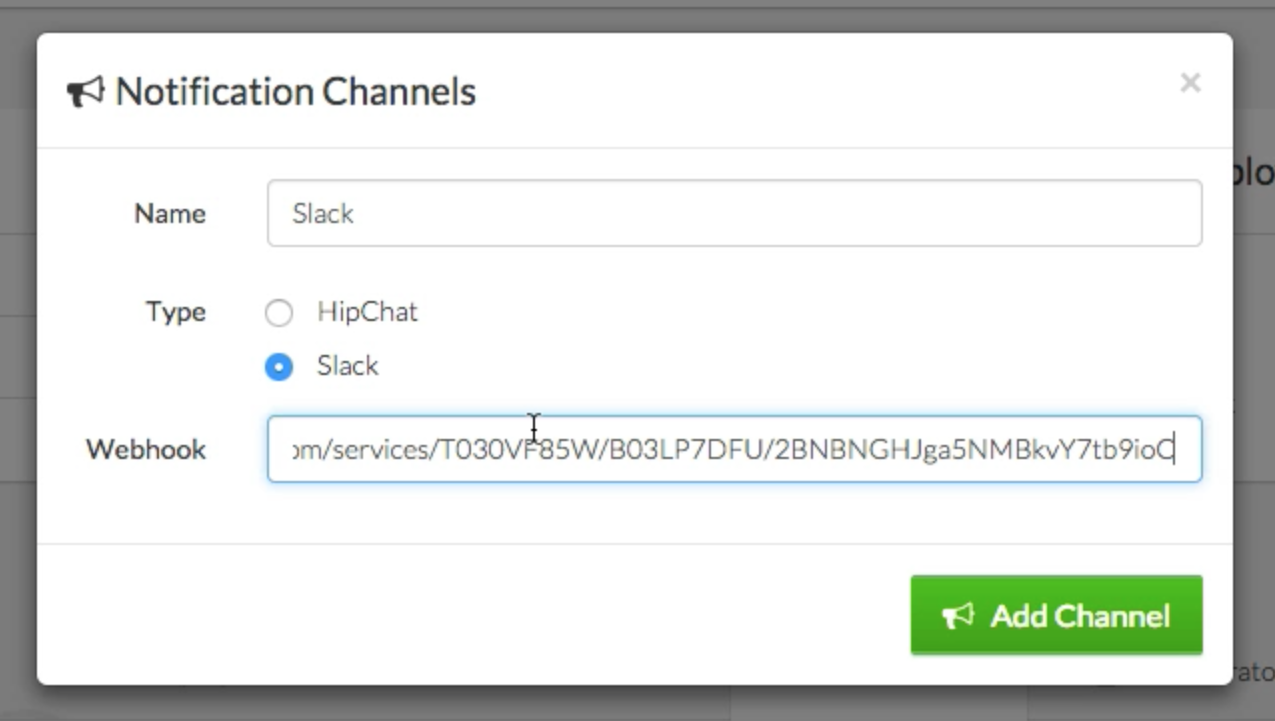
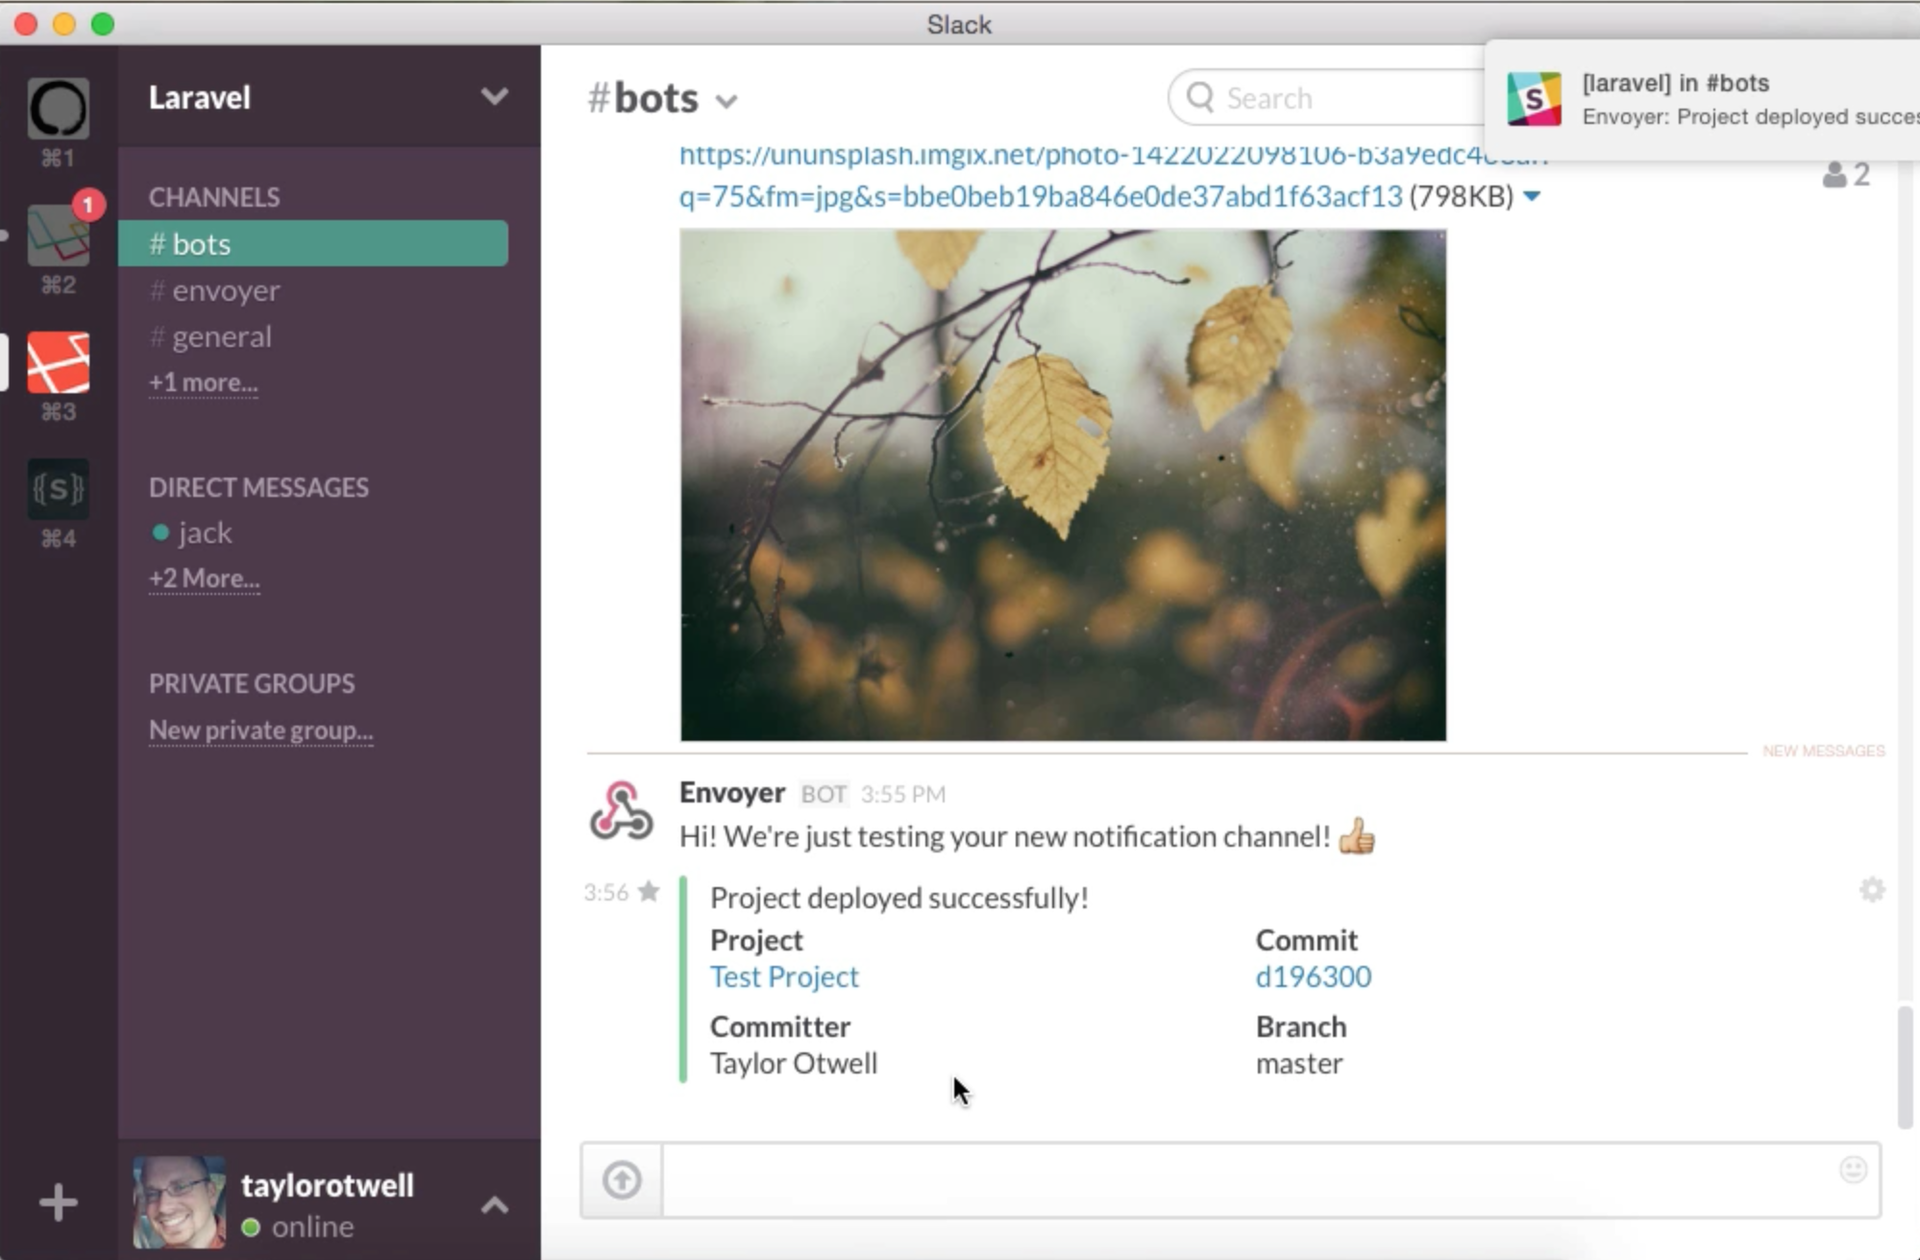
Notifications
In the “Notifications” tab, you can configure Envoyer to notify you about important events. Currently, Envoyer can notify in Hipchat and Slack.
Heartbeats
One of the biggest challenges in managing the “health” of servers is ensuring that all cron tasks always work. Envoyer Heartbeats allows you to establish the condition that if the specified URL is pinged with the specified frequency, then cron work is “alive”. If there is no ping, Envoyer will notify you.
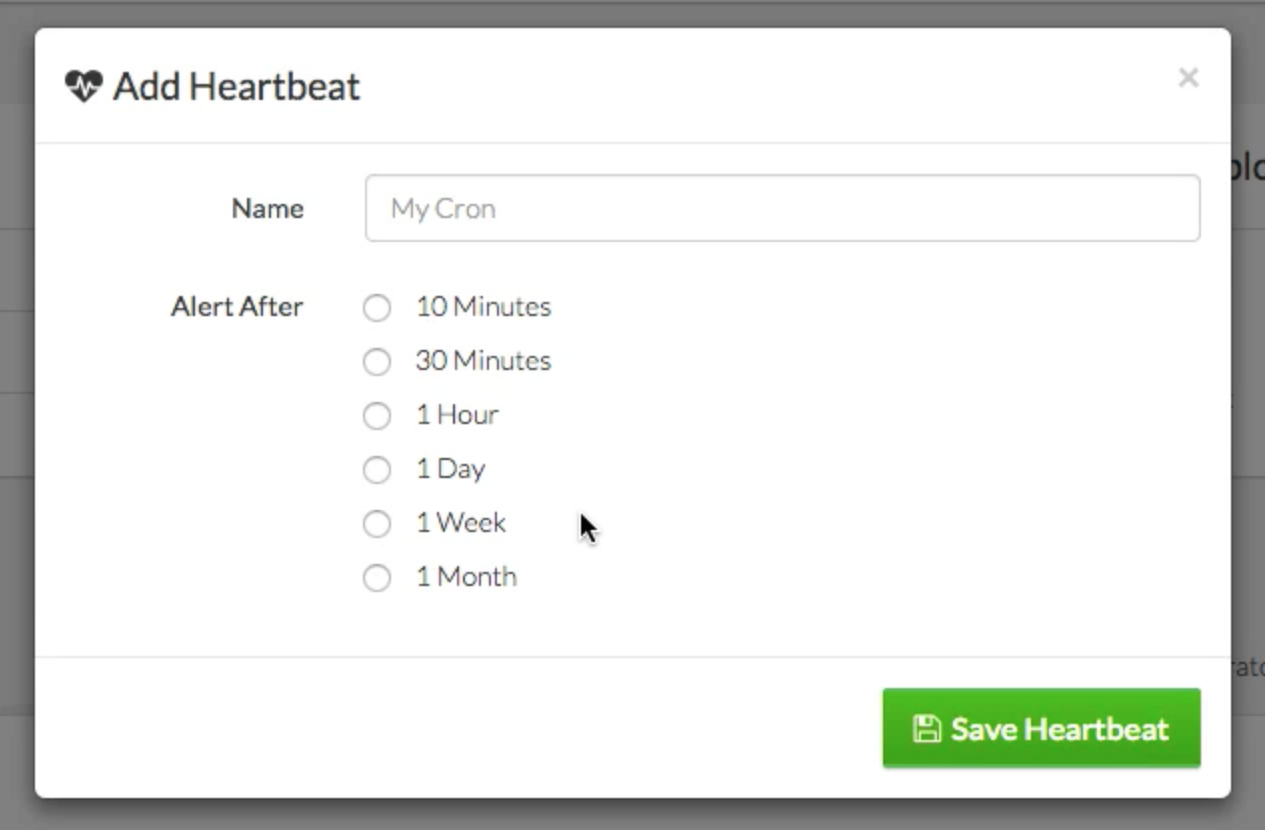
To add Heartbeat, in the Heartbeats tab, click on the Add Heartbeat button.
You can specify the name and specify the frequency with which the expected ping from the cron task.
Once you add it, the status will be Healthy. Until that time passes, the status will remain Healthy. That is, if you choose 10 minutes, it will remain Healthy for 10 minutes after creation.
Ping heartbeat
Each Heartbeat has its own unique URL, which can be obtained from the Heartbeats tab. It will be in the following format:
beats.envoyer.io/heartbeat/203849102395790125In a regular cron file, you can do this in order to pingan Heartbeat:
php yourfile.php && curl https://beats.envoyer.io/heartbeat/203849102395790125 If you are using Laravel, in the latest version, the
thenPing() method was added to the thenPing() , which allows you to ping any URL after executing the cron task. This is perfect for heartbeats:Here is the notification if there is no ping:
Teamwork
Envoyer allows unlimited people to access your servers. If someone in your team wants to work with you on the deployment of servers, but does not want to create your account with details of the payment card, you can create an account by selecting “I'm just collaborating with others.” During registration.
Each project has a Collaborators tab, where you can add people by entering their email.
Notice that these people will have access to all functions except deleting the project.
FAQ
Will Envoyer be a replacement for Forge?
Not. Envoyer does not manage servers. But he will make a great pair of Forge.
How does Envoyer log in to the server?
After adding a new server, Envoyer will give you the SSH key that you need to add the desired user to the
authorized_keys file.Can I use Envoyer with a non-Laravel project?
Yes of course. True, some automatic settings will not work. For example, automatic creation of symbolic links to the
storage folder. But this can be achieved using hooks.If I use Forge, do I need to connect the site to the Git repository in Forge?
No, just start the site without connecting to any repository. Everything else will make Envoyer himself.
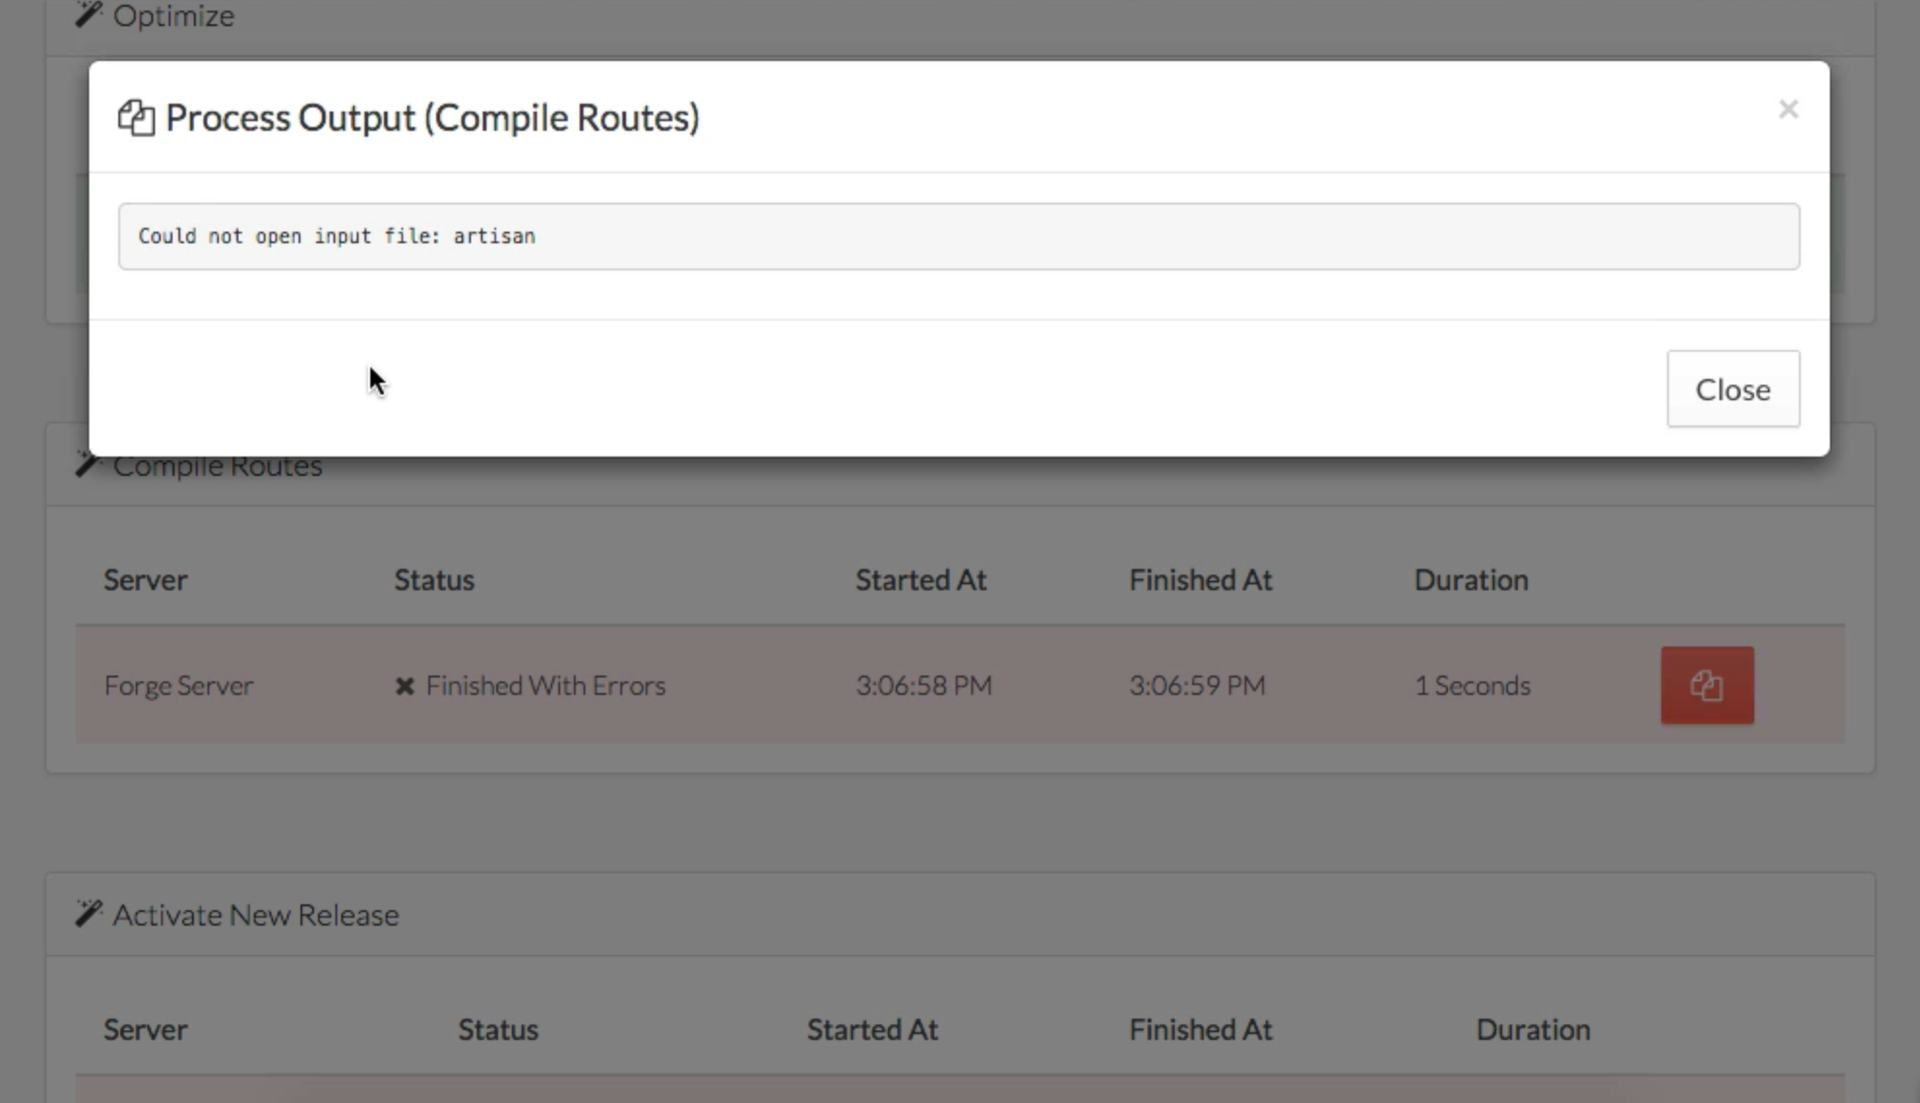
What happens if an error occurs in any deployment step?
Envoyer will notice this and notify you. Depla will be canceled.
Source: https://habr.com/ru/post/253278/
All Articles