Brutfors passwords of the engineering menu of the radio station
What is the engineering menu and why is it needed? Let me quote from the wiki :
Undocumented features (undocumented features), NDV - the capabilities of technical devices and / or software that are not reflected in the documentation. Most often, undocumented features are deliberately laid by developers for the purpose of testing, further expanding functionality. Undocumented features are usually detected during the reverse engineering process, but they can also be discovered by chance.Further in article, the description of my attempt to pick up codes to the engineering menu of radio station.
Introduction
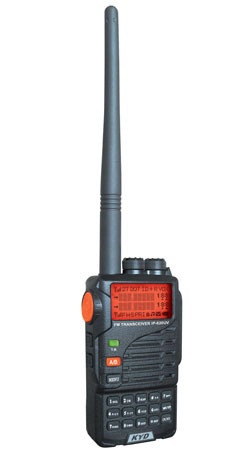
I once bought a Chinese-made KYD-IP620 radio station, but under a domestic “brand”. I will not advertise the brand, Google will tell. He twirled in his hands, played and abandoned. But recently I came across it again and decided to pay more attention to this miracle of technology. A stupid menu on the settings, forced me to look for software to work with this station. It seemed to me that the software will give more settings than is available through the menu.
Going to the manufacturer's website, I found my radio station model, but I didn’t find the software. I wrote a letter to tech support, responded quickly and sent software. Installed, launched and the first thing that caught my eye, this is a greater number of supported ranges. They pushed me to look for opportunities to record the required frequency (within reasonable limits of the current range). But here I was waiting for a bummer.
')
The official software before recording checked the entered frequency for entering the selected range and prohibited recording out of range. Okay, I launched a sniffer, figured out the read-write protocol, sketched my utility on the Delphi
Disassembled the station. On the board, among other things, 24C64 was found. This is an i2c EEPROM chip. It vypayal, took a dump, soldered back. There was nothing in the dump except my settings and the frequencies I recorded. I hooked the i2c sniffer to my memory, drove the recording / reading with the official software, my utility, nothing. Everything that ran on the i2c bus was in the EEPROM, nothing extra was read or written. All data in the EEPROM is only what I wrote down. Later, I had already finalized the write / read protocol and was able to read / write in all memory addresses.
What is it all about?
Anticipating the question "why do I need all this, what am I writing here?" I will try to describe my thought. Google gave several schemes of the previous and the following models of the radio station. I did not find the schematic diagram of my experimental subject, which I am describing in the article, but it coincides with them by 70% (I found out while I was calling the right legs). According to the scheme, the differences are not significant. Hence the conclusion that in order to reduce the cost of production to the customer, the manufacturer, especially China (with its mass production) will not re-design globally the schemes, write software under the radio station MC, etc. Why when there is already ready, which needs a little adjustment - and give. IMHO is easiest to adjust programmatically, and without the use of the programmer. This will make a large pile of blanks, which then bring to the requirements of the customer with the least effort. After this thought, I began to look for an entrance to the engineering menu, and found it. There was nothing difficult: it was necessary to hold down the 2nd buttons and turn on the radio station.
Here it is!
Before entering the menu is written the inscription "SET".
For further access to the functions, a 6-digit password is required. Manual search is tedious and disappears. If the password is incorrect, the word “SET” is displayed again. Google gave one password, which leads to reset to factory settings. When you enter it, the inscription changes to “ERASE”. Here it is then me when debugging and useful. There was a thought to organize a search at the MK. Let him slowly passwords to himself, and I will be engaged in my own business.

Let's get started
To enter the password on the radio station there is: a push-button keyboard and an encoder.
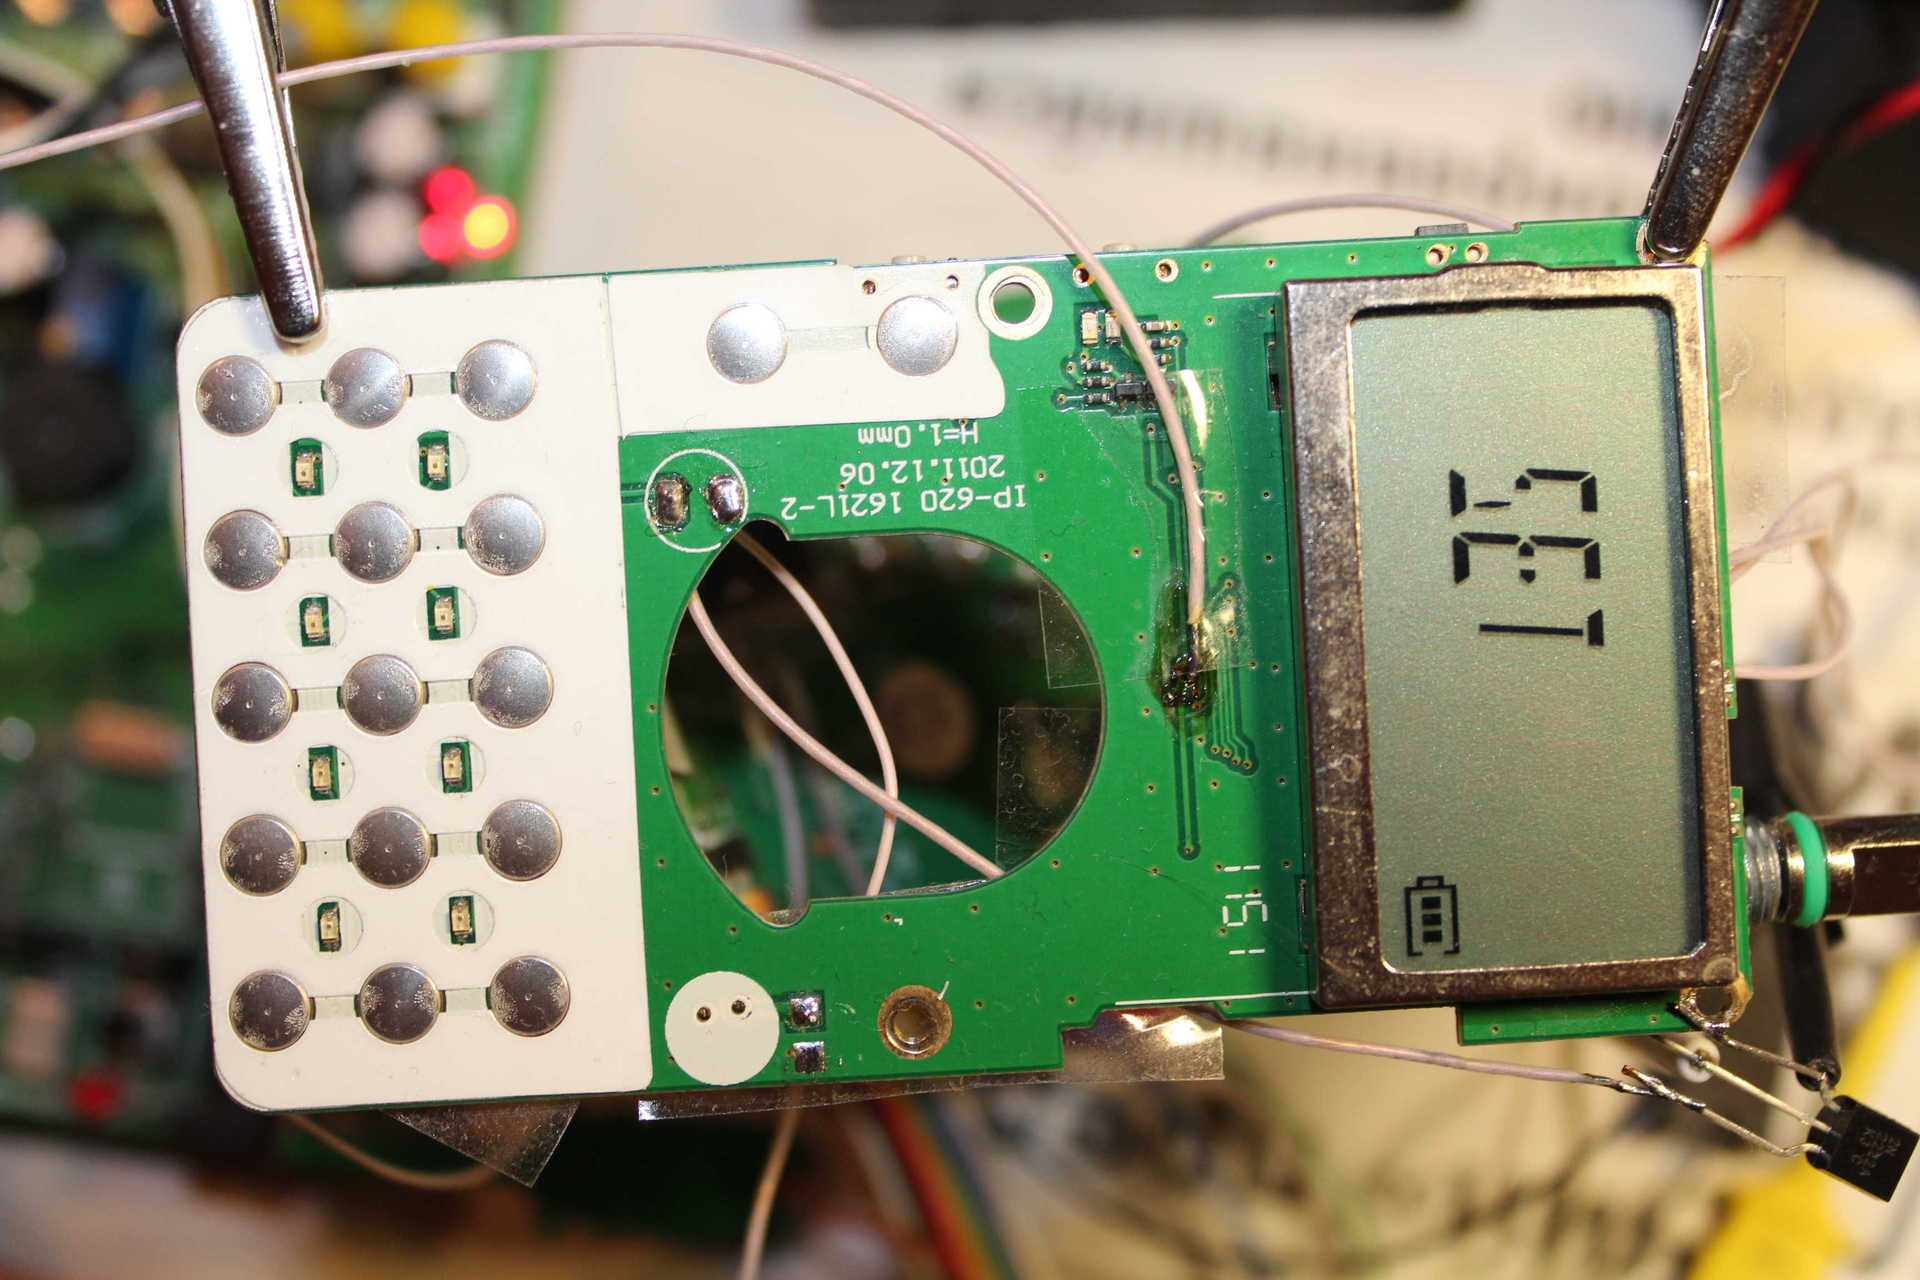
Display of entered data: LCD screen. I did not want to fasten the camera to the whole case and analyze the pictures or video from it. We have a screen, we will use it. Having studied a little more in detail the interior of the station, I discovered that the driver HT1621B is responsible for the LCD display. Googling datasheet on the driver and pinout it, found out the pins I needed. These are CS, WR and DATA. In short, CS is the beginning of the transfer, WR- “synchronization”, DATA- data. Let's try to take off with it. Call and podpaivaem on the findings of the MK station, leading to the legs of the driver LCD screen.

We connect the logic analyzer and watch the transmitted data on the driver for the inscription "SET" and for the inscription "ERASE". It is clear that the data are different, and we need them. Next, go to the "organs" of input. We need the 2nd buttons from the keyboard (MENU and F), and the encoder. I have no Arduins, I will do what is at hand. At hand was the Pinboard with AtMega16, from comrade DiHalt .

Technical task
We write the encoder emulator and the emulator of pressing the buttons “MENU” and “F” (they are needed to enter and confirm the password). Analyzing the data displayed on the LCD screen. We will read the LCD driver data through AtMega16 interrupts. With various driver data from the “standard” (“SET”), we will output the current password using the UART. You can not go deeper into the data format for the driver. We need to distinguish when the inscription “SET” is not displayed after pressing the “MENU” button and when it is lit. It is logical that the data will be different. Therefore, I will compare the string of received bytes after the last entered digit of the password and pressing the “MENU” button. Having caught several packages of the LCD driver for the inscription “SET”, making sure that they are the same, he took this premise for the standard. Comparing with it, I recline those that are the same; I transfer others to the UART for further analysis. I checked this algorithm with a password that leads to resetting to factory settings; it met my expectations. In general, the password entry algorithm looks like this: the inscription "SET" is on, an invitation to the engineering menu. Press the “MENU” button and enter the 1st character of the password. Then again press the “MENU” button to enter the next character. So we repeat to the last character. When the last character is entered, press the “MENU” button again. And here or the inscription "SET" or something else. If the “SET” is lit, we stamp at the beginning by iterating the password, if it is different, we transmit the password via UART for analysis. Screen for brute force management.

Reality
The reality is that I was counting on a great speed of search, but life made adjustments. In the radio station, the MK handles the encoder and keystrokes as it should, with “anti-bounce” of contacts, with delays in the user's reaction. Therefore, delays are included in the bruteforce code. Yes, it is all built on delays. Sketched utility to control brute force. In the case of reading data from a driver other than the “standard”, a password is transmitted to the utility on the computer via UART, at which it occurred.
Total
Busting launched, and ticking. At the moment, nothing has twisted. But I do not give up. I will wait patiently for the end. It is clear that with this approach there may be “false” triggers. But on the general background of the future number of passwords - this is a drop in the ocean. These "false" passwords can later be quickly rechecked via the utility. At the end of the search, I will definitely inform you how the whole brute force ended and what happened in the end.
Utility sources, AtMega16 firmware are available on the githab .
Source: https://habr.com/ru/post/253153/
All Articles