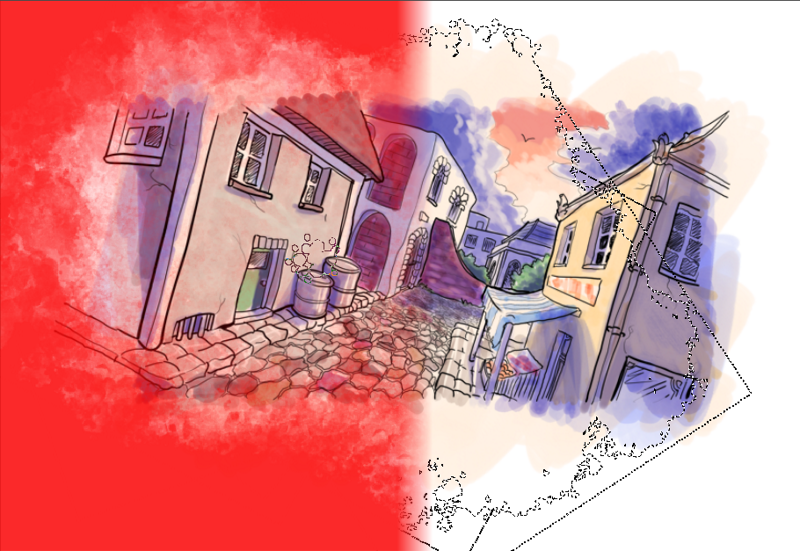
Krita 2.9: Selection of canvas areas with a brush
In the Krita 2.9 version, we got rid of the Separating Brush. There were several reasons for this: it was not a real brush, it did not have a sensitivity to pressure, with its help it was difficult to increase or decrease the selection. In exchange for it in Krita 2.9, we implemented a much more powerful system: the ability to draw directly on the Selection Mask. In this article we would like to tell how this new feature works.
Article translation: Ksenia Kuzyaeva
')
What is meant is: a mask is a type of black and white image used to identify and select areas of an image. An example is the Transparency Mask , which controls the opacity of the image.
Another type of mask that Krita works with are filter masks, where a black and white image is used to determine which parts of the image under the mask a filter is applied to.
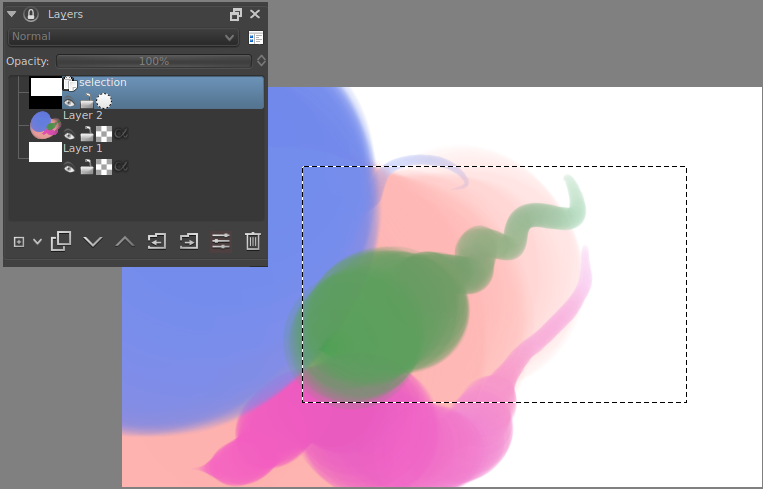
And finally, selection masks . If you are not familiar with the selection masks, you can try creating a mask by selecting an area and right-clicking on the layer to create a Local Selection . This creates a local selection mask. This feature is similar to highlighting layers in Manga Studio or custom channels in Gimp and Photoshop.
Drawing white on the mask increases the selection, drawing black reduces. Previously, this approach worked only with the Local selection. Now, if you select Selection -> Show Global Selection Mask, a global selection will appear as a separate mask of all other layers. It will be visible if a certain area is already selected. When there is some kind of selection on the image, you can paint on the mask with black or white to increase or decrease the area of interest.
Moreover, the highlighting mask is pressure sensitive, you can use the tools of geometry, blending and blur!
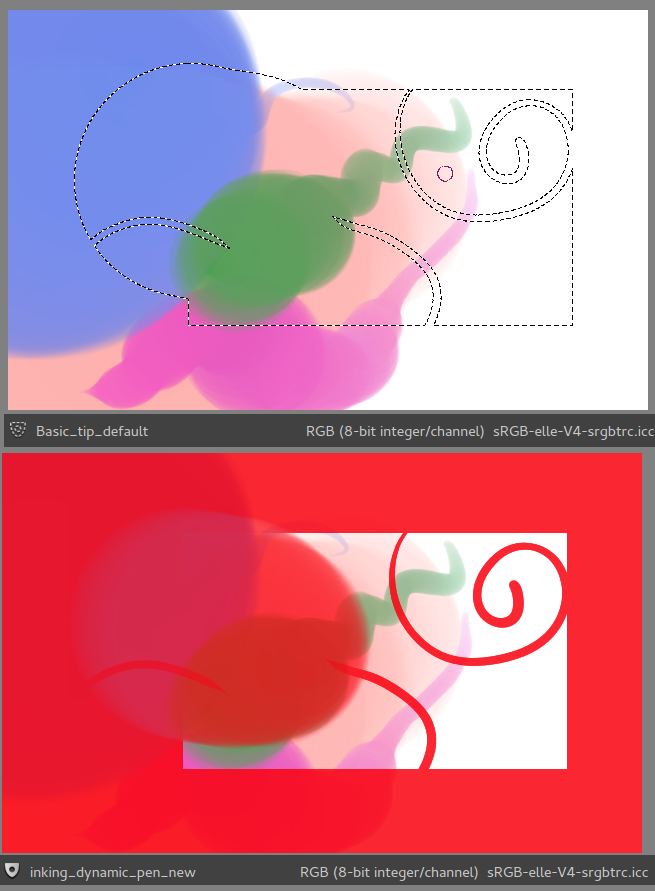
Since the mask is a grayscale image, “marching ants” will be displayed around all areas that are not pure black. Therefore, in order to “cover up” the selection, you must use 100% pure black color.
This means that Krita can allocate areas, for example, by only 50%. To see this, you can switch the selection visualization mode from the standard “marching ants” to the new “Mask” mode.
The picture below shows two display modes: “Ants” (Ants) and “Mask” (Mask). In the lower left corner: a small shield icon, click on it to switch between modes.
To adjust the mask color and transparency, go to Settings -> Customize Krita -> Display.

The selection is now displayed in a rainbow gradient. Some parts of the image are translucent, since the selection is also translucent.
As you can see, these two functions are much more powerful than the old Gender Brush. We hope you understand why we decided to get rid of the Separating Brush, and you will be happy to use the new global selection mask!
Links
Group of Russian-speaking users in VK: http://vk.com/ilovefreeart
Download the stable version of Krita 2.9 by one of the links:
Source: https://habr.com/ru/post/251821/
All Articles