Unity 2D: working with sprites in different display resolutions
Starting with version 4.3, Unity had the opportunity to work with 2D graphics, most of the new standard solutions were to my liking, because just before this update I just switched from the Corona SDK.
But what did not please me was the lack of standard tools for optimizing sprites for different screen resolutions, which has quite a significant impact on performance on low-power devices.
Of course, you can use something like 2D Toolkit to solve this problem, but why pay $ 75 if you can do everything yourself?
According to the users of the official Unity forum, the developers will not soon plan to expand the 2D functionality, at least until the release of version 5 of Unity, and so far users must solve this problem on their own. Plying the Internet in the hope of finding the answer, I came across an interesting report from one of the Unity developers at the summer Nordic Game Conference 2014, the name says “2D issues” . Using the materials of this report, I made my solution to the problem of supporting displays of different resolutions.
In order to start, we only need a version of the atlas of sprites with the highest resolution, the rest of the manipulations with a decrease in the quality of atlases occur inside Unity.
')
Sprite Preparation
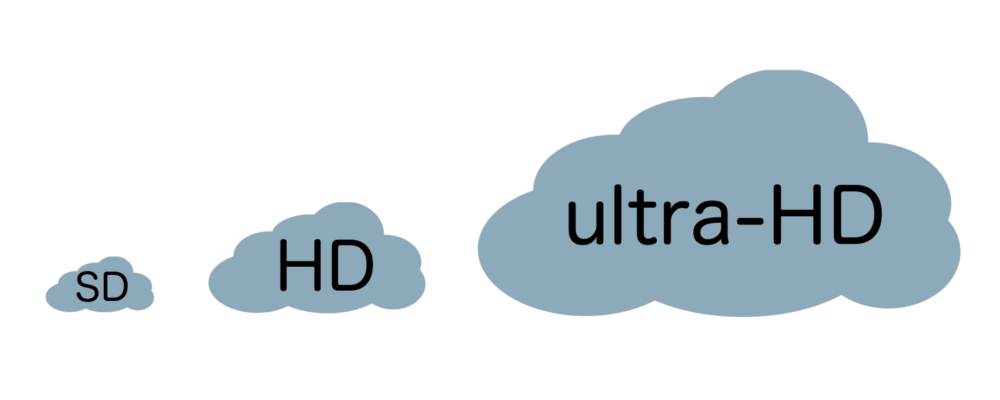
So, at the first stage we should organize sprites atlases for different resolutions: SD, HD, ultra-HD, we will use 1x, 2x, 4x suffixes.
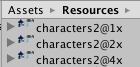
We take the atlas of sprites, in our case it is 'spritesheet1@4x.png', in the inspector we select the necessary parameters, we cut the atlas in the Sprite Editor, if required. Create two more copies of the atlas in the Project Browser (cmd + D, ctrl + D) and rename them so that the suffixes in the name are '@ 2x', '@ 1x', change the Max Size property to 2 and 4 times less respectively.
Sprites should be located in the Resources folder, if there is no one, create them. This allows you to download files from this folder during program execution.
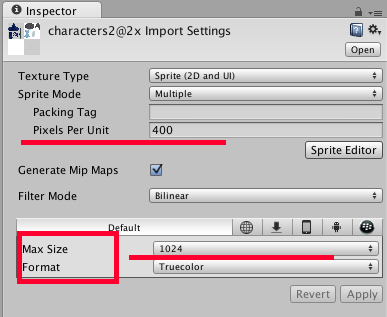
I will draw your attention to the Pixels Per Unit and Format fields, the first will help you to choose the size of the sprites to fit the scene without changing the scale, and the second is very important for the correct color transfer, build size and use of GPU resources. There is a wonderful manual on this topic.
Prefab preparation
Everything is simple, we collect the game object based on the atlas of sprites with the suffix '@ 2x', add animation and any other chips that you may need. Save the object as a prefab.
The suffix '@ 2x' was chosen because most devices have hd resolution, we don’t have to do extra work in most cases.
Script
The script will work with any number of components SpriteRenderer. It will not affect either the animation or anything else, the main thing is that the names of the sprites in the atlas and SpriteRenderer will be the same. This feature can be used not only to change the resolution of the sprites, but also to replace them with completely different ones, for example when creating a different character skin.
The basic principle of the script is as follows: we have a public variable spriteSheet, in which we pass the name of the atlas, which contains the sprites of our object.

Using the GetQuality method, we will find out which display we are dealing with (for my purposes it was enough to focus on the height of the screen).
Then, in the ManageQuality method, having data on the screen resolution, we load into the sprites array all the sprites of the desired atlas with the correct suffix. In the renderers array, we load all the SpriteRenderer components that are in the object. In the sprites array, we search for the sprite by its name and assign it to the sprite of the SpriteRenderer component, if it exists. Completes all Resources.UnloadUnusedAssets (), this method unloads unused assets from memory.
Here is the script
using UnityEngine; using System.Collections; using System; public class ConstObjectsQuality : MonoBehaviour { public string spriteSheet; private string qSuffix; void Awake(){ qSuffix = GetQuality (); ManageQuality (); } private string GetQuality(){ int screenH = Screen.height; print (screenH); if (screenH > 1440) return "4x"; else if (screenH < 720) return "1x"; else return "2x"; } private void ManageQuality(){ if (qSuffix == "1x" || qSuffix == "4x") { Sprite[] sprites = Resources.LoadAll<Sprite>(spriteSheet + "@" + qSuffix); if (sprites != null) { SpriteRenderer[] renderers = GetComponentsInChildren<SpriteRenderer>(true); if (renderers.Length > 0) { foreach (SpriteRenderer r in renderers) { if (r.name != null){ string spriteName = r.sprite.name; Sprite newSprite = Array.Find(sprites, item => item.name == spriteName); if (newSprite) r.sprite = newSprite; } } } } } Resources.UnloadUnusedAssets (); } } You can also use this script to change all the sprites in the scene. To do this, create a new object, for example, SpriteManager, and add this script to it, but with the renderers array definition changed:
SpriteRenderer[] renderers = GameObject.FindObjectsOfType<SpriteRenderer>(); Thank you for your attention, I hope the article was useful to you.
Source: https://habr.com/ru/post/249177/
All Articles