Deploy an OpenVPN server with an InfoboxCloud control panel in the cloud and set up access for clients
The process of setting up and managing VPN on a Linux server usually takes a lot of time. And if you can set it up once and forget it, then it is necessary to manage VPN users periodically and it would be good if an ordinary employee of the company could do this without access rights to the server and SSH in general. Often, a scenario is used where a VPN provides access to the internal cloud network for connecting virtual servers to the company's corporate network. Even for yourself to quickly raise a VPN is useful.
In this article, we will literally set up an OpenVPN server in just a few minutes with the ability to easily manage VPN servers, users and organizations, and run it all in InfoboxCloud . This cloud is present in the Moscow and Amsterdam regions, so you can use VPNs for both corporate purposes and to introduce yourself as a resident of the Netherlands on the network (for example, to use services that are not available in your country).

On the server, we will use the Pritunl project, which is a control panel that automates the management of OpenVPN configurations. The pritunl source code is open and available on the githab . The free version is more than enough to use. Paid allows you to send data for access by email or configure automatic service fault tolerance (which is not very important for InfoboxCloud, since the cloud itself works in a failover cluster) and manage load balancing between multiple servers.
In the very near future, a server template with Pritunl pre-installed will appear in InfoboxCloud and you can create a VPN server in one click.
Having connected to the server from Ubuntu 14.04 via SSH, execute the command:
Open in browser
This article uses a test address.
It is proposed to configure the path to the database.
')

Just click “Save”. A login window will open.
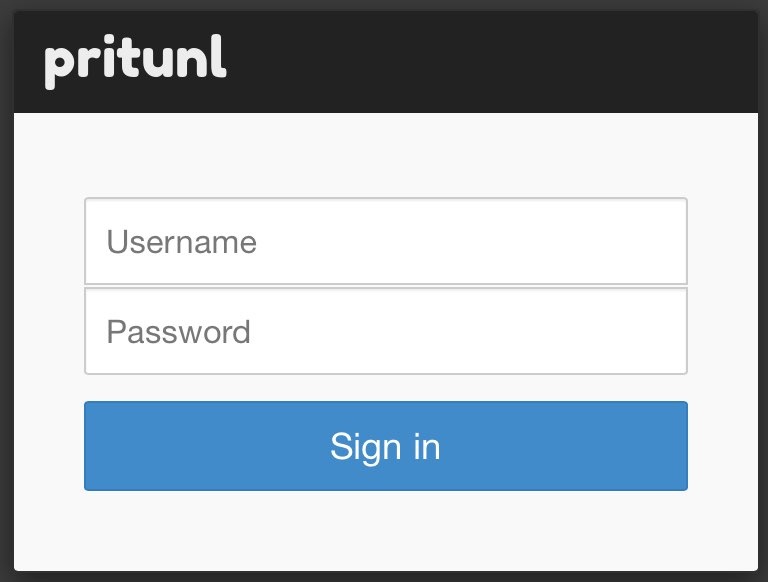
Use:
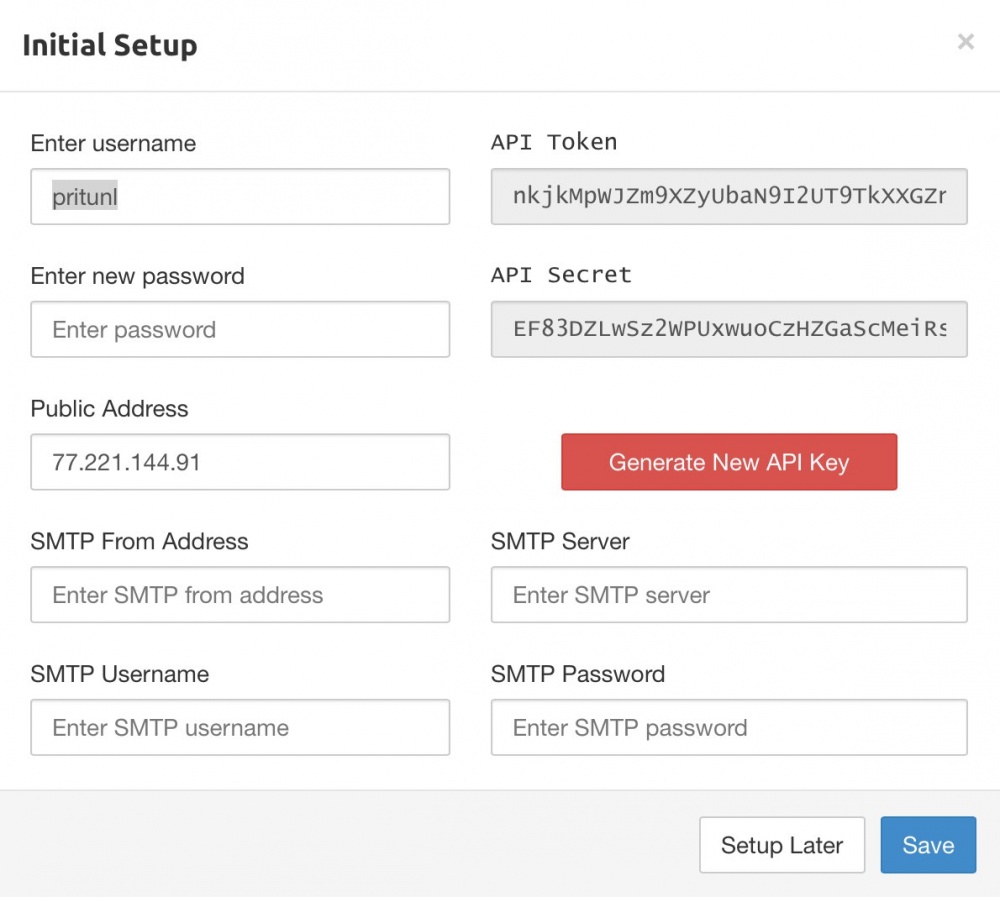
After logging in, you will be prompted to change the password (which is highly recommended), specify the SMTP server data for sending emails (optional) and display the API key for software-based VPN management. Detailed API documentation is here . If you leave the ip – address as it is - the VPN will work through the public Infobox network (great for using the Internet from the Netherlands).
After filling out the form you will be taken to the control panel. So far, there are no VPN users in the system.
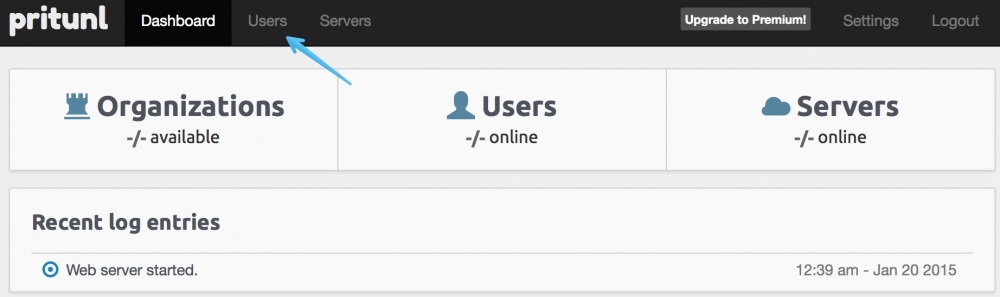
Go to the "Users" section.

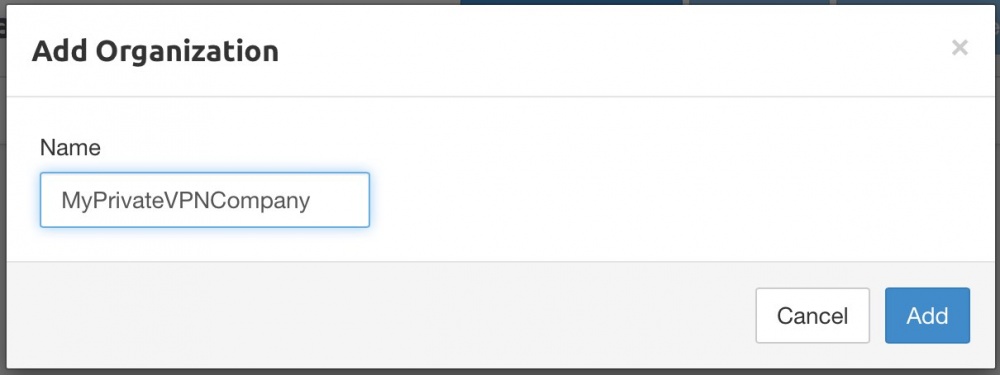
Add organization.
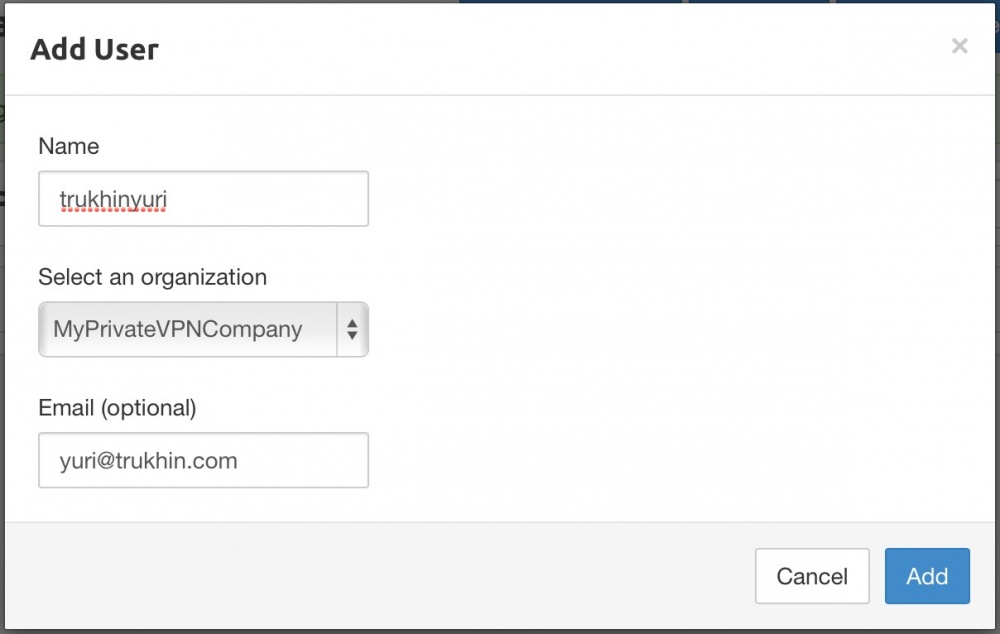
Now add a user.
It's time to finally create our VPN server. Click on the "Servers" button.

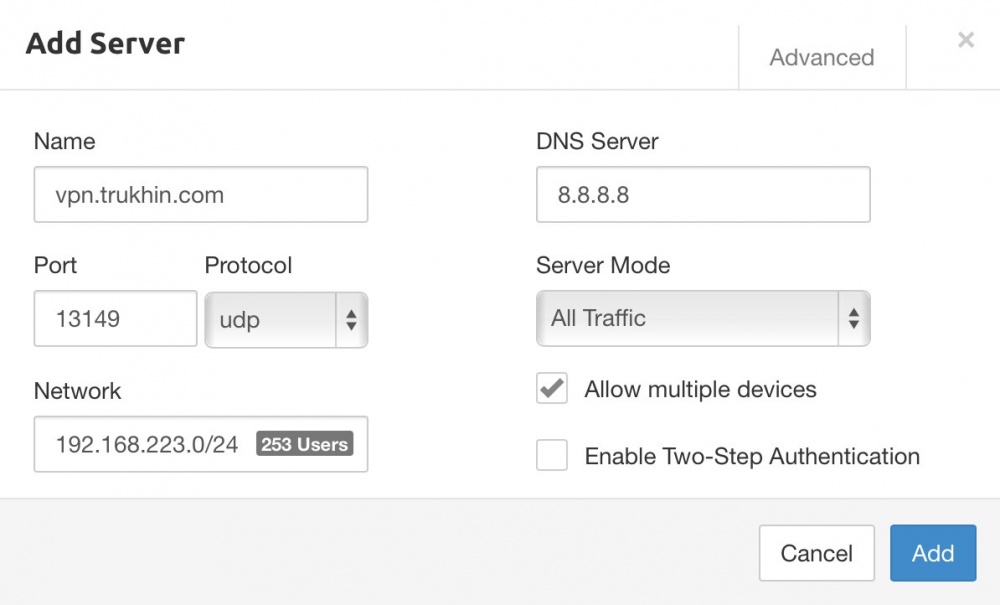
Click “Add server”.

Specify the name of the VPN server ( must match the domain directed to the VPN server! ). You can configure DNS, choose how to use VPN, allow multiple devices to connect at the same time, and even use two-factor authentication with Google Authenticator.
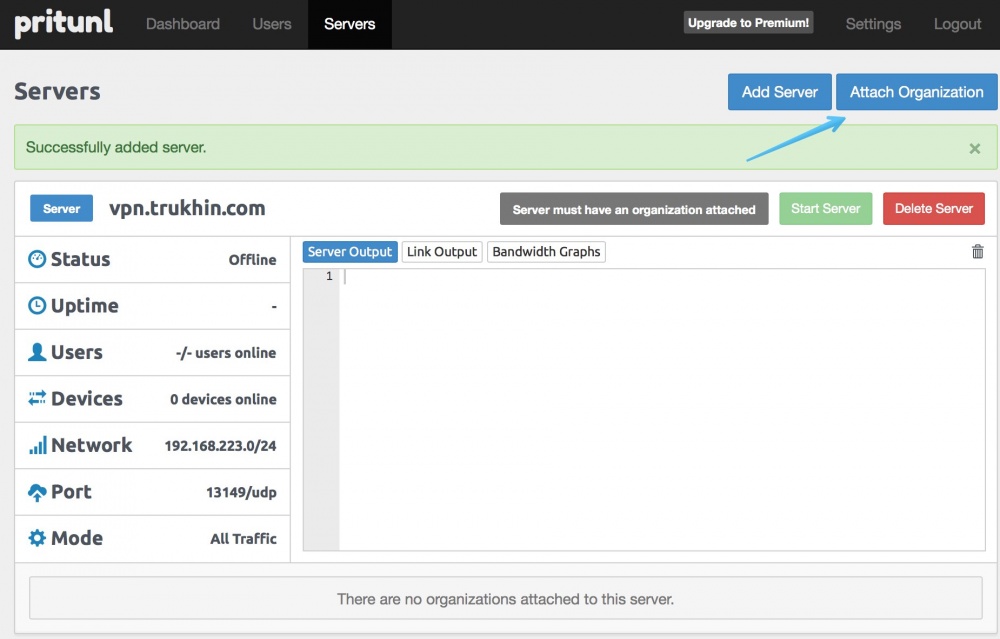
Now attach the organization (with all users) to the VPN server by clicking “Attach Organization”.
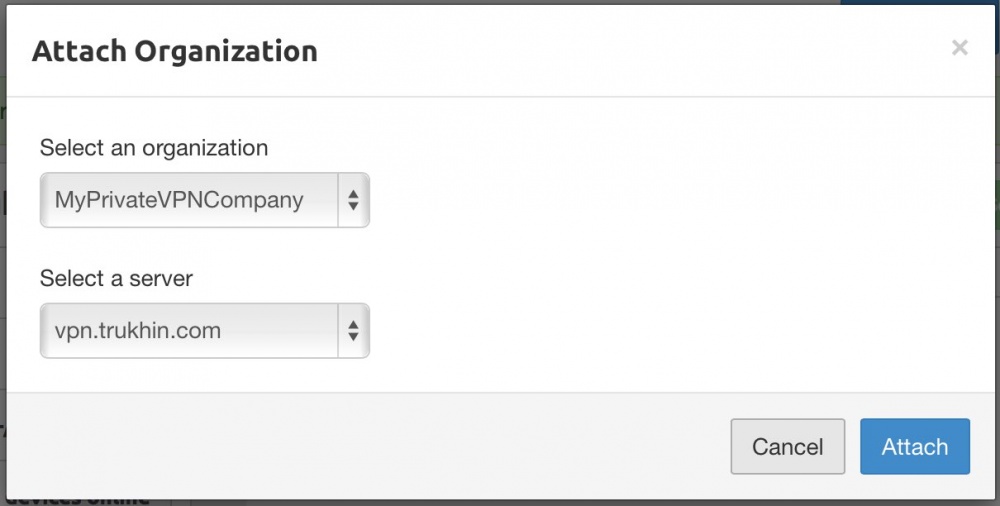
We are already offered our organization and VPN server. Just hit "Attach".
All is ready! Click “Start server” to start the VPN server.
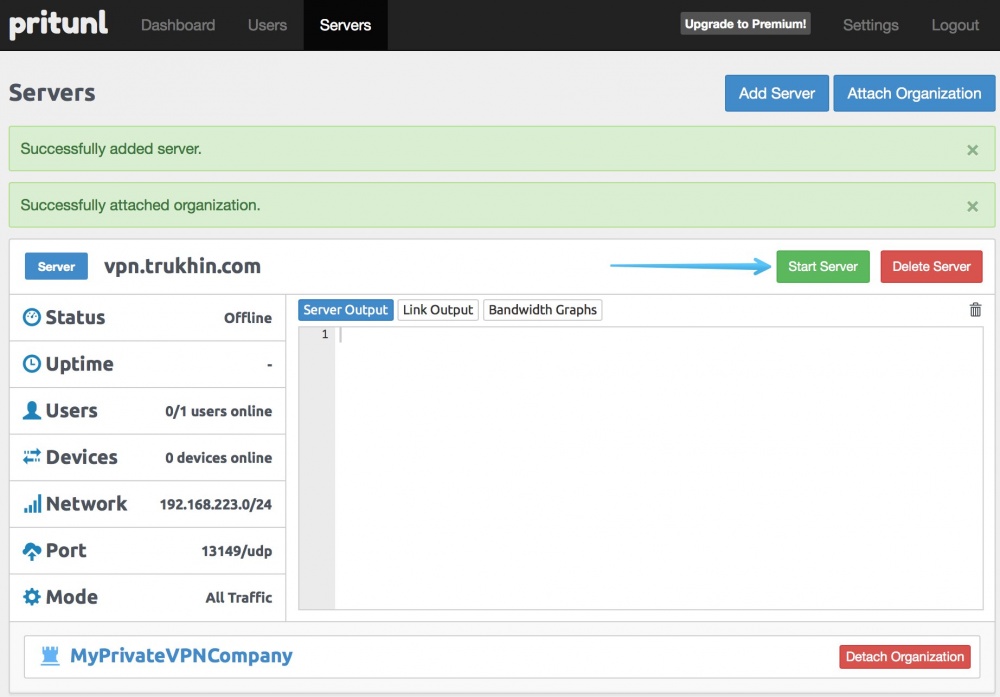
Our VPN server has been successfully launched!
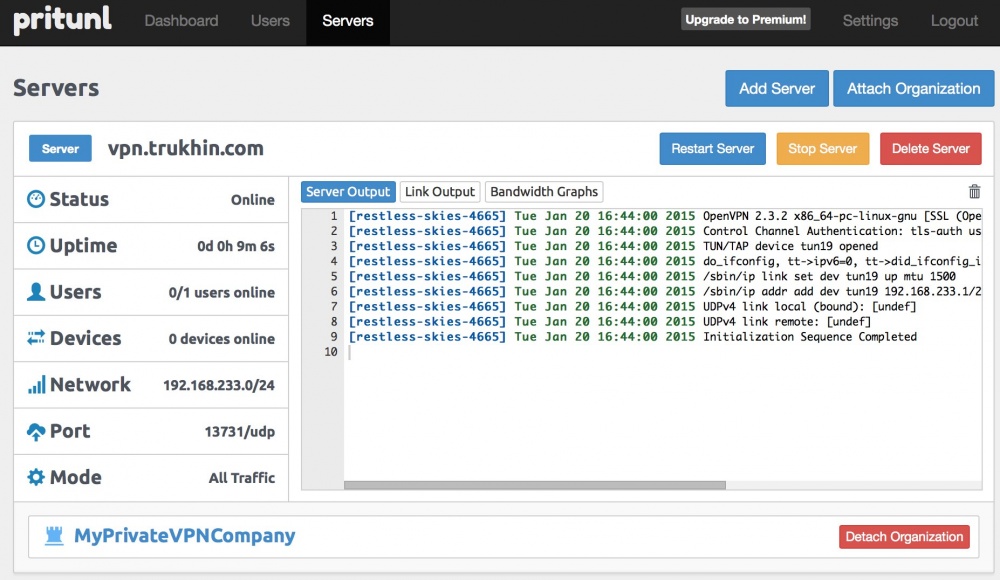
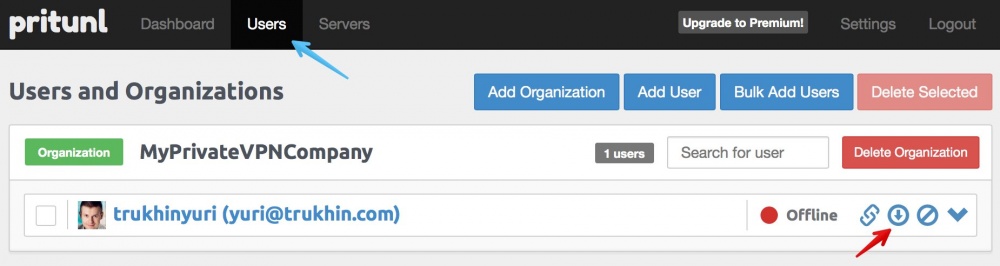
Now it remains only to download the OpenVPN configuration file for the user.
This is a very common scenario used by companies. Servers other than the VPN server and the web server are not assigned a public ip – address and they do not have access to the external network. The user connects via VPN and enters the company's internal network in the cloud.
In order for this script to work, first look at the InfoboxCloud control panel for the private ip – addresses of the servers to which you need access.

When creating a VPN server in pritunl, select the “Local Traffic Only” server mode and set the cidr subnet as shown in the screenshot.

After this, as before, add the company to the VPN server, re-download the settings for connecting the user and connect to the VPN. Now you can connect to servers that are accessible only from the InfoboxCloud private network.

You can use any OpenVPN client to connect, including setting up a connection from a router, if it supports OpenVPN (for example, Mikrotik). We will look at ways to connect from the desktop.
Download the OpenVPN client for Windows from here .
Install the client with default settings. In the process, agree to install the OpenVPN driver.
Then download the OpenVPN configuration file from the users section of your VPN server:

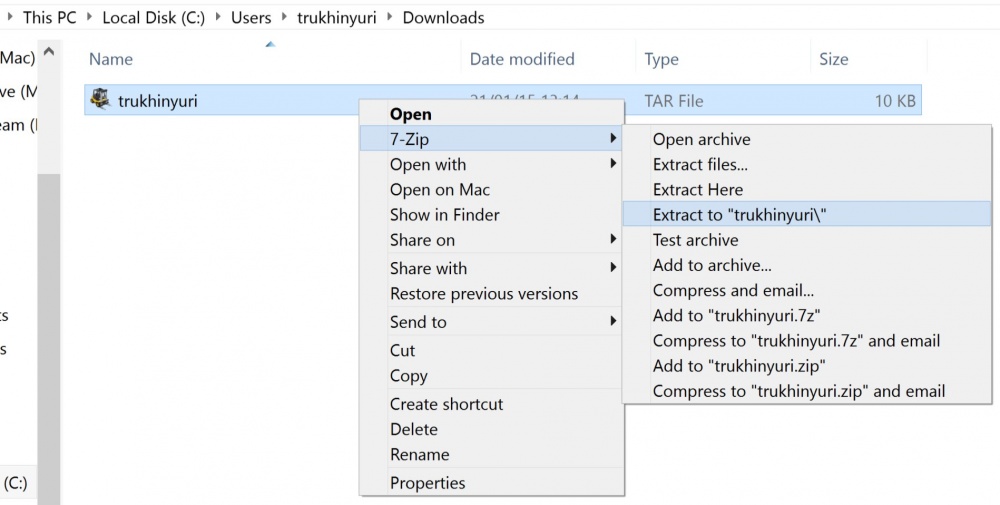
Install 7zip and unzip the downloaded tar file.
Copy the .ovpn file to the directory
Launch from the desktop with OpenVPN Gui admin rights (in the properties of the shortcut, you can set the launch with admin rights permanently).
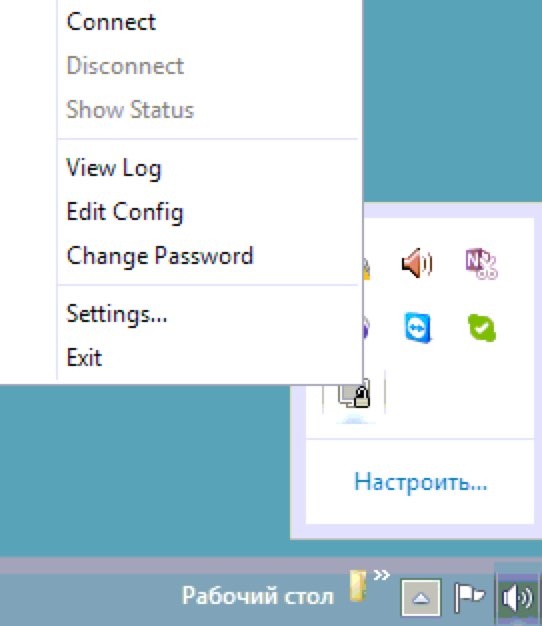
In the system tray, right-click on the OpenVPN shortcut and select "Connect".
The connection is successful.

Download Tunnelblick from here and install it.
Download the OpenVPN configuration file from the users section of your VPN server:
Install The Unarchiver to unpack the tar file without opening the terminal.
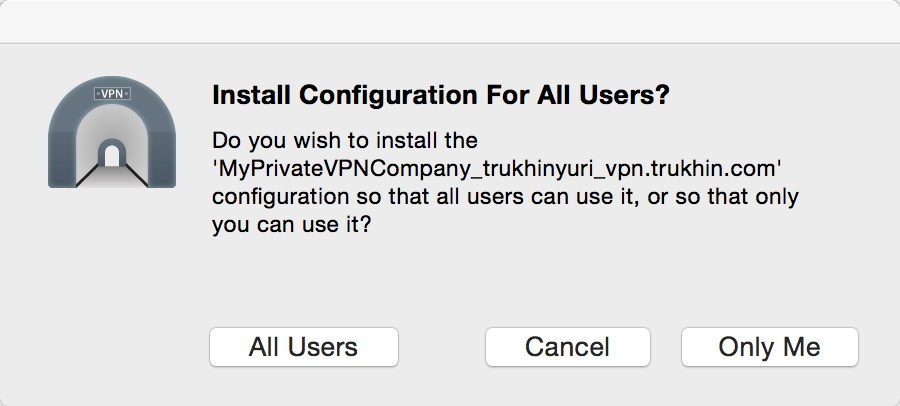
Unzip the tar file. Then double-click the .ovpn configuration file. Allow the use of the configuration file only for yourself or for all users (optional).
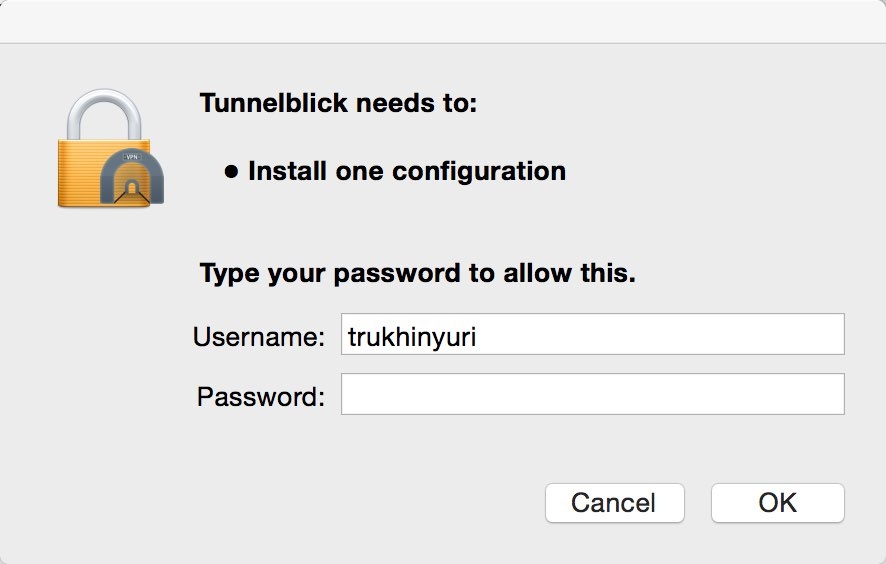
Enter the administrator password.
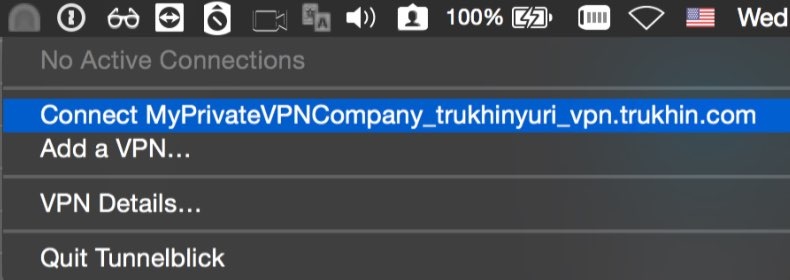
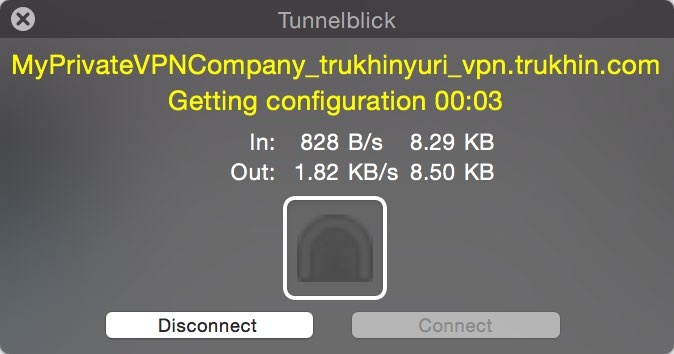
In the menu bar, click on the Tunnelblick icon and select “Connect”.
The connection is successful.
Open a terminal and enter the following command:
Download the OpenVPN configuration file from the users section of your VPN server:
The tar file is loaded. Go to the terminal in the directory where the file was downloaded:
Unzip the file (the file name will match the username):
Due to an error in the Network Manager, we cannot import the ovpn file directly. But there is a temporary solution:
Click on the Network Manager icon and select “Edit connections”:

In the Network manager, click Add and select “Import a saved vpn configuration” and click “create”:

Select the modified ovpn configuration file from the “OpenVPN” folder and click “Open”:

Enter “Advanced” -> “TLS Authentication” and set the “Key Direction” to the same value as the “key-direction” in the original ovpn configuration file. In our case, this is "1."

Click “Save” and close all windows network manager. Connect to the VPN server, as shown in the screenshot below:

You have successfully connected to a VPN from Ubuntu Desktop.
In this article, we learned how to quickly deploy a VPN server with a web interface in InfoboxCloud . If you want to try the cloud server - send us your email and we will provide a free trial version of the cloud for 15 days.
If you cannot write comments, ask a question in the InfoboxCloud Community . In case you find an error in the article, the author will gladly correct it. Please write in the LAN or in the mail about it.
Successful work!
In this article, we will literally set up an OpenVPN server in just a few minutes with the ability to easily manage VPN servers, users and organizations, and run it all in InfoboxCloud . This cloud is present in the Moscow and Amsterdam regions, so you can use VPNs for both corporate purposes and to introduce yourself as a resident of the Netherlands on the network (for example, to use services that are not available in your country).
On the server, we will use the Pritunl project, which is a control panel that automates the management of OpenVPN configurations. The pritunl source code is open and available on the githab . The free version is more than enough to use. Paid allows you to send data for access by email or configure automatic service fault tolerance (which is not very important for InfoboxCloud, since the cloud itself works in a failover cluster) and manage load balancing between multiple servers.
In the very near future, a server template with Pritunl pre-installed will appear in InfoboxCloud and you can create a VPN server in one click.
What we need to configure
- We hope that you already have an account on InfoboxCloud . If not yet, create it .
Then create a cloud server with Ubuntu 14.04 in the control panel (do not forget to allocate 1 public IP address to the server and set the required channel speed - up to gigabit). When creating a server, you need to set the checkbox "allow OS kernel management". After the server has been created, you will receive your access data to the server. Connect to the server via SSH . - We also need a domain or subdomain to organize the point of entry into the VPN. A domain's record A should be sent to the ip – address of the created cloud server.
Install Pritunl
Having connected to the server from Ubuntu 14.04 via SSH, execute the command:
apt-key update && apt-get update && apt-get -y upgrade && apt-get -y install python-software-properties && apt-get -y install software-properties-common && add-apt-repository -y ppa:pritunl && apt-get update && apt-get -y install pritunl Configure the VPN server in the web interface
Open in browser
https://____:9700 This article uses a test address.
https://vpn.trukhin.com:9700 It is proposed to configure the path to the database.
')
Just click “Save”. A login window will open.
Use:
- Login: pritunl
- Password: pritunl
After logging in, you will be prompted to change the password (which is highly recommended), specify the SMTP server data for sending emails (optional) and display the API key for software-based VPN management. Detailed API documentation is here . If you leave the ip – address as it is - the VPN will work through the public Infobox network (great for using the Internet from the Netherlands).
After filling out the form you will be taken to the control panel. So far, there are no VPN users in the system.
Go to the "Users" section.
Add organization.
Now add a user.
It's time to finally create our VPN server. Click on the "Servers" button.
Click “Add server”.
Specify the name of the VPN server ( must match the domain directed to the VPN server! ). You can configure DNS, choose how to use VPN, allow multiple devices to connect at the same time, and even use two-factor authentication with Google Authenticator.
Now attach the organization (with all users) to the VPN server by clicking “Attach Organization”.
We are already offered our organization and VPN server. Just hit "Attach".
All is ready! Click “Start server” to start the VPN server.
Our VPN server has been successfully launched!
Now it remains only to download the OpenVPN configuration file for the user.
Features of connecting to the internal network InfoboxCloud
This is a very common scenario used by companies. Servers other than the VPN server and the web server are not assigned a public ip – address and they do not have access to the external network. The user connects via VPN and enters the company's internal network in the cloud.
In order for this script to work, first look at the InfoboxCloud control panel for the private ip – addresses of the servers to which you need access.
When creating a VPN server in pritunl, select the “Local Traffic Only” server mode and set the cidr subnet as shown in the screenshot.
After this, as before, add the company to the VPN server, re-download the settings for connecting the user and connect to the VPN. Now you can connect to servers that are accessible only from the InfoboxCloud private network.
Configuring OpenVPN Clients
You can use any OpenVPN client to connect, including setting up a connection from a router, if it supports OpenVPN (for example, Mikrotik). We will look at ways to connect from the desktop.
Setting up an OpenVPN client on Windows
Download the OpenVPN client for Windows from here .
Install the client with default settings. In the process, agree to install the OpenVPN driver.
Then download the OpenVPN configuration file from the users section of your VPN server:
Install 7zip and unzip the downloaded tar file.
Copy the .ovpn file to the directory
C:\Program files\OpenVPN\config Launch from the desktop with OpenVPN Gui admin rights (in the properties of the shortcut, you can set the launch with admin rights permanently).
In the system tray, right-click on the OpenVPN shortcut and select "Connect".
The connection is successful.
Setting up an OpenVPN client on OS X
Download Tunnelblick from here and install it.
Download the OpenVPN configuration file from the users section of your VPN server:
Install The Unarchiver to unpack the tar file without opening the terminal.
Unzip the tar file. Then double-click the .ovpn configuration file. Allow the use of the configuration file only for yourself or for all users (optional).
Enter the administrator password.
In the menu bar, click on the Tunnelblick icon and select “Connect”.
The connection is successful.
Setting up an OpenVPN client on Ubuntu Desktop
Open a terminal and enter the following command:
sudo apt-get install network-manager-openvpn Download the OpenVPN configuration file from the users section of your VPN server:
The tar file is loaded. Go to the terminal in the directory where the file was downloaded:
cd ~/Downloads/ Unzip the file (the file name will match the username):
tar -xvf trukhinyuri.tar Due to an error in the Network Manager, we cannot import the ovpn file directly. But there is a temporary solution:
- Create the folder "OpenVPN" and copy there the ovpn configuration file that you unpacked earlier from the archive.
- Open the ovpn configuration file from the “OpenVPN” folder in a text editor.
- Create a ca.crt file in the “OpenVPN” folder: copy the text between it
from the ovpn configuration file.<ca> </ca> - Create a client.crt file in the “OpenVPN” folder: copy the text between it
from the ovpn configuration file.<cert> </cert> - Create a client.key file in the “OpenVPN” folder: copy the text between it
from the ovpn configuration file.<key> </key> - Create a ta.key file in the “OpenVPN” folder: copy the text between it
from the ovpn configuration file.<tls-auth> </tls-auth> - Open the ovpn configuration file from the “OpenVPN” folder and edit it: delete the section
and lower and add to the end:<ca>ca ca.crt cert client.crt key client.key tls-auth ta.key
Click on the Network Manager icon and select “Edit connections”:
In the Network manager, click Add and select “Import a saved vpn configuration” and click “create”:
Select the modified ovpn configuration file from the “OpenVPN” folder and click “Open”:
Enter “Advanced” -> “TLS Authentication” and set the “Key Direction” to the same value as the “key-direction” in the original ovpn configuration file. In our case, this is "1."
Click “Save” and close all windows network manager. Connect to the VPN server, as shown in the screenshot below:
You have successfully connected to a VPN from Ubuntu Desktop.
Conclusion
In this article, we learned how to quickly deploy a VPN server with a web interface in InfoboxCloud . If you want to try the cloud server - send us your email and we will provide a free trial version of the cloud for 15 days.
If you cannot write comments, ask a question in the InfoboxCloud Community . In case you find an error in the article, the author will gladly correct it. Please write in the LAN or in the mail about it.
Successful work!
Source: https://habr.com/ru/post/248445/
All Articles