A brief course of computer graphics: we write a simplified OpenGL do it yourself, article 1 of 6
Course content
- Article 1: Bresenham algorithm
- Article 2: rasterization of the triangle + clipping of the rear faces
- Article 3: Removing invisible surfaces: z-buffer
- Article 4: Required Geometry: Matrix Festival
- Article 5: We write shaders for our library
- Article 6: A little more than just a shader: shadow rendering
Code enhancement
The official translation (with a bit of polishing) is available here.
Formulation of the problem
The purpose of this series of articles is to show how OpenGL works by writing it (very simplistic!) Clone yourself. Surprisingly, I often encounter people who cannot overcome the initial OpenGL / DirectX learning barrier. Thus, I prepared a short cycle of six lectures, after which my students give good renders.
')
So, the task is set as follows: without using any third-party libraries (especially graphic ones) to get something like this:
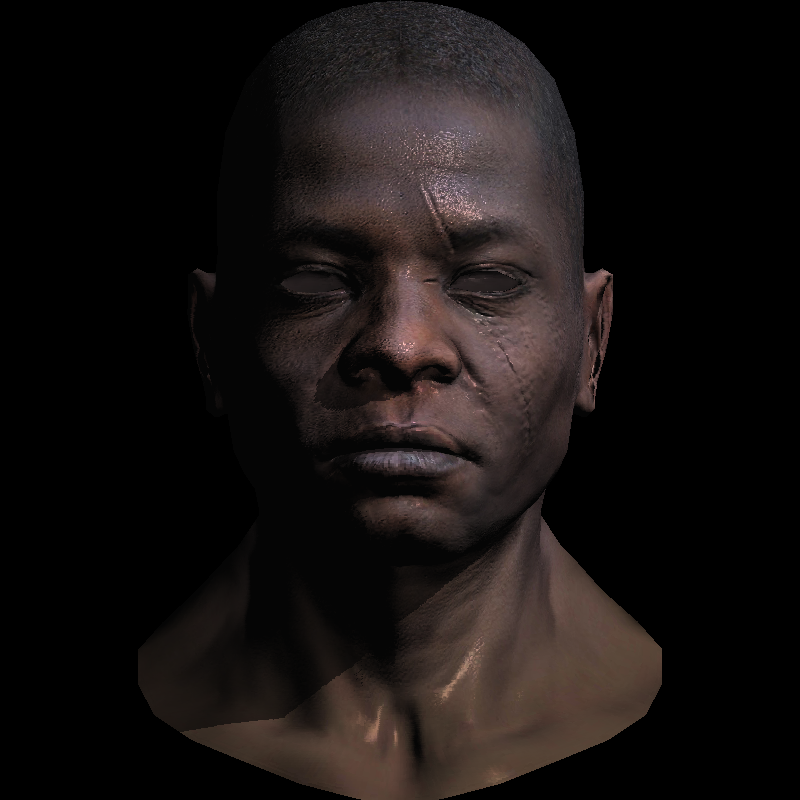
Attention, this is a teaching material that will generally follow the structure of the OpenGL library This will be a software render, I do not set out to show how to write applications for OpenGL. I aim to show how OpenGL itself works . In my deep conviction, without an understanding of this writing effective applications using 3D libraries is impossible.
I will try not to cross over 500 lines in the final code. My students need from 10 to 20 hours of programming to start issuing such renders. At the entrance we get a text file with a polygonal grid + images with textures, and a rendered model at the output. No graphical user interface, the program that is launched simply generates a file with a picture.
Since the goal is to minimize external dependencies, I give my students only one class that allows working with TGA files. This is one of the simplest formats that supports RGB / RGBA / black and white pictures. That is, as a starting point, we get a simple way to work with pictures. Notice that the only functionality available at the very beginning (besides loading and saving an image) is the ability to set the color of one pixel.
No functions to draw segments of triangles, all this will have to be written manually.
I give my source code, which I write in parallel with the students, but I do not recommend using it, there is simply no point in this.
All code is available on github, here is the starting code that I give my students.
 #include "tgaimage.h"

 const TGAColor white = TGAColor (255, 255, 255, 255);
 const TGAColor red = TGAColor (255, 0, 0, 255);

 int main (int argc, char ** argv) {
         TGAImage image (100, 100, TGAImage :: RGB);
         image.set (52, 41, red);
         image.flip_vertically ();  // i want to have the bottom corner
         image.write_tga_file ("output.tga");
         return 0;
 }
output.tga should look something like this:

Bresenham algorithm
The purpose of the first lecture is to render a wire mesh, for this you need to learn how to draw segments.
You can just go and read what the Bresenham algorithm is , but most of my students are stalled by reading the integer version right away, so let's write the code ourselves.
What does the simplest code that draws the segment between two points (x0, y0) and (x1, y1) look like?
Apparently, something like this:
 void line (int x0, int y0, int x1, int y1, TGAImage & image, TGAColor color) {
     for (float t = 0.; t <1.; t + =. 01) {
         int x = x0 * (1.-t) + x1 * t;
         int y = y0 * (1.-t) + y1 * t;
         image.set (x, y, color);
     }
 }

Snapshot code is available on github .
The problem with this code (besides efficiency) is the choice of a constant, which I took equal to .01.
If suddenly we take it equal to .1, then our segment will look like this:

We can easily find the desired step: it’s just the number of pixels to draw.
The simplest (with errors!) Code looks like this:
 void line (int x0, int y0, int x1, int y1, TGAImage & image, TGAColor color) {
     for (int x = x0; x <= x1; x ++) {
         float t = (x-x0) / (float) (x1-x0);
         int y = y0 * (1.-t) + y1 * t;
         image.set (x, y, color);
     }
 }
Beware: the first source of errors in my students' similar code is an integer division of the type (x-x0) / (x1-x0).
Further, if we try to draw these lines with this code:
 line (13, 20, 80, 40, image, white);
 line (20, 13, 40, 80, image, red);
 line (80, 40, 13, 20, image, red);

It turns out that one line is good, the second with holes, and the third is not at all.
Please note that the first and second lines (in the code) give the same line of different colors. White we have already seen, it is well drawn. I was hoping to repaint white in red, did not work. This is a test for symmetry: the result of drawing a segment should not depend on the order of the points: the segment (a, b) should be exactly the same as the segment (b, a).
Holes in one of the segments due to the fact that its height is greater than the width.
My students often offer me this fix: if (dx> dy) {for (int x)} else {for (int y)}.
Well, trees!
 void line (int x0, int y0, int x1, int y1, TGAImage & image, TGAColor color) {
     bool steep = false;
     if (std :: abs (x0-x1) <std :: abs (y0-y1)) {// if the line is the image
         std :: swap (x0, y0);
         std :: swap (x1, y1);
         steep = true;
     }
     if (x0> x1) {// make it left-to-right
         std :: swap (x0, x1);
         std :: swap (y0, y1);
     }

     for (int x = x0; x <= x1; x ++) {
         float t = (x-x0) / (float) (x1-x0);
         int y = y0 * (1.-t) + y1 * t;
         if (steep) {
             image.set (y, x, color);  // if transposed, de-transpose
         } else {
             image.set (x, y, color);
         }
     }
 }

This code works great. This is exactly the complexity of the code I want to see in the final version of our render.
Of course, it is ineffective (multiple divisions and the like), but it is short and readable.
Note that there are no asserts in it, there are no checks for going beyond the boundaries, it is bad.
But I try not to overload this particular code, since it is read a lot, and I systematically remind you of the need for checks.
So, the previous code works great, but it can be optimized.
Optimization is a dangerous thing, you need to be clear about which platform the code will work on.
Optimizing the code for a graphics card or just for the central processor is completely different things.
Before and during any optimization code must be profiled.
Try to guess which operation is the most resource intensive here?
For tests, I draw 1,000,000 times 3 segments that we painted before. My processor: is an Intel® Core (TM) i5-3450 CPU @ 3.10GHz.
This code for each pixel calls the TGAColor copy constructor.
And this is 1,000,000 * 3 pieces * about 50 pixels per cut. A lot of calls.
Where do we start optimization?
The profiler will tell us.
I compiled code with the g ++ -ggdb -g3 -pg -O0 keys; then launched gprof:
   % cumulative self self total
  time seconds seconds calls ms / call ms / call name
  69.16 2.95 2.95 3000000 0.00 0.00 line (int, int, int, int, TGAImage &, TGAColor)
  19.46 3.78 0.83 204000000 0.00 0.00 TGAImage :: set (int, int, TGAColor)
   8.91 4.16 0.38 207000000 0.00 0.00 TGAColor :: TGAColor (TGAColor const &)
   1.64 4.23 0.07 2 35.04 35.04 TGAColor :: TGAColor (unsigned char, unsigned char, unsigned char, unsigned char)
   0.94 4.27 0.04 TGAImage :: get (int, int)
10% of working time is copying color.
But another 70% are held in the line () call! Here we will optimize.
Note that each division has the same divider, let's move it out of the cycle.
The error variable gives us the distance to the perfect straight line from our current pixel (x, y).
Each time an error exceeds one pixel, we increase (decrease) y by one, and by one we reduce the error.
The code is available here .
void line (int x0, int y0, int x1, int y1, TGAImage & image, TGAColor color) {bool steep = false; if (std :: abs (x0-x1) <std :: abs (y0-y1)) {std :: swap (x0, y0); std :: swap (x1, y1); steep = true; } if (x0> x1) {std :: swap (x0, x1); std :: swap (y0, y1); } int dx = x1-x0; int dy = y1-y0; float derror = std :: abs (dy / float (dx)); float error = 0; int y = y0; for (int x = x0; x <= x1; x ++) {if (steep) {image.set (y, x, color); } else {image.set (x, y, color); } error + = derror; if (error> .5) {y + = (y1> y0? 1: -1); error - = 1 .; }}} % cumulative self self total time seconds seconds calls ms / call ms / call name 38.79 0.93 0.93 3000000 0.00 0.00 line (int, int, int, int, TGAImage &, TGAColor) 37.54 1.83 0.90 204000000 0.00 0.00 TGAImage :: set (int, int, TGAColor) 19.60 2.30 0.47 204000000 0.00 0.00 TGAColor :: TGAColor (int, int) 2.09 2.35 0.05 2 25.03 25.03 TGAColor :: TGAColor (unsigned char, unsigned char, unsigned char, unsigned char) 1.25 2.38 0.03 TGAImage :: get (int, int)
And why do we need floating points? The only reason is one division by dx and a comparison with .5 in the body of the loop.
We can get rid of the floating point by replacing the error variable with another one, let's call it error2, it is equal to error * dx * 2.
Here is the equivalent code :
 void line (int x0, int y0, int x1, int y1, TGAImage & image, TGAColor color) {
     bool steep = false;
     if (std :: abs (x0-x1) <std :: abs (y0-y1)) {
         std :: swap (x0, y0);
         std :: swap (x1, y1);
         steep = true;
     }
     if (x0> x1) {
         std :: swap (x0, x1);
         std :: swap (y0, y1);
     }
     int dx = x1-x0;
     int dy = y1-y0;
     int derror2 = std :: abs (dy) * 2;
     int error2 = 0;
     int y = y0;
     for (int x = x0; x <= x1; x ++) {
         if (steep) {
             image.set (y, x, color);
         } else {
             image.set (x, y, color);
         }
         error2 + = derror2;

         if (error2> dx) {
             y + = (y1> y0? 1: -1);
             error2 - = dx * 2;
         }
     }
 }
   % cumulative self self total
  time seconds seconds calls ms / call ms / call name
  42.77 0.91 0.91 204000000 0.00 0.00 TGAImage :: set (int, int, TGAColor)
  30.08 1.55 0.64 3000000 0.00 0.00 line (int, int, int, int, TGAImage &, TGAColor)
  21.62 2.01 0.46 204000000 0.00 0.00 TGAColor :: TGAColor (int, int)
   1.88 2.05 0.04 2 20.02 20.02 TGAColor :: TGAColor (unsigned char, unsigned char, unsigned char, unsigned char)
Another conversation, now it is enough to remove unnecessary copies when calling a function, passing the color by reference (or simply by turning on the -O3 compilation flag) and everything is ready. Not a single multiplication, not a single division in the code.
Running time decreased from 2.95 seconds to 0.64.
Wire Render
Now everything is ready to create a wire rendering. Snapshot code and test model are here.
I used the wavefront obj file format to store the model. All we need to render is to read from the file an array of vertices of the form
v 0.608654-0.568839-0.416318
[...]
these are x, y, z coordinates, one vertex per file line
and faces
f 1193/1240/1193 1180/1227/1180 1179/1226/1179
[...]
Here we are interested in the first number after each space, this is the number of the vertex in the array, which we read earlier. Thus, this line says that vertices 1193, 1180 and 1179 form a triangle.
The file model.cpp contains the simplest parser.
We write such a cycle in our main.cpp and voila, our wire render is ready.
     for (int i = 0; i <model-> nfaces (); i ++) {
         std :: vector <int> face = model-> face (i);
         for (int j = 0; j <3; j ++) {
             Vec3f v0 = model-> vert (face [j]);
             Vec3f v1 = model-> vert (face [(j + 1)% 3]);
             int x0 = (v0.x + 1.) * width / 2 .;
             int y0 = (v0.y + 1.) * height / 2 .;
             int x1 = (v1.x + 1.) * width / 2 .;
             int y1 = (v1.y + 1.) * height / 2 .;
             line (x0, y0, x1, y1, image, white);
         }
     }

Next time we will draw 2D triangles and correct our render.
Source: https://habr.com/ru/post/248153/
All Articles