The basics of CG-drawing examples: draw an oscilloscope, apply 3D
Hello! My name is Ivan Smirnov, I work as a concept artist in the Allods Team, the game studio Mail.Ru Group, on the Skyforge project. In addition, I teach concept art at Scream School and teach online courses. Not so long ago I gave a lecture on the basics of CG-drawing: in particular, it was about how to draw a simple object, for example, an oscilloscope. I am eager to share the materials of this lecture with you. Be careful, traffic!

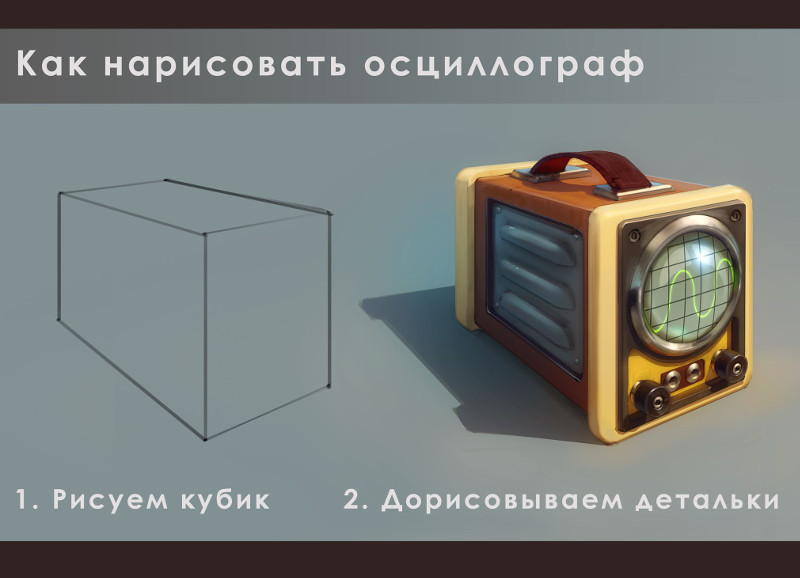
The main stages of creation
Often, novice artists wonder how to draw a neat lineart. Most experienced artists who use it in their work, create it iteratively. I use 3 main stages: a choice of a view, search of design and accurate study.
')
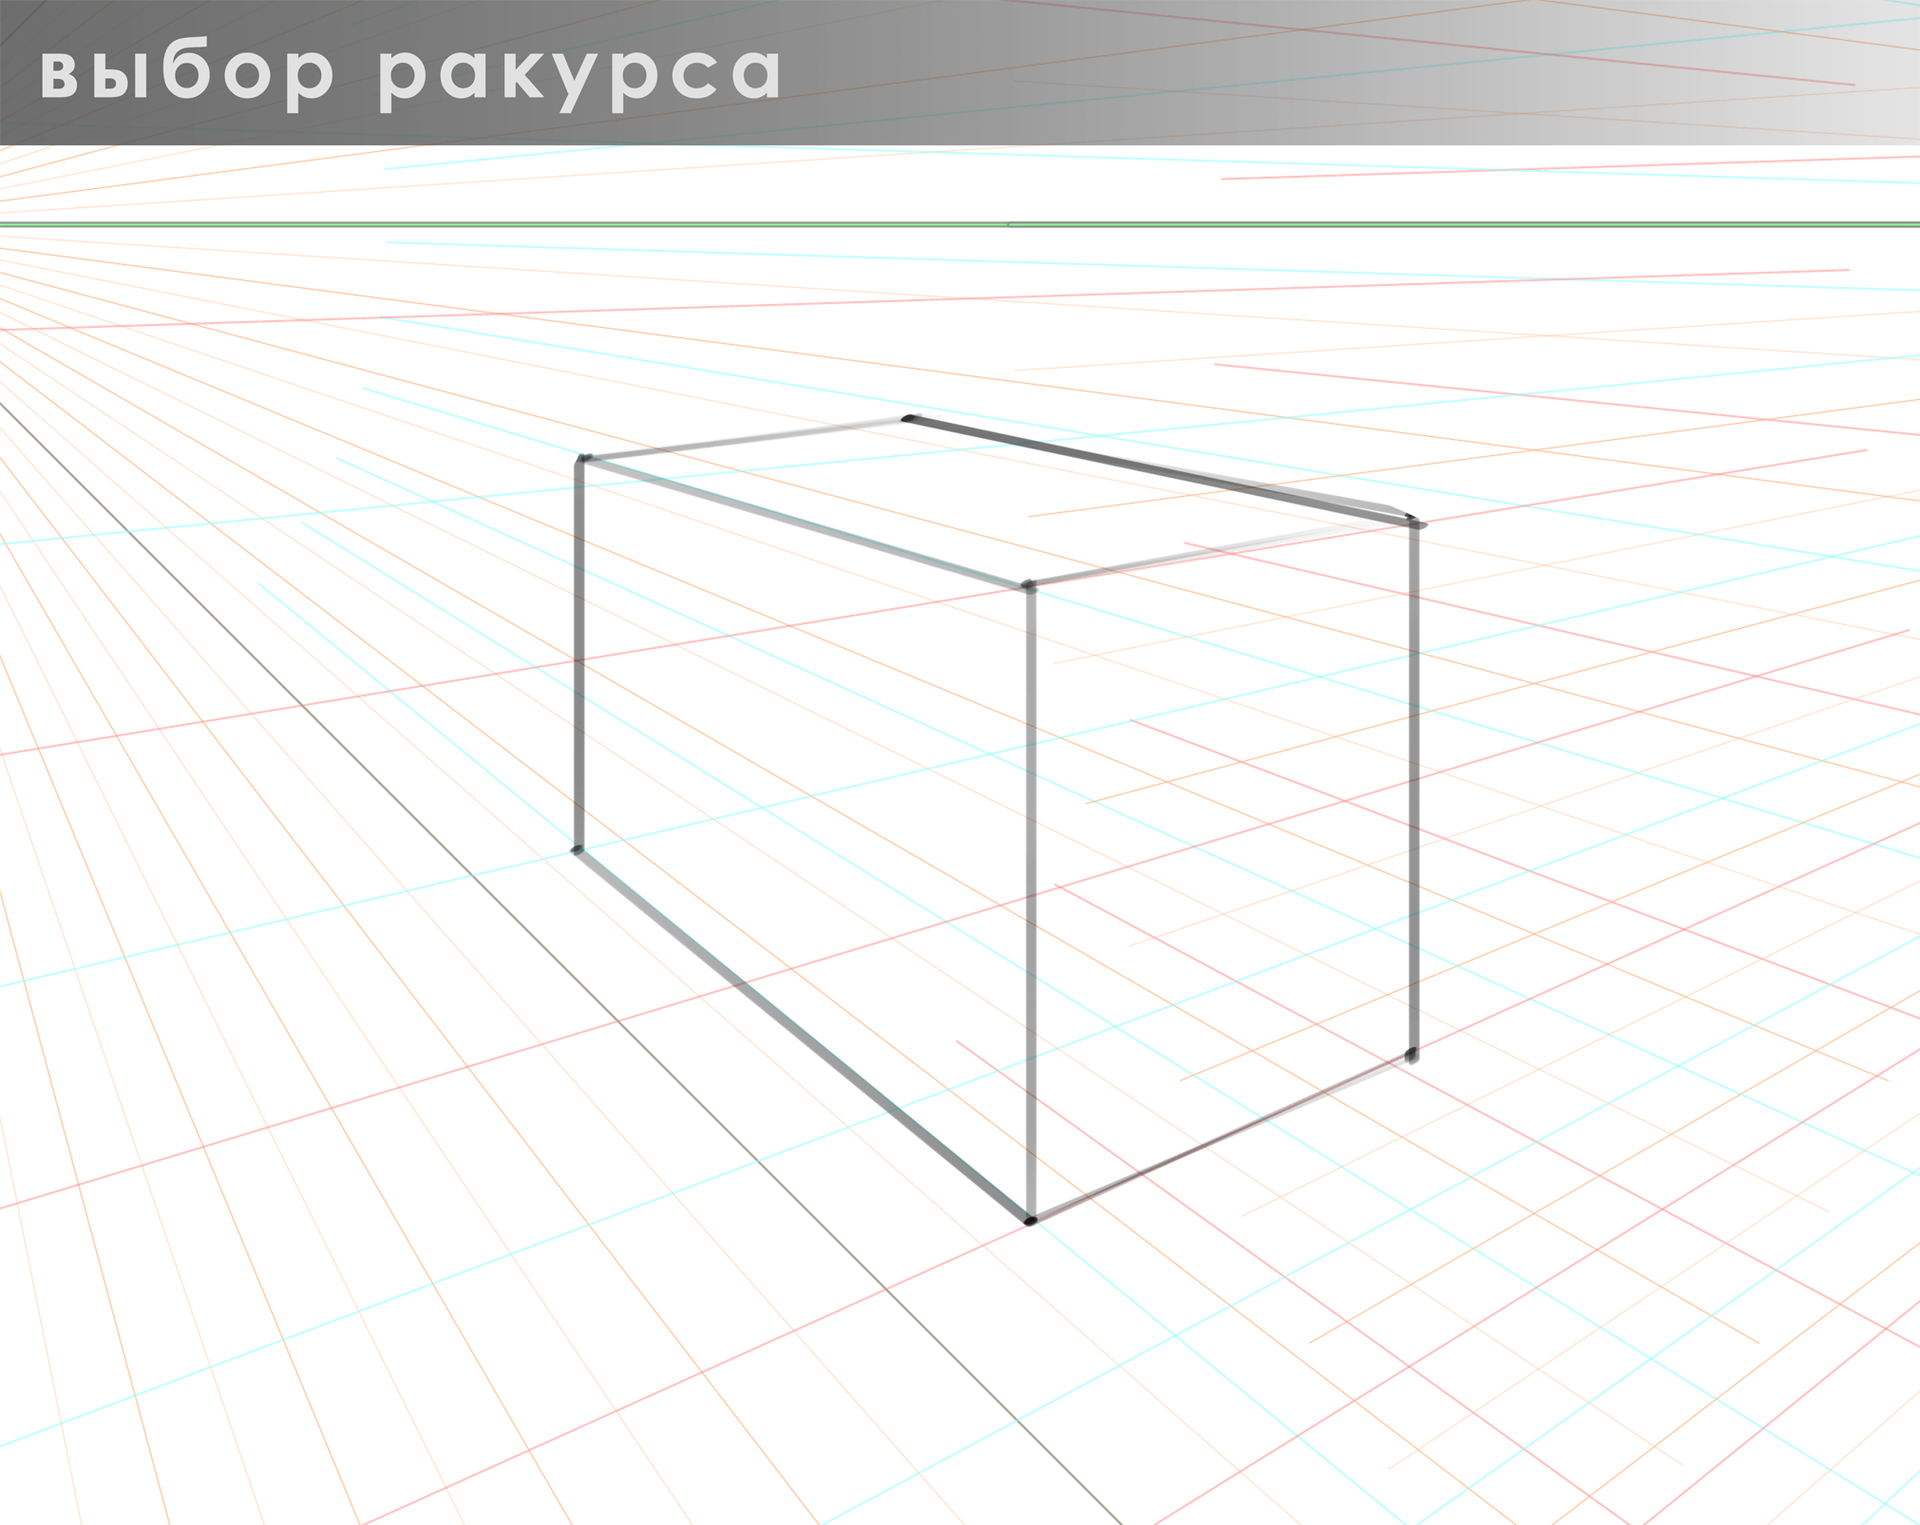
Attempting to do everything from once without sufficient experience leads to a great expenditure of effort and time, because usually, one of the three points is insufficiently fulfilled, and it is necessary to redo it.

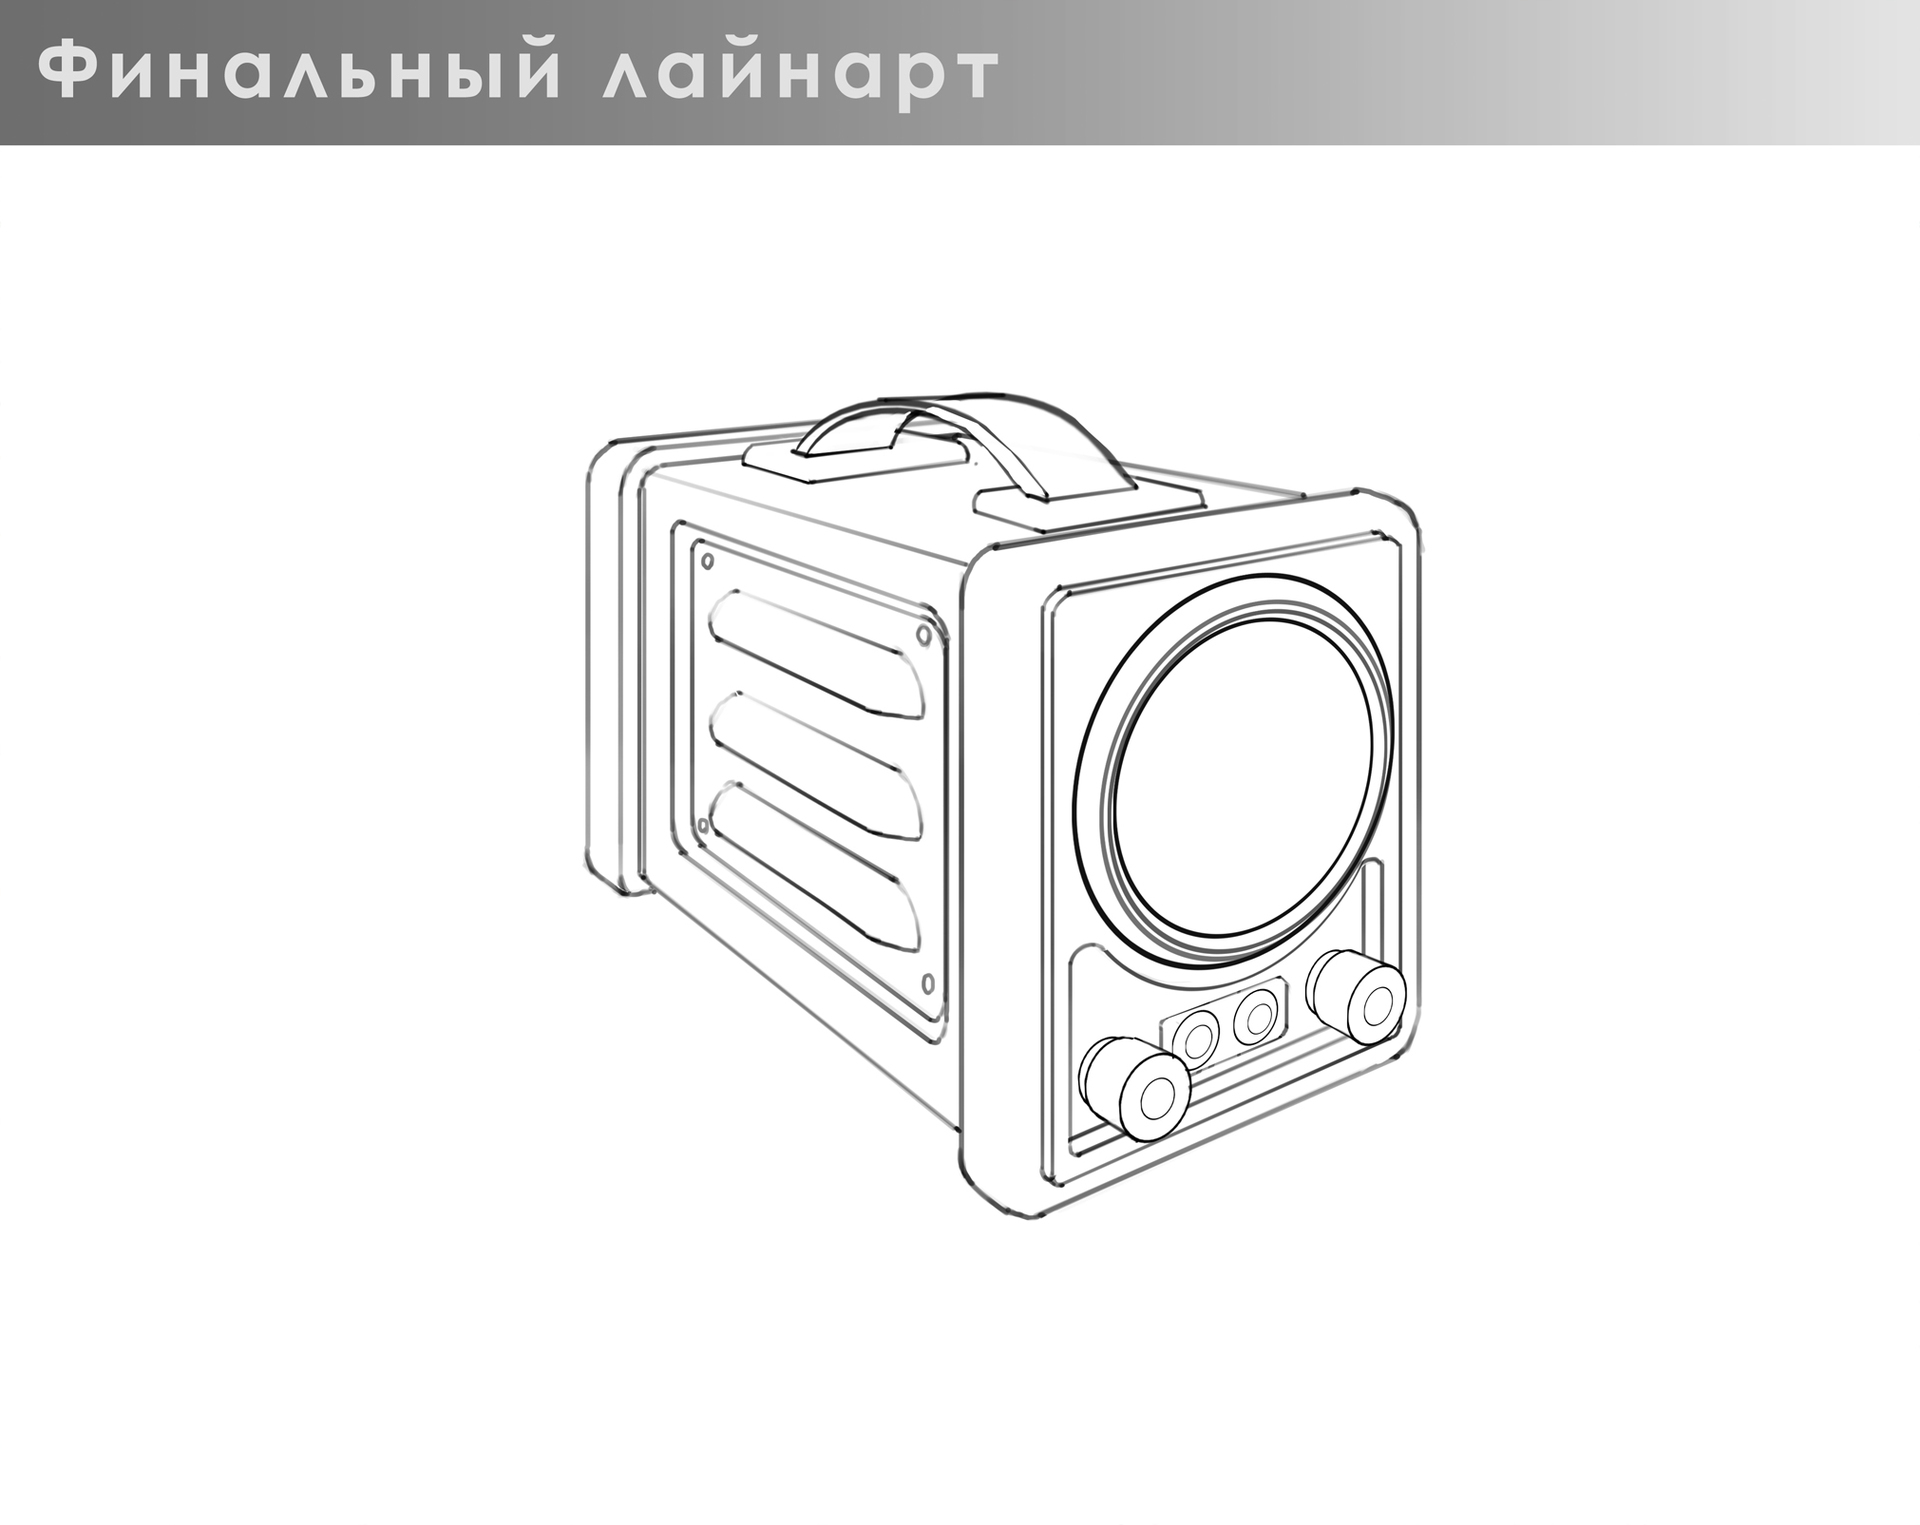
Separation at iteration also allows you to concentrate on a small amount of work. Choosing the angle in advance, you can start looking for a design without overloading yourself with excessive perspective control. And, since in the process of searching for a design, one way or another, extra “dirt” will appear in the figure, it is possible not to waste efforts on excessive line accuracy. At the final stage, we no longer need to look for design and perspective, so you can circle everything quickly and accurately.
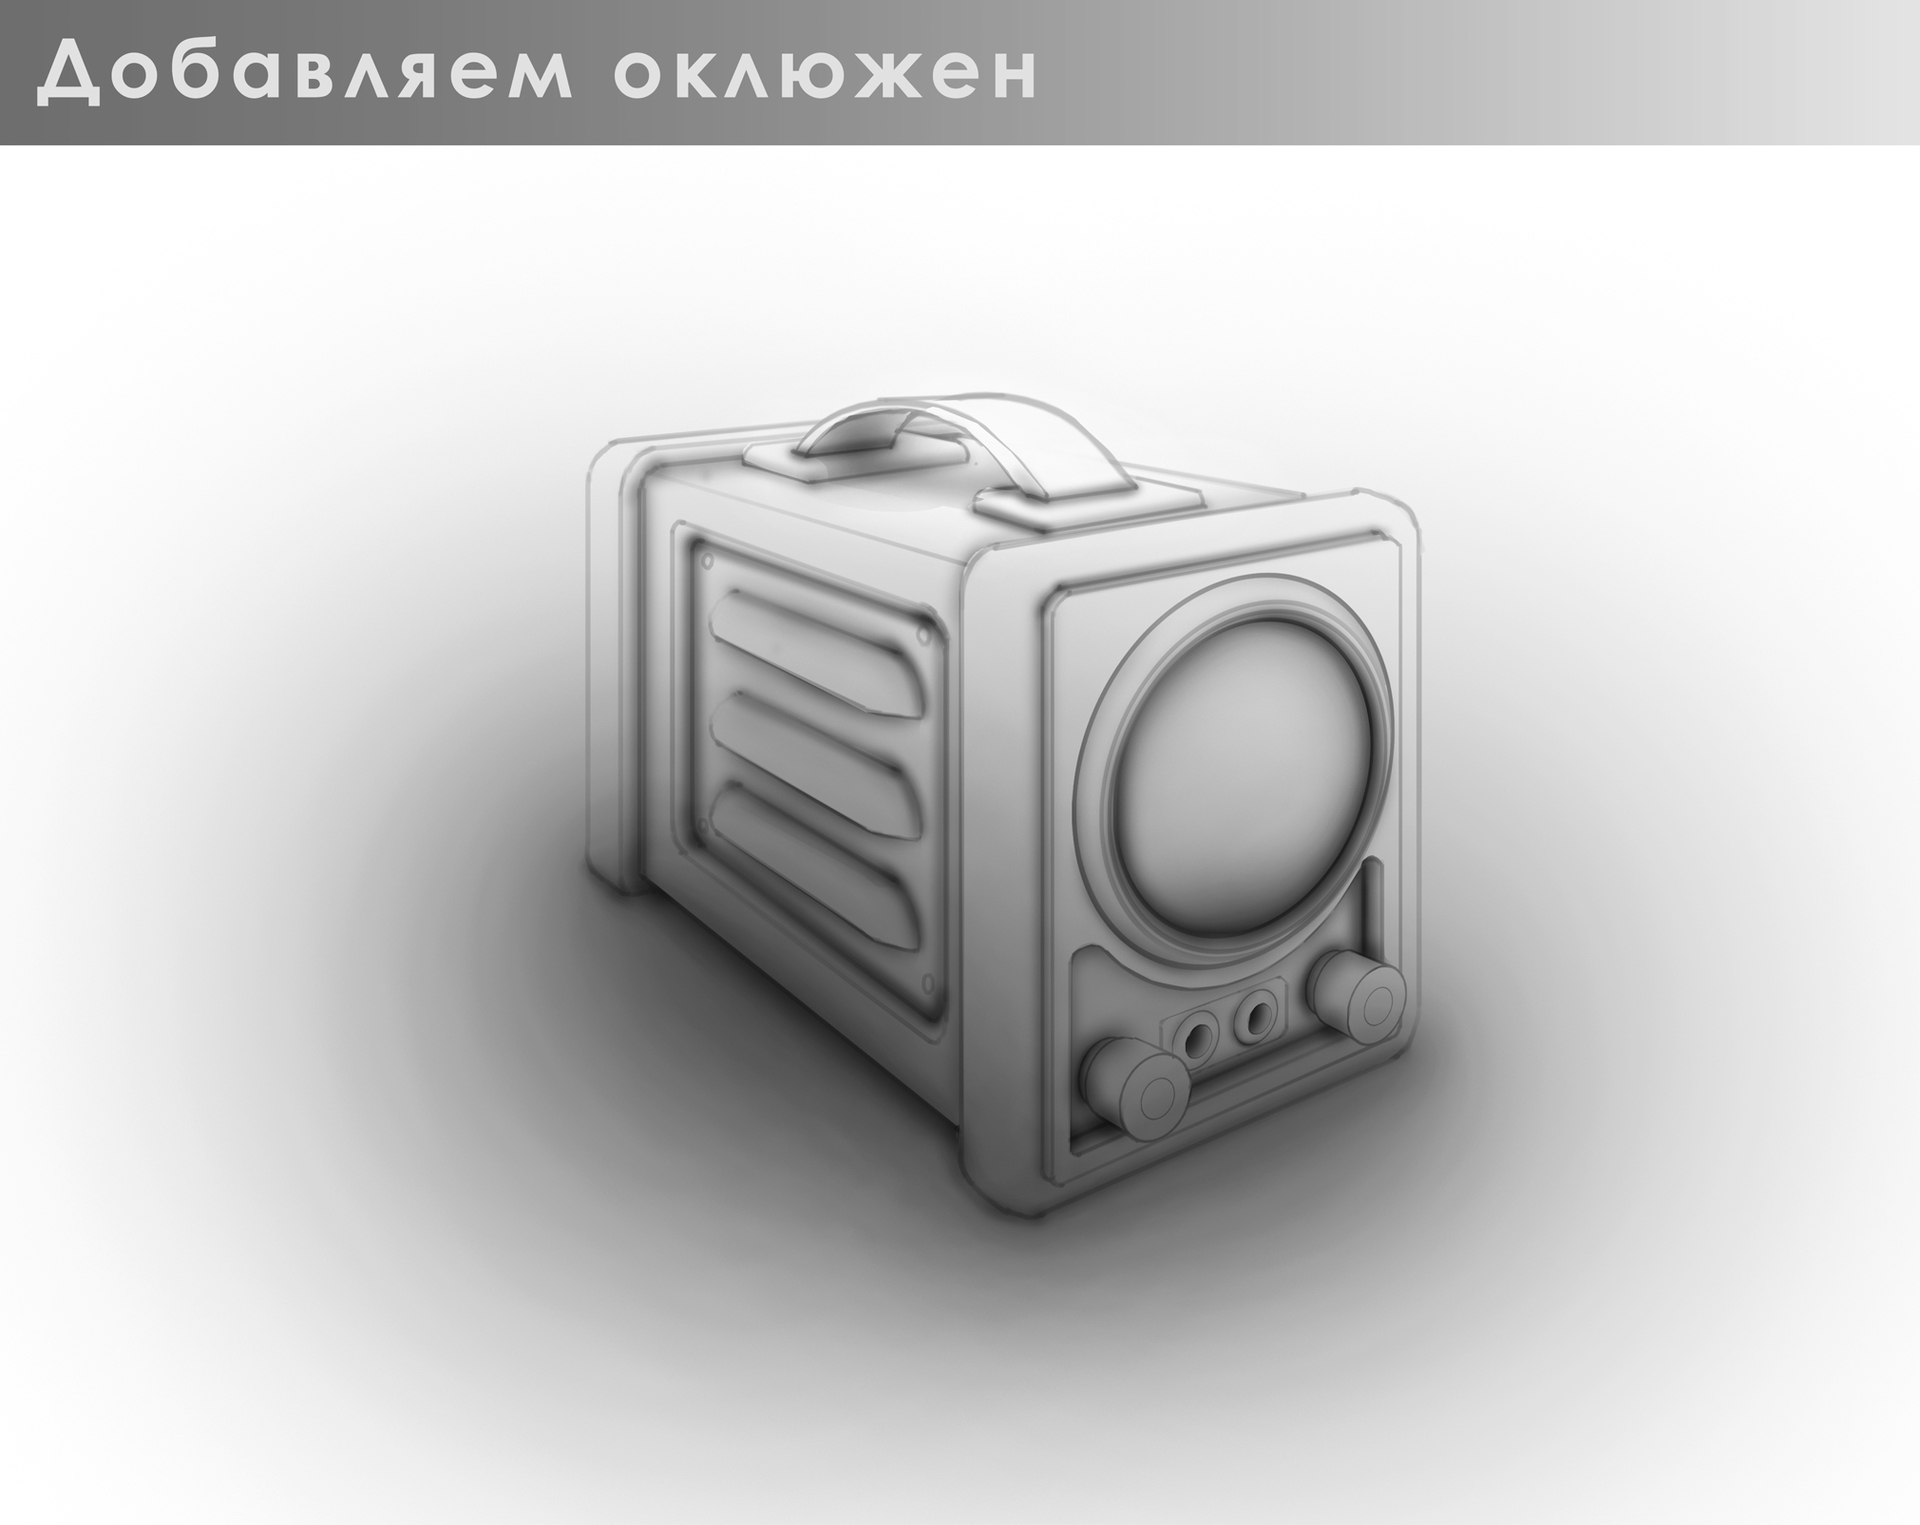
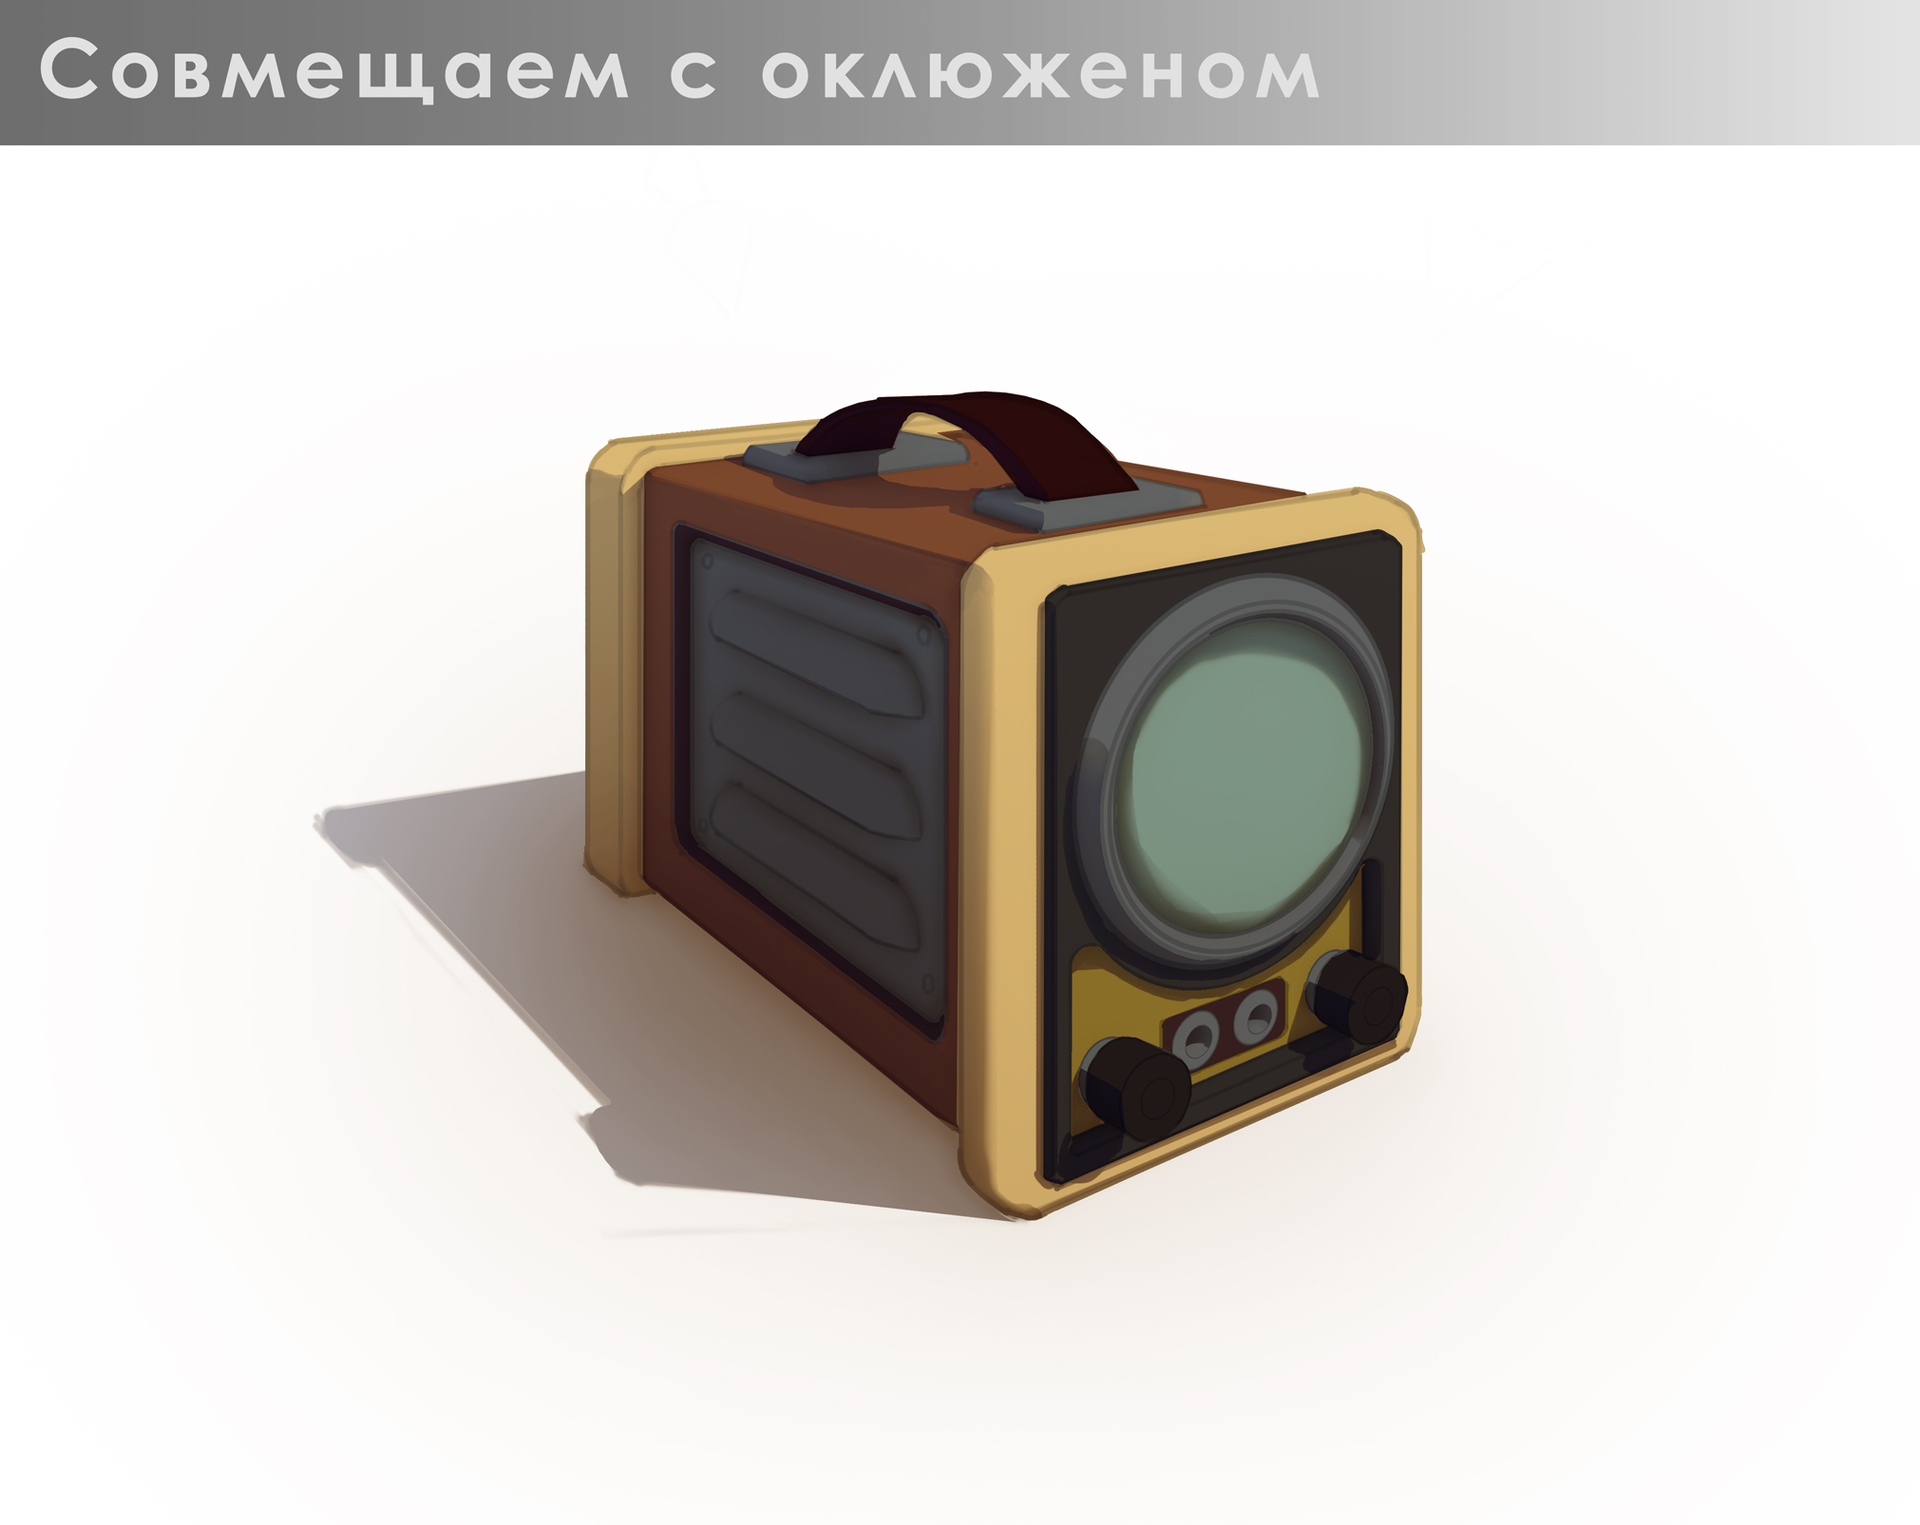
Next we add an enclosed. Occlusion is the shadow of ambient light. Our world around us is designed so that the scattered light is always present when there is at least one light source. We see it around us all our lives, and we can read it regardless of whether we know about its existence or not, and whether we understand the principles by which it works. Adding enclosed in a drawing helps to achieve a better volume transfer.
The next step is the color. When choosing colors for individual parts of an object, you need to ensure that they look good together. There are no bad or good colors, it all depends on the combinations chosen.
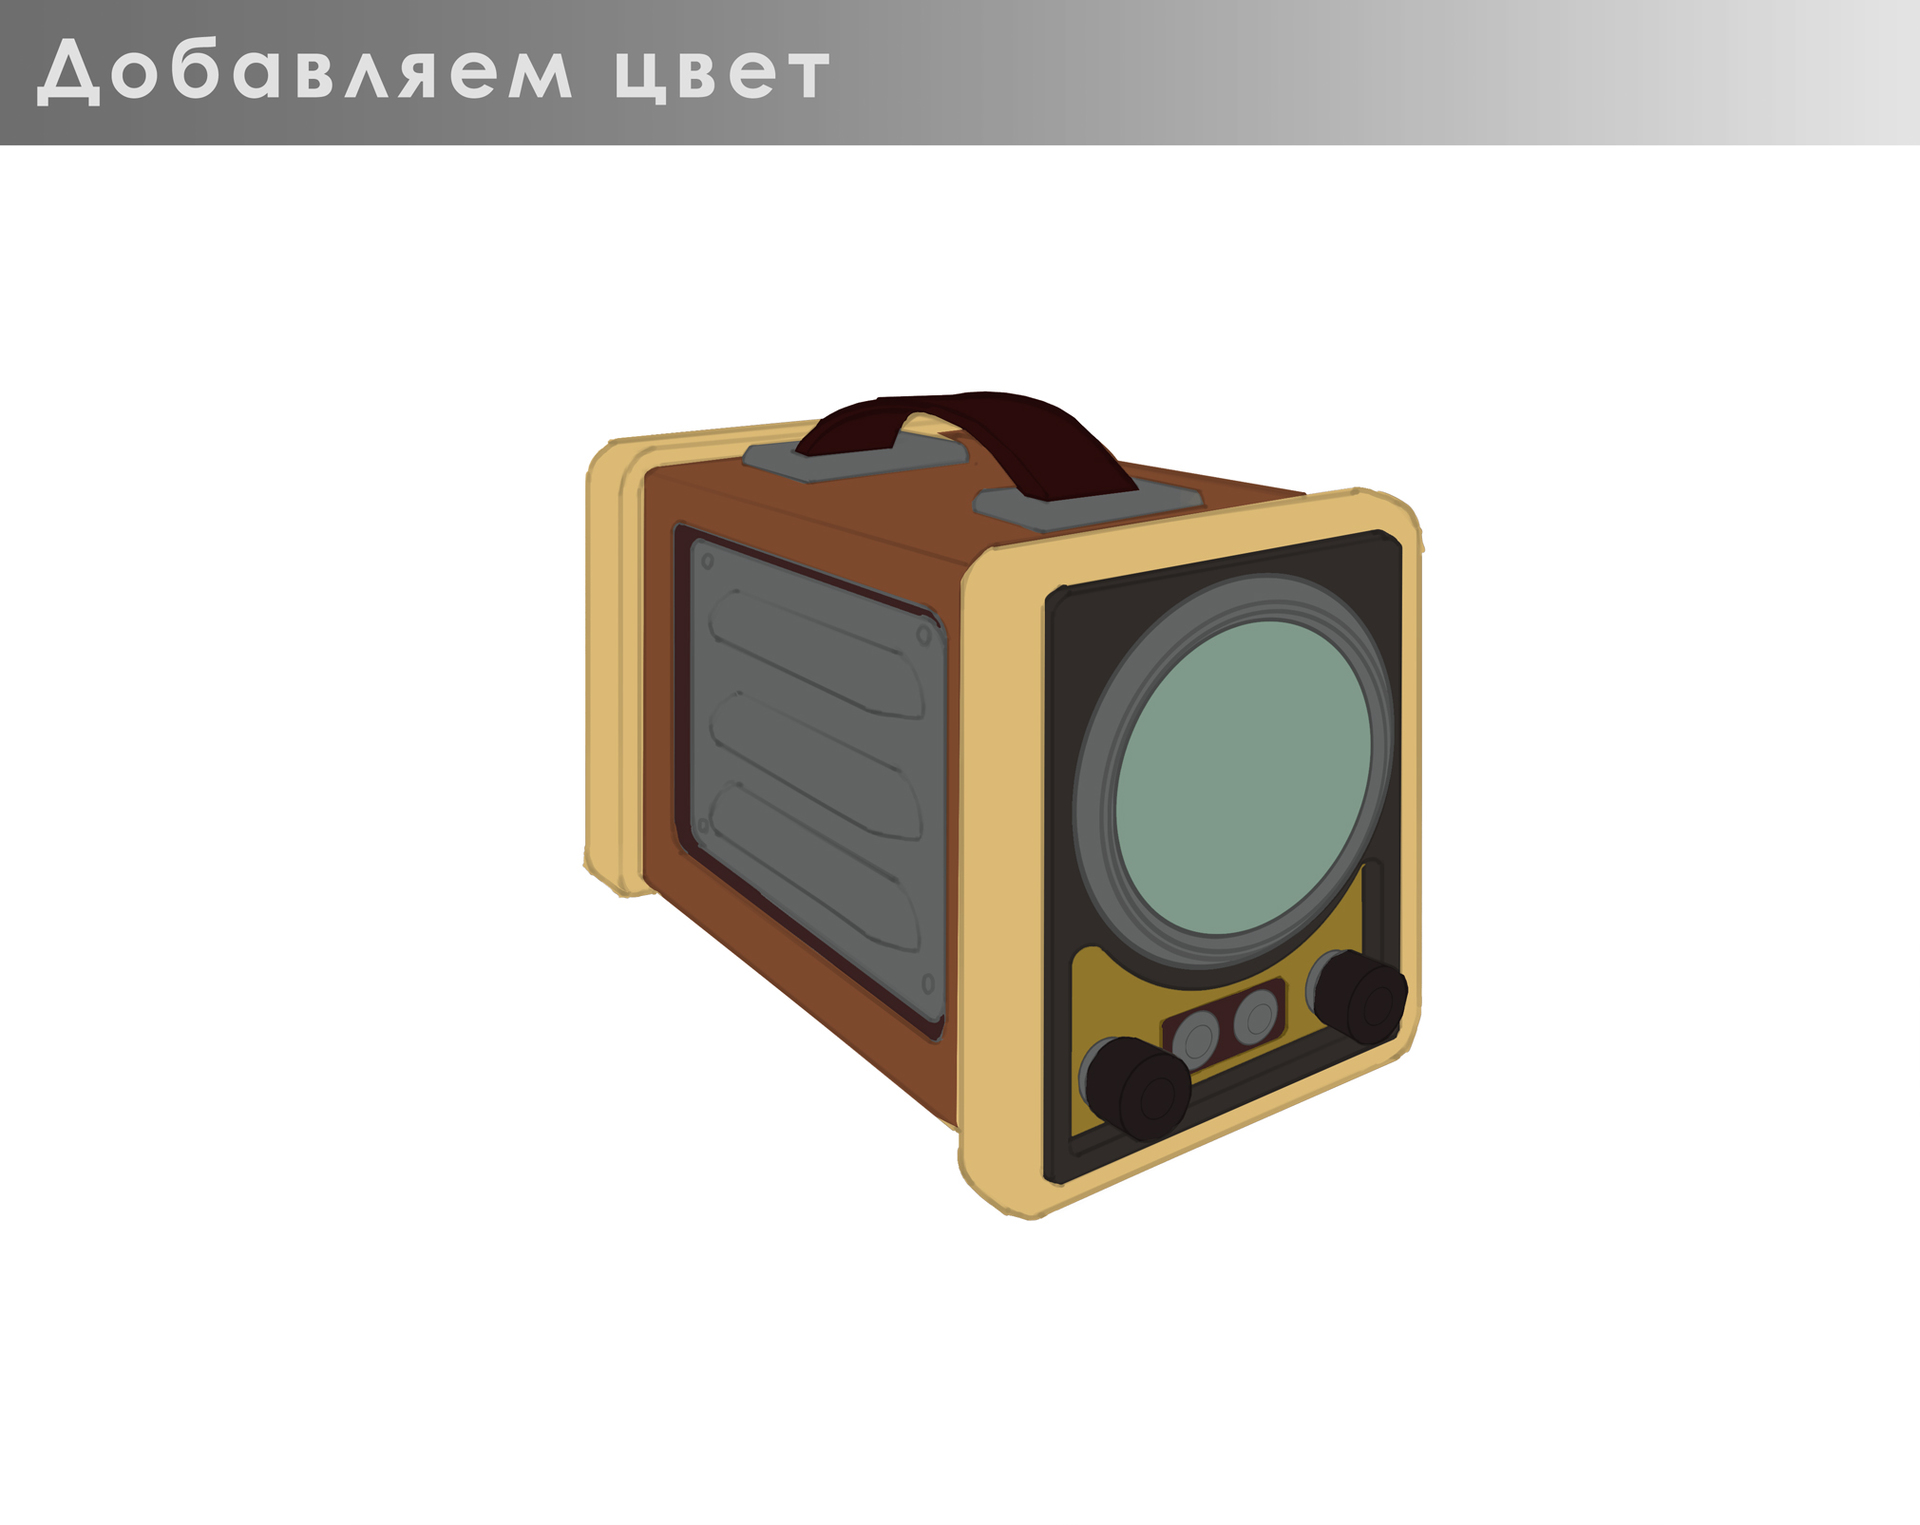
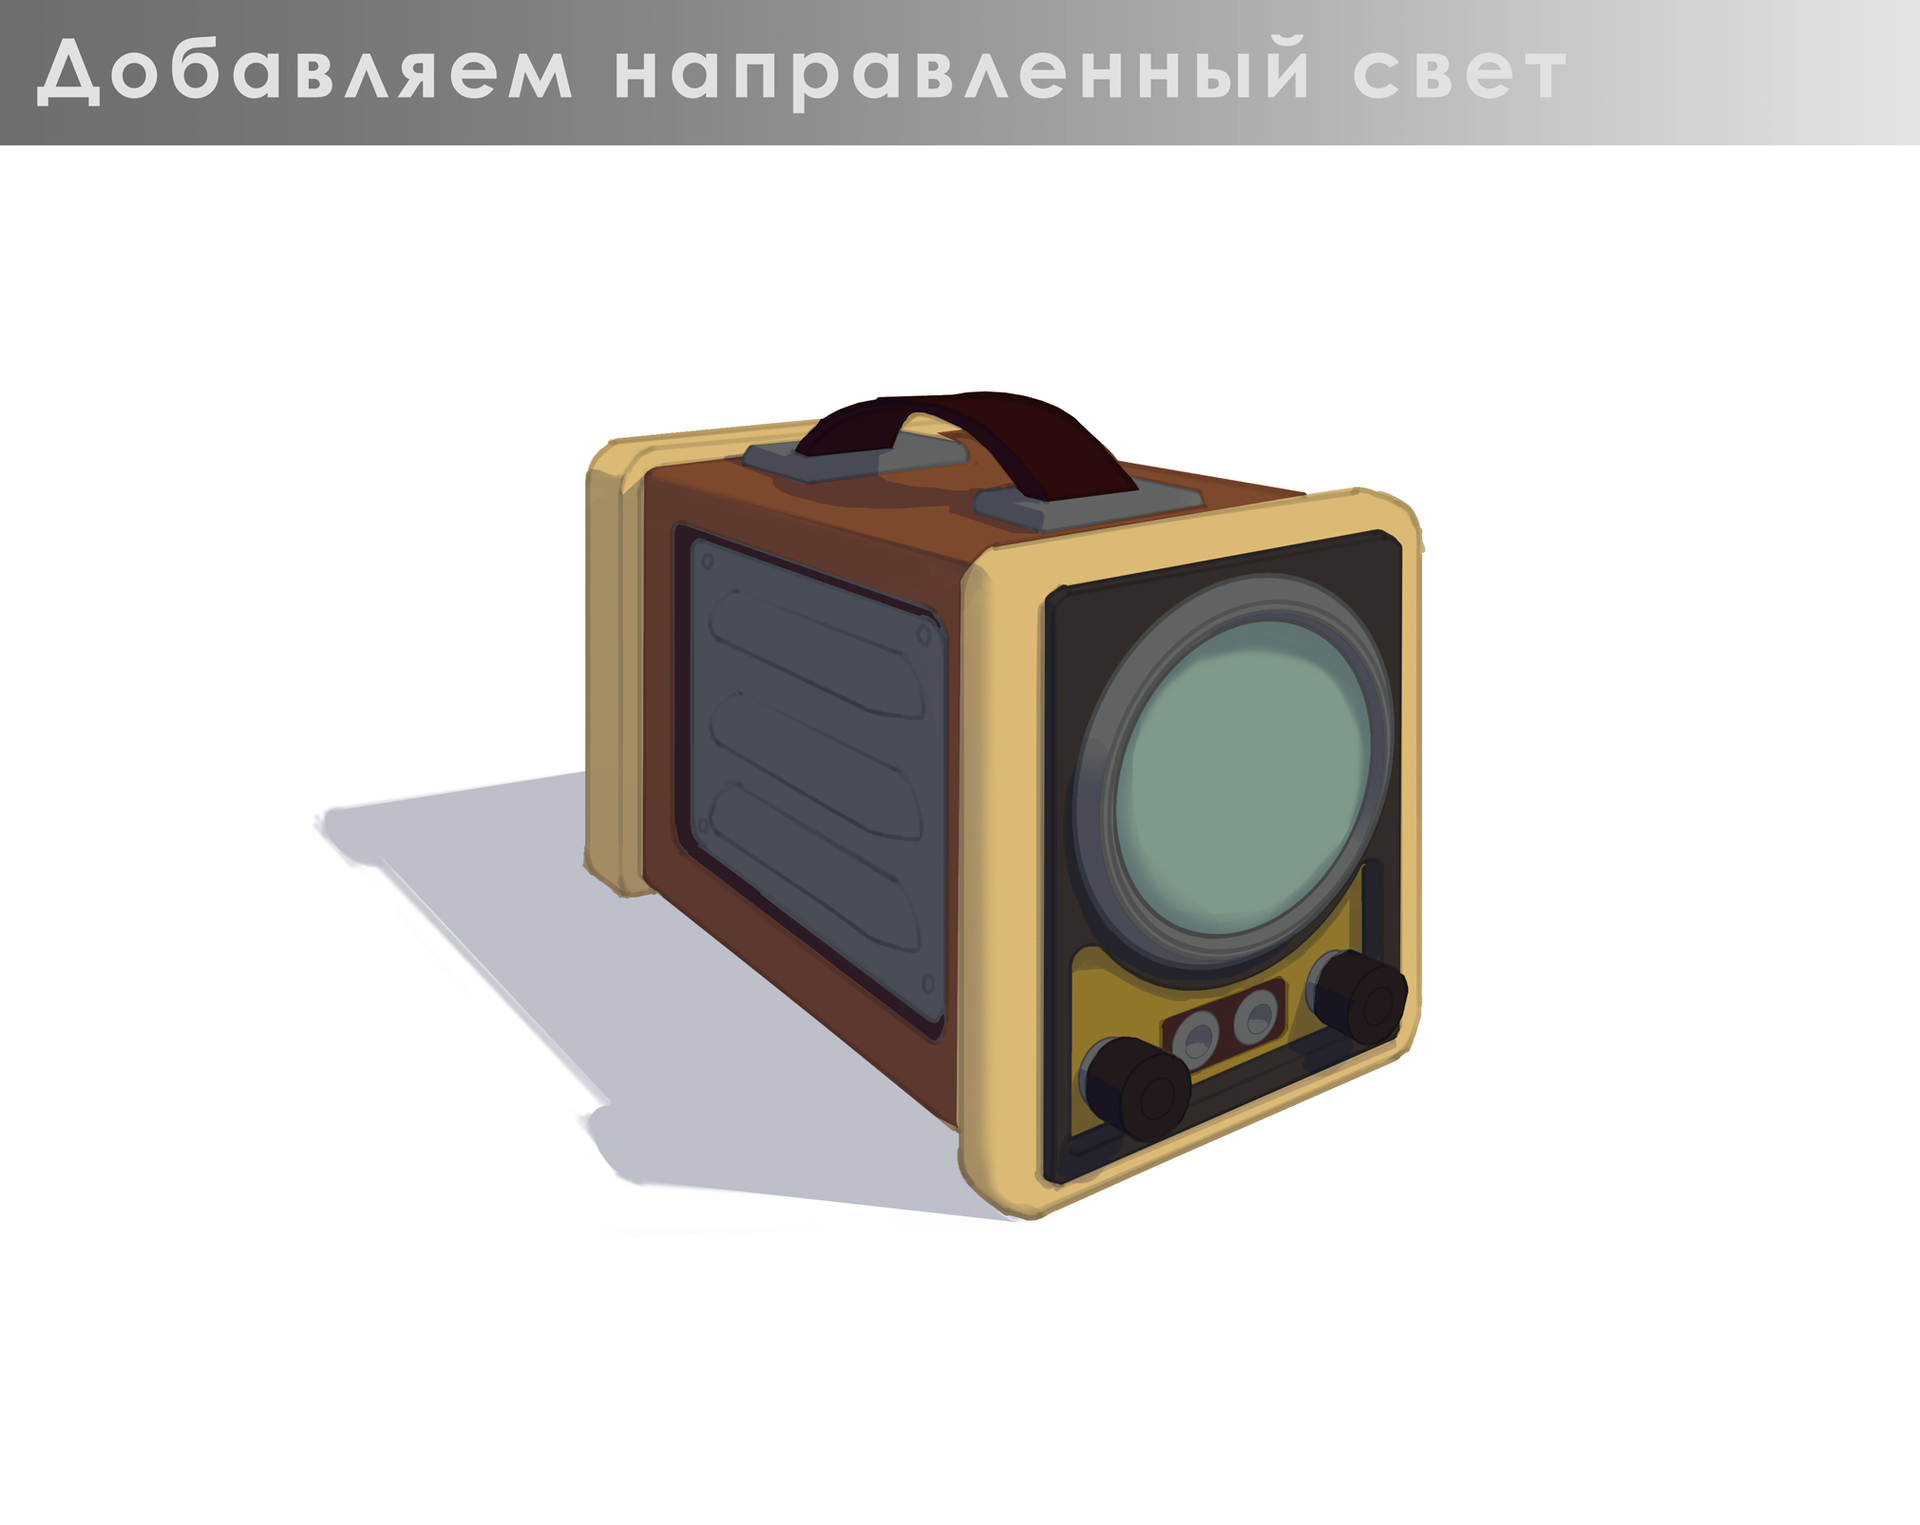
In a separate layer, draw all your own and falling shadows of the parts and the whole object as a whole.
Adjust the intensity of the enclosed, so that it does not black out our oscilloscope.
We show the influence of sunlight and add reflexes from the surrounding space.
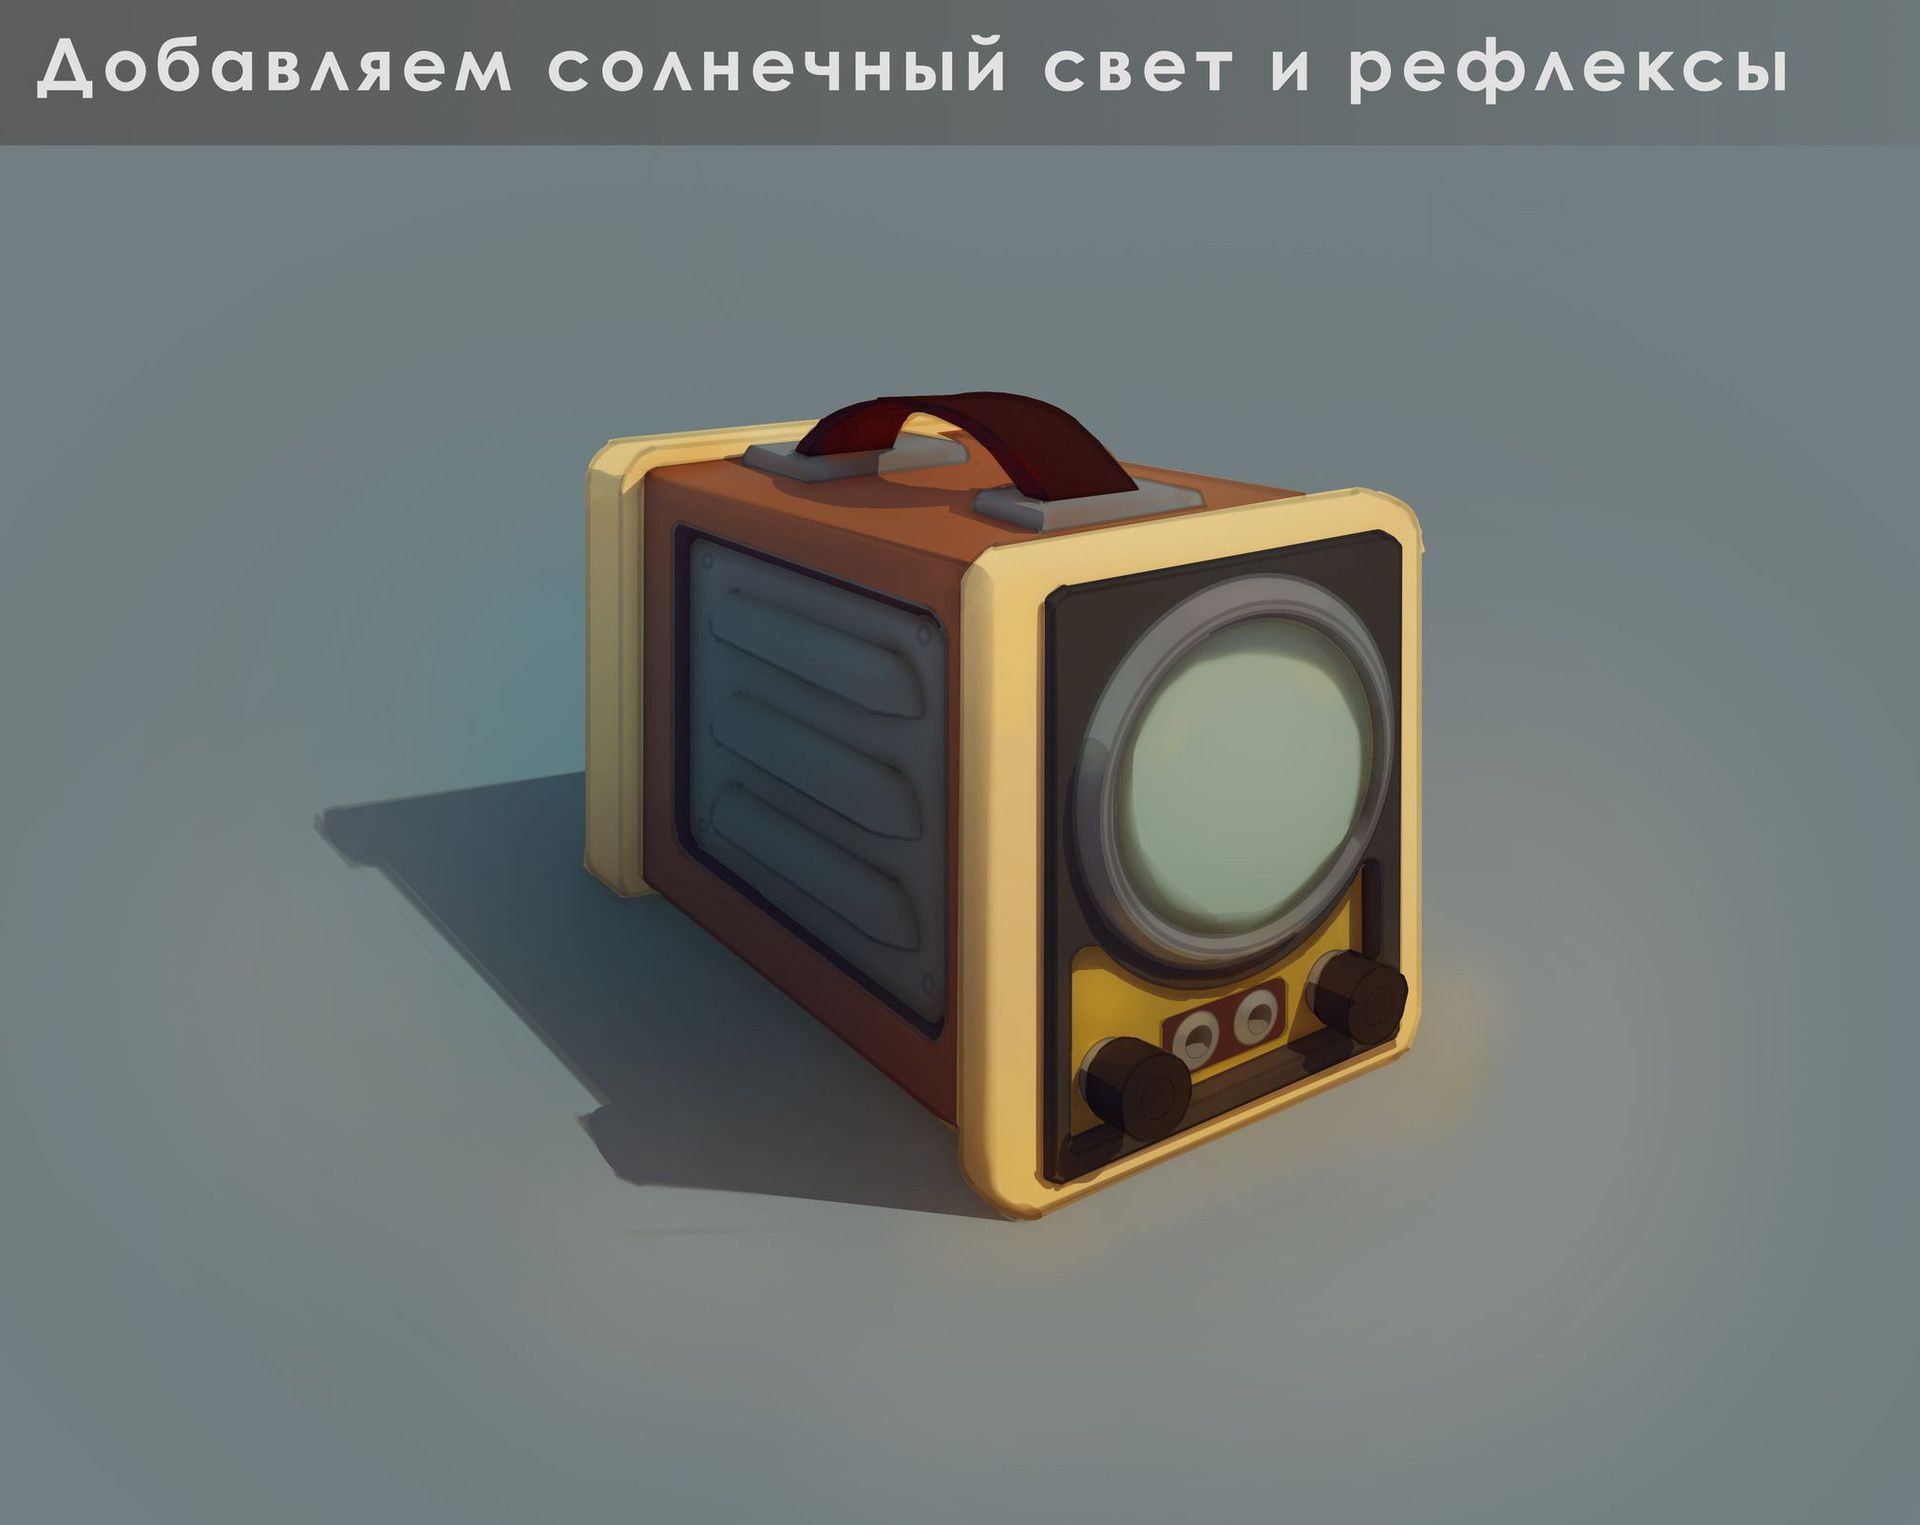
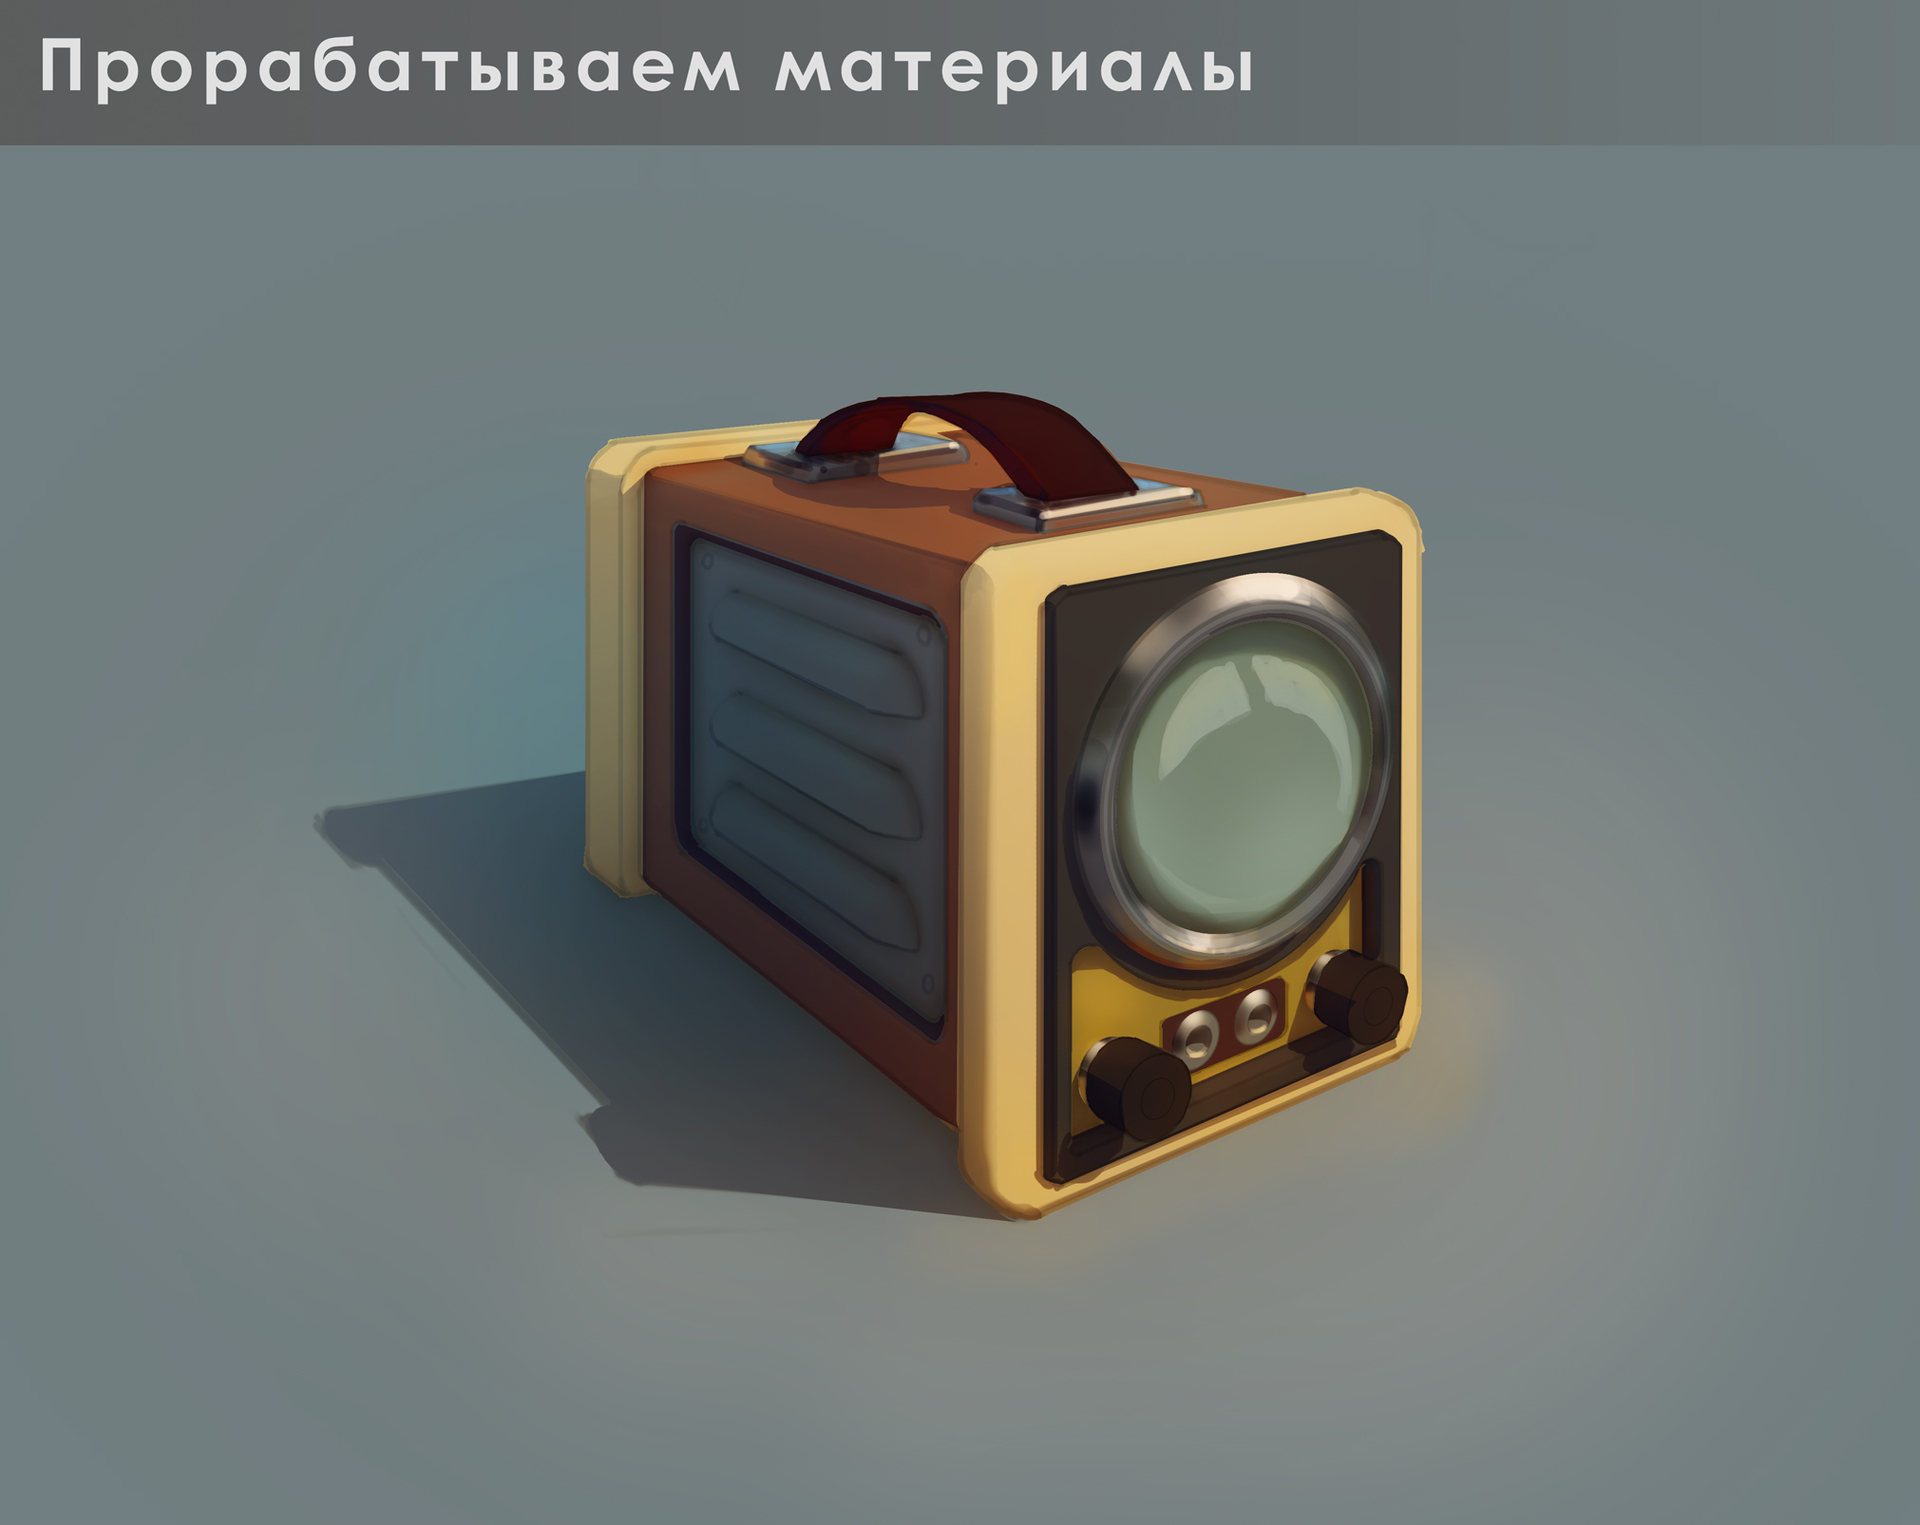
At this stage, our task is to show the difference in the properties of materials. Some of them reflect light well, some, on the contrary, absorb it. Some parts have smooth surfaces, while others have rough surfaces. All this should be reflected in their appearance.

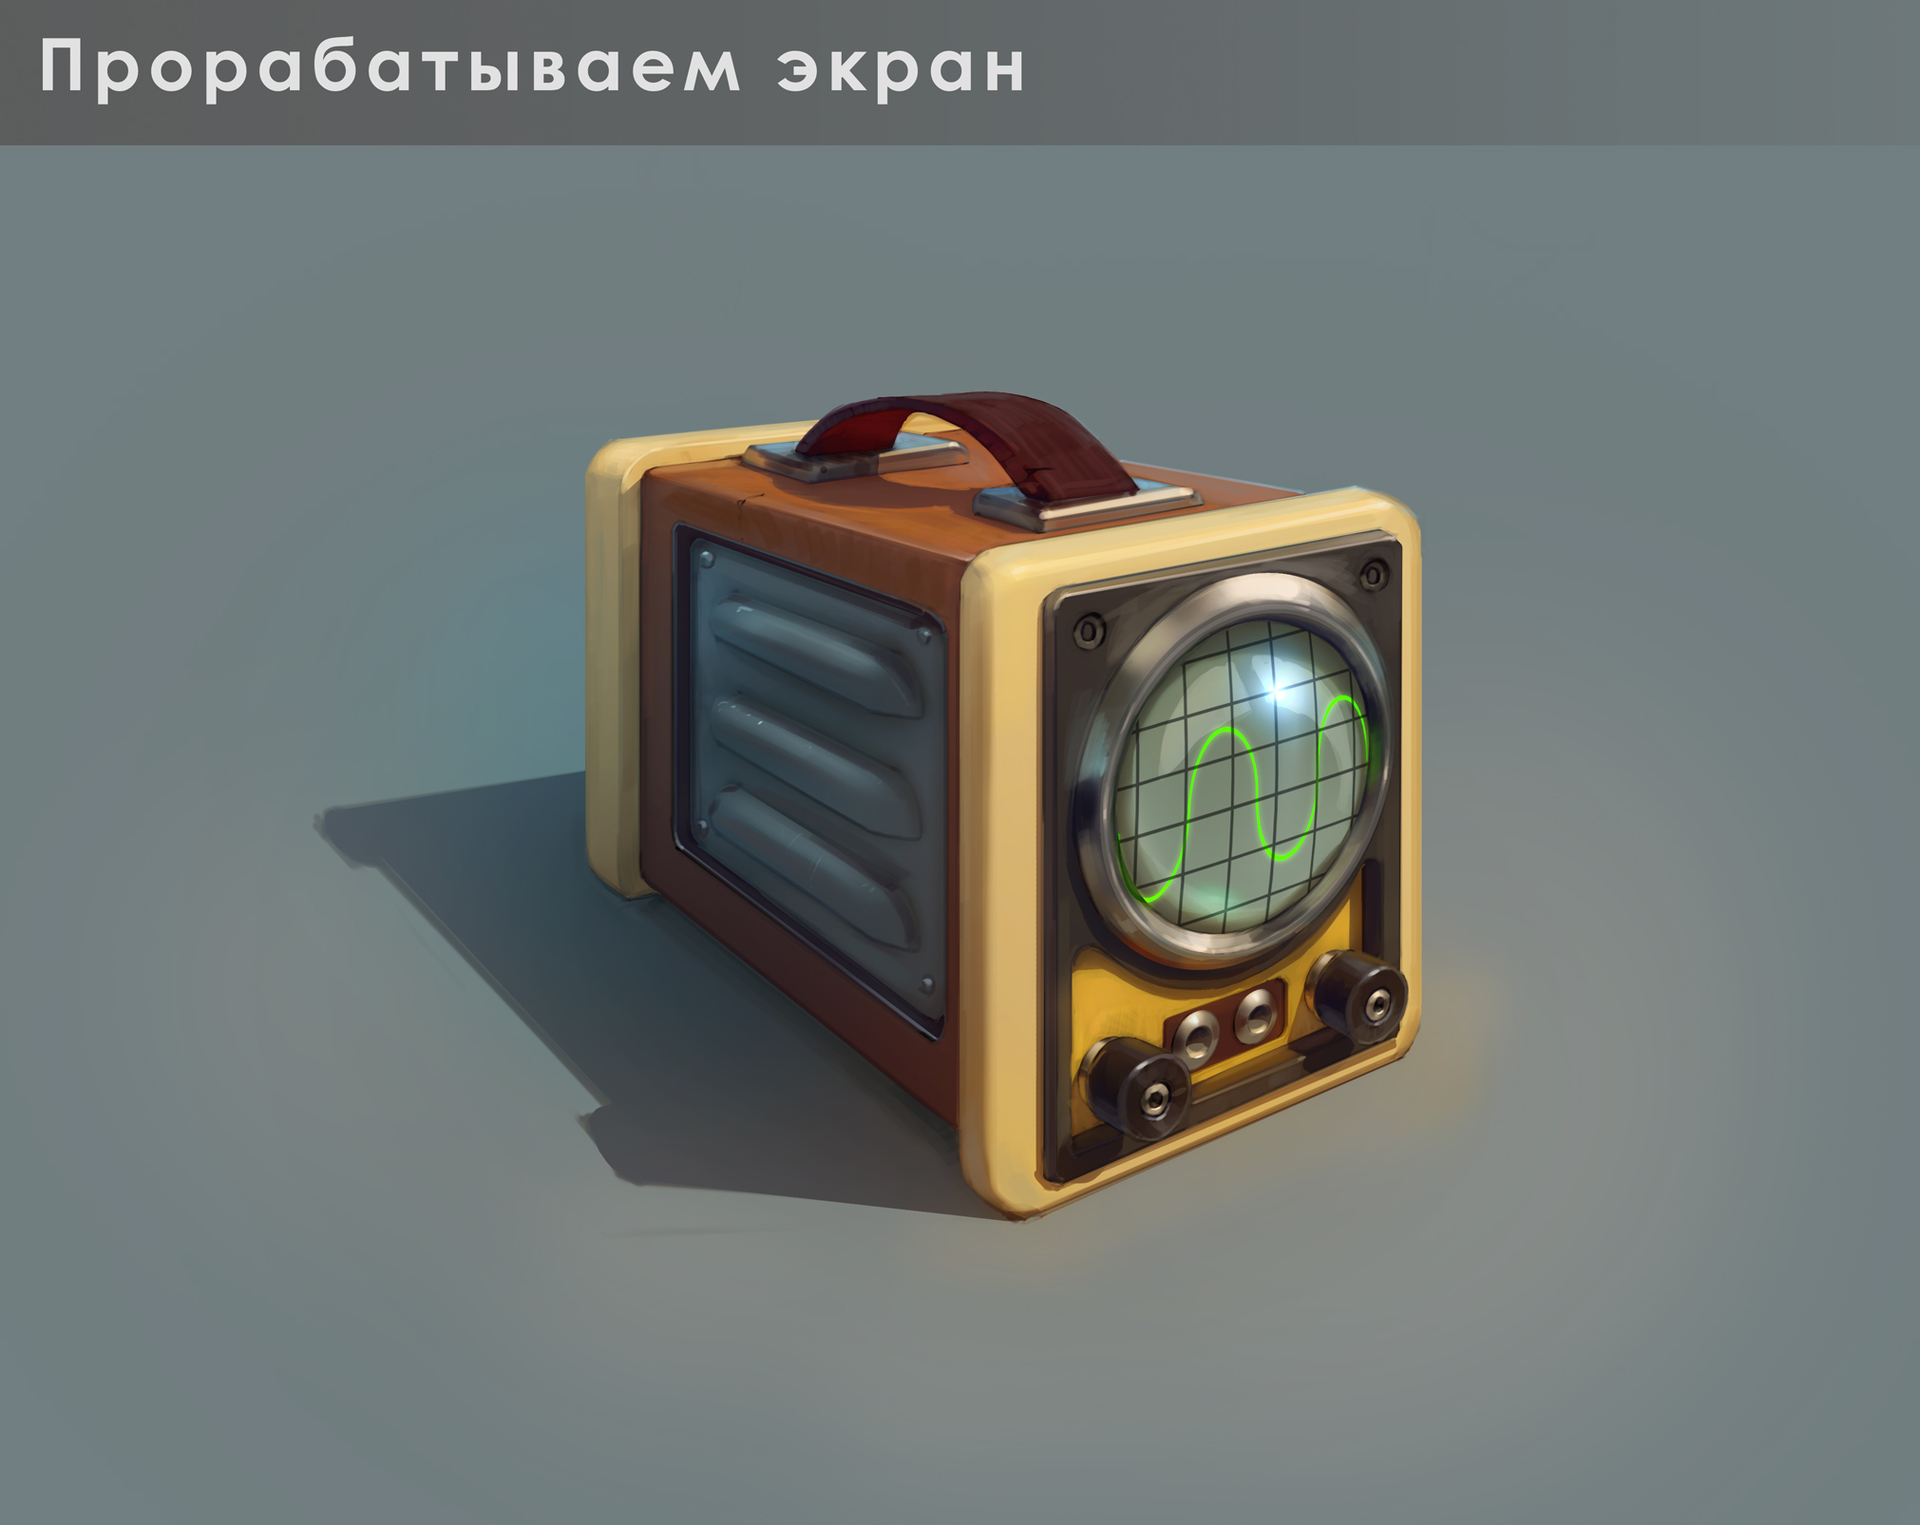
Add the markup to the screen and the trace of the beam.
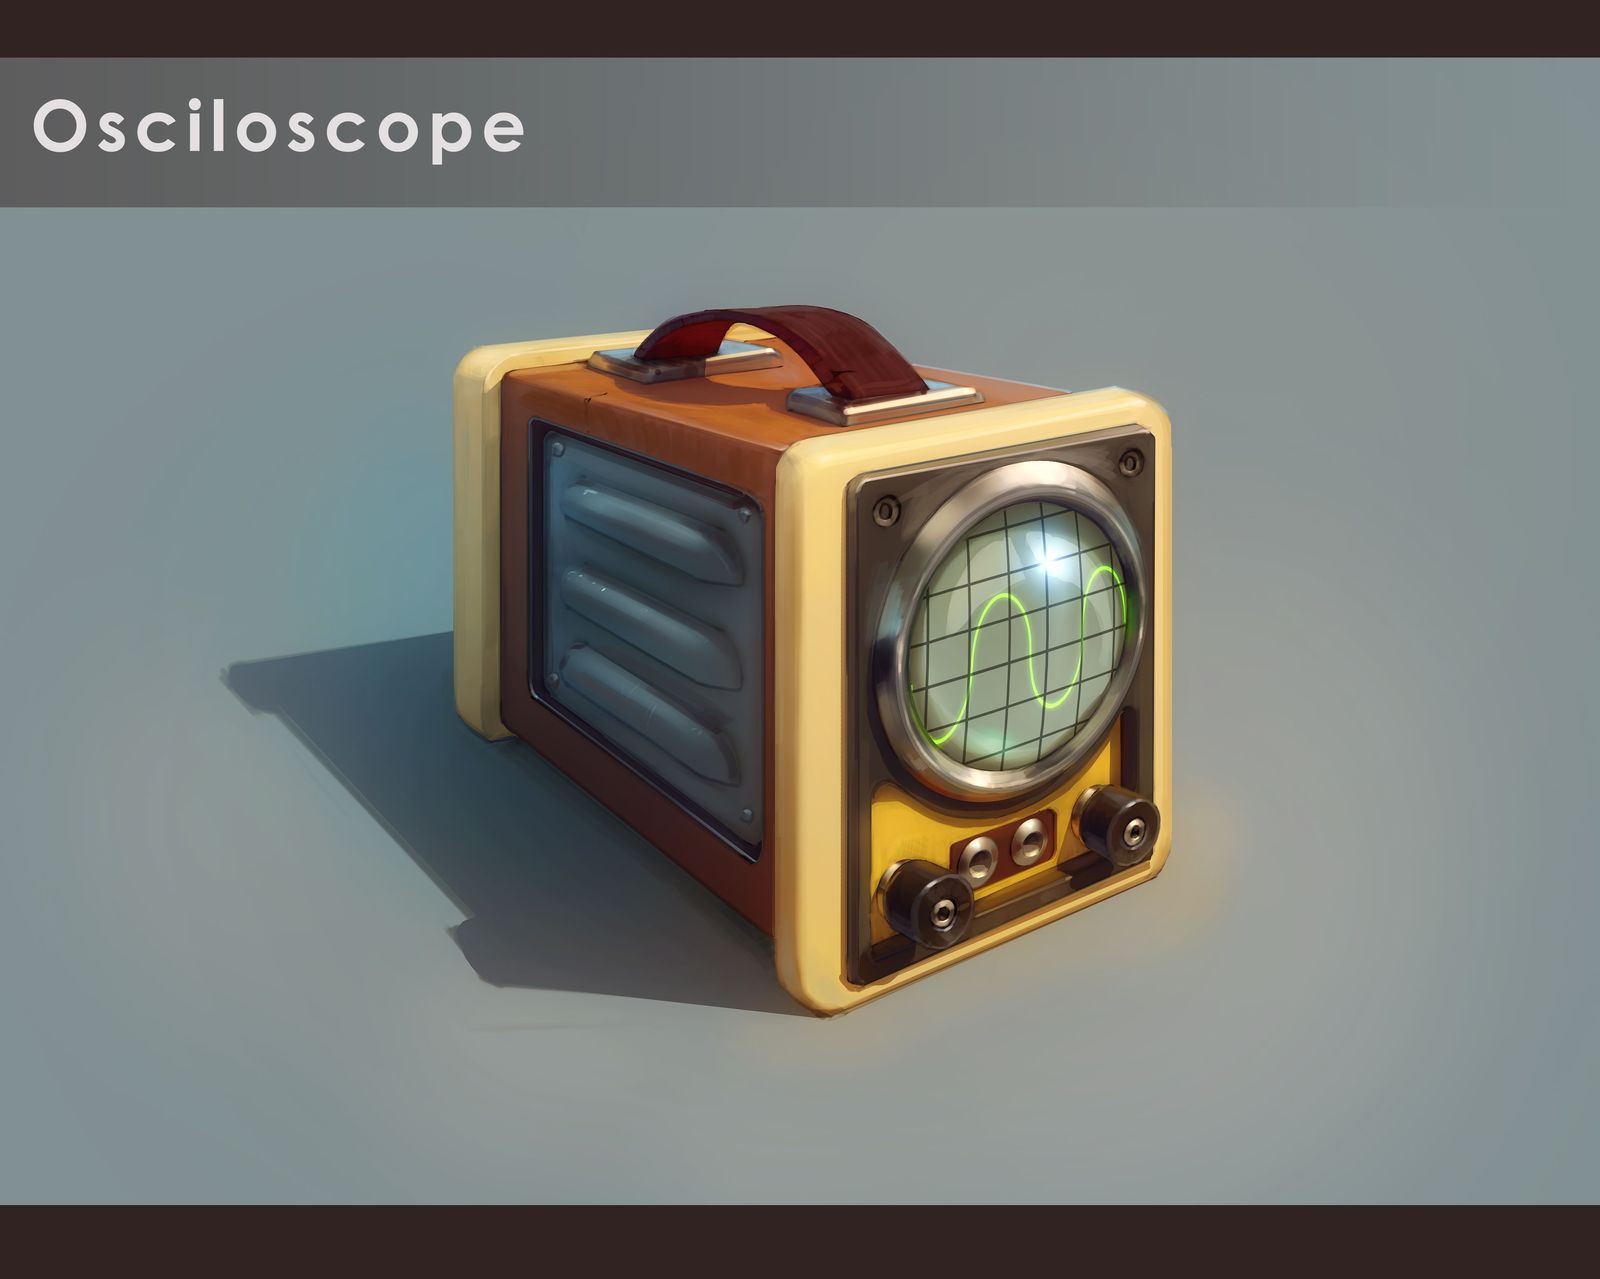
At the post-processing stage, we add sharpness and slightly adjust the colors.

Done!
Here you will find the complete lecture entry:
Using 3D packages
As you can see, the 2D editor was used to create this image. This is more than enough to image such a simple object. However, when it comes to complex scenes, the illustrator faces a number of difficult tasks, one of which is building the right perspective and lighting. In such a situation, the best solution is to use a bunch of 2D and 3D editors. As a 2D editor, I use the “industry standard” - Photoshop. And for three-dimensional modeling, I chose Zbrush and Maya for myself. The first is the most popular package for sculpturing, and the second is fairly simple to learn, but it also has serious functionality.
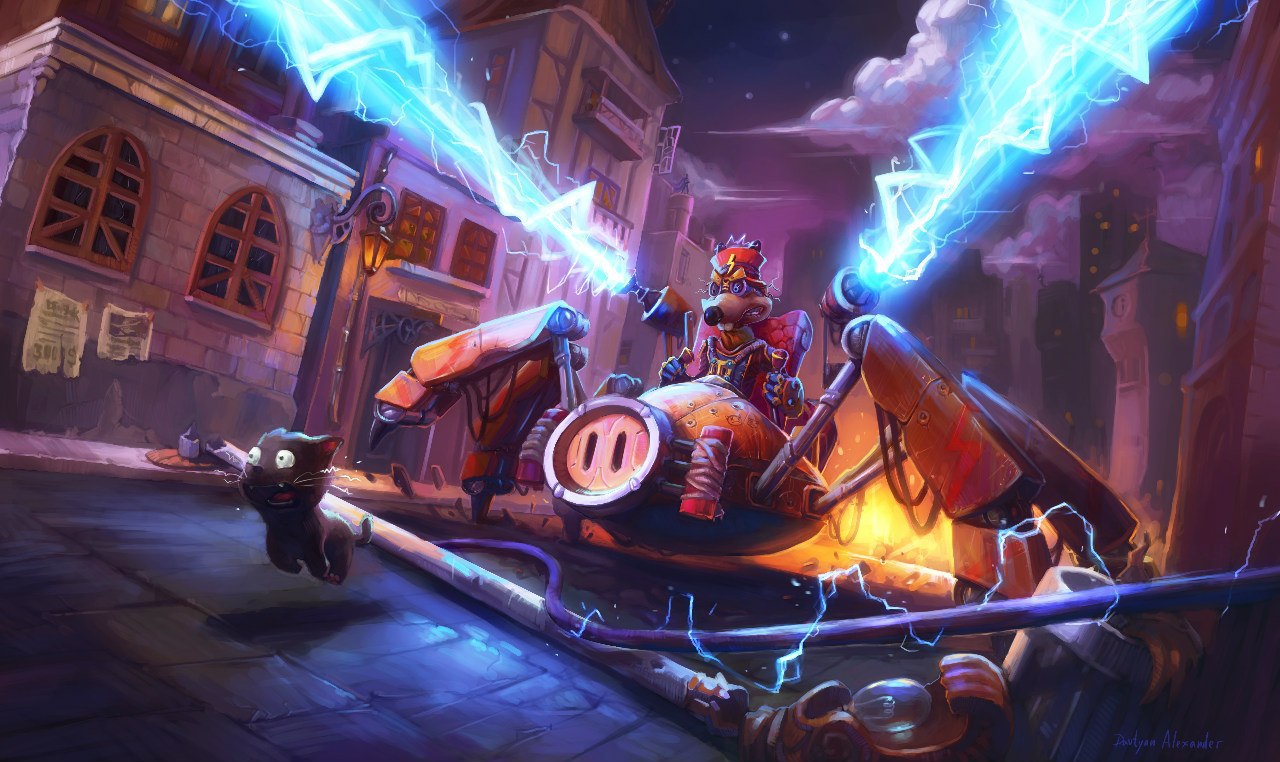
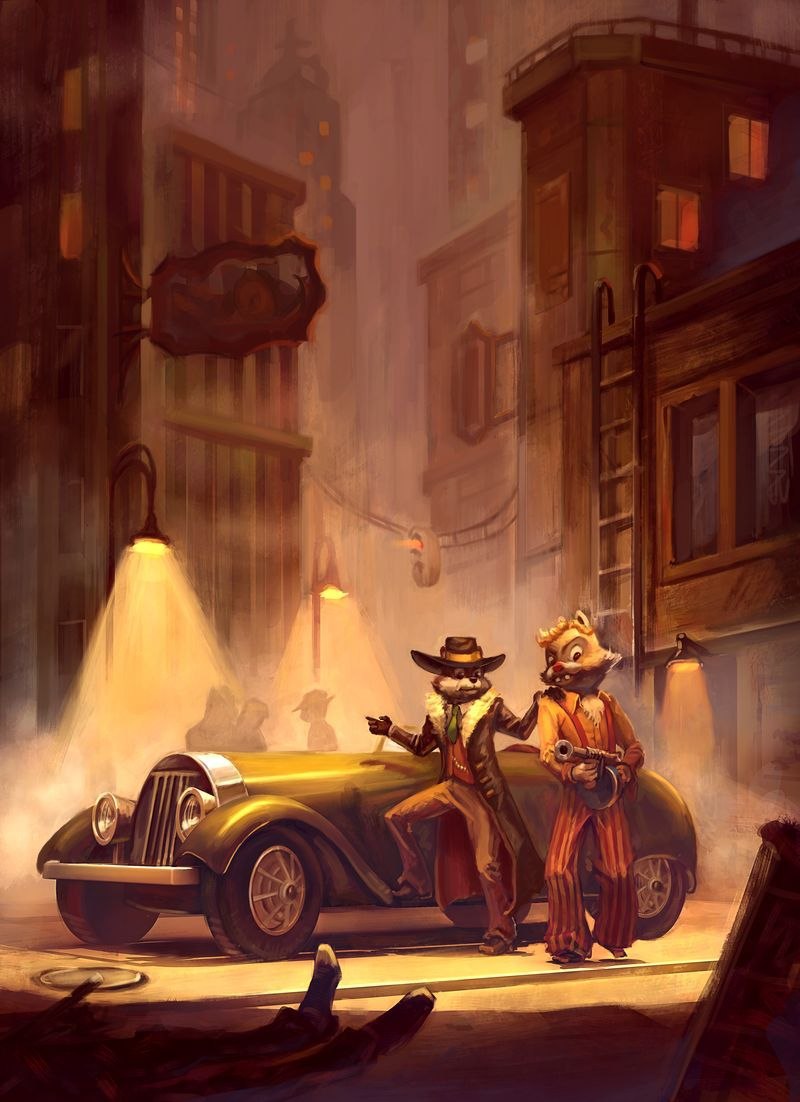
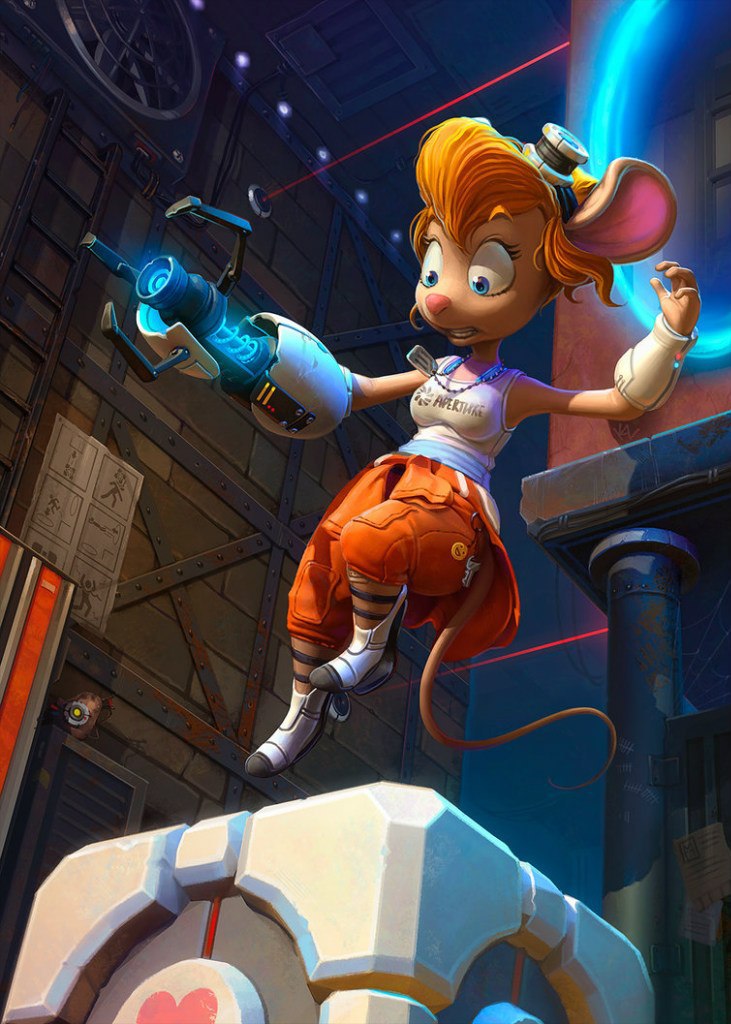
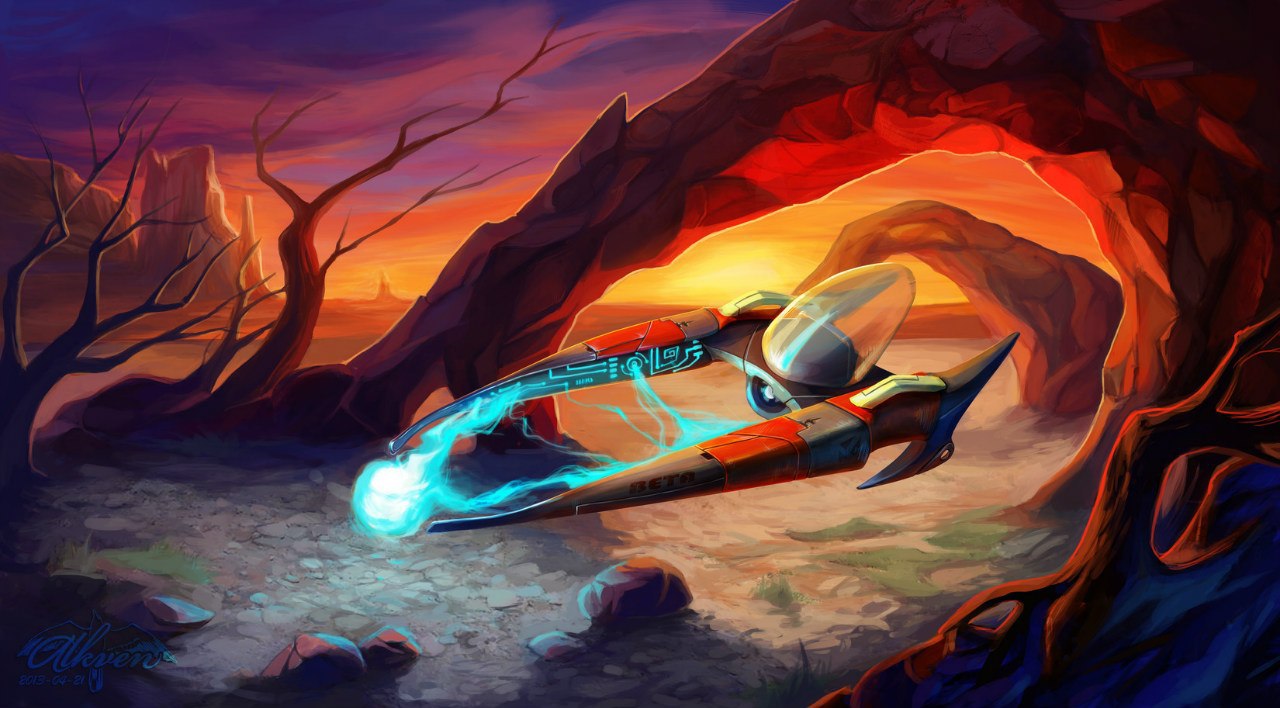
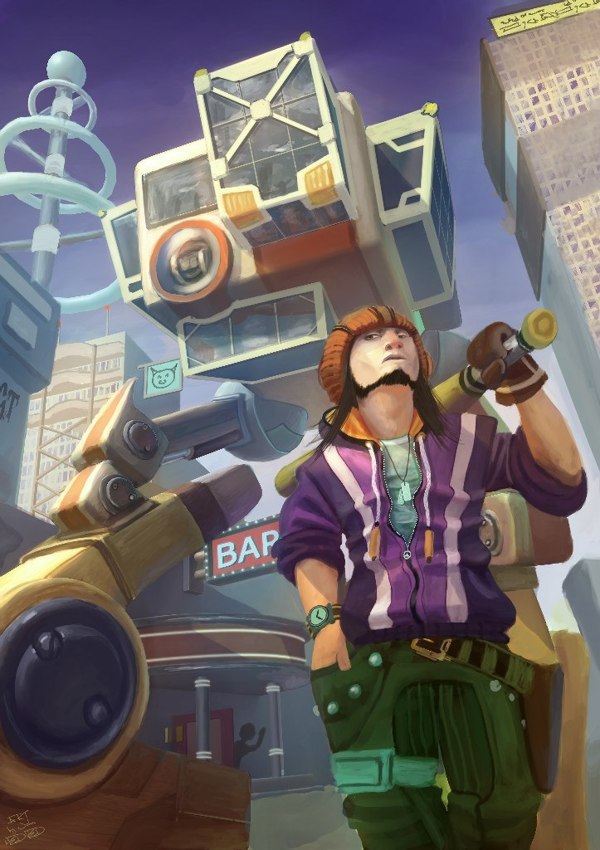
Below are the illustrations that I created using this combination of tools:
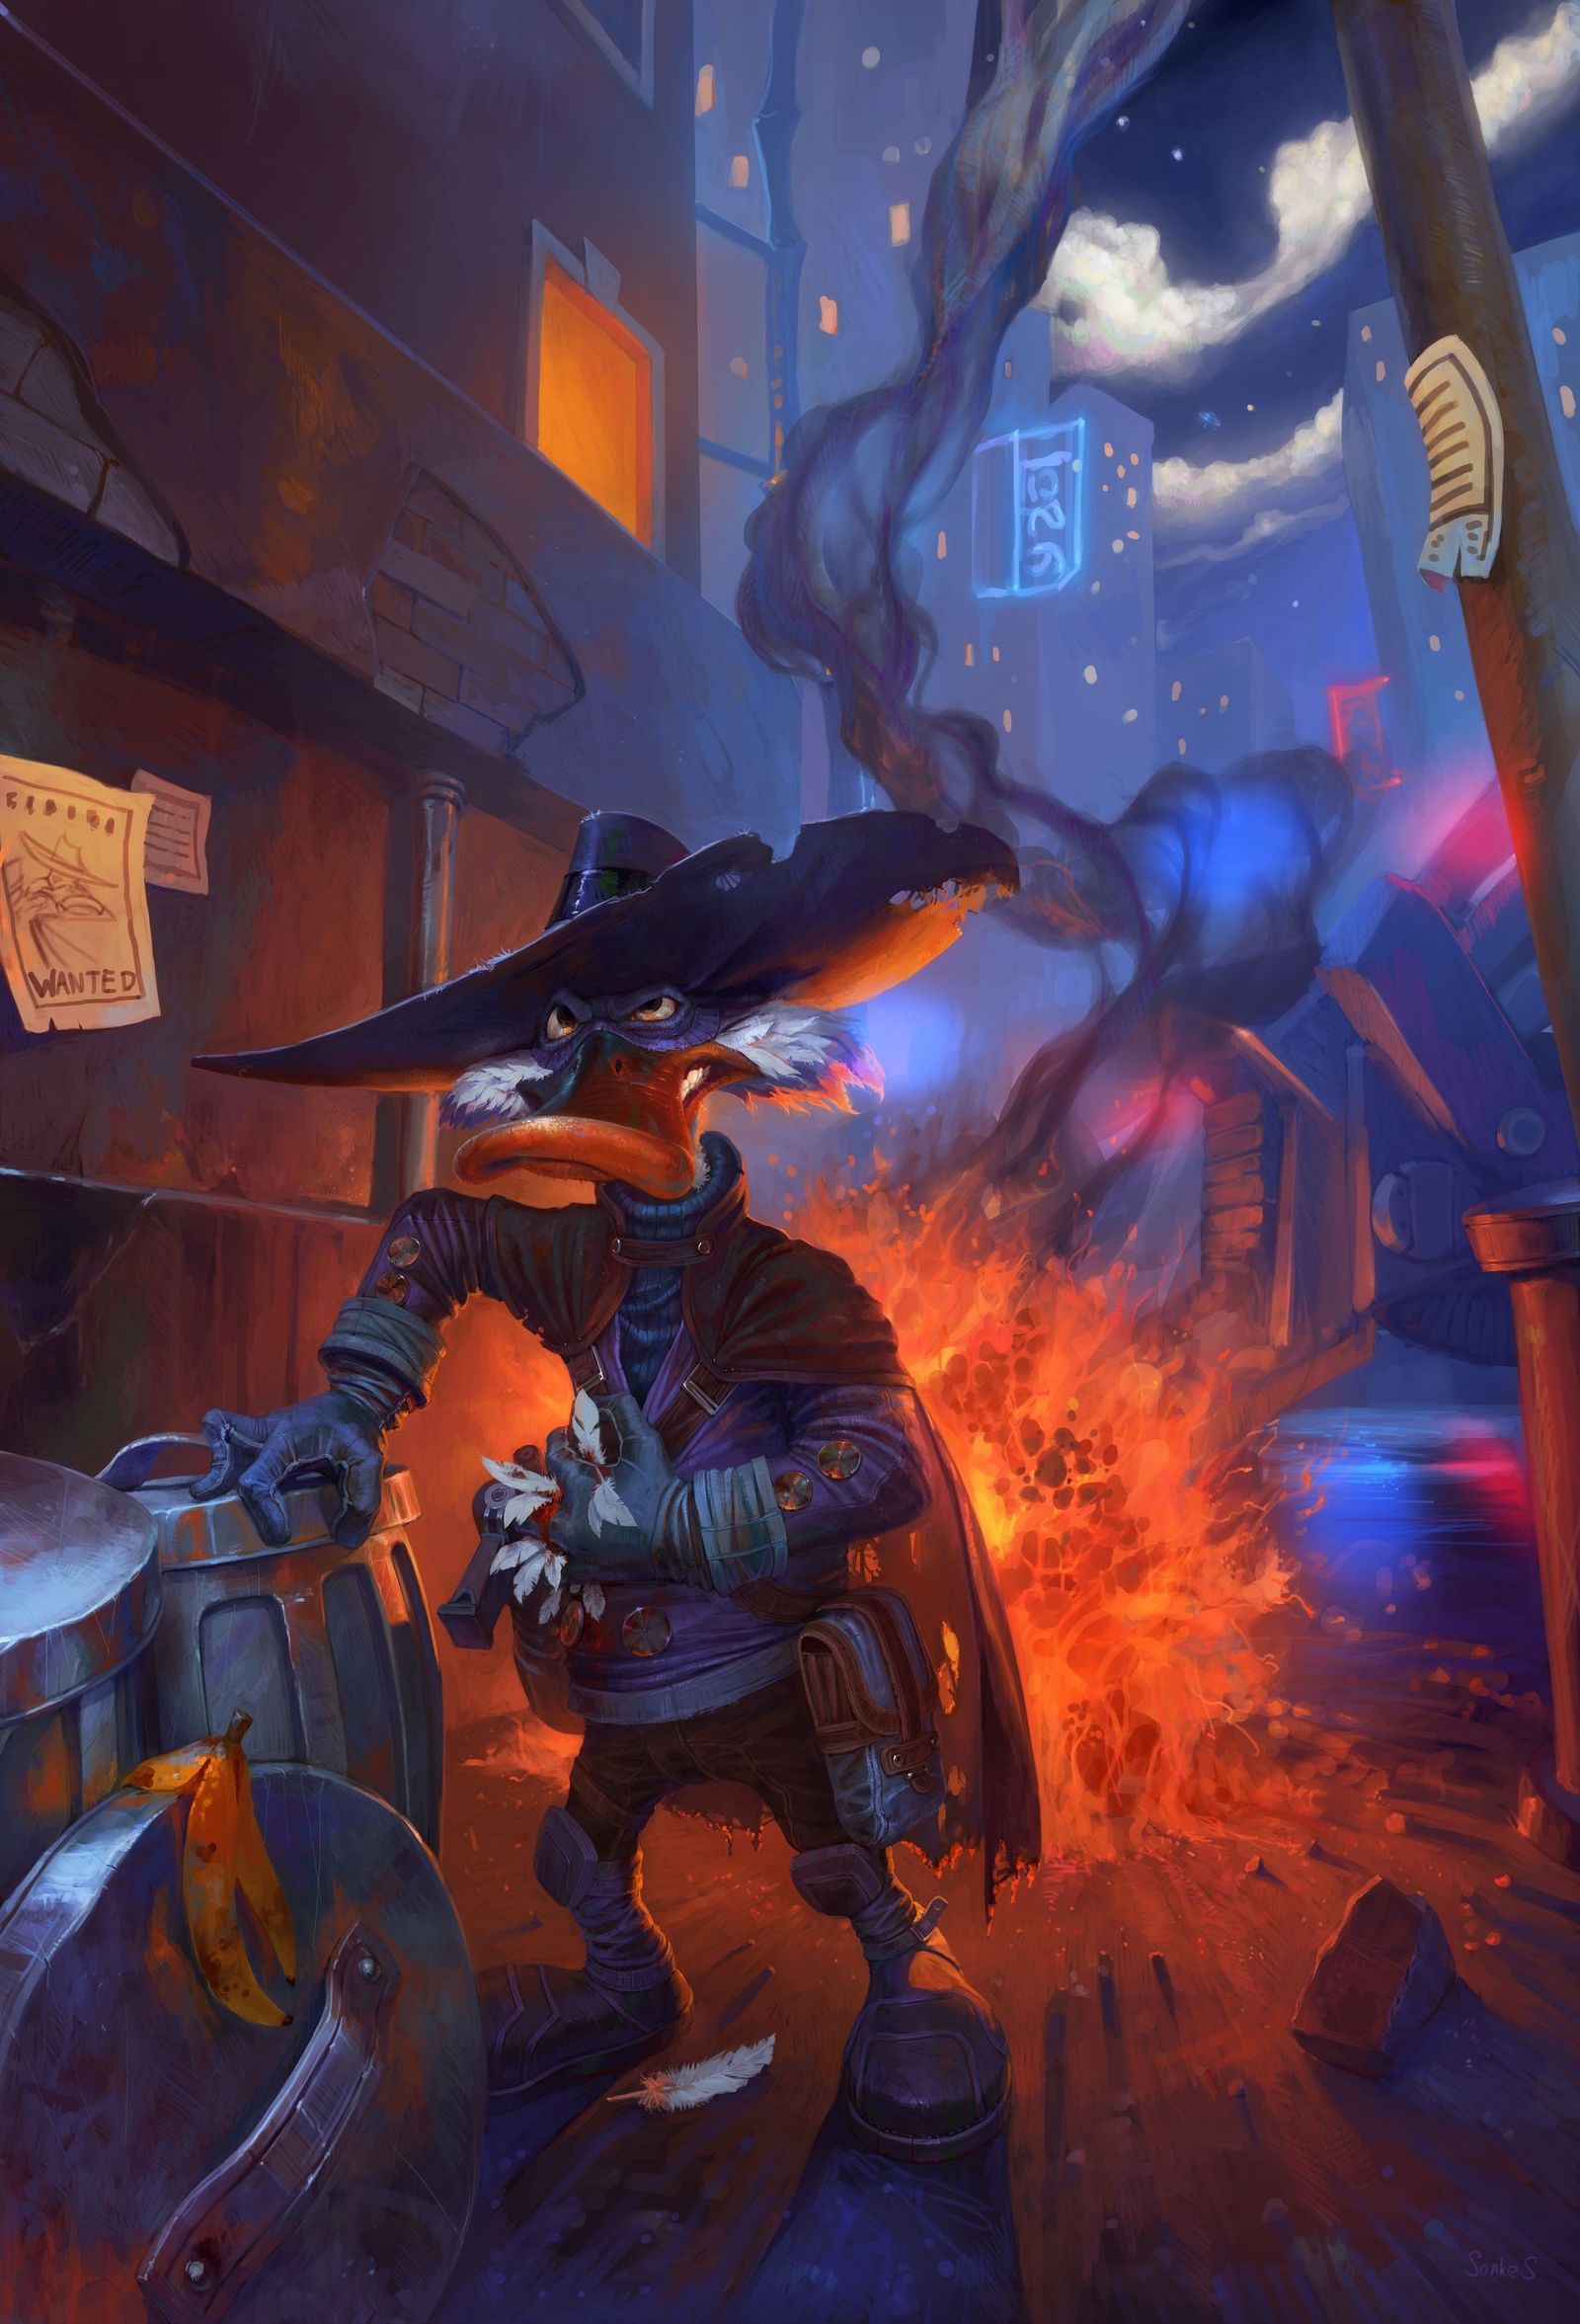

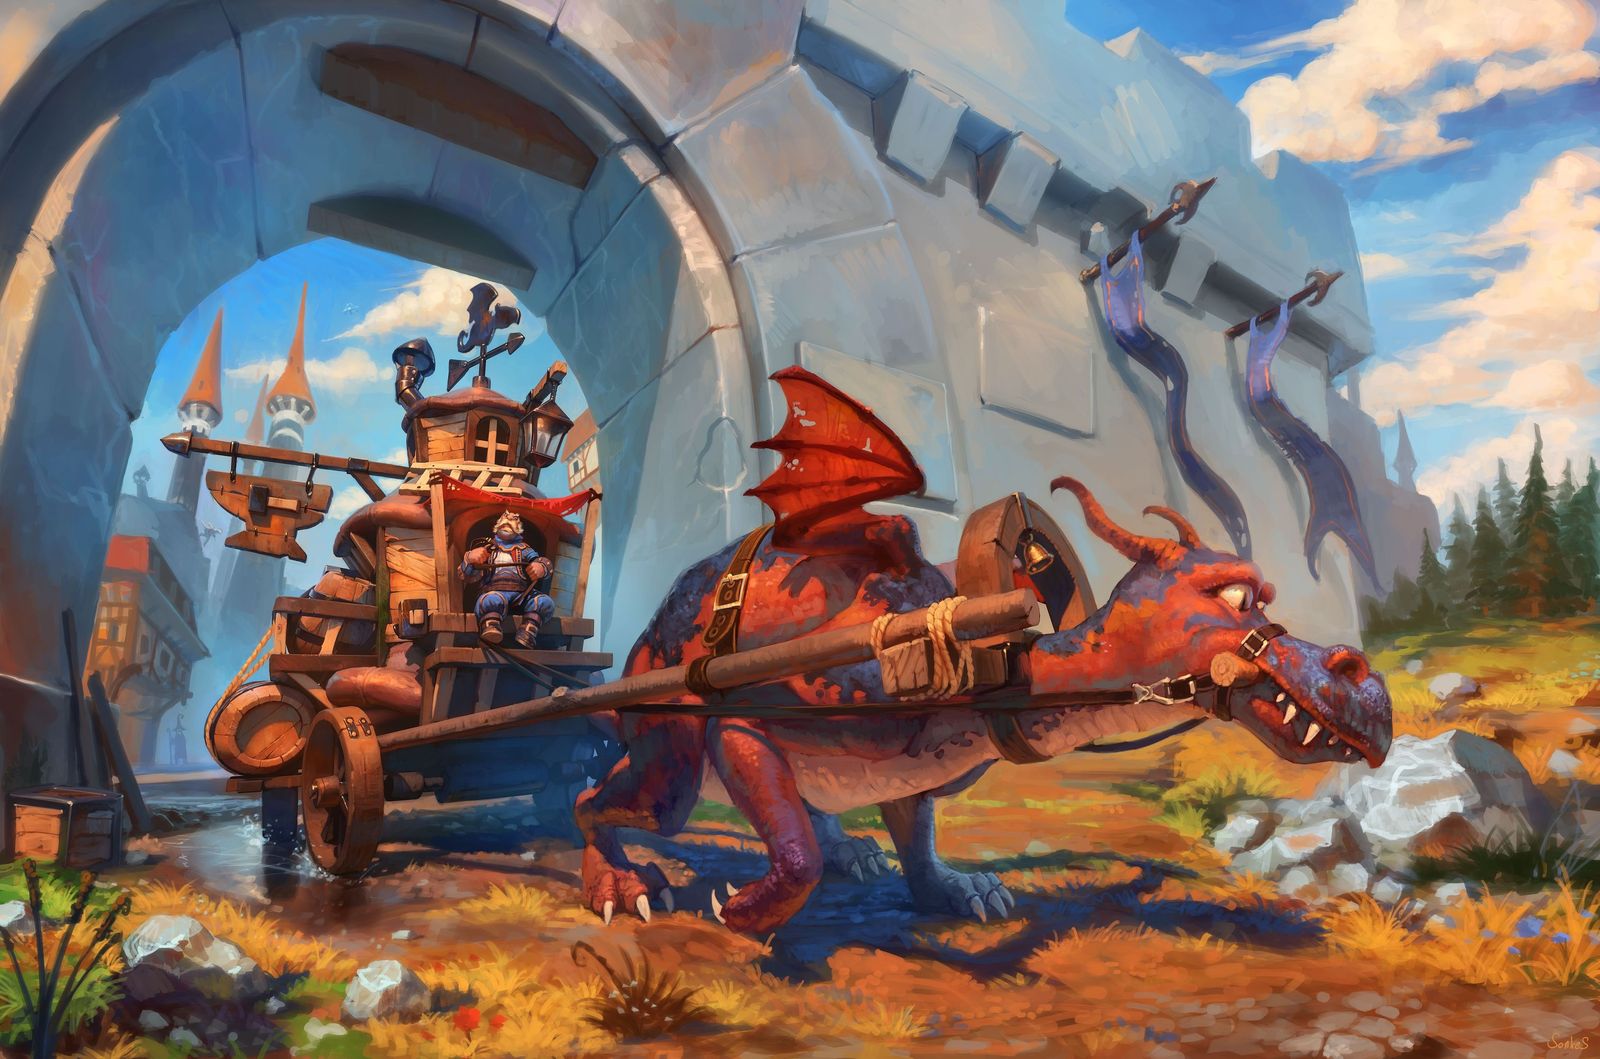
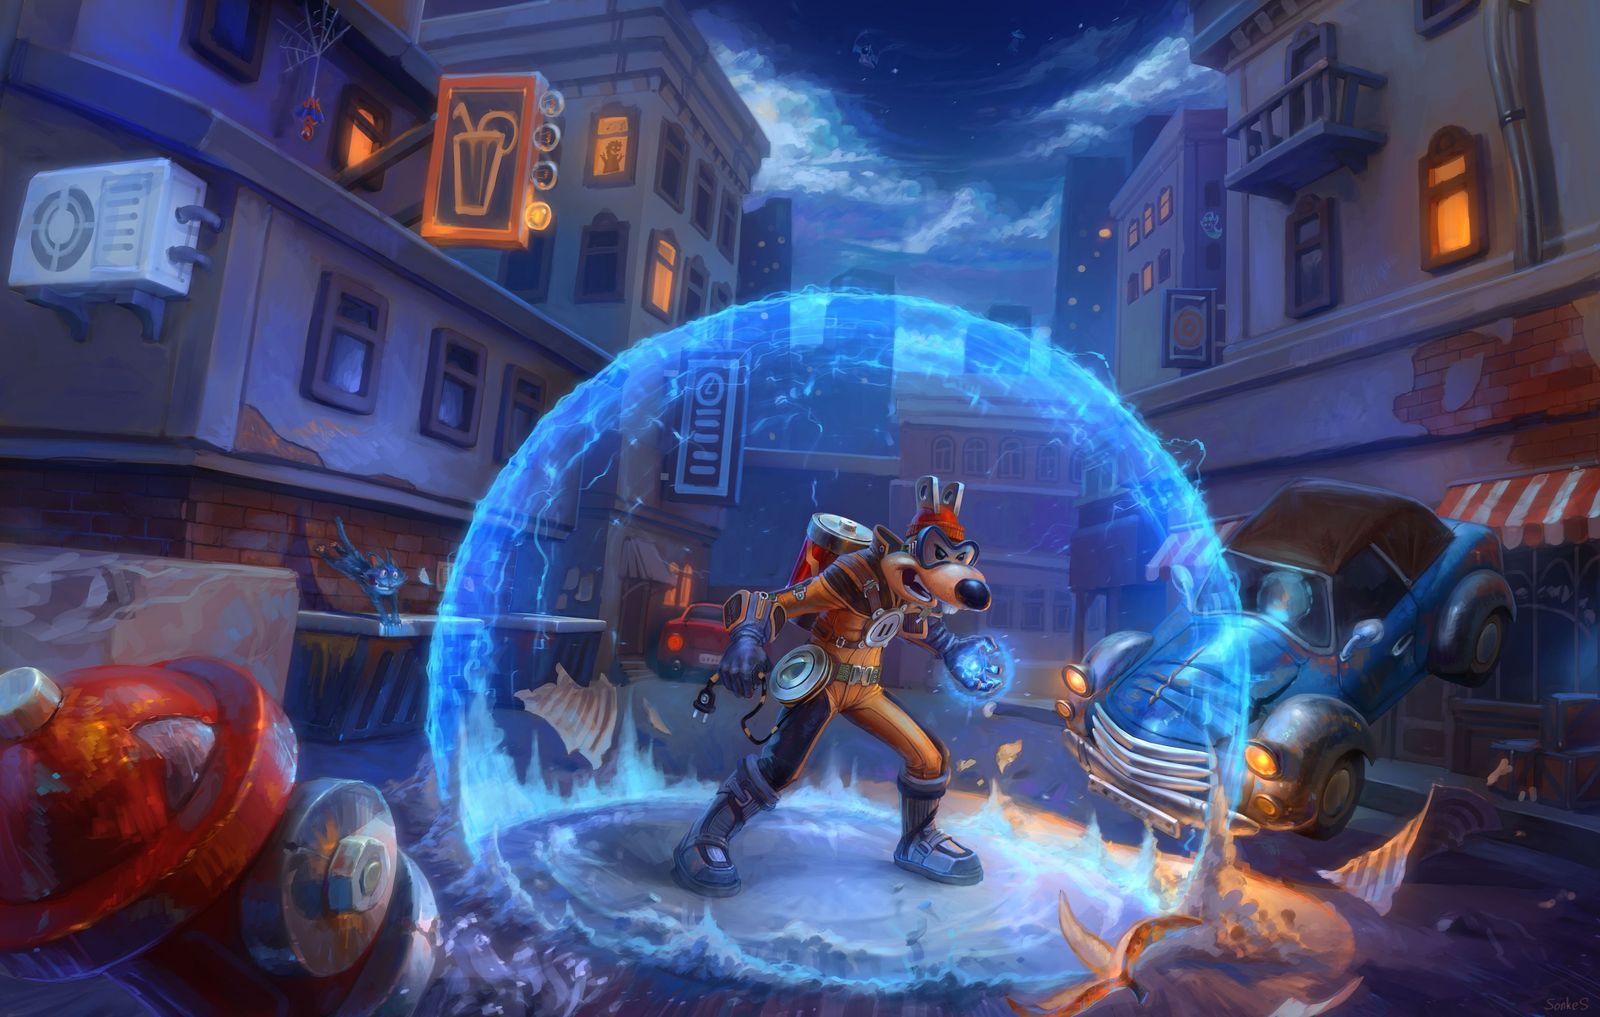
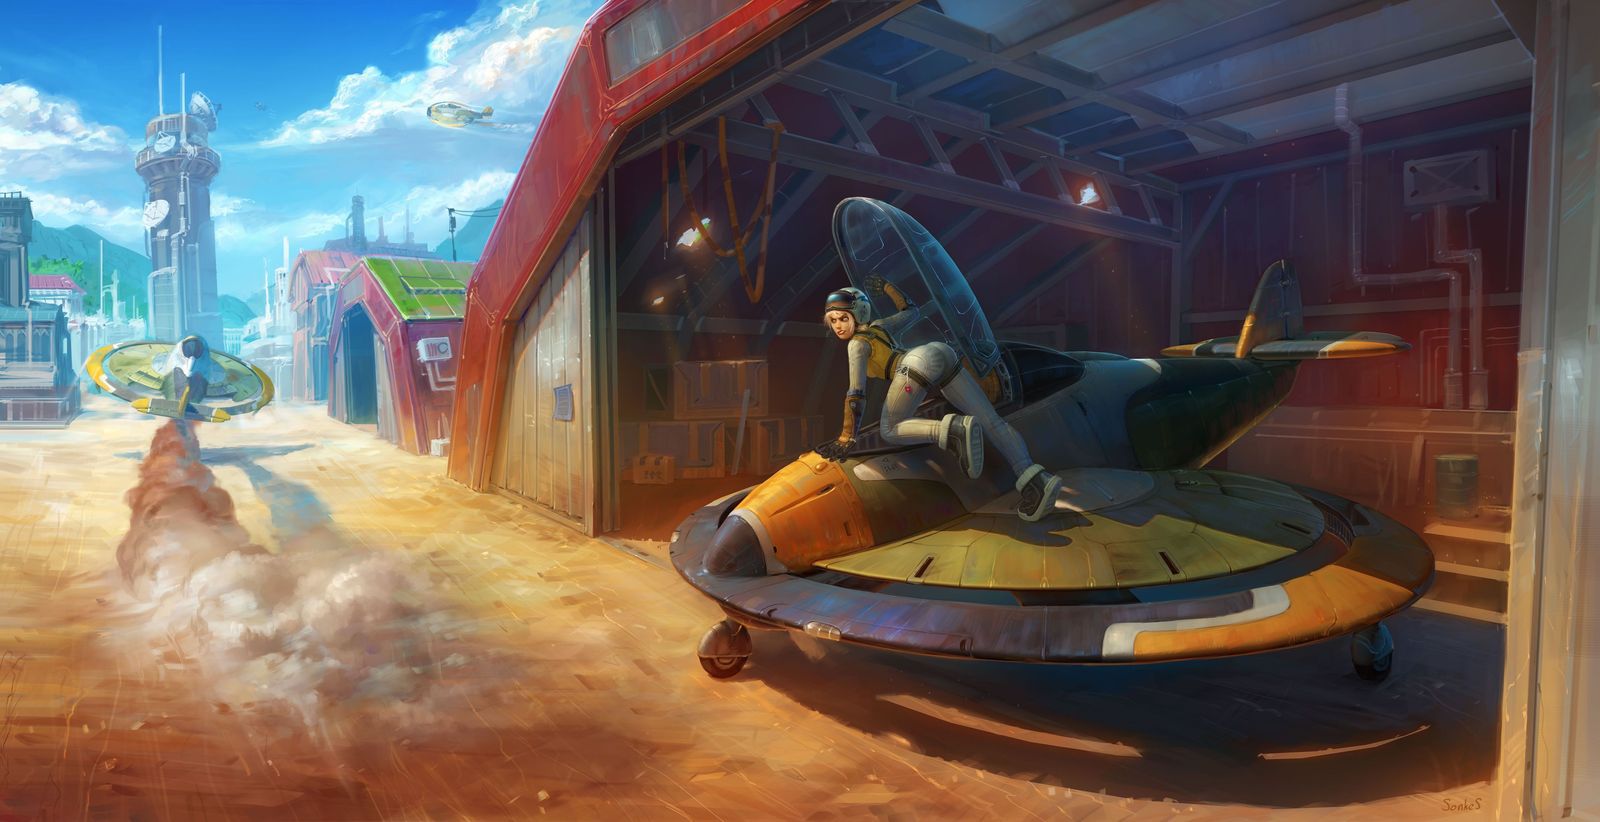
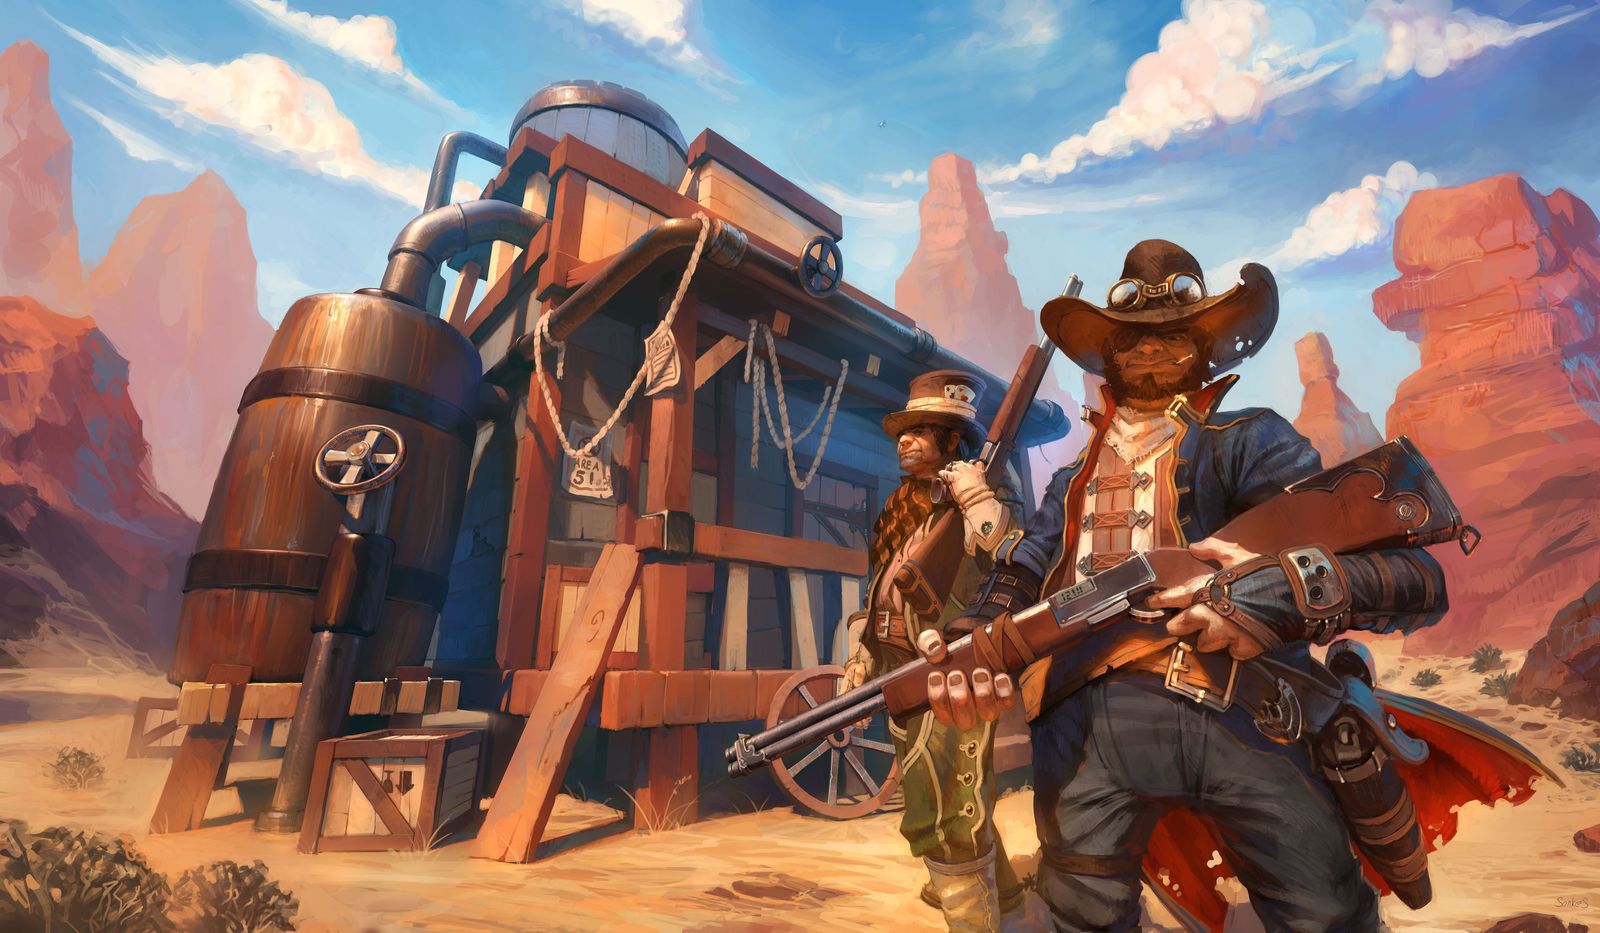


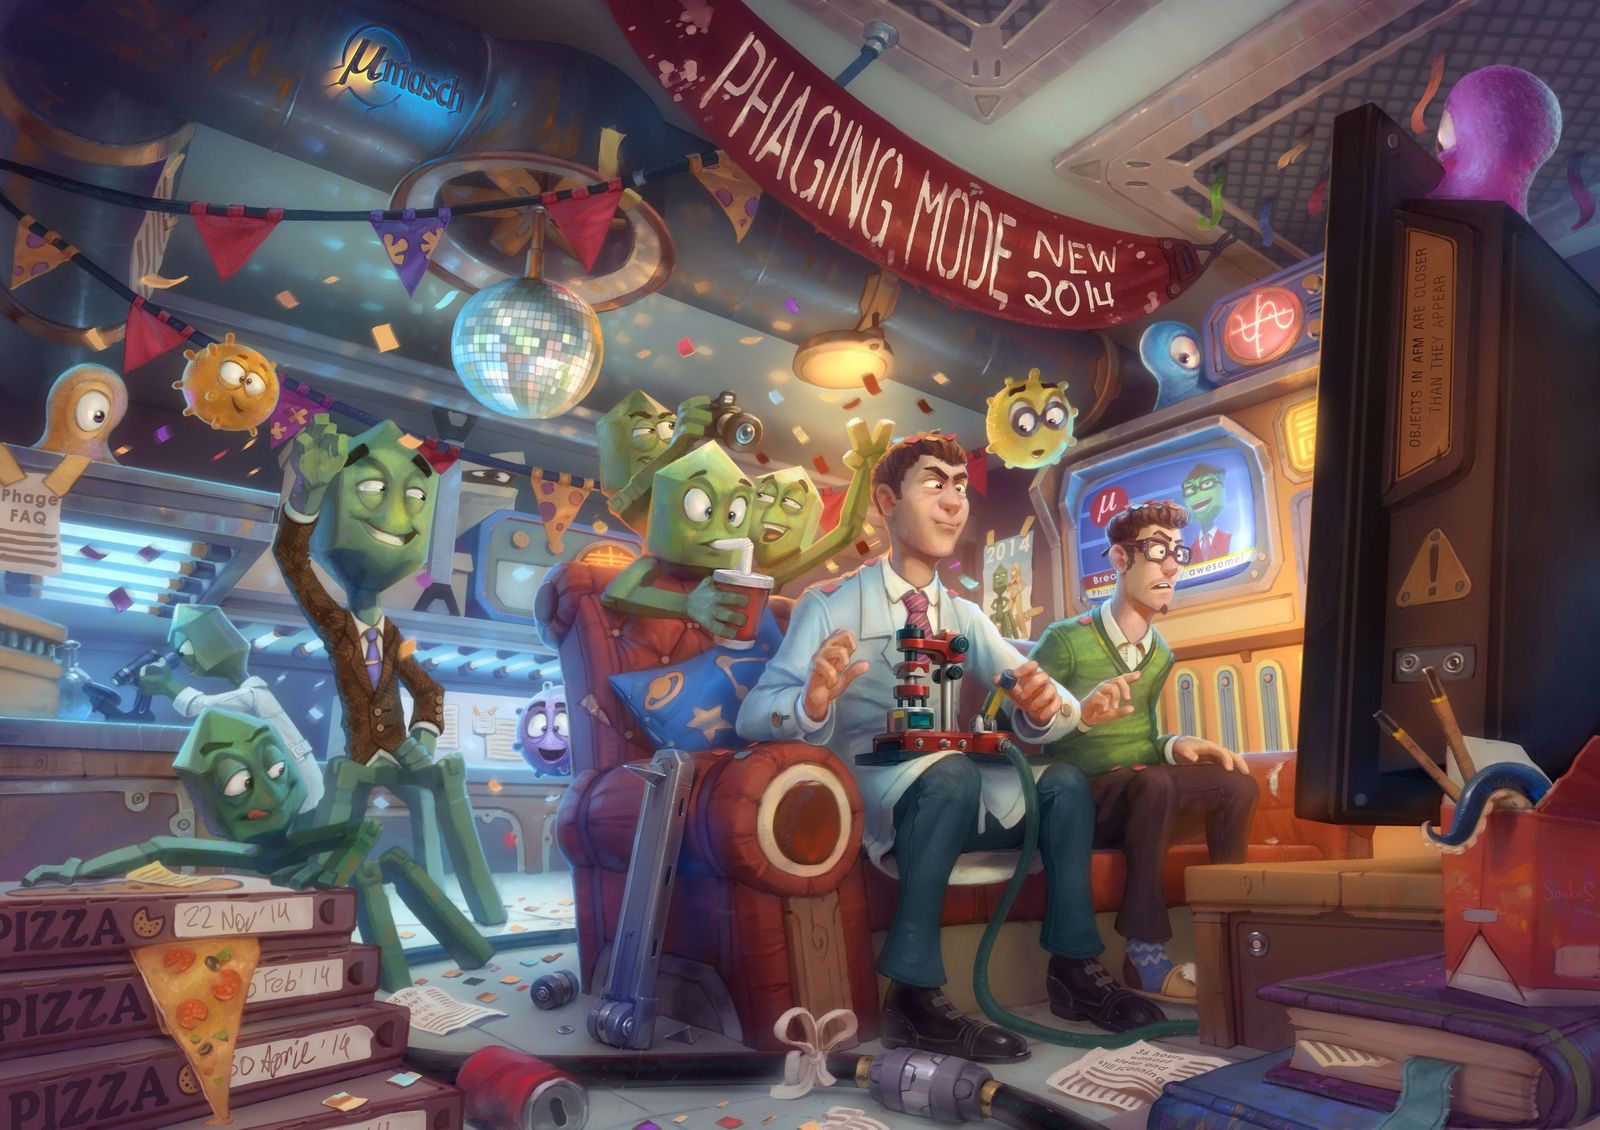
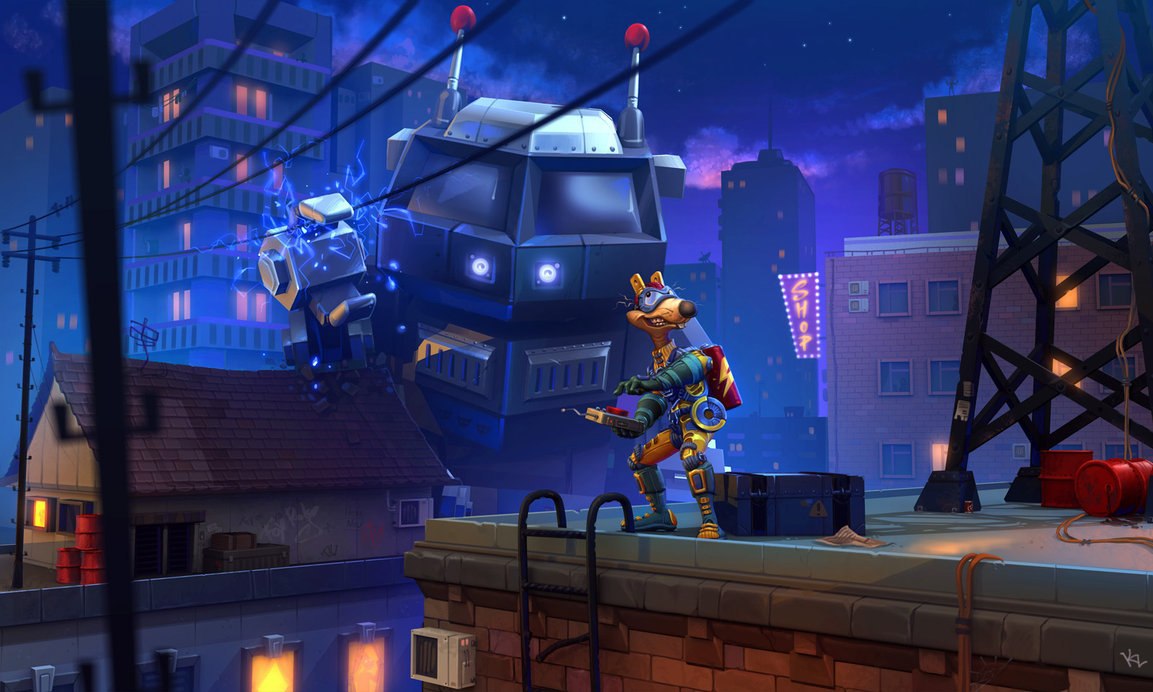
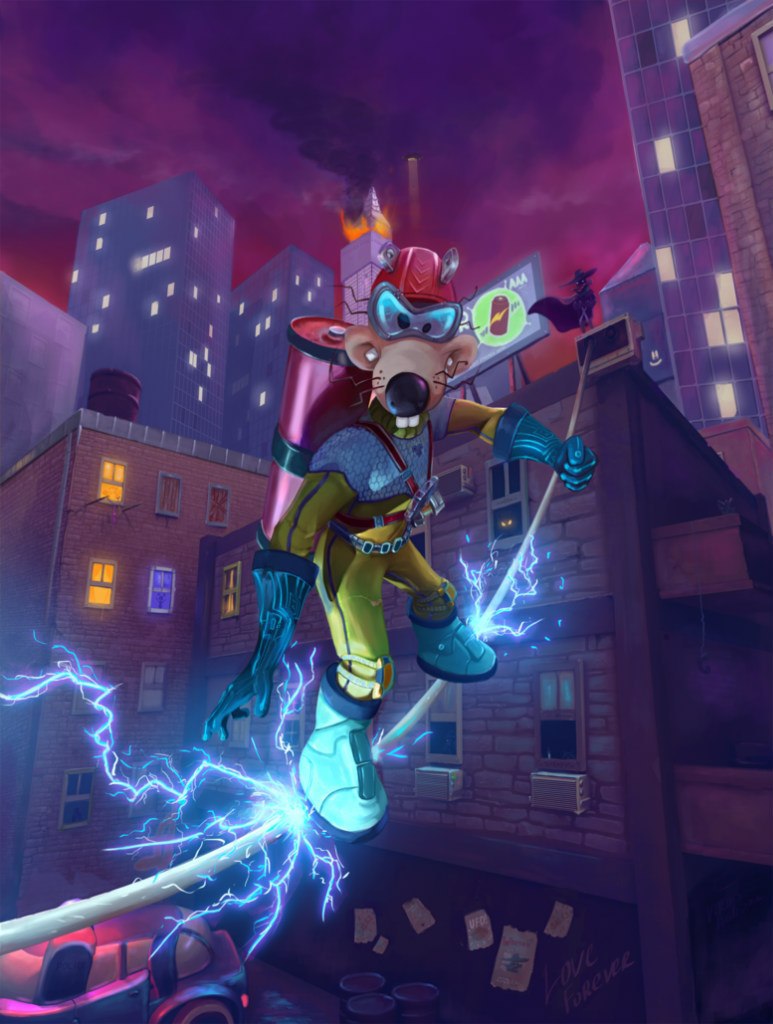
This method of creating illustrations is quite easy to learn. Here are examples of the work of my students:


The creation of a three-dimensional scene and the final refinement in a 2D editor is used very widely. However, many illustrators are scared away by the complexity and incomprehensibility of three-dimensional packages. But, as I have already mentioned, if you have some experience in creating illustrations, it will take not much time to master this technique. So, if you want to learn how to use 3D for illustrations with minimal time and effort, I will be happy to share with you my experience in the intensive course .
The course is designed for artists who feel confident in Photoshop and have minimal 3D skills.
Bonus is a small video that shows part of the process of creating an illustration:
Source: https://habr.com/ru/post/247983/
All Articles