Installing OpenSolaris snv_134b SPARC on SunFire v100
Not so long ago, I had to install OpenSolaris on SunFire v100. The task, as it turned out, is not at all trivial. We have:
So let's get started ...
We connect the SunFire v100 A_LOM port to the COM port of an Intel PC. Next, connect the power cable. Go to the console and execute the command.
Where 9600 is the read speed, and / dev / term / b is the name of the COM port device file to which the server is connected.
Now we are in the BIOS console of our SunFire v100. Next, perform the installation of the boot mode:
')
Where forth is the mode needed to go to the console ok and set the server load settings there. This command is equivalent to the Stop + F combination on Sun keyboards.
Now we execute:
The server starts up, which is clearly noticeable by the fan noise. Begins testing devices. It is worth noting that it takes more time than testing on personal computers or budget servers of HP, with which I had to work earlier.
The server is on, testing is complete. Now you can insert the disk with the OpenSolaris snv_134 SPARC into the drive.
Now you need to select the boot device. To do this, enter the command:
After that, the command becomes available for execution:
Perform and her. Now we set the cdrom variable to the desired value, in our case this is / pci @ 1f, 0 / ide @ d / cdrom @ 0,0: f
To do this, run the command:
Then execute the command
If error messages did not occur, then the variable is set correctly and the device is operational. Next, set the boot-device variable:
And then:
"Diag-switch?" Is a logical variable that switches the boot device from normal (which is specified in the variable boot-device) to diagnostic (diag-device)
Now we execute the command:
The server restarts and boots from the CD. Now we are asked about the layout and language. Choosing English
Now about what we will do next:
Select Install OpenSolaris and proceed with the installation:

Customize the disk to install the system:

Now we are asked: do we want to use a partition or the entire disk. In our case, it was necessary to use all the disk space.

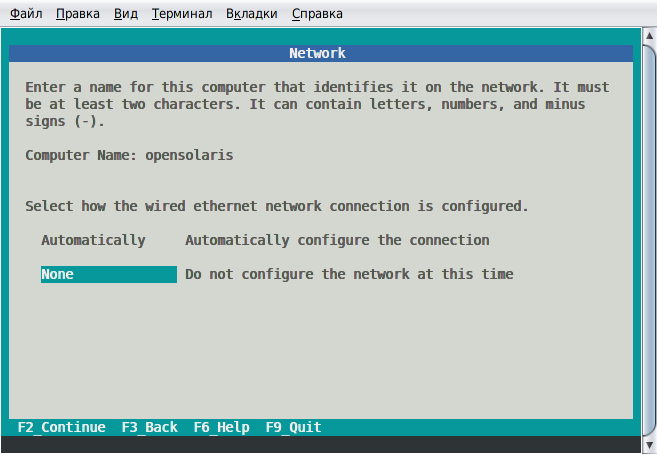
Now the installer asks about the network. Configure it after installation. Select item None and go to the next step.
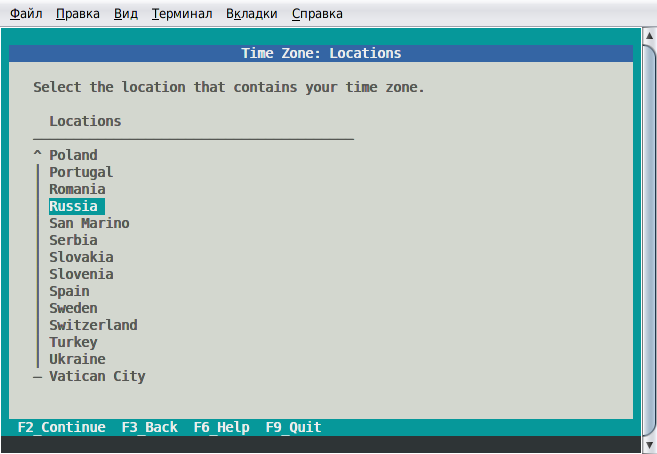
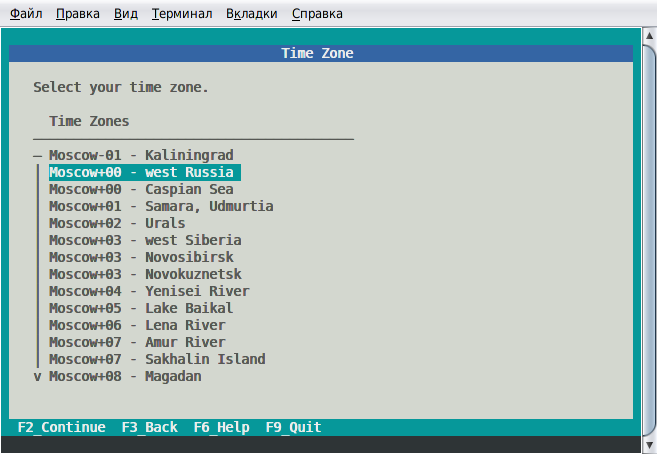
Now select the time zone:

Adjust the time:

Now we set up user credentials:

We check the accuracy of the data specified earlier:
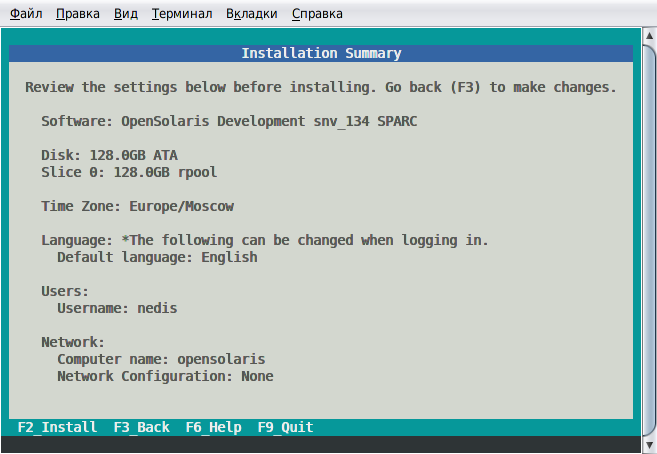
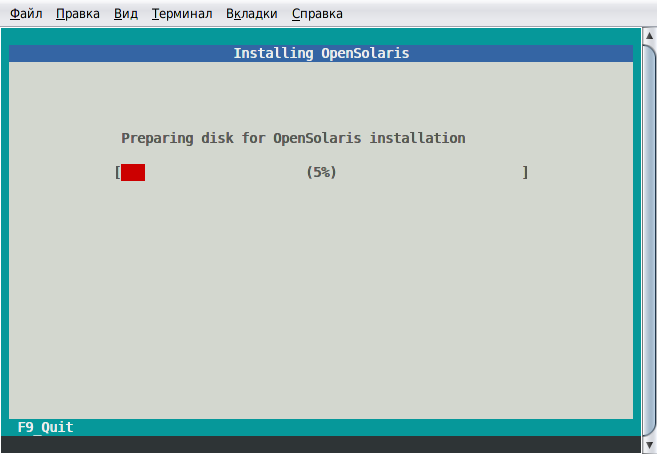
And start the installation:
Installation completed. OpenSolaris is installed.

Reboot. As you can see, there is nothing difficult in installing OpenSolaris on SPARC. The only difficulty of installation is to boot from the CD and run the installer. Further installation is no different from the installation
- Intel x86 PC
- SunFire v100 on UltraSPARC IIe / IIi
- And a disc with recorded OpenSolaris snv_134b.
So let's get started ...
We connect the SunFire v100 A_LOM port to the COM port of an Intel PC. Next, connect the power cable. Go to the console and execute the command.
tip /dev/term/b -9600 Where 9600 is the read speed, and / dev / term / b is the name of the COM port device file to which the server is connected.
Now we are in the BIOS console of our SunFire v100. Next, perform the installation of the boot mode:
')
boot forth Where forth is the mode needed to go to the console ok and set the server load settings there. This command is equivalent to the Stop + F combination on Sun keyboards.
Now we execute:
poweron The server starts up, which is clearly noticeable by the fan noise. Begins testing devices. It is worth noting that it takes more time than testing on personal computers or budget servers of HP, with which I had to work earlier.
The server is on, testing is complete. Now you can insert the disk with the OpenSolaris snv_134 SPARC into the drive.
Now you need to select the boot device. To do this, enter the command:
probe-all After that, the command becomes available for execution:
probe-ide-all Perform and her. Now we set the cdrom variable to the desired value, in our case this is / pci @ 1f, 0 / ide @ d / cdrom @ 0,0: f
To do this, run the command:
ok nvalias cdrom /pci@1f,0/ide@d/cdrom@0,0:f Then execute the command
test cdrom If error messages did not occur, then the variable is set correctly and the device is operational. Next, set the boot-device variable:
setenv boot-device cdrom And then:
setenv diag-switch? false "Diag-switch?" Is a logical variable that switches the boot device from normal (which is specified in the variable boot-device) to diagnostic (diag-device)
Now we execute the command:
reset-all The server restarts and boots from the CD. Now we are asked about the layout and language. Choosing English
Now about what we will do next:
Welcome to the OpenSolaris snv_134 installation menu
1 Install OpenSolaris
2 Shell
3 Terminal type (currently xterm)
4 reboot
Select Install OpenSolaris and proceed with the installation:
Customize the disk to install the system:
Now we are asked: do we want to use a partition or the entire disk. In our case, it was necessary to use all the disk space.
Now the installer asks about the network. Configure it after installation. Select item None and go to the next step.
Now select the time zone:
Adjust the time:
Now we set up user credentials:
We check the accuracy of the data specified earlier:
And start the installation:
Installation completed. OpenSolaris is installed.
Reboot. As you can see, there is nothing difficult in installing OpenSolaris on SPARC. The only difficulty of installation is to boot from the CD and run the installer. Further installation is no different from the installation
Source: https://habr.com/ru/post/247649/
All Articles