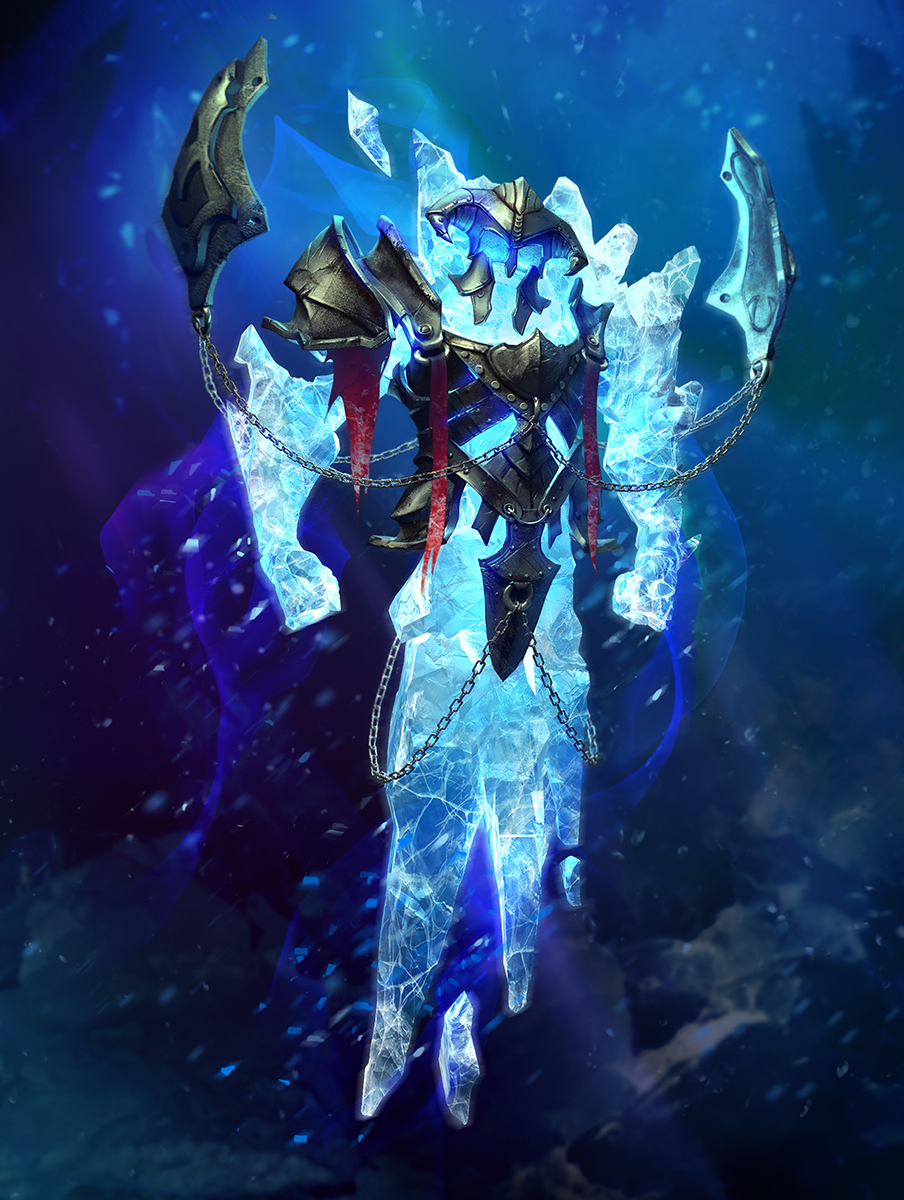
Creation of the Ice Guard unit: from concept to 3D model
Traditionally for the New Year holidays Plarium releases large-scale updates of its projects. This year, for the War of Thrones strategy, we created a new unit - the Ice Guard.
Stock up on hot tea - under the cut the story of how the most cold-blooded warrior in the history of Darkshine was created (and many screenshots of the workflow).
It all starts with an idea. More precisely, with a variety of ideas, which at first is difficult to streamline and comprehend. In order not to reinvent the wheel, the concept artist collects many references and looks at how similar units were implemented in other projects. This is important in order not to repeat itself and not to make typical mistakes. The concept's job is not just to create a 2D-image - it is the study of materials, the search for various interpretations of the image and ways of character presentation.
')
First you need to think about the silhouette. They took only 2 weeks to work on the Ice Guard, so the initial sketches were created immediately in color, taking into account the shape and details.


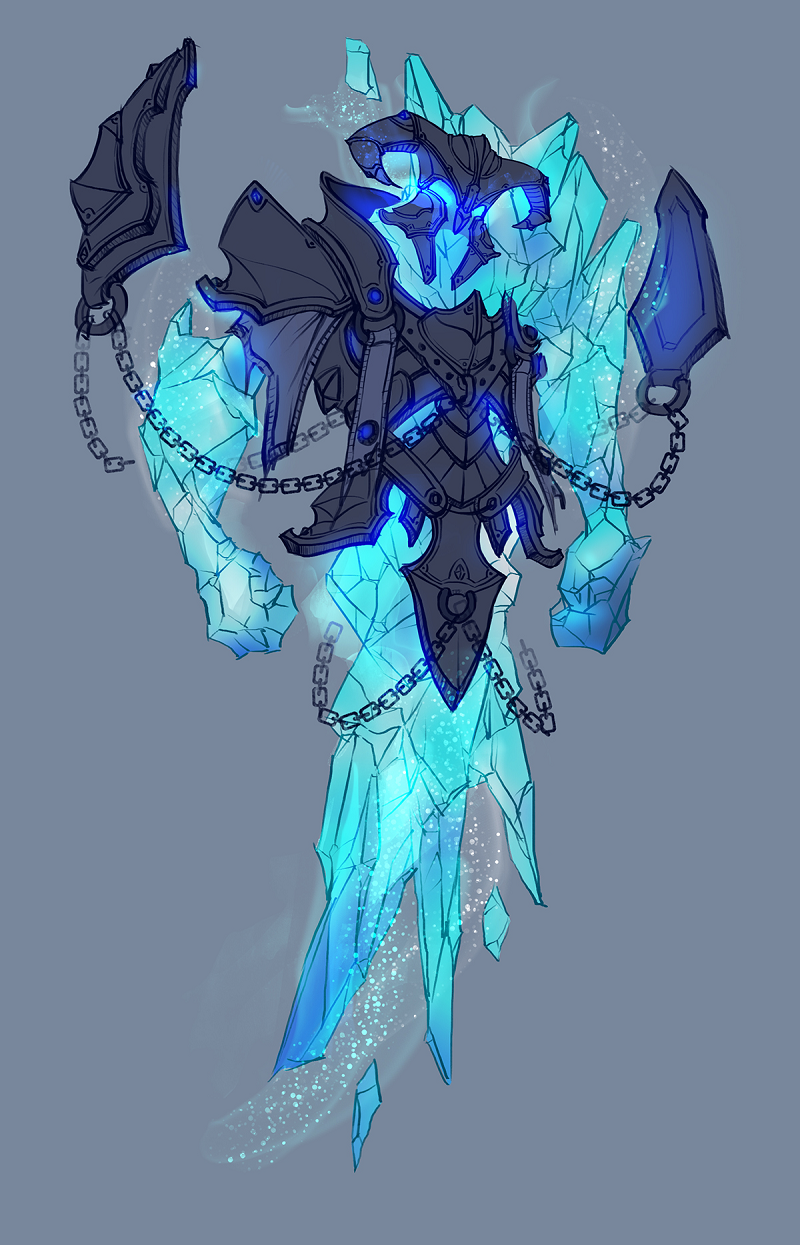
The selected option is drawn in more detail, so that the 3D artist can understand the shape and elements of the decor.
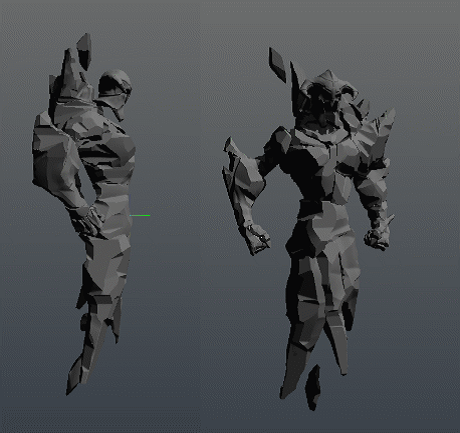
Having a concept, the 3D artist makes a blank, which later develops into a full-fledged model.
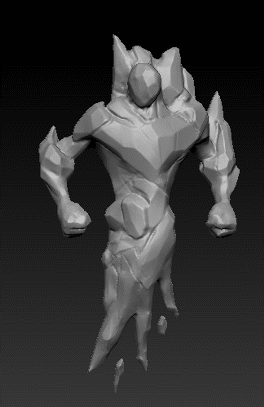
Such a sketch only remotely resembles the final work, but it is with him that the sculpture begins. Further, the 3D and 2D artists work together: each stage is monitored and corrected if it is necessary to correct the anatomical errors in the figure or change the shape of the armor.

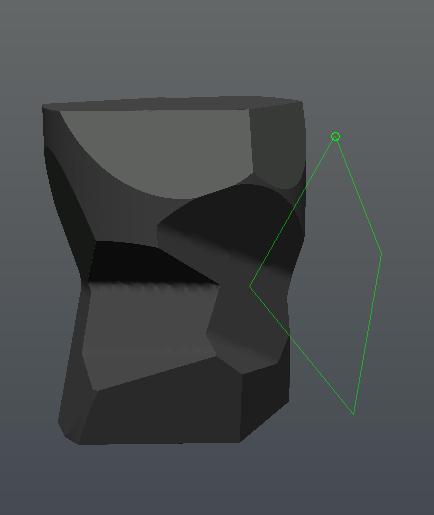
At the next stage, the model is placed in the 3D-Coat program, and the artist, using the tools of dissection and clipping, literally begins to prick the ice. 3D-Coat is ideally suited for this purpose: here the geometry cutting toolkit is intuitive and allows you to perform almost any actions with the model.
Armor is created in 3ds Max, and the next step is to adjust the lighting and painting.
The artist made a printskrin model, cut the reference in Photoshop and placed the armor so that it was convenient to model them.
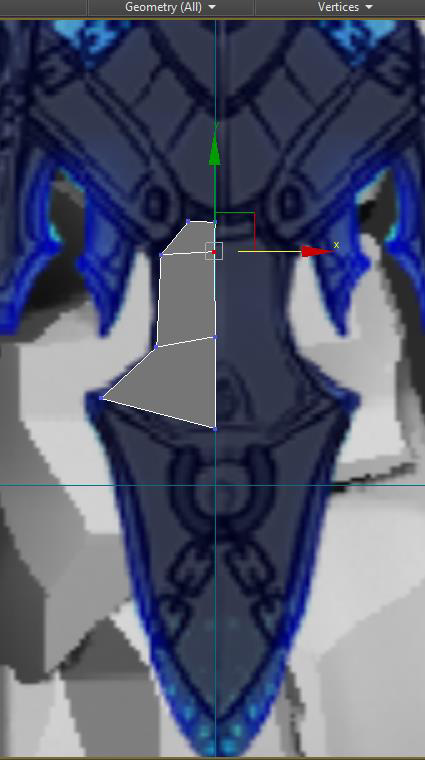
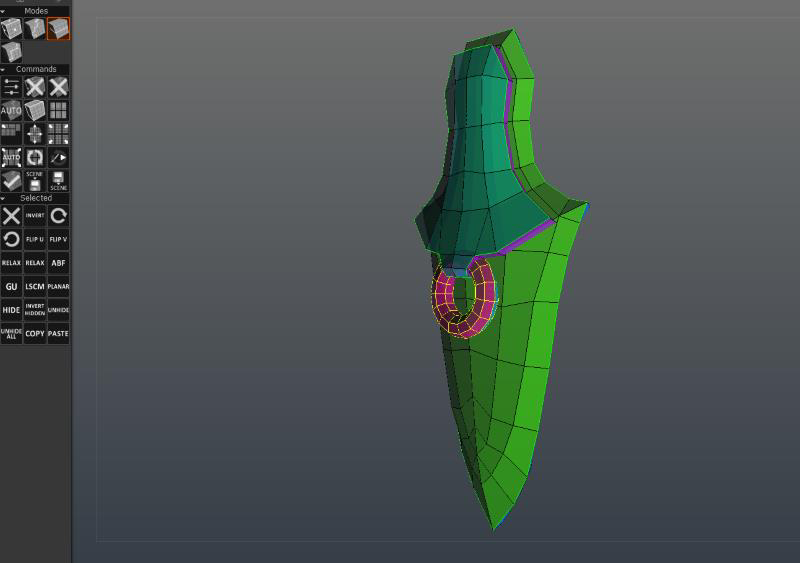
Then the artist created a planar, and edited it, adding sections and stretching the points so that they repeated the drawing. After creating the half of the plane, the symmetry modifier was applied to the other half.
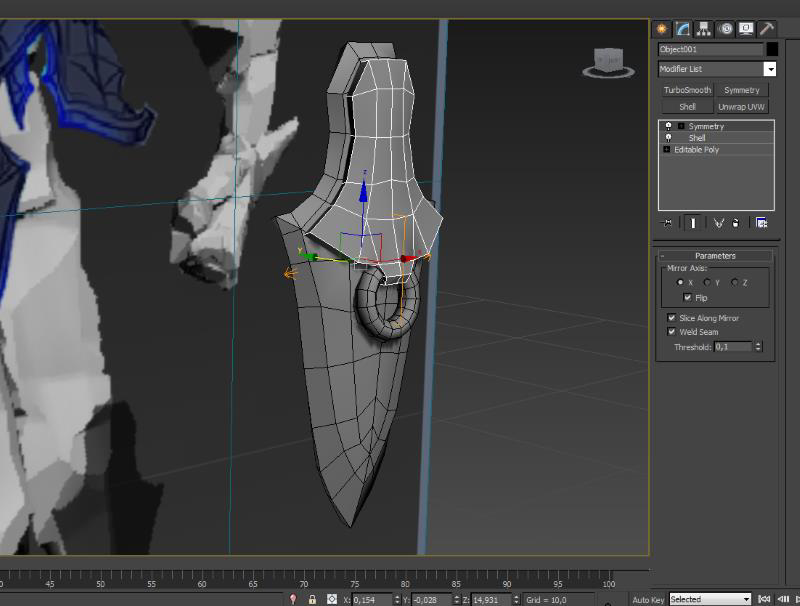
Similar to this belt detail, all the armor was created.
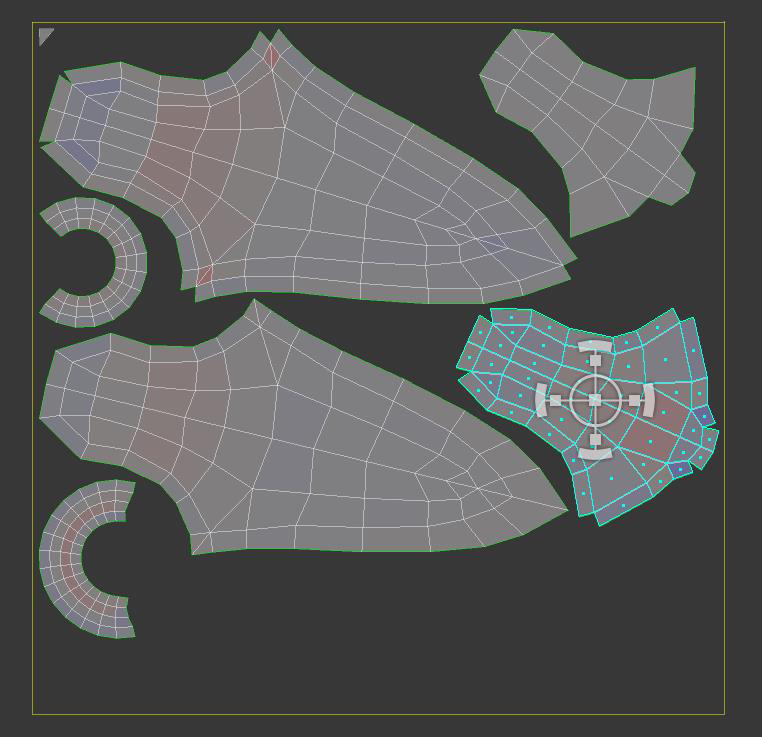
Cutting the seams and scanning the armor was done in 3D-Coat.
When creating the model, 3 light sources were used: directional light, imitation of the sky for illuminating the figure and illuminating the helmet from the inside.

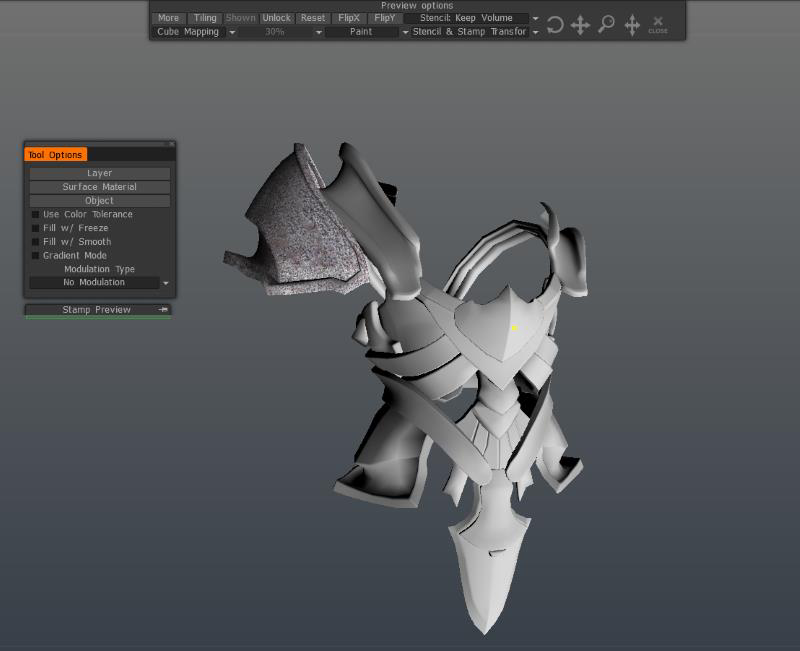
Texturing armor is also performed in 3D-Coat.
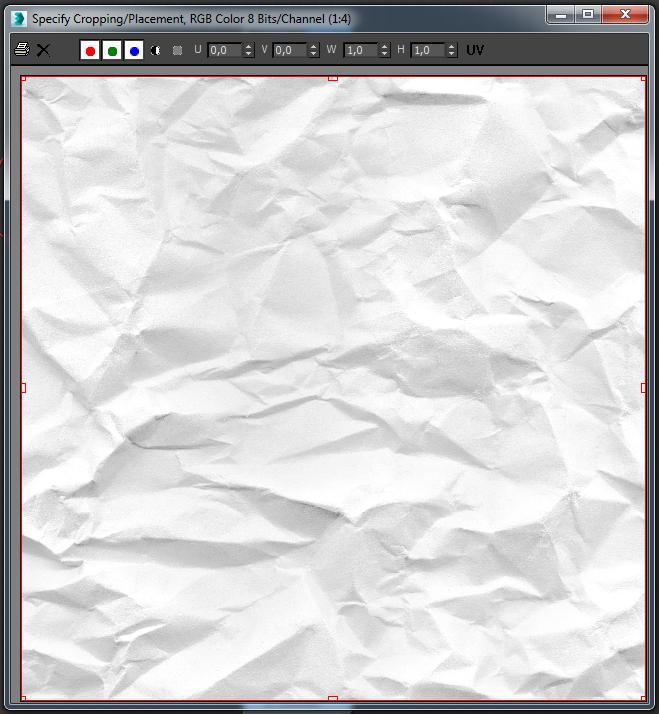
First, materials were created that textured the object. In this case - cards of rusty and pure metal.

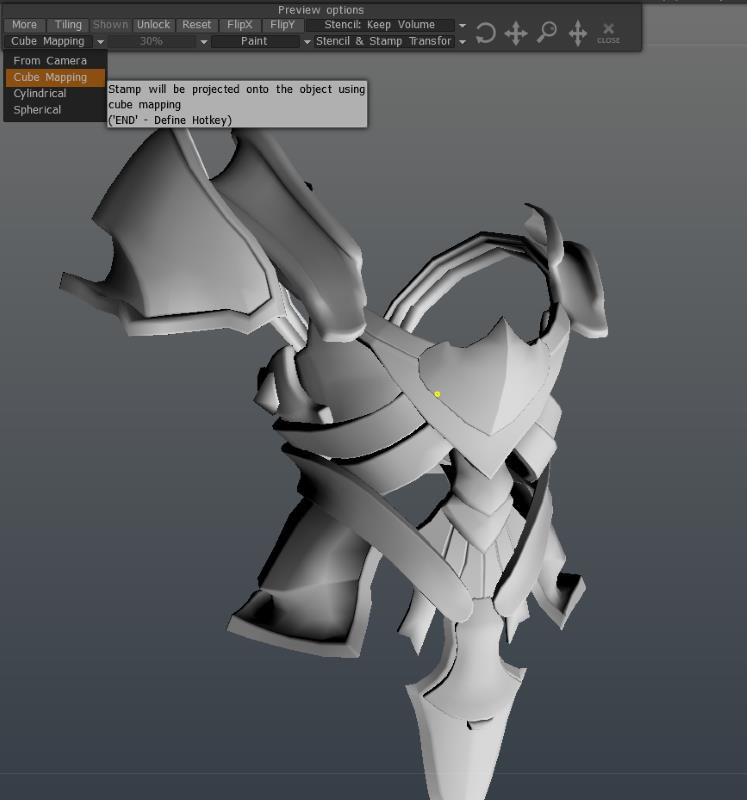
After that, a “cube mapping” was placed in the mapping field - that is, the texture will be drawn on the object not from the plane, but from the cube. Projection from the plane is also present here, but in this window you can adjust the texture tiling, its rotation and position.
Further, all the armor with the fill tool covered with a clean texture.
After which the artist marked the places where the armor could be stained and adds texture of dirt or rust.

In 3D-Coat, as in Photoshop, you can customize blending modes. And the brushes work in a similar way, so working in 3D-Coat will not be difficult for those who know Photoshop well.

In order for scratches on the armor, you must set the extrusion mode, pick up a brush - and create.

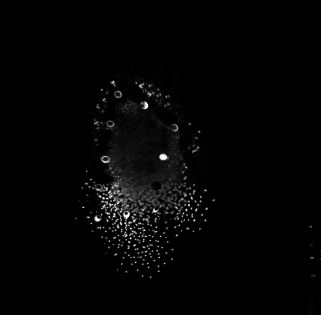
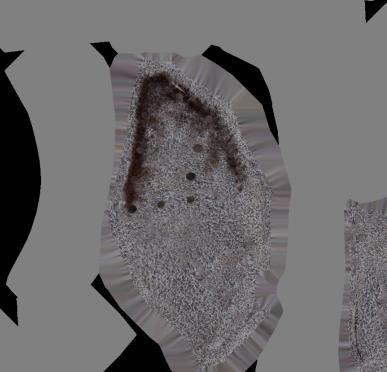
In this case, there was no need to create a high-field mesh in order to remove normals from it - this can be done in 3D-Coat using the ready-made middle poly. This is not always the case, but it works fine with micro details and armor.

We get a map of the color of the bump and specular:

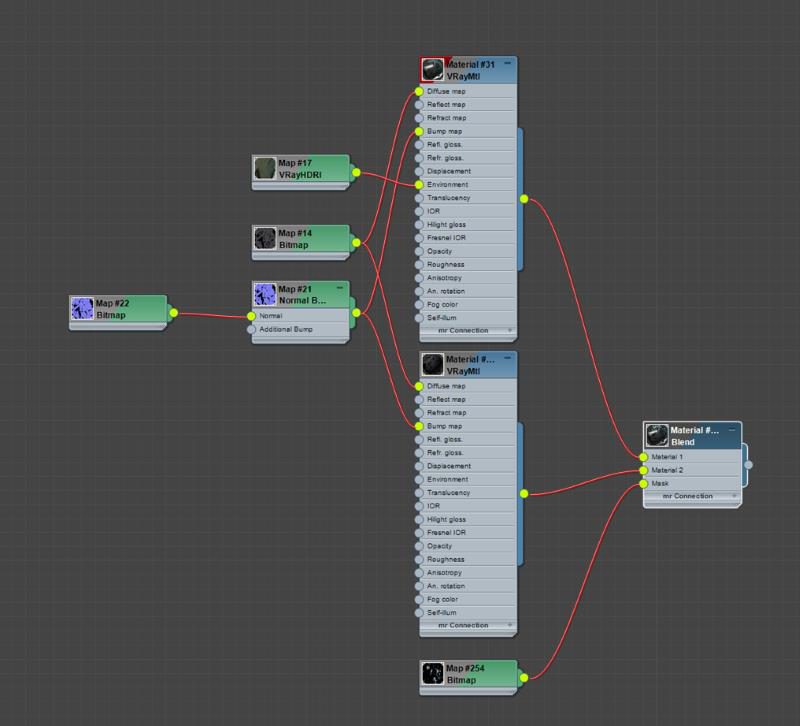
And this is the metal material in 3ds Max:
Only the armor was painted, and the body was made of ice material that was manually tuned - the standard versions were suitable only for ice blocks, but not for the revived Ice Guard.
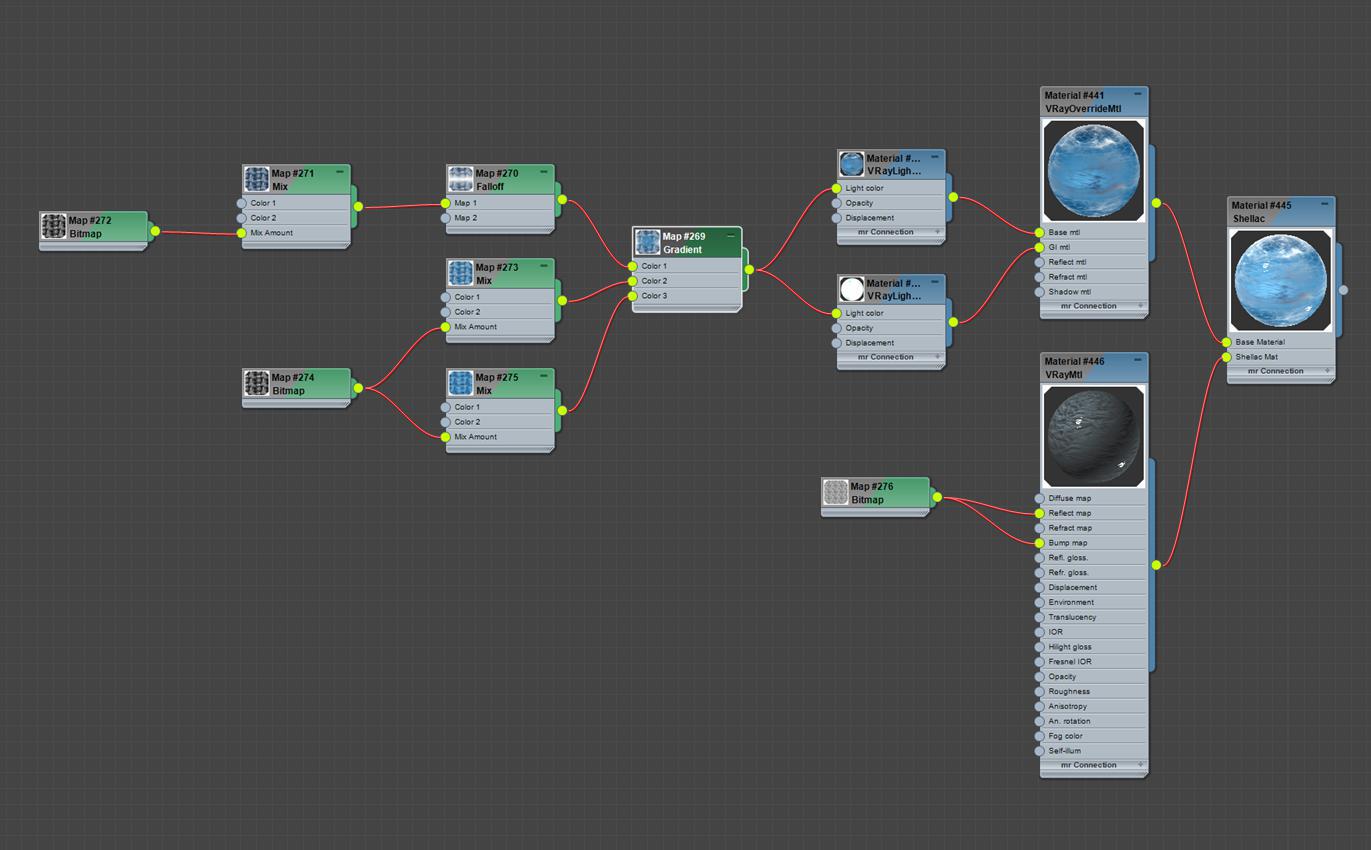
To create the ice, the artist used complex material based on multi-layered Shellac. It mixed the usual material with self-luminous.

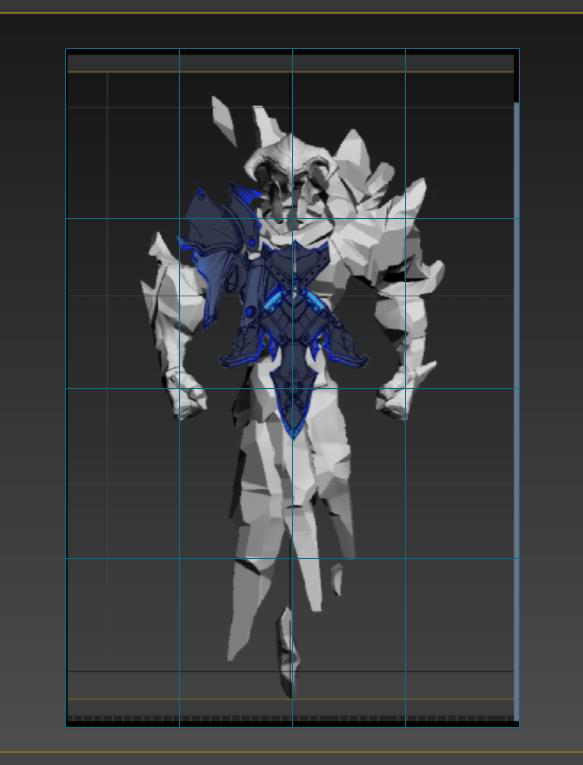
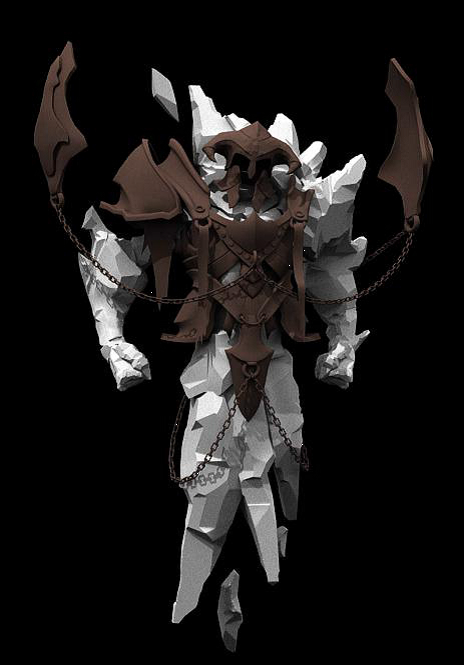
When the work in 3D is completed, the model again passes to the power of the 2D artist for post-processing. Light is adjusted, elements are added, some textures and details can be replaced if it improves the final illustration.
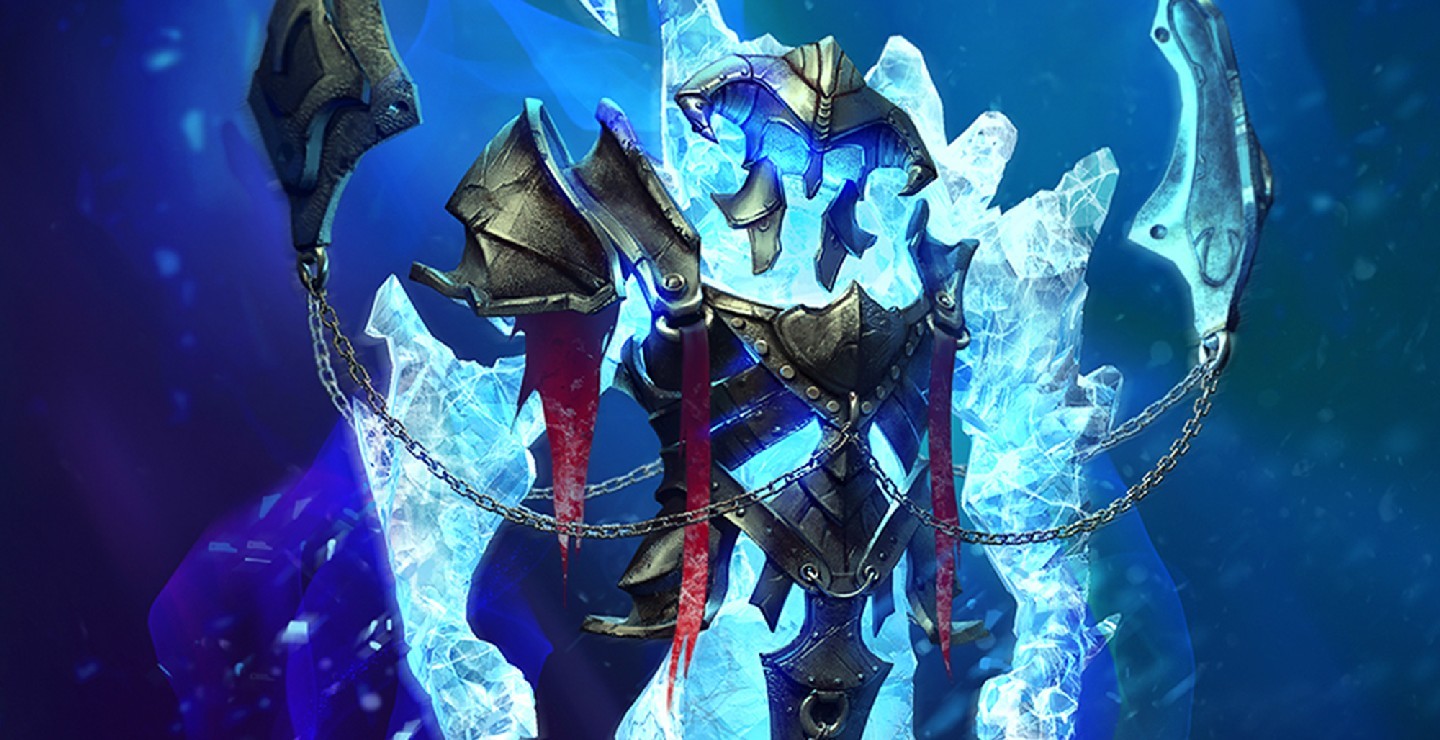
Before processing:

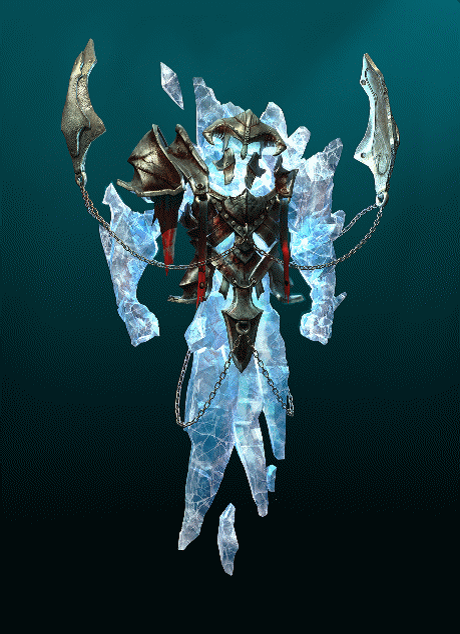
Final option:
Until recently, a 3D artist in Plarium was a concept and modeler in one person, creating a character from scratch. The division of work between the concept artist and the 3D designer helped to significantly ease the work and reduce the time to create the final model.
Stock up on hot tea - under the cut the story of how the most cold-blooded warrior in the history of Darkshine was created (and many screenshots of the workflow).
It all starts with an idea. More precisely, with a variety of ideas, which at first is difficult to streamline and comprehend. In order not to reinvent the wheel, the concept artist collects many references and looks at how similar units were implemented in other projects. This is important in order not to repeat itself and not to make typical mistakes. The concept's job is not just to create a 2D-image - it is the study of materials, the search for various interpretations of the image and ways of character presentation.
')
First you need to think about the silhouette. They took only 2 weeks to work on the Ice Guard, so the initial sketches were created immediately in color, taking into account the shape and details.
The selected option is drawn in more detail, so that the 3D artist can understand the shape and elements of the decor.
Having a concept, the 3D artist makes a blank, which later develops into a full-fledged model.
Such a sketch only remotely resembles the final work, but it is with him that the sculpture begins. Further, the 3D and 2D artists work together: each stage is monitored and corrected if it is necessary to correct the anatomical errors in the figure or change the shape of the armor.
At the next stage, the model is placed in the 3D-Coat program, and the artist, using the tools of dissection and clipping, literally begins to prick the ice. 3D-Coat is ideally suited for this purpose: here the geometry cutting toolkit is intuitive and allows you to perform almost any actions with the model.
Armor is created in 3ds Max, and the next step is to adjust the lighting and painting.
The artist made a printskrin model, cut the reference in Photoshop and placed the armor so that it was convenient to model them.
Then the artist created a planar, and edited it, adding sections and stretching the points so that they repeated the drawing. After creating the half of the plane, the symmetry modifier was applied to the other half.
Similar to this belt detail, all the armor was created.
Cutting the seams and scanning the armor was done in 3D-Coat.
When creating the model, 3 light sources were used: directional light, imitation of the sky for illuminating the figure and illuminating the helmet from the inside.
Texturing armor is also performed in 3D-Coat.
First, materials were created that textured the object. In this case - cards of rusty and pure metal.
After that, a “cube mapping” was placed in the mapping field - that is, the texture will be drawn on the object not from the plane, but from the cube. Projection from the plane is also present here, but in this window you can adjust the texture tiling, its rotation and position.
Further, all the armor with the fill tool covered with a clean texture.
After which the artist marked the places where the armor could be stained and adds texture of dirt or rust.
In 3D-Coat, as in Photoshop, you can customize blending modes. And the brushes work in a similar way, so working in 3D-Coat will not be difficult for those who know Photoshop well.
In order for scratches on the armor, you must set the extrusion mode, pick up a brush - and create.
In this case, there was no need to create a high-field mesh in order to remove normals from it - this can be done in 3D-Coat using the ready-made middle poly. This is not always the case, but it works fine with micro details and armor.
We get a map of the color of the bump and specular:
And this is the metal material in 3ds Max:
Only the armor was painted, and the body was made of ice material that was manually tuned - the standard versions were suitable only for ice blocks, but not for the revived Ice Guard.
To create the ice, the artist used complex material based on multi-layered Shellac. It mixed the usual material with self-luminous.
When the work in 3D is completed, the model again passes to the power of the 2D artist for post-processing. Light is adjusted, elements are added, some textures and details can be replaced if it improves the final illustration.
Before processing:
Final option:
Until recently, a 3D artist in Plarium was a concept and modeler in one person, creating a character from scratch. The division of work between the concept artist and the 3D designer helped to significantly ease the work and reduce the time to create the final model.
Source: https://habr.com/ru/post/247013/
All Articles