A selection of interesting CSS recipes "Naked Fridays # 4"

Hello, dear reader Habra!
Today we will talk about “sticky” blocks, a new property for object- image images, advanced use of CSS counters, the currentColor keyword, and whether there is animation in z-index.
position: sticky
Not so long ago appeared what we waited so long! Now we can create “sticky” blocks that will behave as fixed, but not overlap other blocks. In other words, as long as there is free space on the page, the block remains in place, but if, when scrolling the page, other blocks run into this free space, they move the sticky-block. However, it is better to see 1 time .
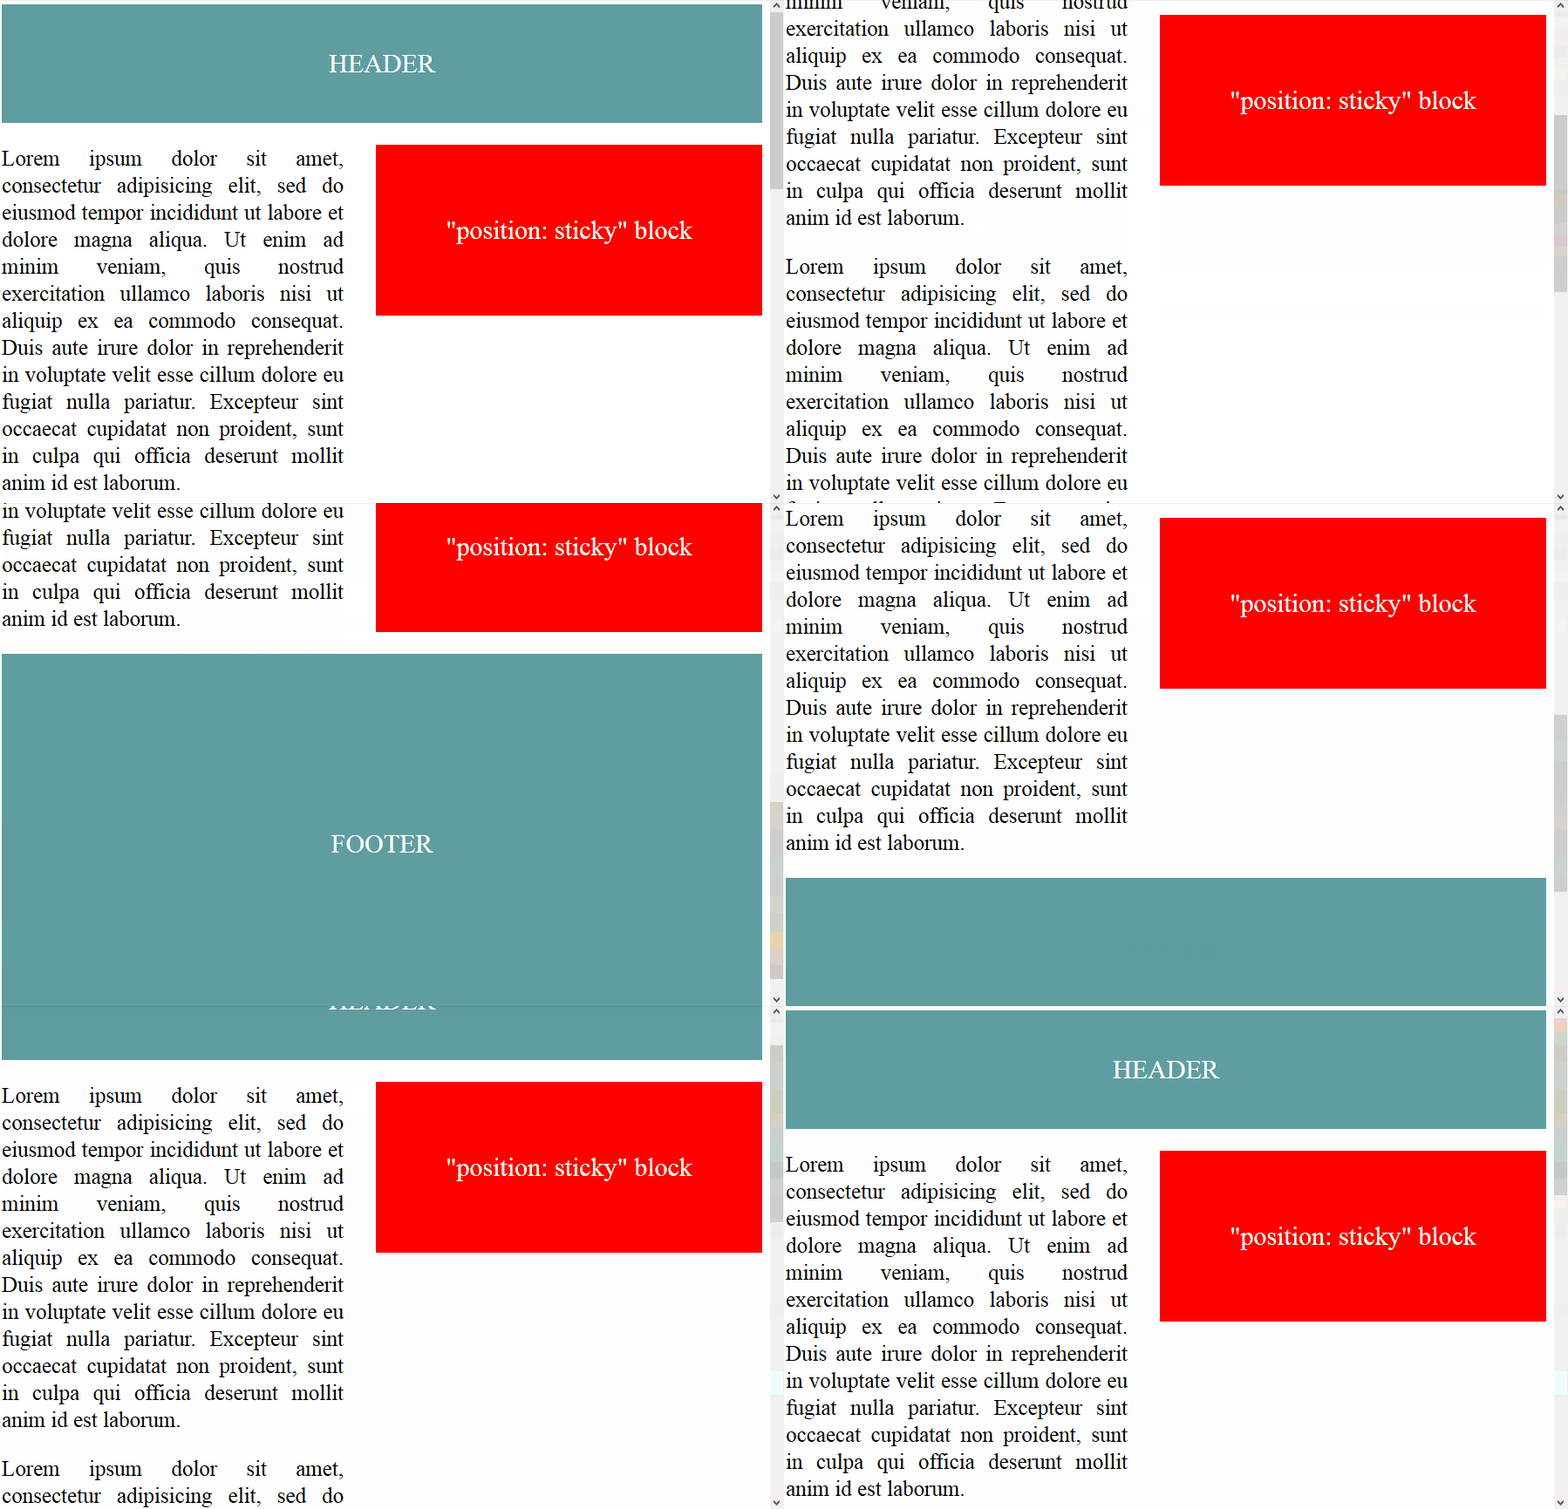
')
So far, only the latest versions of Firefox and Safari support this property, but for other browsers you can simply set any other positioning:
.sticky { position: static; /* sticky */ position: sticky; top: 0px; /* */ } In this case, we get a sticky-block for browsers supporting this property and a regular static block for the rest.
This property is especially useful in mobile versions of sites, when we seem to need an element with fixed positioning, but it should not overlap other blocks, since free screen space is small. Yes, and in the desktop versions, it looks quite interesting.
background-size for <img /> or the magic object-fit property
Remember how often you wanted to set an image background-size property? It's so convenient: you do not need to calculate the width, height, monitor the proportions. So, now for this there is a remarkable object-fit property, which is very well supported by webkit-browsers, and will be supported by firefox from the next version. For everything else there is a polyfil .
The principle of object-fit is the same as background-size for background images, with the only difference that it is used for images, video and other media elements:
.image__contain { object-fit: contain; // , } .image__fill { object-fit: fill; // } .image__cover { object-fit: cover; // } .image__scale-down { object-fit: scale-down; // ( !), } 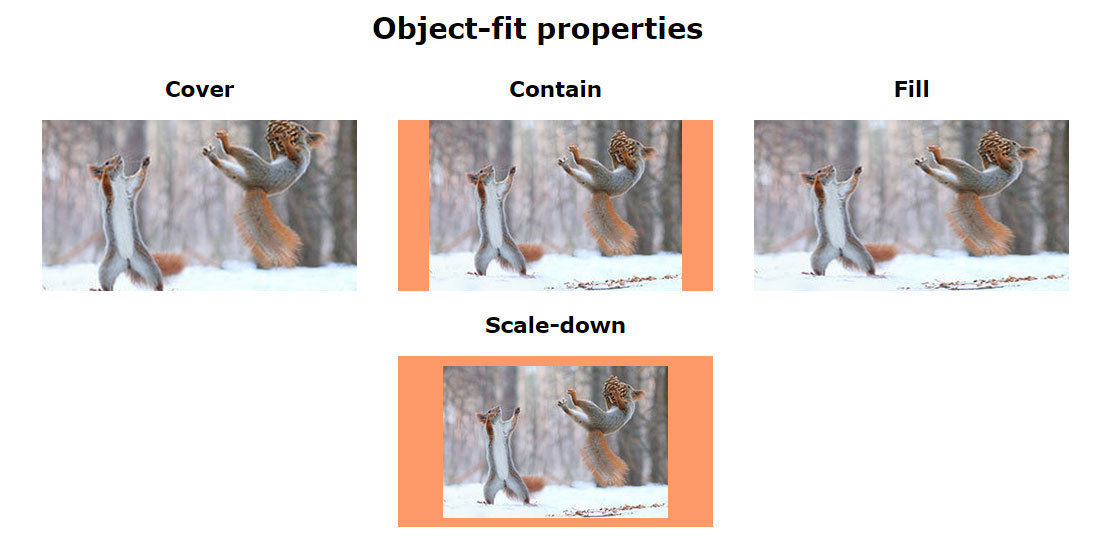
Example
Advanced CSS Counters
In one of the previous articles, we have already considered the basic features of CSS counters, but this is definitely not enough for technology with such wide capabilities.
Let's start with something simple. For example, with paging:
<div class="pages"> <a href="#"></a> <a href="#"></a> <a href="#"></a> <a href="#"></a> <a href="#"></a> </div> .pages { counter-reset: pages; } .pages a { counter-increment: pages; } .pages a:before { content: counter(pages); } As you can see, the numbers are written automatically using CSS. In real projects, it is useless, but, you see, it looks pretty funny :)

Example.
You can also read user-marked items:
<div class="languages"> <input id="c" type="checkbox"><label for="c">C</label> <input id="C++" type="checkbox"><label for="C++">C++</label> <input id="C#" type="checkbox"><label for="C#">C#</label> <input id="Java" type="checkbox"><label for="Java">Java</label> <input id="JavaScript" type="checkbox"><label for="JavaScript">JavaScript</label> <input id="PHP" type="checkbox"><label for="PHP">PHP</label> <input id="Python" type="checkbox"><label for="Python">Python</label> <input id="Ruby" type="checkbox"><label for="Ruby">Ruby</label> </div> <p class="total"> Total selected: </p> .languages { counter-reset: characters; } input:checked { counter-increment: characters; } .total:after { content: counter(characters); } Here we increase the counter values for each checkbox selected using the input: checked selector and output its value.

Example
You can also write a small calculator:
<div class="numbers"> <input id="one" type="checkbox"><label for="one">1</label> <input id="two" type="checkbox"><label for="two">2</label> <input id="three" type="checkbox"><label for="three">3</label> <input id="four" type="checkbox"><label for="four">4</label> <input id="five" type="checkbox"><label for="five">5</label> <input id="one-hundred" type="checkbox"><label for="one-hundred">100</label> </div> <p class="sum"> Sum </p> .numbers { counter-reset: sum; } #one:checked { counter-increment: sum 1; } #two:checked { counter-increment: sum 2; } #three:checked { counter-increment: sum 3; } #four:checked { counter-increment: sum 4; } #five:checked { counter-increment: sum 5; } #one-hundred:checked { counter-increment: sum 100; } .sum::after { content: '= ' counter(sum); } And again, nothing complicated: for each checkbox indicates the number by which it will increase the value of the counter, which is then displayed.
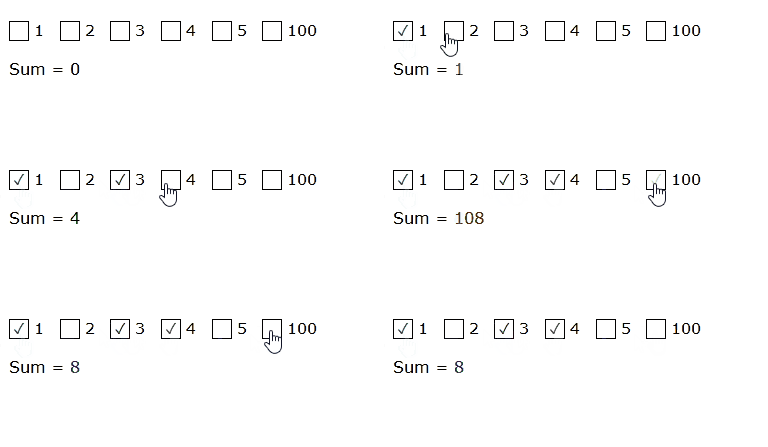
An example and an article (as well as its translation ), opening my eyes.
currentColor
For a long time (since the release of IE9) we can use the wonderful, but little-known keyword currentColor . What is its essence? It contains the current color value of the element, both inherited from the parent and not inherited by default. This allows you not to set the same color many times and sometimes not to introduce variables (if you work with preprocessors).
For example, this can be very useful when working with SVG icons that change color depending on the state of the parent. Usually, we would have to write it like this:
.button { color: black; } .button:hover { color: red; } .button:active { color: green; } .button svg { fill: black; } .button:hover svg { fill: red; } .button:active svg { fill: green; } but currentColor makes the code much more concise:
svg { fill: currentColor; } .button { color: black; border: 1px solid currentColor; } .button:hover { color: red; } .button:active { color: green; } Another example of a useful application is pseudo-elements:
a { color: #000; } a:hover { color: #333; } a:active { color: #666; } a:after, a:hover:after, a:active:after { background: currentColor; ... } Transition for z-index
Perhaps you did not guess, but the z-index property also supports animated transitions. However, it changes the values step by step, so it seems that there is no transition. But he is! Do not be fooled!
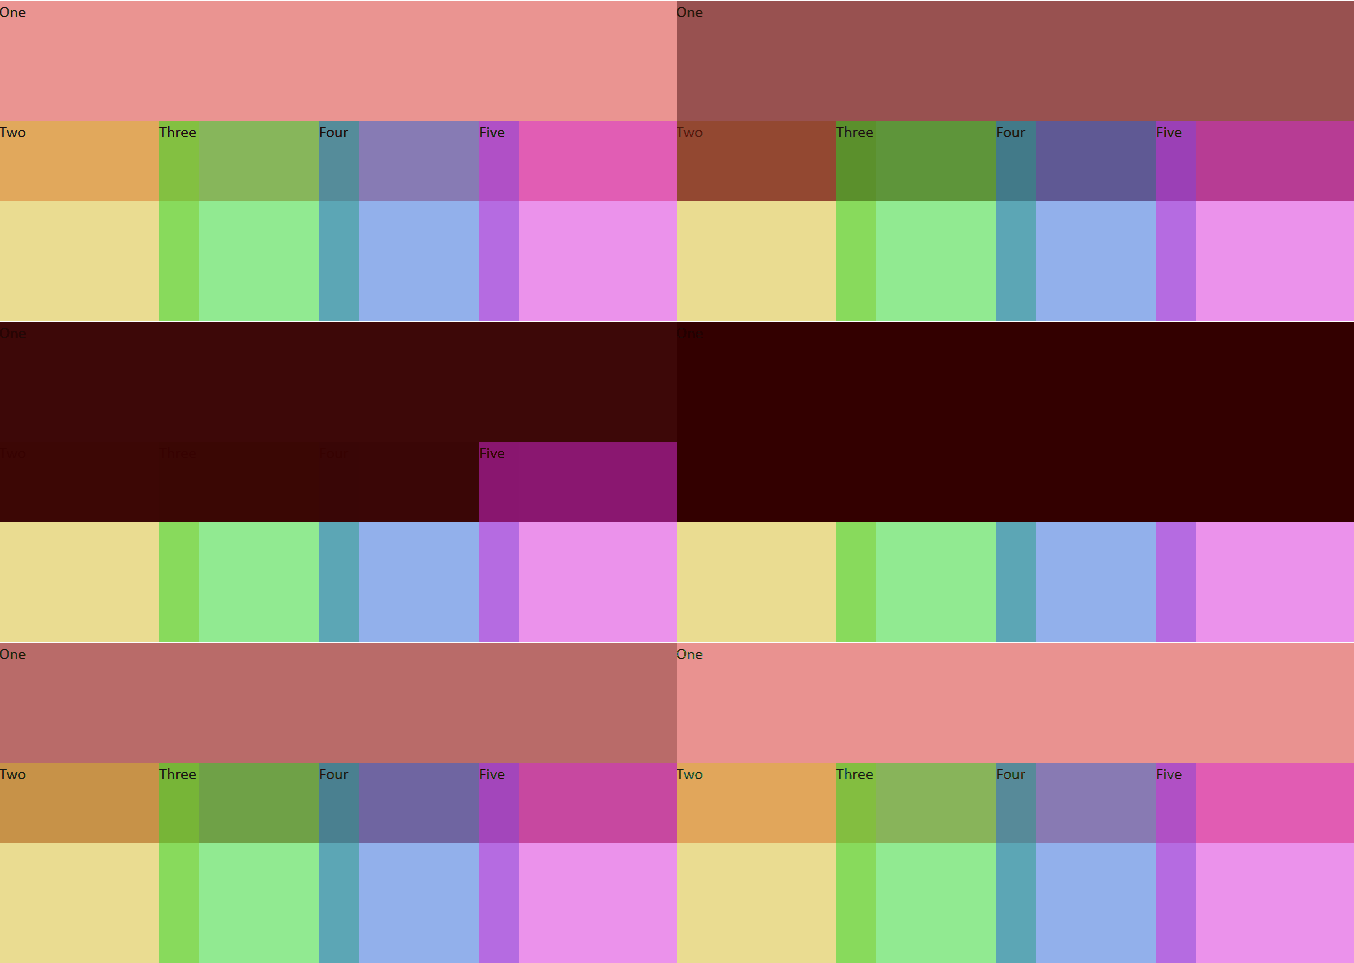
A great example of how this works.
That's all for today. We hope that in this article you have found something new and useful for yourself. See you soon.
PS Special thanks to DonSinDRom user, who literally falls asleep to me with links to new interesting css-chips after each article :)
Source: https://habr.com/ru/post/245997/
All Articles