How to add Bing Maps to a Windows application in HTML and JavaScript. Part 1
Hello!
In this article we will learn how to work with Bing-cards in Windows-based applications. As a result, we’ll get a JavaScript application using the Bing Maps SDK .
')
In addition to using the card in the application, we will consider additional features of the SDK. Let's learn how to change the map view, add tags and descriptions to them.
Installing Bing Maps SDK
The first step towards using Bing Maps in your application is to install the Bing Maps SDK. To install the SDK, click on the link , download and install the proposed vsix file.
Adding Bing Maps to a project
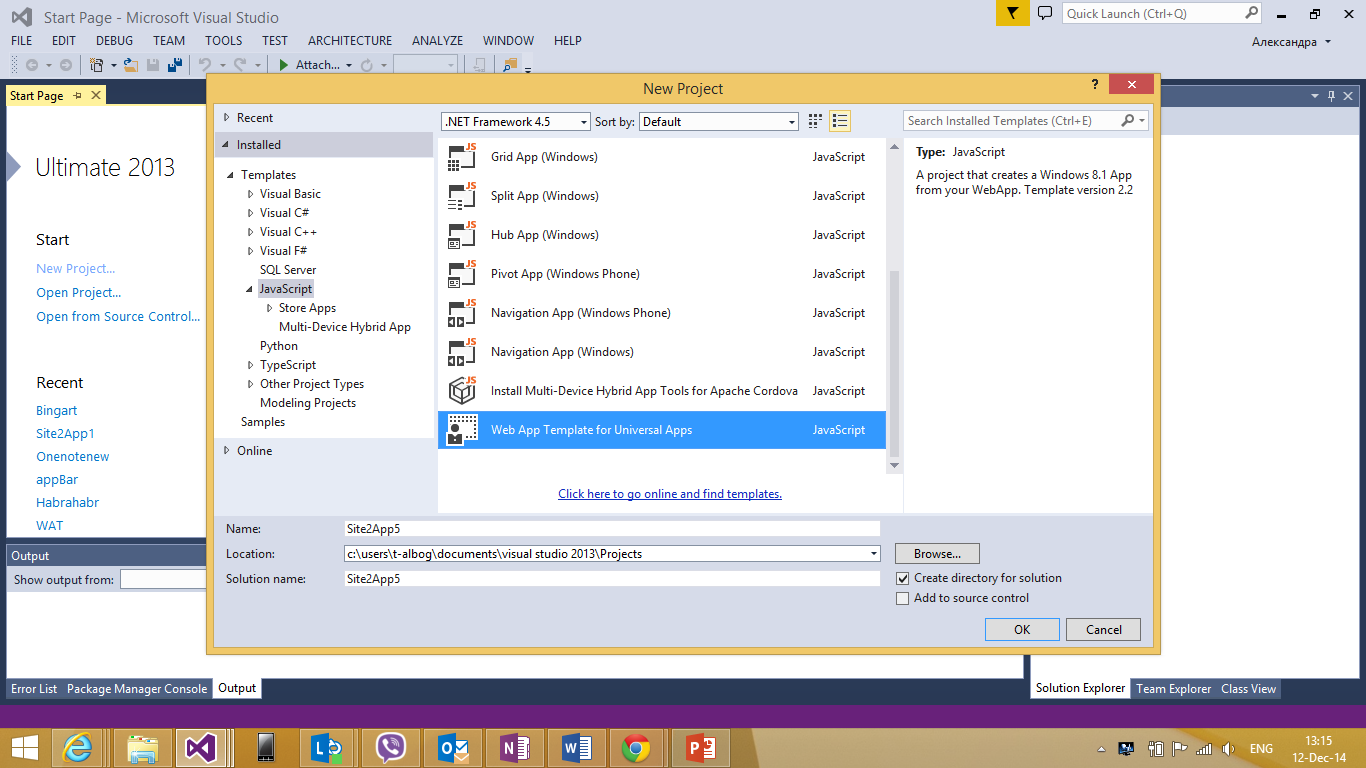
Open Visual Studio and create an empty JavaScript project -> Store Apps -> Windows App .
Add a link to the Bing Maps SDK. To do this, in Solution Explorer, right-click on the References folder, then on Add Reference . Select Windows -> Extensions , then Bing Maps for JavaScript .
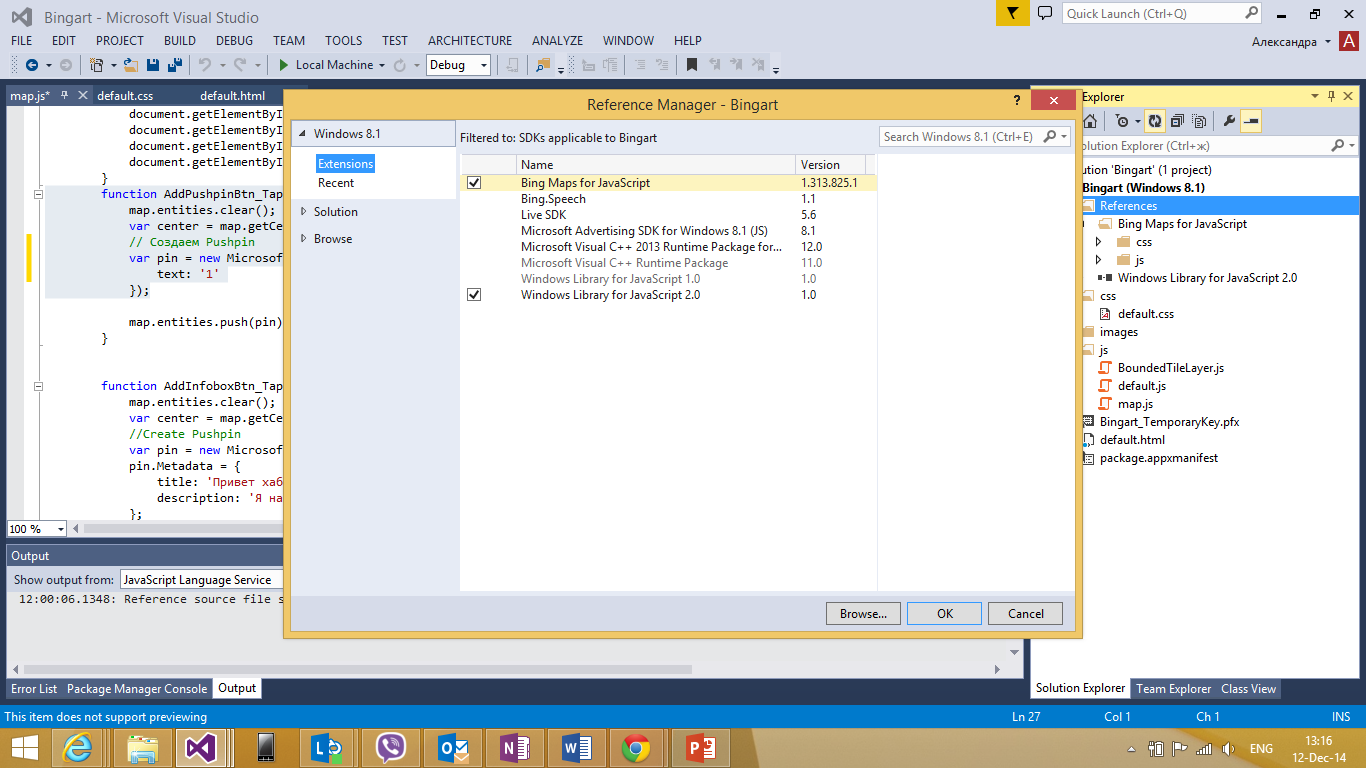
Please note : there are two javascript files in the js referenc folder of Bing Maps for JavaScript . The veapicore.js file is responsible for downloading maps to your application, and in the file veapiModules.js is the code that is used when connecting additional Bing Maps modules.
The next step in creating applications using the Bing Maps API is to obtain the Bing Maps Key .
Getting the Bing Maps Key
To get the Bing Maps Key key, go to http://www.bingmapsportal.com/ and sign in with your Microsoft account. If you do not have a Microsoft account, you can create one here .
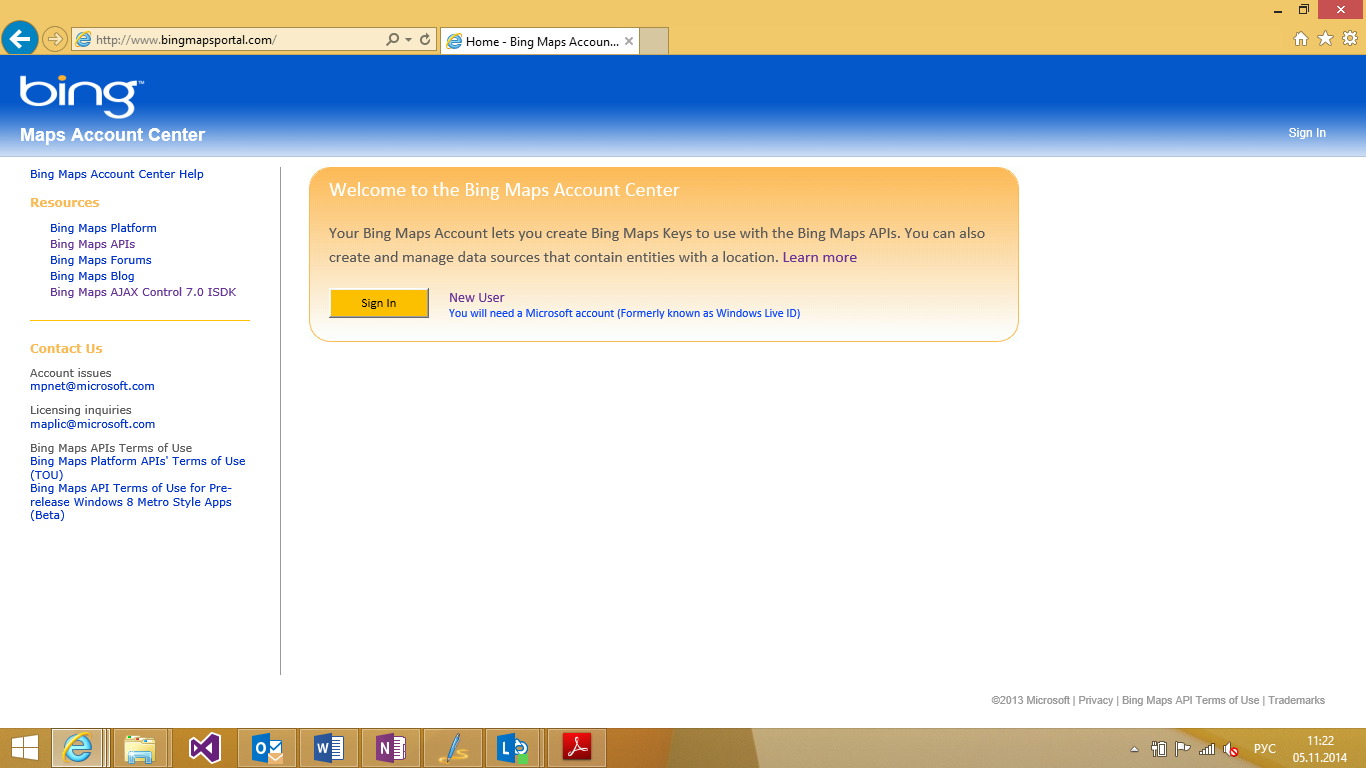
In the menu on the right, click on the “Create or view keys” link. A menu opens where you will need to enter information about your application — its name (Application name), address (if published), specify the type of application and the type of key you need, and fill in the captcha.
Pay attention to the types of keys. Details about the available types of keys can be found here .
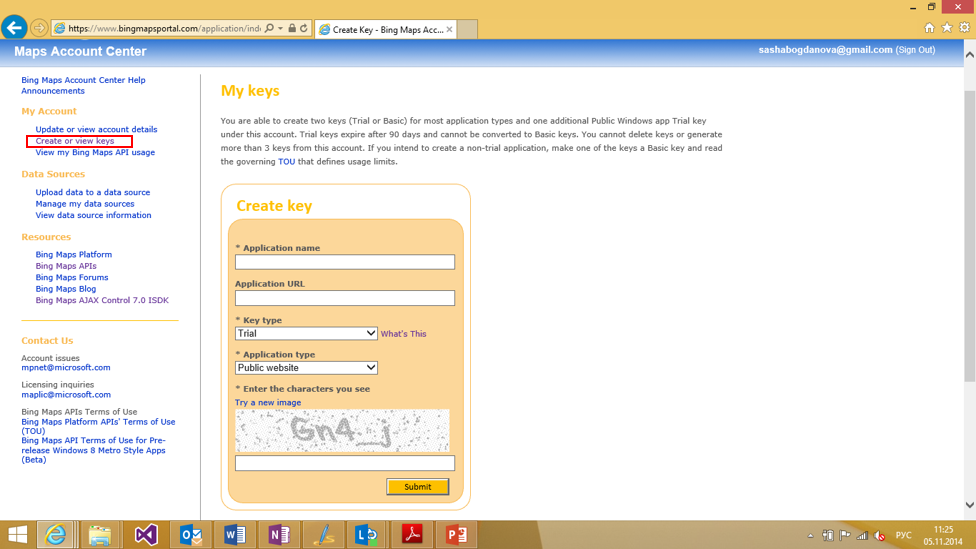
After creating the key at the bottom of the “Create or view keys” page of http://www.bingmapsportal.com/, you can see the details of the created key.

Preparing to create an application is finished. Let's proceed directly to working with maps.
Adding Bing Maps to your app
We need to add links to the veapiModules.js and veapicore.js files of the Bing Maps library:
<script type="text/javascript" src="ms-appx:///Bing.Maps.JavaScript//js/veapicore.js"></script> <script type="text/javascript" src="ms-appx:///Bing.Maps.JavaScript//js/veapiModules.js"></script> Add a div block at the place where you want to render the map.
<div id="myMap"> </div> In the JavaScript file that describes the application logic, add the following code to initialize the map.
(function () { var map; function initialize() { Microsoft.Maps.loadModule('Microsoft.Maps.Map', { callback: GetMap }); } function GetMap() { map = new Microsoft.Maps.Map(document.getElementById("myMap"), { credentials: "YOUR_BING_MAPS_KEY" }); } document.addEventListener("DOMContentLoaded", initialize, false); })(); Replace YOUR_BING_MAPS_KEY with your Bing Maps Key dongle obtained above.
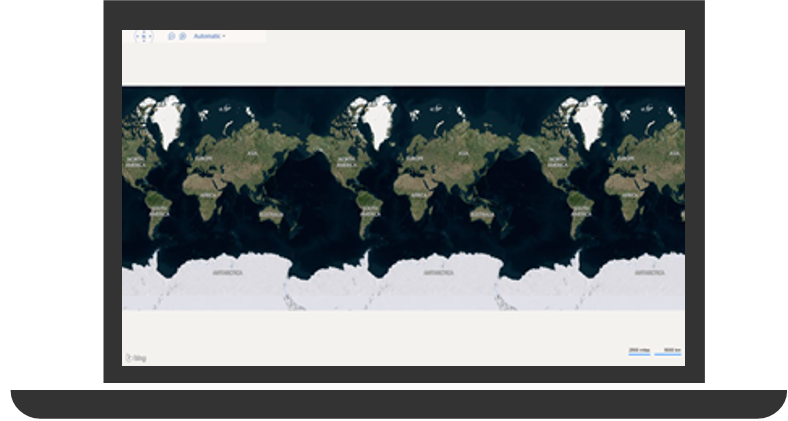
Done! Already, a world map is displayed, where you can navigate, change the scale and its appearance using standard controls located in the upper left corner.
In the Bing Maps SDK, there is a standard set of properties that allows you to customize the look and style of the map display. Let's see what properties are available and how they can be applied.
Basic map settings
Description of all properties for the main map settings in the application you can find here: MapOptions Object and here: ViewOptions Object .
Let's take a look at some of the properties available. For example, you can set the map to be loaded with specific coordinates in the center, determine the scale of the map when loading and set the type of map that will be displayed when the application starts.
The following are the main types of map views available:
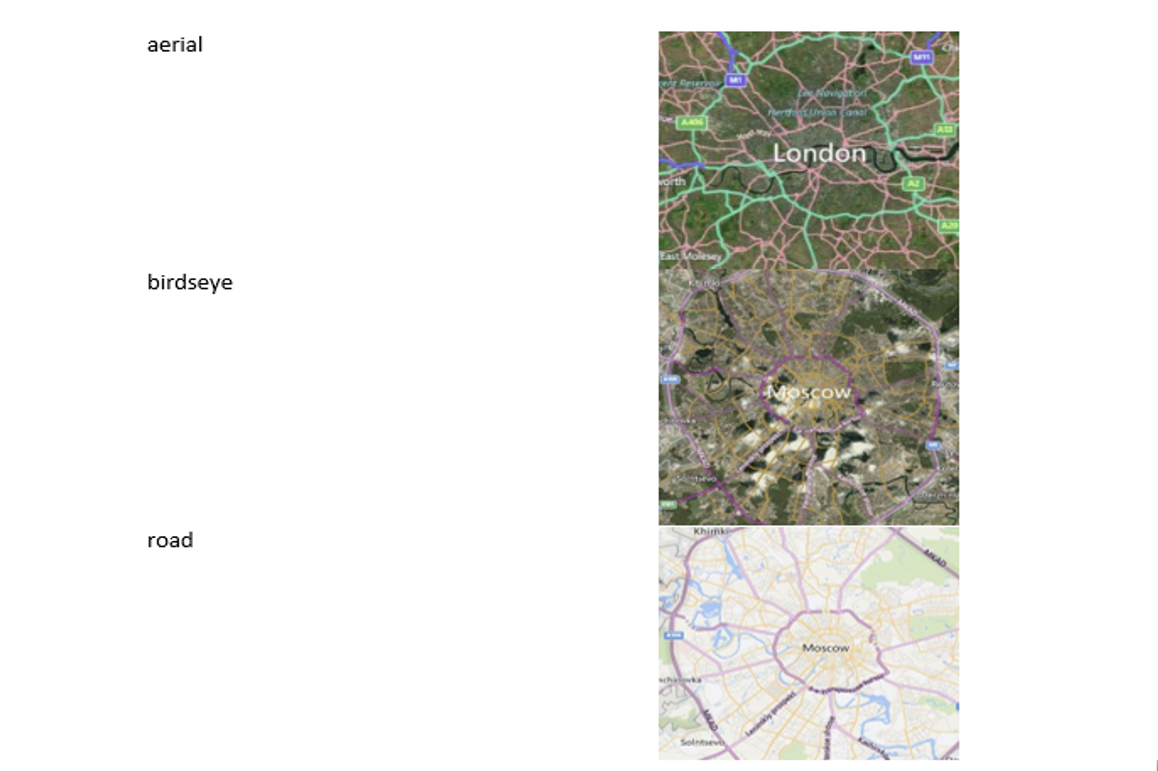
Note:
- Some map display modes (for example, aerial) may not be available for a specific city.
- You can determine the type of map auto, to load the automatic display mode depending on the scale of the map
- The map display mode can be changed manually in the upper left corner.
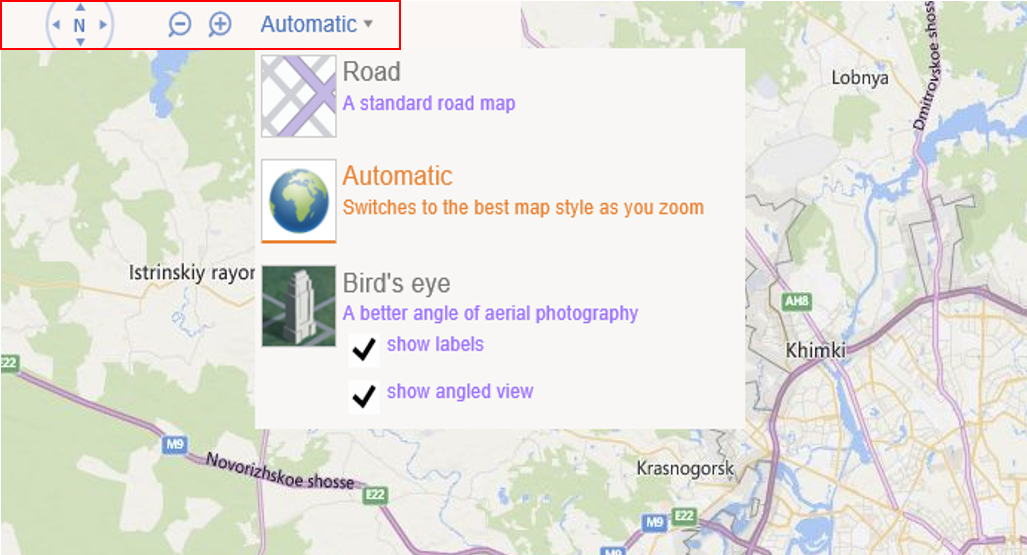
I chose an automatic display mode for my map. In order for Moscow to be the center of my map, and the map was displayed with the desired scale (in my case 10), I used the following settings:
function GetMap() { map = new Microsoft.Maps.Map(document.getElementById("myMap"), { credentials: " YOUR_BING_MAPS_KEY ", center: new Microsoft.Maps.Location(55.7521203, 37.6176651), mapTypeId: Microsoft.Maps.MapTypeId.auto, zoom: 10 }); } Bing Maps SDK allows you to add additional modules for working with maps. Let's see how we can improve our map with standard modules. In this part of the article we will consider simple functions - adding a label in the center of the map with additional information, determining GPS coordinates and adding information about traffic jams.
Adding additional Bing Maps modules
Adding a label to the map
To add a label (PushPin) to the center of the map, define the function of pressing the Pushpin button as follows:
function AddPushpinBtn_Tapped() { map.entities.clear(); var center = map.getCenter(); // Pushpin var pin = new Microsoft.Maps.Pushpin(center, { text: '1' }); This code will update the map and add to it a label with the inscription "1".
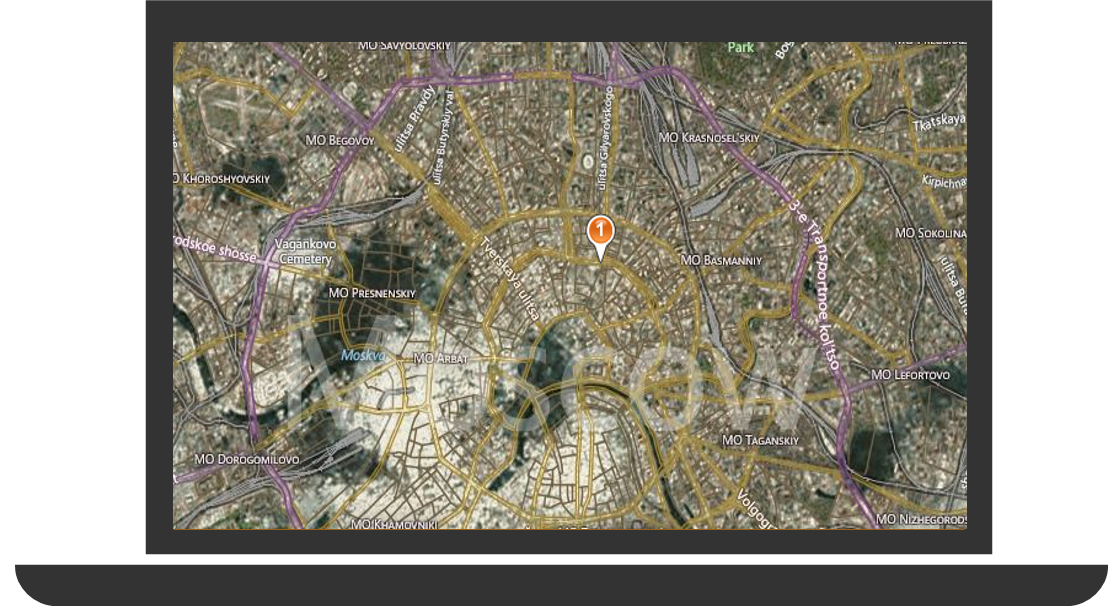
Label stylization
You can add your own icon to display the label. To do this, add your image to the project and add the following properties to the code creation code - icon, width and height (icon, width and height):
var pin = new Microsoft.Maps.Pushpin(center, { icon: 'images/pin.png', width: 45, height: 38, text: '1' }); 
Adding your own picture is not the only way to modify the label. You can add an inscription instead of a picture, for example:
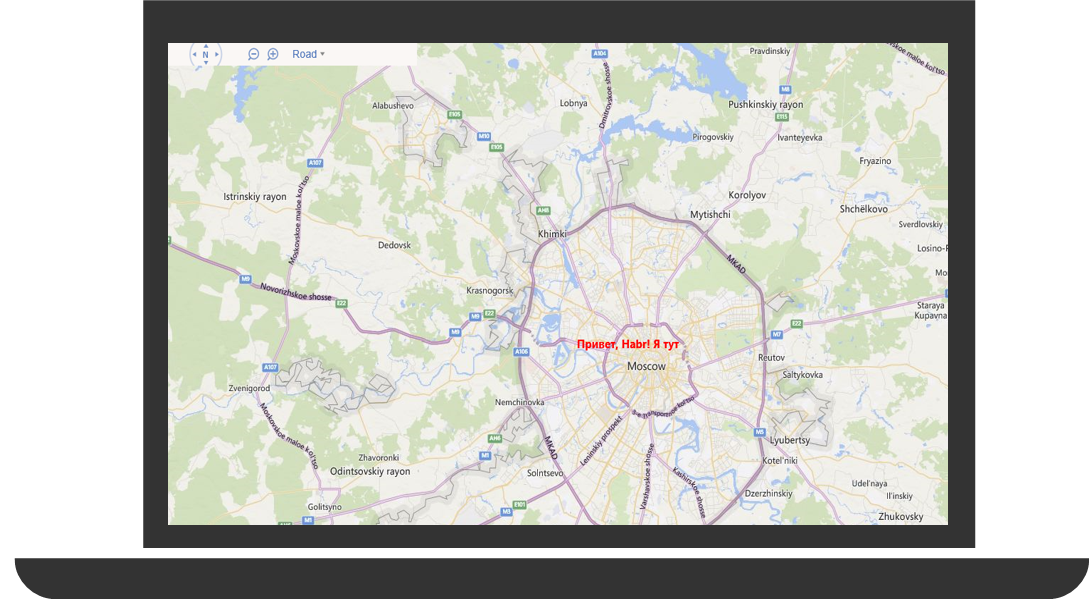
To add text instead of a picture, add a line to the label description:
var pin = new Microsoft.Maps.Pushpin(center, { htmlContent: '<span style="color:red;font-weight:bold;">, Habr!</span>' }); You can also add a description of the label, the so-called InfoBox.
Add Infobox
Infobox - a panel for displaying information over the map. Infobox is often used to display information related to a place after clicking on a label. A list of all available methods for working with Infobox can be found here, properties are available here.
Adding an infobox to a tag consists of several steps:
- creating a label and adding it to the map
- adding an infobox open event when clicking on a label
- creating infobox and adding label coordinate data
- directly adding infobox to the map
function AddInfoboxBtn_Tapped() { map.entities.clear(); var center = map.getCenter(); // var pin = new Microsoft.Maps.Pushpin(center); pin.Metadata = { title: ', !', description: ' .' }; // infobox Microsoft.Maps.Events.addHandler(pin, 'click', OpenInfobox); // . map.entities.push(pin); } function OpenInfobox(e) { if (e.target && e.target.getLocation && e.target.Metadata) { // pushpin var loc = e.target.getLocation(); //C infobox'a var infoboxOptions = { offset: new Microsoft.Maps.Point(0, 15), title: e.target.Metadata.title, description: e.target.Metadata.description, }; // infobox var infobox = new Microsoft.Maps.Infobox(loc, infoboxOptions); // infobox map.entities.push(infobox); } } Please note : when adding a label, we used the standard Metadata property. In this example, the name and coordinates information of the label are contained inside Metadata.
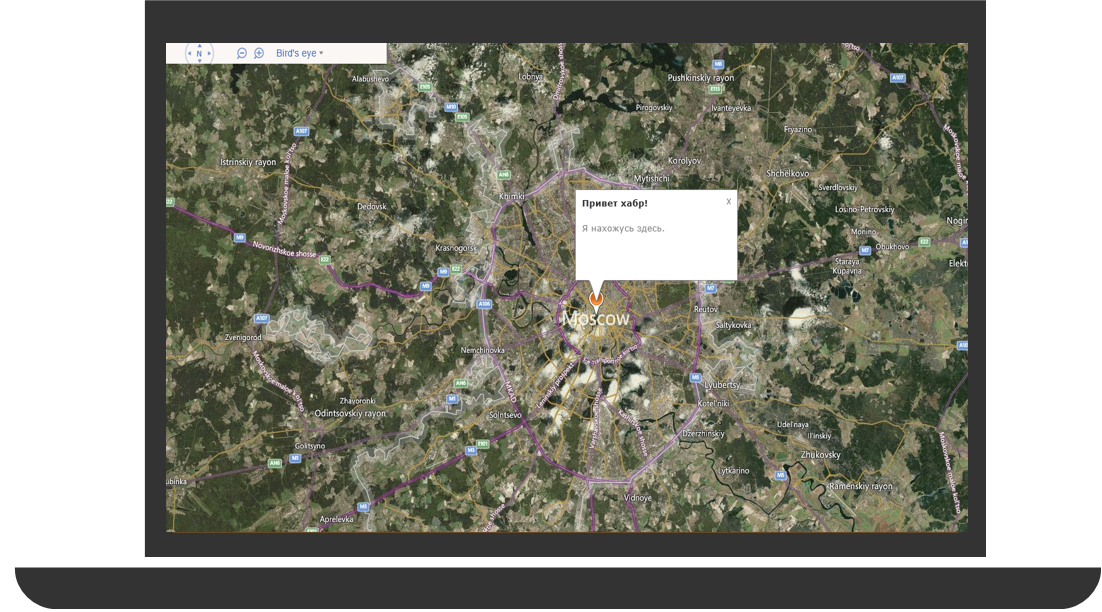
Fine! Now we know how to work with tags, add from and stylize.
Conclusion
This was the first article about Bing Maps, we managed to create an application that displays a world map, and we also got acquainted with some additional features that Bing Maps support. In the next part we will deal with the addition of other interesting features of the card, for today - everything :)
Update: The second part of the article has been published. Learn how to add the ability to display the current coordinates and get directions here !
Additional links
Bing maps developer center
Bing Maps SDK for Windows 8.1 Store Applications
Bing Maps on MSDN
Bing Maps Video
MVA mobile development course for web developers
Download free or trial Visual Studio
Try Microsoft Azure
Learn Microsoft Virtual Academy courses
Source: https://habr.com/ru/post/245683/
All Articles