About creating platformer on Unity. Part 4.1, the villainous
Hi, Habr!
Enough time has passed since the last article from this cycle (and even more from the preceding articles ), so it's time to come back and tell you how to make the most insidious and villainous part of any computer game - enemies. I will make a reservation in advance: here we will not consider the creation of artificial intelligence for opponents of your character. Let's look at what types of opponents are most common in platformers and how to implement them using Unity.
')
Carefully, there are still a lot of gifs under the cut!
Disclaimer: all the code shown in the article is not a role model, an example of an ideal code and other things that are fictional and do not exist in nature. Practitioners applied in the article may be one of the many solutions to a specific problem. And may not be.
So let's go. I identified four main types of objects that can somehow prevent the hero of your game from achieving the goal:
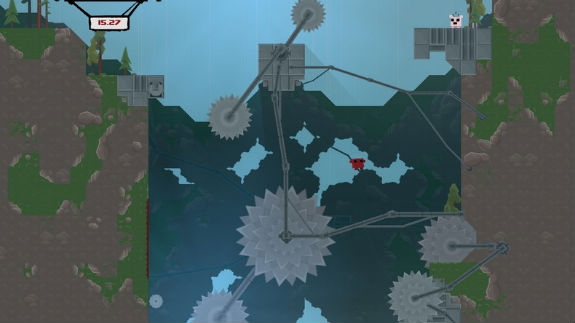
1) Static (rotating saws, "deadly" blocks, etc.)
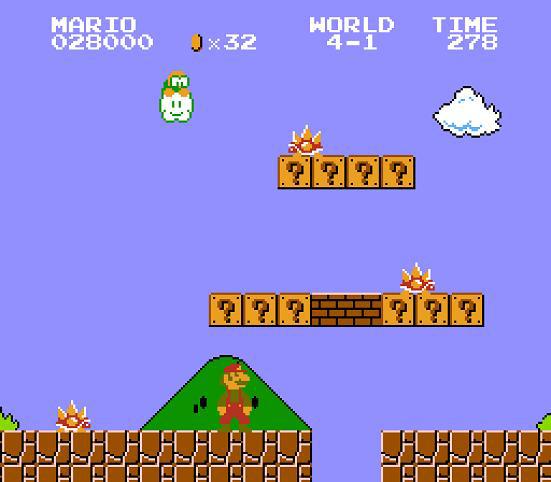
2) Walking on platforms (mushrooms and turtles from Super Mario Bros)
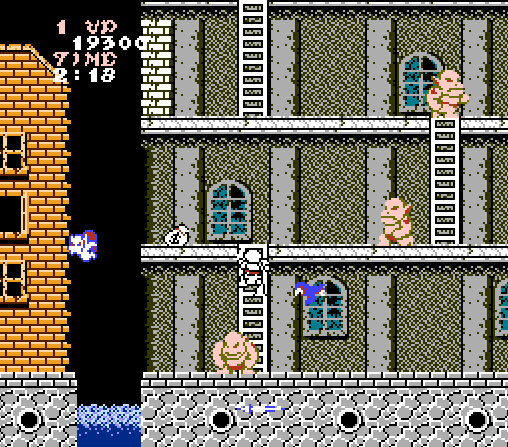
3) Flying (crows from the second level Ghosts and Goblins)
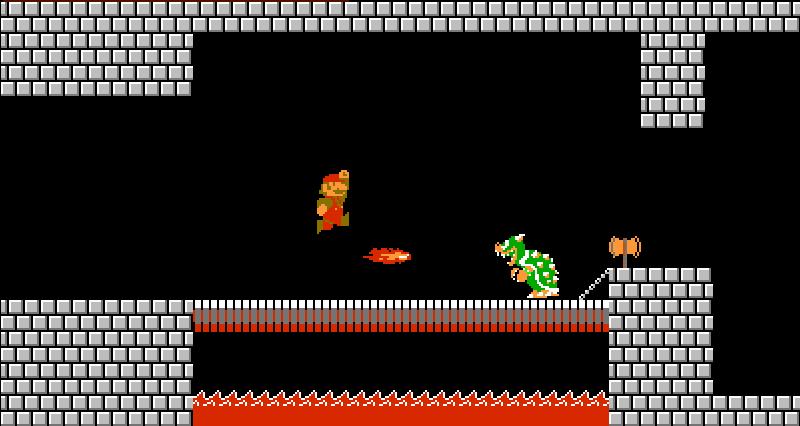
4) Shooting (Bauzya fromhis castle of the same Mario)
There are still bosses, but they can combine all the above types, so we will not dwell on them.
1) Static obstacles.
We make a rotating saw. To implement such an “enemy”, literally a couple of things are needed - a saw sprite and a script that will rotate it. No sooner said than done.
Drag the sprite onto the stage:
Create a new script (as usual, this is very simple)
And add the code there that looks like this:
In the public variable speed is set the speed of rotation. It is important to note that a positive value rotates the saw counter-clockwise, and a negative value - clockwise.
Now, in order to interact with the saw, add some collider to it (described in detail in the most interesting previous parts) and change the object tag to something appropriate in this situation.
Tags are good stuff. We can assign the player tag to the player, the enemy tag to the enemy, and the level to the walls and the floor. After this simple procedure, verification of what we, for example, have encountered, will be much easier. And you can also find some one (or all that is on the scene) object with a specific tag. This is done like this:
An array of all objects with a given tag can be obtained using the FindGameObjectsWithTag method - there is simply no other place.
Let's return to our saws and create a new tag for the enemies in the game.
In the character script, add the following check.
As you can see, everything is elementary: we check for collisions, we check the tag of what we encountered. If everything is bad, restart the level. Or take a life. Or something like that. You did play platformers, right?
Here is how it all looks in the end:
So, simply and quickly, we created the first enemy - which, of course, is not the enemy, but quite an obstacle. Go ahead.
2) Walking, crawling and other enemies moving along the platforms.
To an unprepared reader, it may seem that this type of enemy is more difficult to implement than the first. I hasten to calm - this is not at all the case. As in the past case, we need some kind of sprite, a collider on it, a script and a platform on which all this will move. Only a rigidbody2D will be added to this small list so that physics will act on the enemy and you can set its speed.
Unfortunately, I don’t know how to draw and my creative talent was enough only for such a villain:

To move it use the following script
We set the speed of the enemy and the direction of his movement (-1 - left, 1 - right), which can be changed in a collision with the walls, for example. Then simply set the horizontal speed, which is equal to the product of the values of speed and direction.
“But he is looking to the right, and he is moving to the left!” - the attentive reader will notice. Let's fix this and we will turn the sprite according to the direction of movement:
And learn to unfold in a collision with a wall. To do this, we will do at the level of a couple of walls with the tag “wall” and write the handling of collisions. Here is this:
Now that everything is in place, the final result will look like this.
It only remains to add the enemy Enemy tag in order to make it really dangerous for our character.
Let's summarize the subtotal. We have analyzed how two types of “enemies” are created in 2D platformers: static and level moving. As you can see, this is really very simple and the basic implementation takes very little time.
In the next part I will tell you how to create two other types of enemies - flying and shooting.
Stay tuned - it will be interesting!
Previous series:
Part one in which we learn to walk
Part two in which we learn to lose
Part three, in which we have fun with physics
Explore Microsoft Virtual Academy courses on game development and other technologies.
Unity Game Programming Introduction
Fascinating C # Programming
Download Unity
Download free or trial Visual Studio
Become a universal Windows application developer
Try Azure for free for 30 days!
Enough time has passed since the last article from this cycle (and even more from the preceding articles ), so it's time to come back and tell you how to make the most insidious and villainous part of any computer game - enemies. I will make a reservation in advance: here we will not consider the creation of artificial intelligence for opponents of your character. Let's look at what types of opponents are most common in platformers and how to implement them using Unity.
')
Carefully, there are still a lot of gifs under the cut!
Disclaimer: all the code shown in the article is not a role model, an example of an ideal code and other things that are fictional and do not exist in nature. Practitioners applied in the article may be one of the many solutions to a specific problem. And may not be.
So let's go. I identified four main types of objects that can somehow prevent the hero of your game from achieving the goal:
1) Static (rotating saws, "deadly" blocks, etc.)
2) Walking on platforms (mushrooms and turtles from Super Mario Bros)
3) Flying (crows from the second level Ghosts and Goblins)
4) Shooting (Bauzya from
There are still bosses, but they can combine all the above types, so we will not dwell on them.
1) Static obstacles.
We make a rotating saw. To implement such an “enemy”, literally a couple of things are needed - a saw sprite and a script that will rotate it. No sooner said than done.
Drag the sprite onto the stage:
Create a new script (as usual, this is very simple)
And add the code there that looks like this:
using UnityEngine; using System.Collections; public class rotator : MonoBehaviour { public float speed = 0.04f; void Update () { transform.Rotate (new Vector3 (0f, 0f, speed * Time.deltaTime)); } } In the public variable speed is set the speed of rotation. It is important to note that a positive value rotates the saw counter-clockwise, and a negative value - clockwise.
Now, in order to interact with the saw, add some collider to it (described in detail in the most interesting previous parts) and change the object tag to something appropriate in this situation.
Tags are good stuff. We can assign the player tag to the player, the enemy tag to the enemy, and the level to the walls and the floor. After this simple procedure, verification of what we, for example, have encountered, will be much easier. And you can also find some one (or all that is on the scene) object with a specific tag. This is done like this:
GameObject someEnemy = GameObject.FindGameObjectWithTag ("Enemy"); An array of all objects with a given tag can be obtained using the FindGameObjectsWithTag method - there is simply no other place.
Let's return to our saws and create a new tag for the enemies in the game.
In the character script, add the following check.
void OnCollisionEnter2D(Collision2D col){ if (col.gameObject.tag == "Enemy") Application.LoadLevel (Application.loadedLevel); } As you can see, everything is elementary: we check for collisions, we check the tag of what we encountered. If everything is bad, restart the level. Or take a life. Or something like that. You did play platformers, right?
Here is how it all looks in the end:
So, simply and quickly, we created the first enemy - which, of course, is not the enemy, but quite an obstacle. Go ahead.
2) Walking, crawling and other enemies moving along the platforms.
To an unprepared reader, it may seem that this type of enemy is more difficult to implement than the first. I hasten to calm - this is not at all the case. As in the past case, we need some kind of sprite, a collider on it, a script and a platform on which all this will move. Only a rigidbody2D will be added to this small list so that physics will act on the enemy and you can set its speed.
Unfortunately, I don’t know how to draw and my creative talent was enough only for such a villain:
To move it use the following script
using UnityEngine; using System.Collections; public class walkingEnemy : MonoBehaviour { public float speed = 7f; float direction = -1f; // Use this for initialization void Start () { } // Update is called once per frame void Update () { rigidbody2D.velocity = new Vector2 ( speed * direction, rigidbody2D.velocity.y); } We set the speed of the enemy and the direction of his movement (-1 - left, 1 - right), which can be changed in a collision with the walls, for example. Then simply set the horizontal speed, which is equal to the product of the values of speed and direction.
Funny fact
Funny fact - if you put a fixedAngle checkbox on a rigidbody2D, then the enemy will crawl, and if you remove it, then
“But he is looking to the right, and he is moving to the left!” - the attentive reader will notice. Let's fix this and we will turn the sprite according to the direction of movement:
using UnityEngine; using System.Collections; public class walkingEnemy : MonoBehaviour { public float speed = 7f; float direction = -1f; // Use this for initialization void Start () { } // Update is called once per frame void Update () { rigidbody2D.velocity = new Vector2 ( speed * direction, rigidbody2D.velocity.y); transform.localScale = new Vector3 (direction, 1, 1); } } And learn to unfold in a collision with a wall. To do this, we will do at the level of a couple of walls with the tag “wall” and write the handling of collisions. Here is this:
void OnCollisionEnter2D(Collision2D col){ if (col.gameObject.tag == "Wall") direction *= -1f; } Now that everything is in place, the final result will look like this.
It only remains to add the enemy Enemy tag in order to make it really dangerous for our character.
Let's summarize the subtotal. We have analyzed how two types of “enemies” are created in 2D platformers: static and level moving. As you can see, this is really very simple and the basic implementation takes very little time.
In the next part I will tell you how to create two other types of enemies - flying and shooting.
Stay tuned - it will be interesting!
Previous series:
Part one in which we learn to walk
Part two in which we learn to lose
Part three, in which we have fun with physics
Some more useful links
Explore Microsoft Virtual Academy courses on game development and other technologies.
Unity Game Programming Introduction
Fascinating C # Programming
Download Unity
Download free or trial Visual Studio
Become a universal Windows application developer
Try Azure for free for 30 days!
Source: https://habr.com/ru/post/245473/
All Articles