What is blender a photographer for?
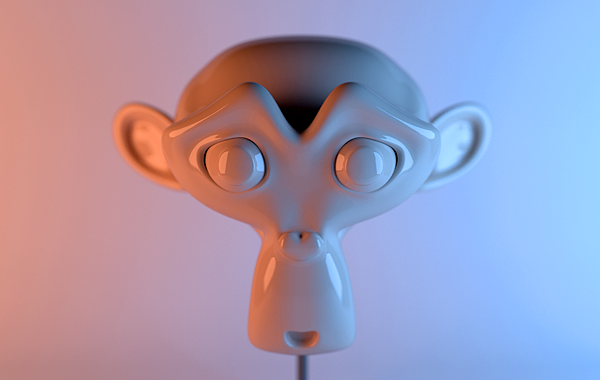
Are there any photo studio emulators? This question was once asked by my friend, studying the prices for the rental of illuminators and recalling the first experiments with table lamps and drawing paper sheets. Good studio lighting is expensive, requires a darkened room and special backgrounds. In the virtual world, experiments with light are not limited by anything, and the result can be repeated in reality with a ready-made scheme. We found several applications. Pay and even online . But my hands itched to make something of their own. He singled out a couple of days off for a blessed business and modeled a virtual studio with lighting presets and a “photo model” of Suzanna - the mascot of a free 3D blender editor.
')
First you need the editor itself. It is free. Choose on the site your system, version, bitness and install. After the first launch you will open an empty scene with a cube, a camera and a light bulb. The first thing you will encounter is the unusual behavior of the program: the objects cannot be selected with a left click, instead some striped circle moves. This is a historical feature of the program, the selection of the object PKM. You can immediately switch to a more familiar selection with the left button. Press Ctrl Alt U , the Input tab, look for the Select with switch on the left and change to left . Save settings button below.
Ok, now you can select a cube and move it by the arrows of the axes.
Now open the file with the studio. And we will see the following bohaty:
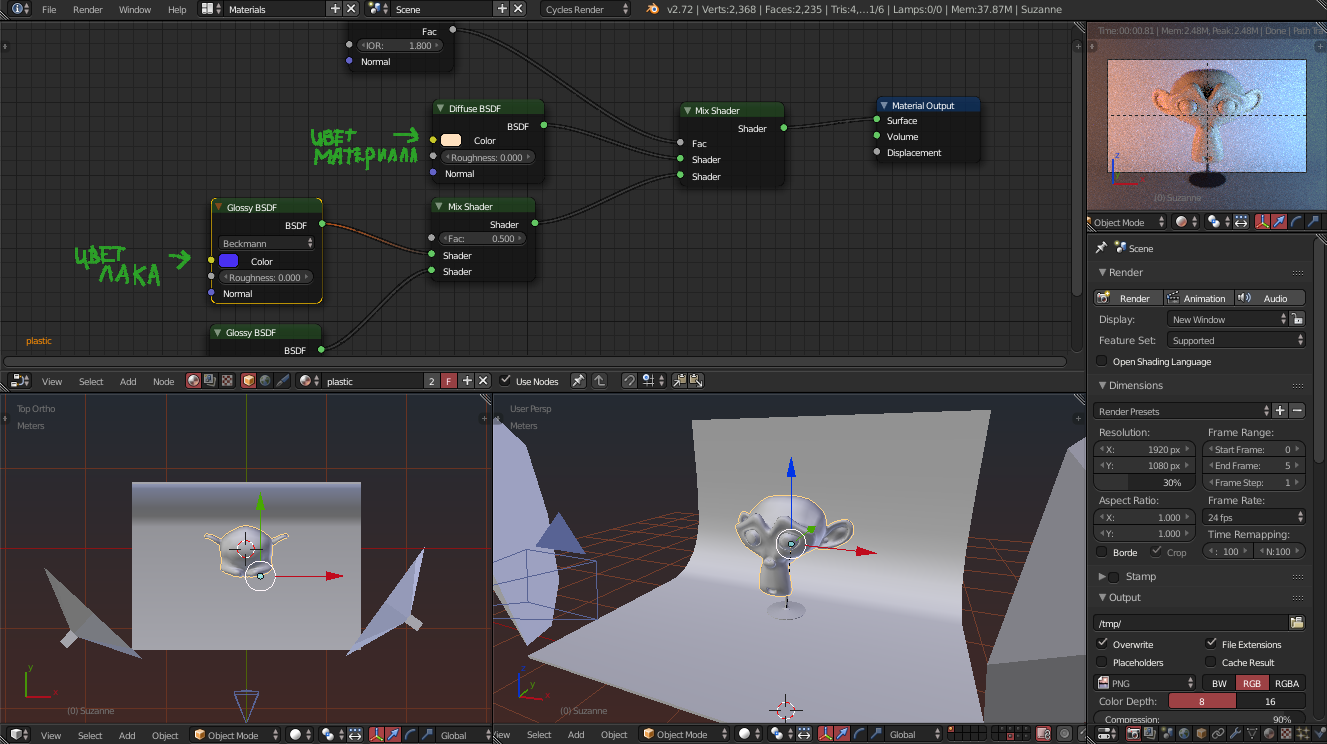
Probably your look will be slightly different in colors, but a trendy skin is included in the package, the link is below. A large field in the upper half of the screen is the node editor. It displays the material settings of the selected object. The blender does not have the usual editor of materials as in Max, the material is edited in the object contest. Select the objects and the nodes of their materials will be displayed in the window.
The 3D window at the bottom left is a view of the scene above. The adjacent window is a perspective view. A small window at the top right is a view from the camera. The options on the right are settings for the render and object properties. The value of them you will learn as you learn, the task of this article is to give a clear overview of the possibility of the editor for beginners who first opened the blender.
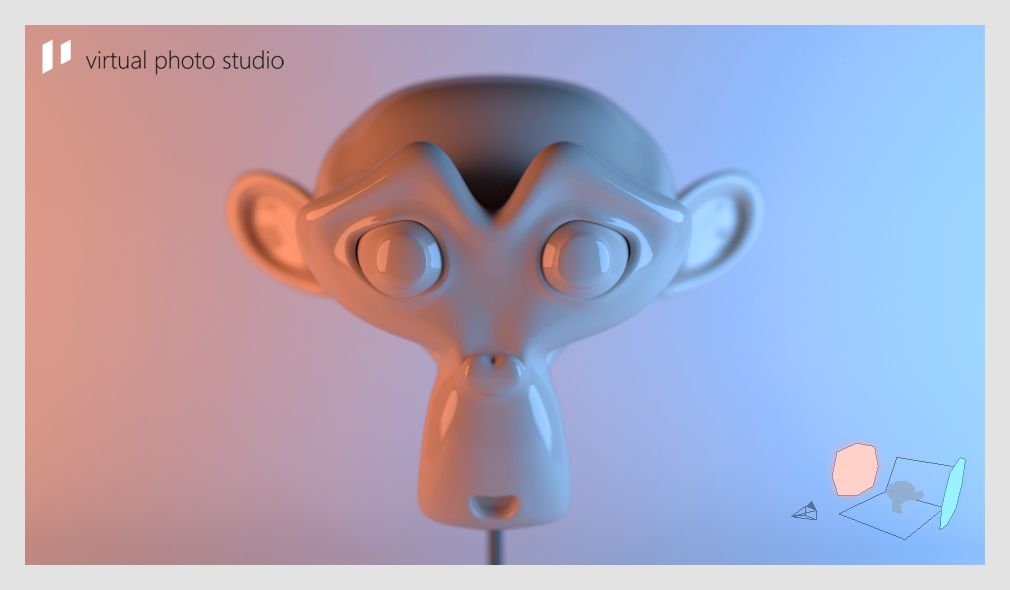
In the scene prepared several lighting schemes.
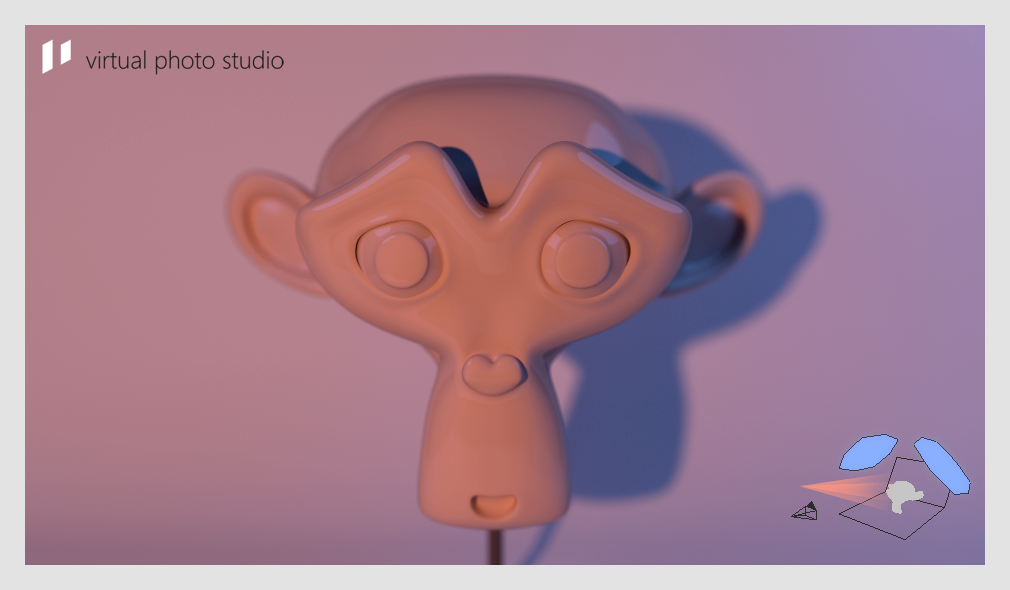
Caramel light from two opposite "softboxes". It used to be a very popular chip among 3Ds, now not really.
Analogue ring flash.

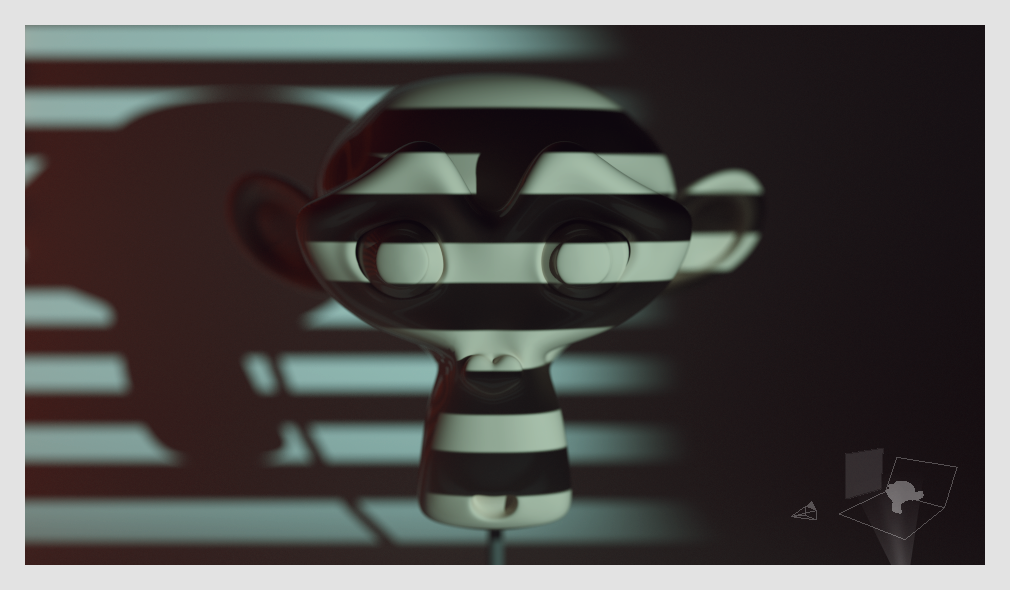
Light imitating the shadow of the blinds.
The setting sun.
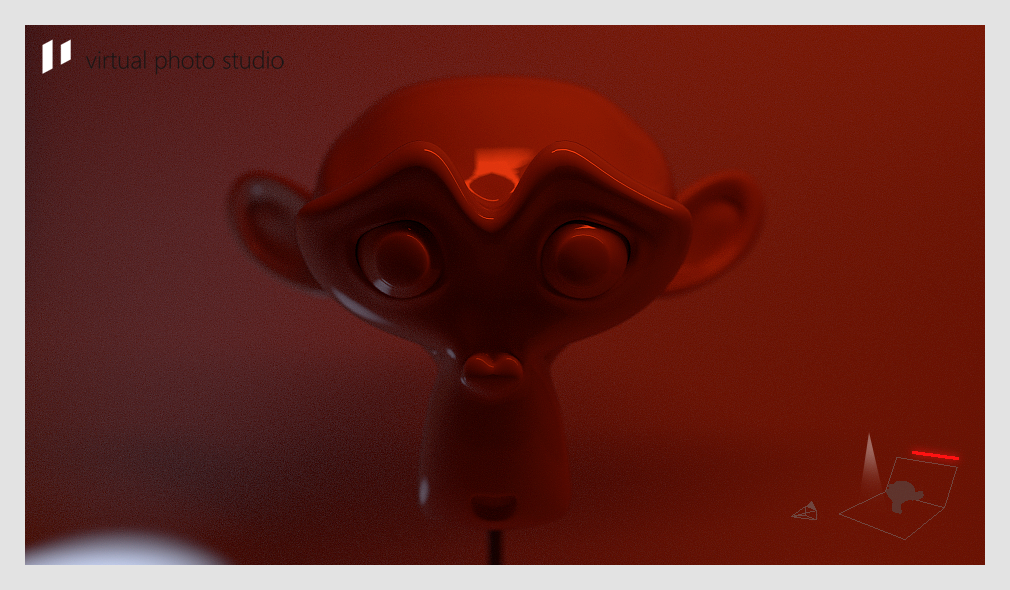
Lighting as in a dark room for printing.
Switching between light patterns is implemented through layers. Layers become visible if you select them in the selector under each projection window. Notice that the monkey layer is in the upper left slot, and the layers are lit on the right side. To select two layers hold Shift . You can try to mix the lighting layers. Experiment :)
I forgot to say the most important thing. Rendering is started by pressing the F12 button. After the scene is calculated, you can save the result as a picture, place the cursor on the result and press F3 .
For ease of use there is a memo .
Link to files:
yadi.sk/d/1oFkCJjld9LyW
What goals would you like to achieve?
- A sandbox in which light sources and indirect reflections are simulated quite correctly.
- Clearly show how the magnitude of the glare and the sharpness of the shadows depend on the size of the light source, how reflexes and shadows behave.
- Draw attention to the editor of a blender. If at least one person gets carried away, I will be very happy.
If the topic turns out to be in demand, I plan to make more realistic light sources, convenient manipulators (in order not to climb into the material settings), a living person model, a more nimble and physically accurate rendering engine with real lamp characteristics.
')
First you need the editor itself. It is free. Choose on the site your system, version, bitness and install. After the first launch you will open an empty scene with a cube, a camera and a light bulb. The first thing you will encounter is the unusual behavior of the program: the objects cannot be selected with a left click, instead some striped circle moves. This is a historical feature of the program, the selection of the object PKM. You can immediately switch to a more familiar selection with the left button. Press Ctrl Alt U , the Input tab, look for the Select with switch on the left and change to left . Save settings button below.
Ok, now you can select a cube and move it by the arrows of the axes.
Very briefly about transformations. In a blender, most actions are tied to shortcuts. At first, it is scary, and after adaptation you are surprised at the speed and convenience of this way of working. If you want to do 3D in a blender, then write out the shortcuts from the very early stages of training. It will be useful. The principle of manipulation with selected objects: a single press of the buttons G (grab), R (rotate), S (scale) activates the movement, rotation and scaling. Just pressing and moving the mouse once is not necessary. Left click is equivalent to enter . Click when moved or rotated the object sufficiently, manipulation will apply to the object. If you press G then Z (or X , Y ) then the movement along one axis will be activated. If you accidentally entered one of the modes, press Esc .
Now open the file with the studio. And we will see the following bohaty:
Probably your look will be slightly different in colors, but a trendy skin is included in the package, the link is below. A large field in the upper half of the screen is the node editor. It displays the material settings of the selected object. The blender does not have the usual editor of materials as in Max, the material is edited in the object contest. Select the objects and the nodes of their materials will be displayed in the window.
The 3D window at the bottom left is a view of the scene above. The adjacent window is a perspective view. A small window at the top right is a view from the camera. The options on the right are settings for the render and object properties. The value of them you will learn as you learn, the task of this article is to give a clear overview of the possibility of the editor for beginners who first opened the blender.
In the scene prepared several lighting schemes.
Caramel light from two opposite "softboxes". It used to be a very popular chip among 3Ds, now not really.
Analogue ring flash.
Light imitating the shadow of the blinds.
The setting sun.
Lighting as in a dark room for printing.
Switching between light patterns is implemented through layers. Layers become visible if you select them in the selector under each projection window.
Notice that the monkey layer is in the upper left slot, and the layers are lit on the right side. To select two layers hold Shift . You can try to mix the lighting layers. Experiment :)I forgot to say the most important thing. Rendering is started by pressing the F12 button. After the scene is calculated, you can save the result as a picture, place the cursor on the result and press F3 .
For ease of use there is a memo .
Link to files:
yadi.sk/d/1oFkCJjld9LyW
What goals would you like to achieve?
- A sandbox in which light sources and indirect reflections are simulated quite correctly.
- Clearly show how the magnitude of the glare and the sharpness of the shadows depend on the size of the light source, how reflexes and shadows behave.
- Draw attention to the editor of a blender. If at least one person gets carried away, I will be very happy.
If the topic turns out to be in demand, I plan to make more realistic light sources, convenient manipulators (in order not to climb into the material settings), a living person model, a more nimble and physically accurate rendering engine with real lamp characteristics.
Source: https://habr.com/ru/post/244977/
All Articles