Add self-registration by users in ownCloud 6
Good day, habravchane!
In my publication I would like to share with you my personal experience of adding a module for self-registration by users to the cloud service. There will be no description about setting LAMP and installing ownCloud, since there are already a lot of instructions and various articles on this topic.
')
I found many articles about setting up ownCloud, and many were from this resource, but on the question: “how to add the possibility of registration?” I found only one source in runet, which, in my opinion, seemed not very informative and not sufficiently complete. Based on this, the idea was born to write this post.
Let's start
Suppose we have a web server with ownCloud installed on Debian Wheezy. The main condition is that the service has never been launched or configured.
Now, let's go in order:
1. First of all we need to download the archive , which has everything you need:
wget http://flexible.xapient.net/wp-content/registration-final.zip 2. Unpack the downloaded archive and copy the registration folder from it to the directory with the cloud service in the core folder:
unzip registration-final cp -R registration /var/www/owncloud/core/ Next, you also need to copy the files from the unpacked archive with the replacement:
- db_structure.xml to the main cloud service folder;
- routes.php to the core folder;
- login.php in the core / templates folder.
cp -f db_structure.xml /var/www/owncloud/ cp -f routes.php /var/www/owncloud/core/ cp -f login.php /var/www/owncloud/core/templates/ At this all manipulations with the archive ended.
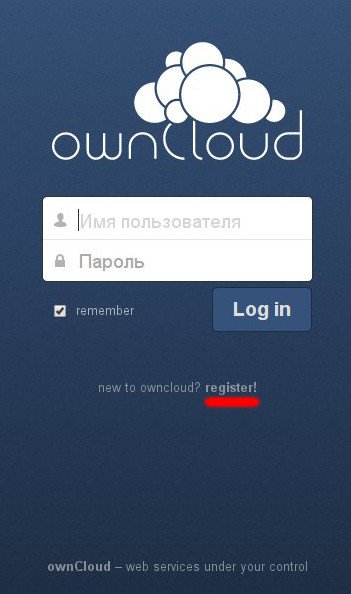
3. Launch ownCloud in the browser, register the administrative account, connect the database. After we exit the service and see the register link on the login and password entry page below. But this is not the end of the module setup.
4. Since in order for a user to receive an email to his e-mail with a link for registration, you need to install and configure some kind of MTA . For this, I used postfix as a relay to send emails from my gmail mail.
Install postfix and mailutils:
apt-get install postfix mailutils Open the config and add it with the lines:
nano /etc/postfix/main.cf relayhost = [smtp.gmail.com]: 587
smtp_use_tls = yes
smtp_sasl_auth_enable = yes
smtp_sasl_password_maps = hash: / etc / postfix / sasl_passwd
smtp_tls_CAfile = /etc/ssl/certs/ca-certificates.crt
smtp_sasl_security_options =
Open (create) the sasl_passwd file:
nano /etc/postfix/sasl_passwd Add a line there:
[smtp.gmail.com]: 587 username: password
Next we do:
postmap /etc/postfix/sasl_passwd cd /etc/postfix chown postfix sasl_passwd* And reload postfix:
/etc/init.d/postfix reload We send a test email to check the postfix performance:
echo "Test mail from postfix" | mail -s "Test Postfix" you@example.com If the letter has not arrived, we look at the logs for errors:
tail /var/log/mail.log At this setting is over, it remains to check the operation of the registration itself.
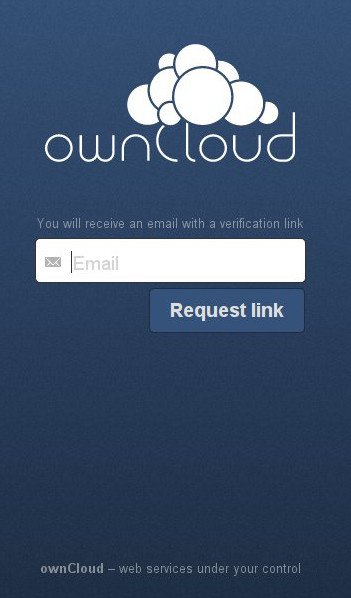
Again, open our cloud service in the browser, click on register , write an e-mail and check the mail, where we should see a letter with a link for further registration.
After the work done, the result will be a cloud service with the possibility of self-registration of the user.
UPD: For everyone who wants to add registrations to the latest versions of ownCloud, you can use this module. Following the link, you will find all the necessary information to add. From the above article will only configure postfix.
Source: https://habr.com/ru/post/243509/
All Articles