WinJS + universal applications. Studying navigation

One of the main things you need to think about at the design stage of the application is how to organize navigation within the application so that users can conveniently work with the content hosted in the application.
There are various types of layouts that allow you to most successfully implement the interaction between the various elements of the application so that it is easy to navigate within the application, as well as to limit the number of controls permanently on the screen.
')
Today we will get acquainted with the basic patterns (layouts) of navigation, as well as see how to implement them within your application.
Basic navigation patterns
Flat pattern
A flat navigation pattern is recommended if the application contains a small number of pages, all pages and tabs are located at the same logical level. Flat template allows you to quickly navigate between pages. It is suitable for those cases when you need to move between different tabs within the application, for example, dialogs in the messenger.
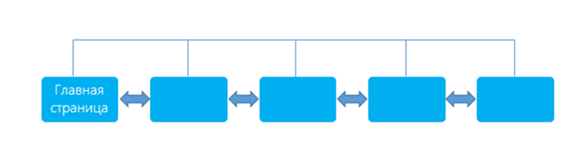

In order to use a flat page template, it is necessary that each page of the application is accessible from any other page, and the user can arbitrarily navigate between the pages.
A good way to create flat navigation in Windows applications is the navigation bar. Let's see how to apply it in the application.
Navigation in Windows applications using the navigation bar
You can implement a flat pattern in the application using the NavBar , NavBarCommand and NavBarContainer controls , which are part of the WinJS library.
For example, let's see how to create a navigation bar with two pages. Create an empty Windows application in Visual Studio and do not forget to add links to the WinJS library. If you are not familiar with WinJS, you can read basic information about this library here .
Add a div block to the main html file of your application and assign the WinJS.UI.NavBar value to the data-win-control attribute . Inside this block, define a NavBarContainer object with NavBarCommand controls .
<div id="navBar" data-win-control="WinJS.UI.NavBar"> <div id="globalNav" data-win-control="WinJS.UI.NavBarContainer"> <div data-win-control="WinJS.UI.NavBarCommand" data-win-options="{ label: 'Home', tooltip: 'Take me home', id:'homeButton', icon: WinJS.UI.AppBarIcon.home, location: '/pages/home/home.html', }"> </div> </div> </div> Please note : for each NavBarCommand control , we set its name, a hint that is displayed when hovering over an item, a button icon - WinJS.UI.AppBarIcon and the address of the page that will be clicked on.
We also need to add event handling code Navigation.onnavigating and Navigation.onnavigated . Here is an example of the handling code for the event Navigation.onnavigated. The handler receives the URL of the location where the transition takes place from the event object (defined in the location property of the data-win-options attribute of the NavBarCommand object). The handler then clears the content node (page control) and renders the new page in the node.
var nav = WinJS.Navigation; nav.onnavigated = function (evt) { var contentHost = document.body.querySelector("#contenthost"), url = evt.detail.location; // WinJS.Utilities.empty(contentHost); // WinJS.UI.Pages.render(url, contentHost); } 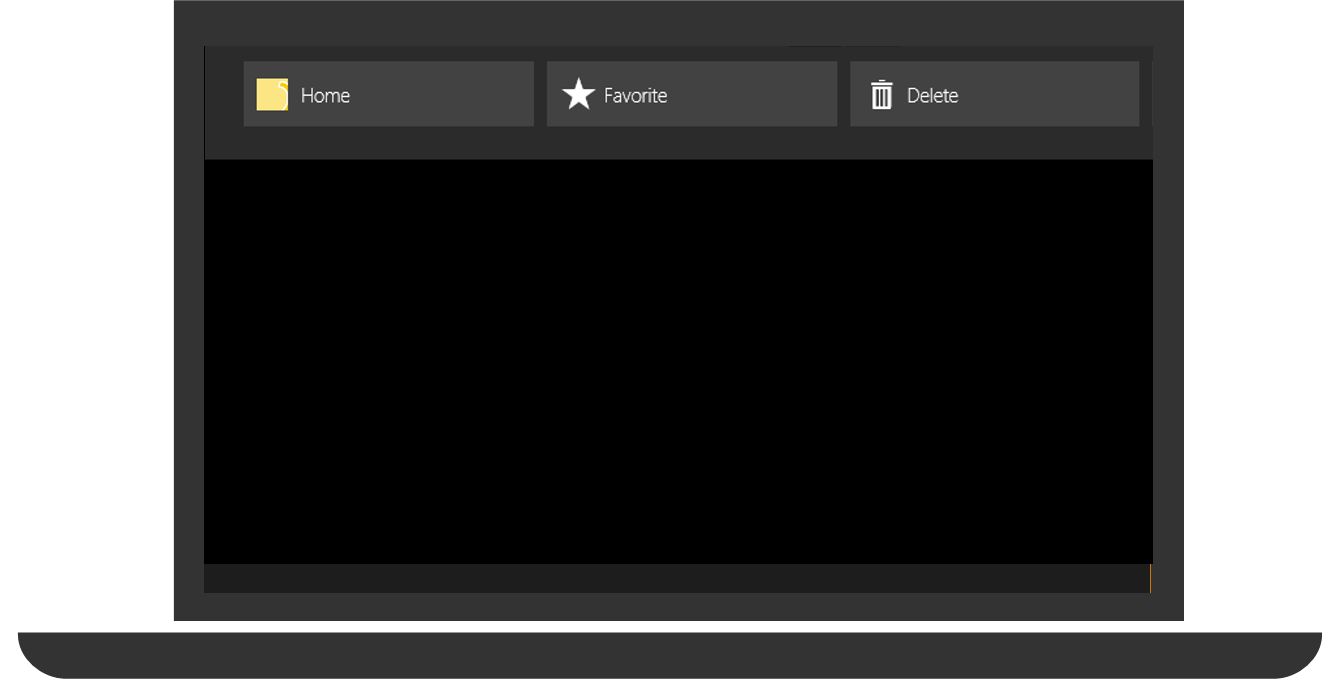
If there is a need to use flat navigation in a Windows Phone application, then you can partially solve this problem by placing the necessary links in the AppBar application menu bar.
Hierarchical pattern
This template is used when the contents of the application can be presented as separate, but interrelated sections or categories with different levels of detail. It is also convenient to use it if the application contains structured content.
When using a hierarchical template, a start page is created in the application - a hub (hub), as well as sections, elements and information. The home page presents all the main features and components of the application. The second level of the application is the page (s) of the application sections. The section pages display samples, a summary, or a brief overview of the elements associated with the section. Each page element has a link to the details page, which is the third level of applications. The details page displays most of the content or features for a particular item selected on the pages of previous levels - a hub and a section.

You can implement a hierarchical template using the Hub control, which is the control of the WinJS library.
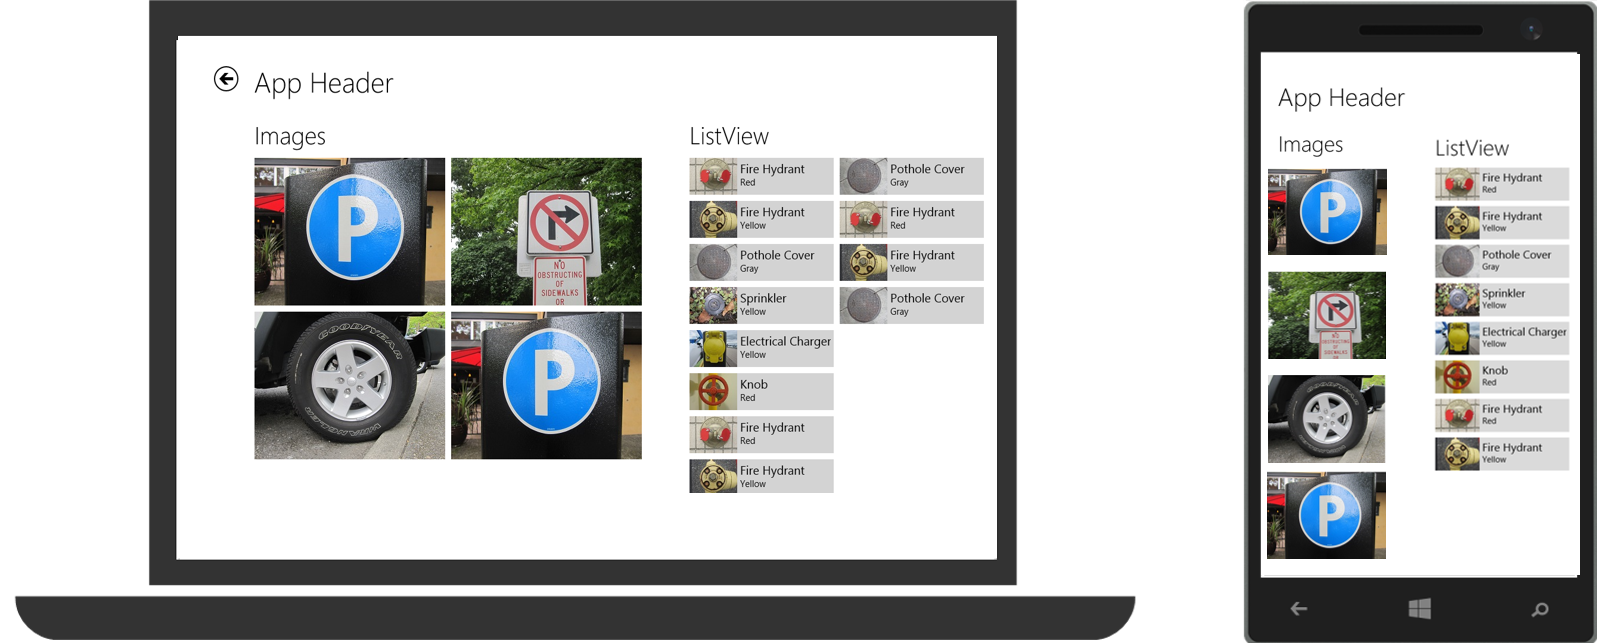
Navigation in Universal Applications with the Hub Control
Create a project that will contain 3 files - html, js, css. In the html file, define the Hub control and several main sections - HubSection objects. If you are not familiar with how to add controls to the WinJS library, read the instructions . The Hub control property, sectionOnScreen, determines the index of the first visible tab. In addition, we will use the following properties of the HubSection object — the header property, which is used to set the section header and the isHeaderStatic property, which determines whether the header is static or dynamic.
<div data-win-control="WinJS.UI.Hub"> <div class="section1" data-win-control="WinJS.UI.HubSection" data-win-options="{header: 'Images', isHeaderStatic: true}"> <div class="imagesFlexBox"> <img class="imageItem" src="/images/circle_image1.jpg" /> <img class="imageItem" src="/images/circle_image2.jpg" /> ... </div> </div> <div id="list" class="section2" data-win-control="WinJS.UI.HubSection" data-win-options="{header: 'ListView', isHeaderStatic: true}"> <div id="listView" class="win-selectionstylefilled" data-win-control="WinJS.UI.ListView" data-win-options="{ itemDataSource: select('.pagecontrol').winControl.myData.dataSource, itemTemplate: smallListIconTextTemplate, selectionMode: 'none', tapBehavior: 'none', swipeBehavior: 'none' }"> </div> </div> </div> After adding the Hub and HubSection objects, we need to initialize them. Note that if some of the objects have dynamic headers, then you need to handle the Hub.onheaderinvoked event. The handler gets the index of the called HubSection object and sets the value of Hub.sectionOnScreen .
(function () { "use strict"; var app = WinJS.Application; var activation = Windows.ApplicationModel.Activation; var hub; app.onactivated = function (args) { if (args.detail.kind === activation.ActivationKind.launch) { if (args.detail.previousExecutionState !== activation.ApplicationExecutionState.terminated) { // . } else { // } args.setPromise(WinJS.UI.processAll()); } // // headerInvoked hub = WinJS.Utilities.query("#hub")[0]; hub.winControl.onheaderinvoked = onHeaderInvoked; }; app.oncheckpoint = function (args) { // }; // HubSection // ( ) function onHeaderInvoked(args) { hub.winControl.sectionOnScreen = args.detail.index; } app.start(); })(); You can add additional controls, such as the BackButton button , and define page styles.
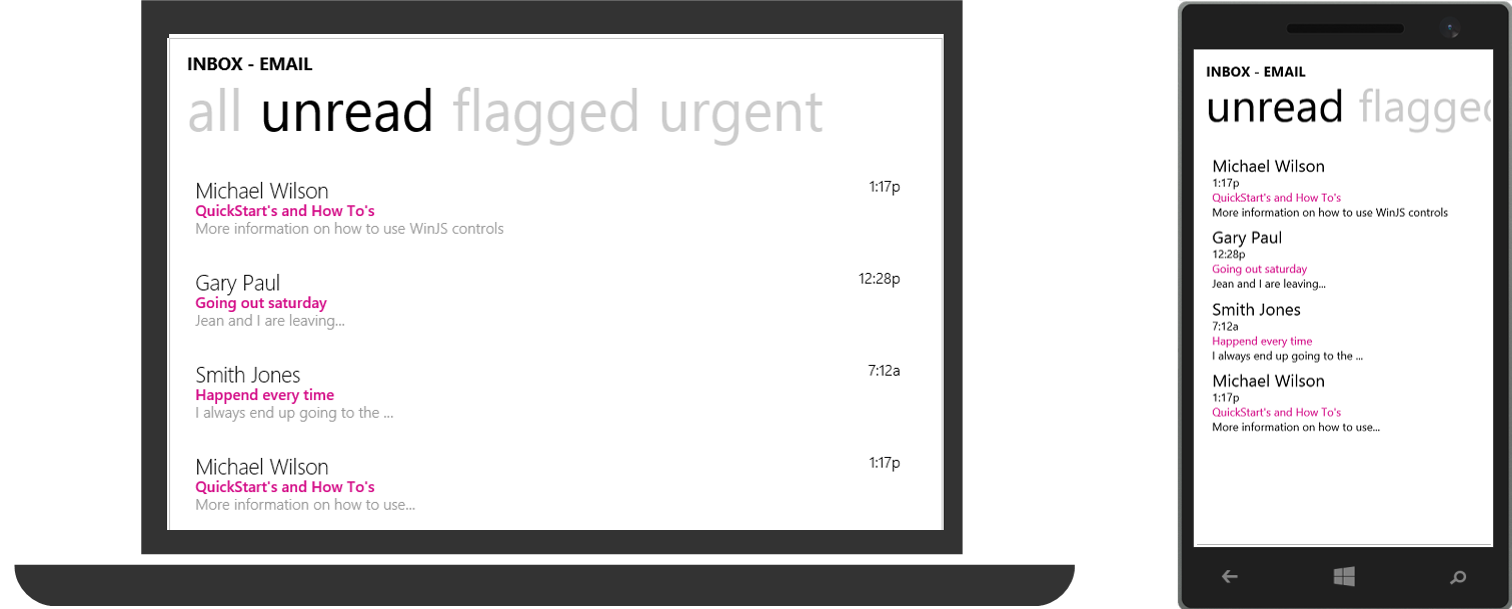
Navigation in Universal Applications with the Pivot Control
The Pivot control allows you to implement an easy way to control, present, and quickly navigate through sections of content in your application by moving it to the left or right - with continuous rotation like a carousel. It can be used to filter large data sets, view multiple data sets, or switch between application views.
Support for the Pivot control in Windows applications was announced as a new feature in the WinJS 3.0 library. At the time of this writing, the WinJS 3.0 library can be compiled independently using the package manager (Bower, npm, or NuGet), using CDN links, downloading the zip archive from our web site or copying the repository to build your own copy from GitHub . I explained in this article how to work with the Pivot control in Windows Phone, the difference for Windows applications is in the library links and in the definition of styles for devices.
Additional links
Using single page navigation
Flat navigation
Hierarchical navigation pattern
Get to know the WinJS library
Get familiar with the WinJS library controls.
WinJS + universal applications. Learning ListView
WinJS + universal applications. Learn FlipView
Windows Phone + WinJS. Learning Pivot
Source: https://habr.com/ru/post/243163/
All Articles