Prototype. From the idea to the experimental party. Silicone casting
In the last article I described my way of creating an experimental batch of the product, in it I cast in silicone to an outsourcing. While I was waiting for the fulfillment of my order, slowly he began to master this craft. The article will be useful to those who suppose there is a board of some device, but there is no beautiful case, 3D printing does not fit the characteristics, and it is very expensive to make an industrial mold at once.
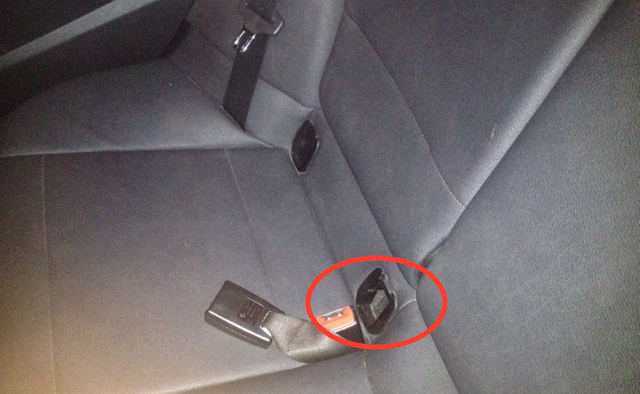
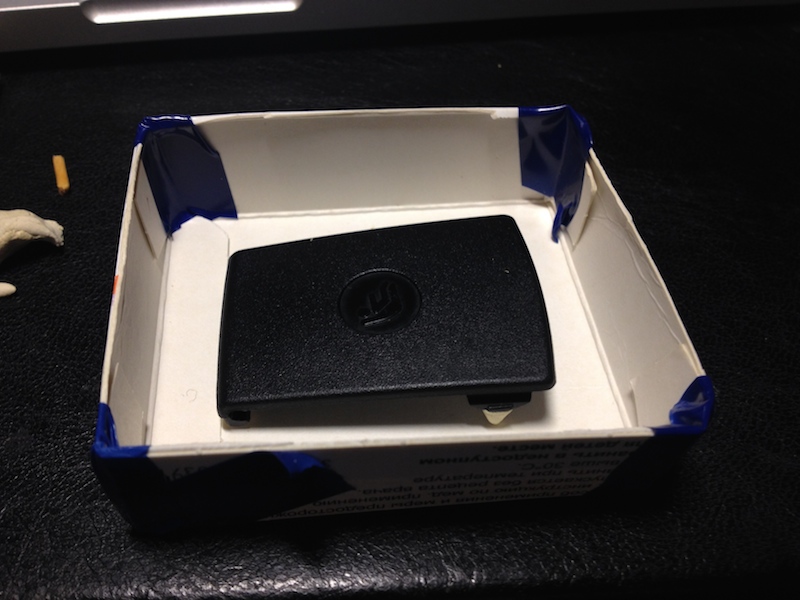
At the first stage, we should already have a master model of the product that we want to clone))). I just needed to make an IsoFix attachment cap into a car (3 out of 4 were lost), you can of course order it, each costs 1100 rubles, it is cheaper and more interesting to do it yourself.
')
1. Make the mold for the form.
Flask is a form for a form, then where we will pour the silicone, so that it stiffens and if we take out our master model from it, we would get the desired shape. This is probably the hardest part of this whole process. Here it is necessary to think over 2 nuances: the first is how to get the master model out of shape, the second is where the air will go from the possible cavities.
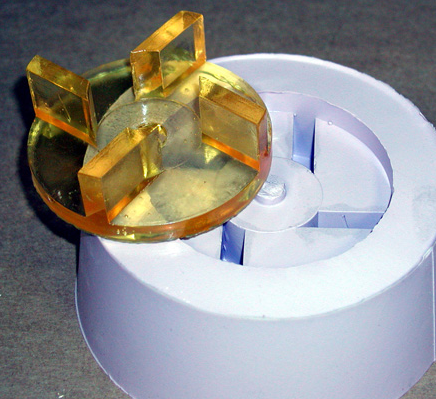
The detail is almost simple, life is complicated only by the “claws” of fastening on top of the stub. I stuck “legs” out of plasticine on the protruding parts, through which plastic will later be poured and air will be released.

It was decided to make such a cap:
Everything is ready to begin to dilute the silicone, mix the two parts 1:10, mix thoroughly.
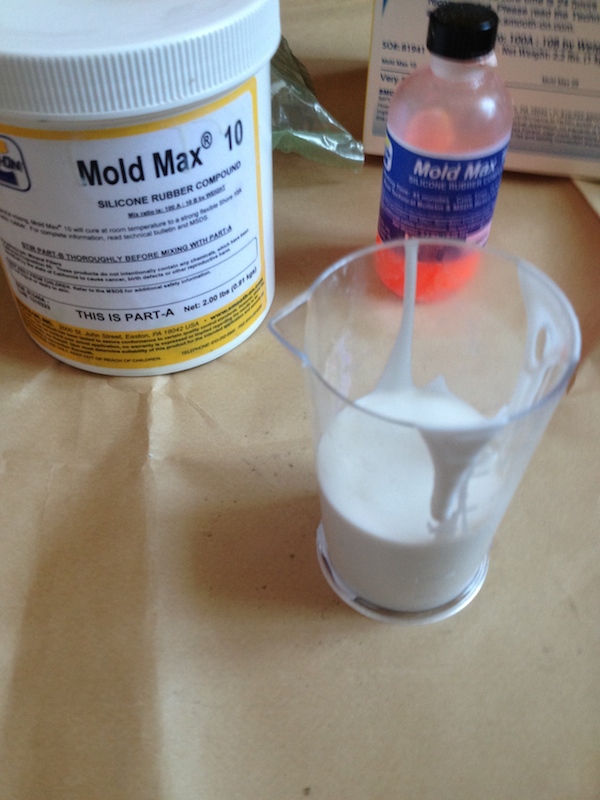
Silicone is quite thick, so when mixed, it is saturated with air bubbles, which we do not need. To remove them, professionals use vacuum chambers, i.e. or before pouring the solution is placed in a vacuum or the pouring itself is carried out in a chamber. I found a way out easier - a vacuum system for canning products. We put a glass with silicone in a glass jar, a special lid is put on the jar and the pump evacuates the air, bubbles come out (the silicone is boiling, as it were). Fill the flask.
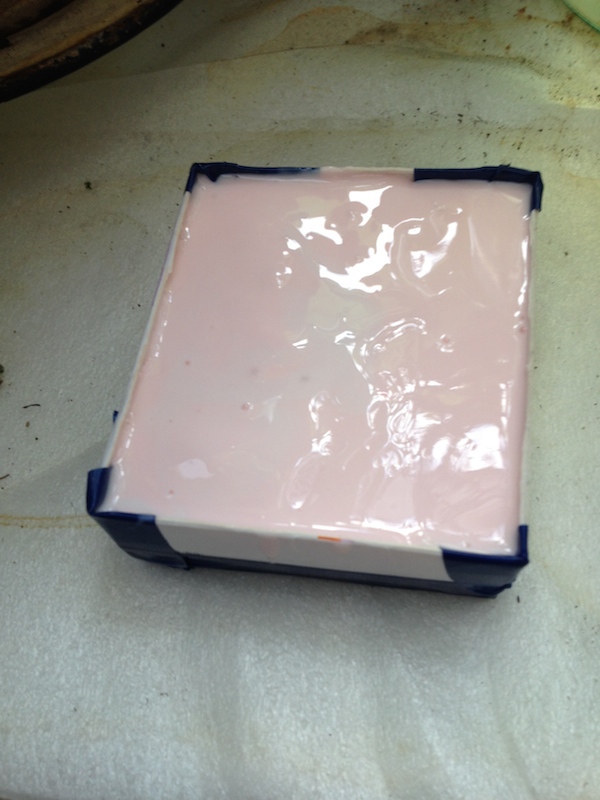
After 24 hours we have a block of hardened silicone.
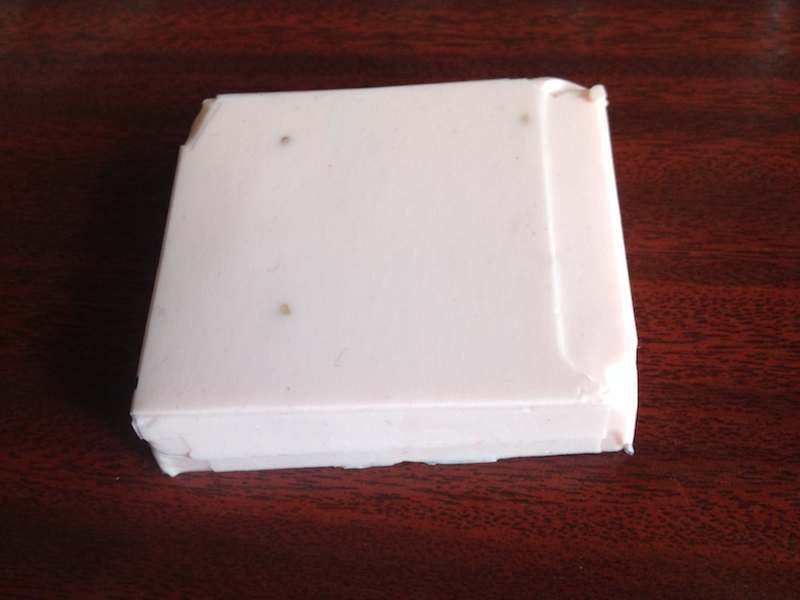
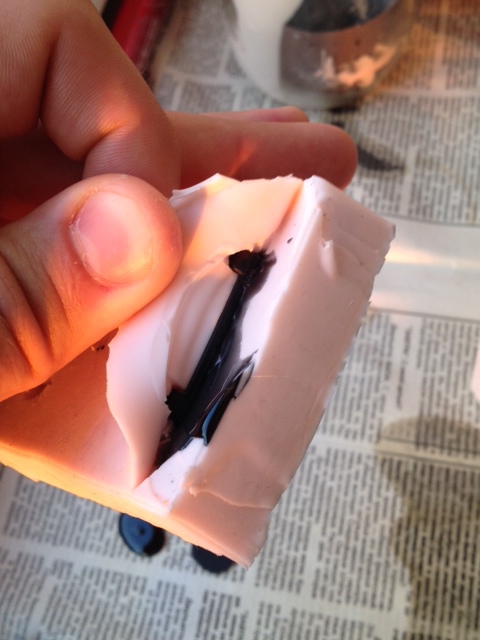
We take out a master model from it, I made a side cut (where the hooks were) and pulled it out through it, the silicone is quite flexible and durable, so that when you take it out you can severely deform it.
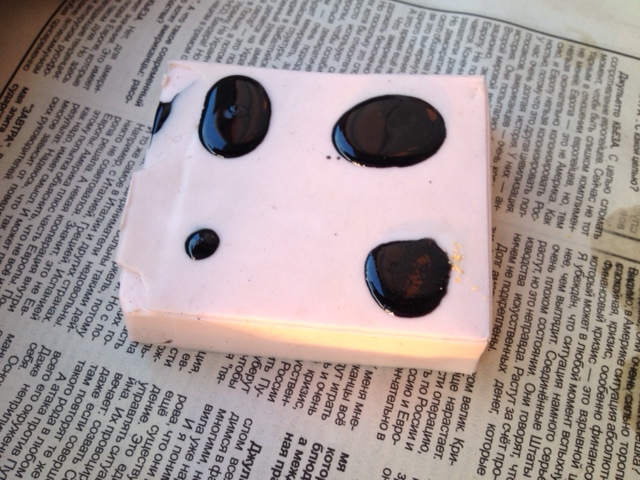
Next, we dilute the plastic (I took a special black plastic), mix 1: 1 two parts and pour it into a mold through a syringe.
After 1.5 hours, almost ready detail is already sitting in our form.
We take out, cut the plastic where it has flowed into the technological holes of the form, and here is the result (on the right is the original):

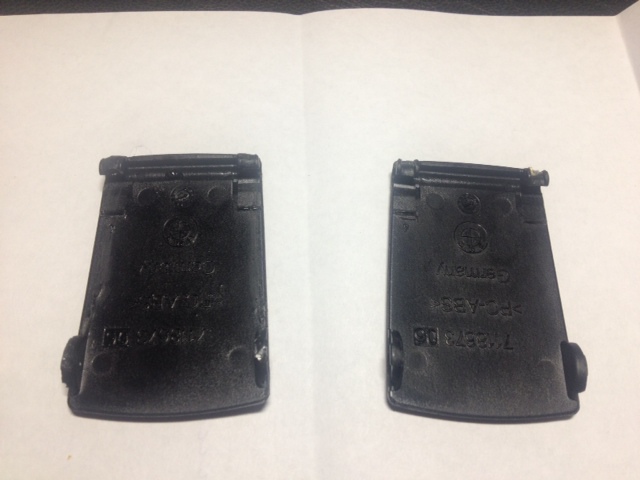
It turned out more than worthy, when installing extra seams it becomes not visible, it looks like the original.
Import substitution in action.
At the first stage, we should already have a master model of the product that we want to clone))). I just needed to make an IsoFix attachment cap into a car (3 out of 4 were lost), you can of course order it, each costs 1100 rubles, it is cheaper and more interesting to do it yourself.
')
1. Make the mold for the form.
Flask is a form for a form, then where we will pour the silicone, so that it stiffens and if we take out our master model from it, we would get the desired shape. This is probably the hardest part of this whole process. Here it is necessary to think over 2 nuances: the first is how to get the master model out of shape, the second is where the air will go from the possible cavities.
The detail is almost simple, life is complicated only by the “claws” of fastening on top of the stub. I stuck “legs” out of plasticine on the protruding parts, through which plastic will later be poured and air will be released.
It was decided to make such a cap:
Everything is ready to begin to dilute the silicone, mix the two parts 1:10, mix thoroughly.
Silicone is quite thick, so when mixed, it is saturated with air bubbles, which we do not need. To remove them, professionals use vacuum chambers, i.e. or before pouring the solution is placed in a vacuum or the pouring itself is carried out in a chamber. I found a way out easier - a vacuum system for canning products. We put a glass with silicone in a glass jar, a special lid is put on the jar and the pump evacuates the air, bubbles come out (the silicone is boiling, as it were). Fill the flask.
After 24 hours we have a block of hardened silicone.
We take out a master model from it, I made a side cut (where the hooks were) and pulled it out through it, the silicone is quite flexible and durable, so that when you take it out you can severely deform it.
Next, we dilute the plastic (I took a special black plastic), mix 1: 1 two parts and pour it into a mold through a syringe.
After 1.5 hours, almost ready detail is already sitting in our form.
We take out, cut the plastic where it has flowed into the technological holes of the form, and here is the result (on the right is the original):
It turned out more than worthy, when installing extra seams it becomes not visible, it looks like the original.
Import substitution in action.
Source: https://habr.com/ru/post/241909/
All Articles