Hi, table!
Hello! Some time ago I wrote about the idea of a computer desk that would suit me in everything. Finally, the day came when the reflection of my computer glittered in its polished surface. About how it was made and what came out of it, I want to tell you, dear habrazhiteli. There are a lot of photos inside.
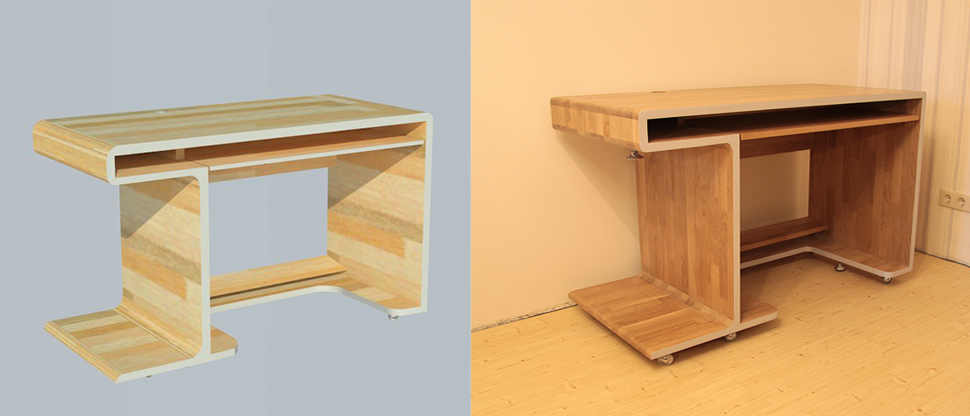
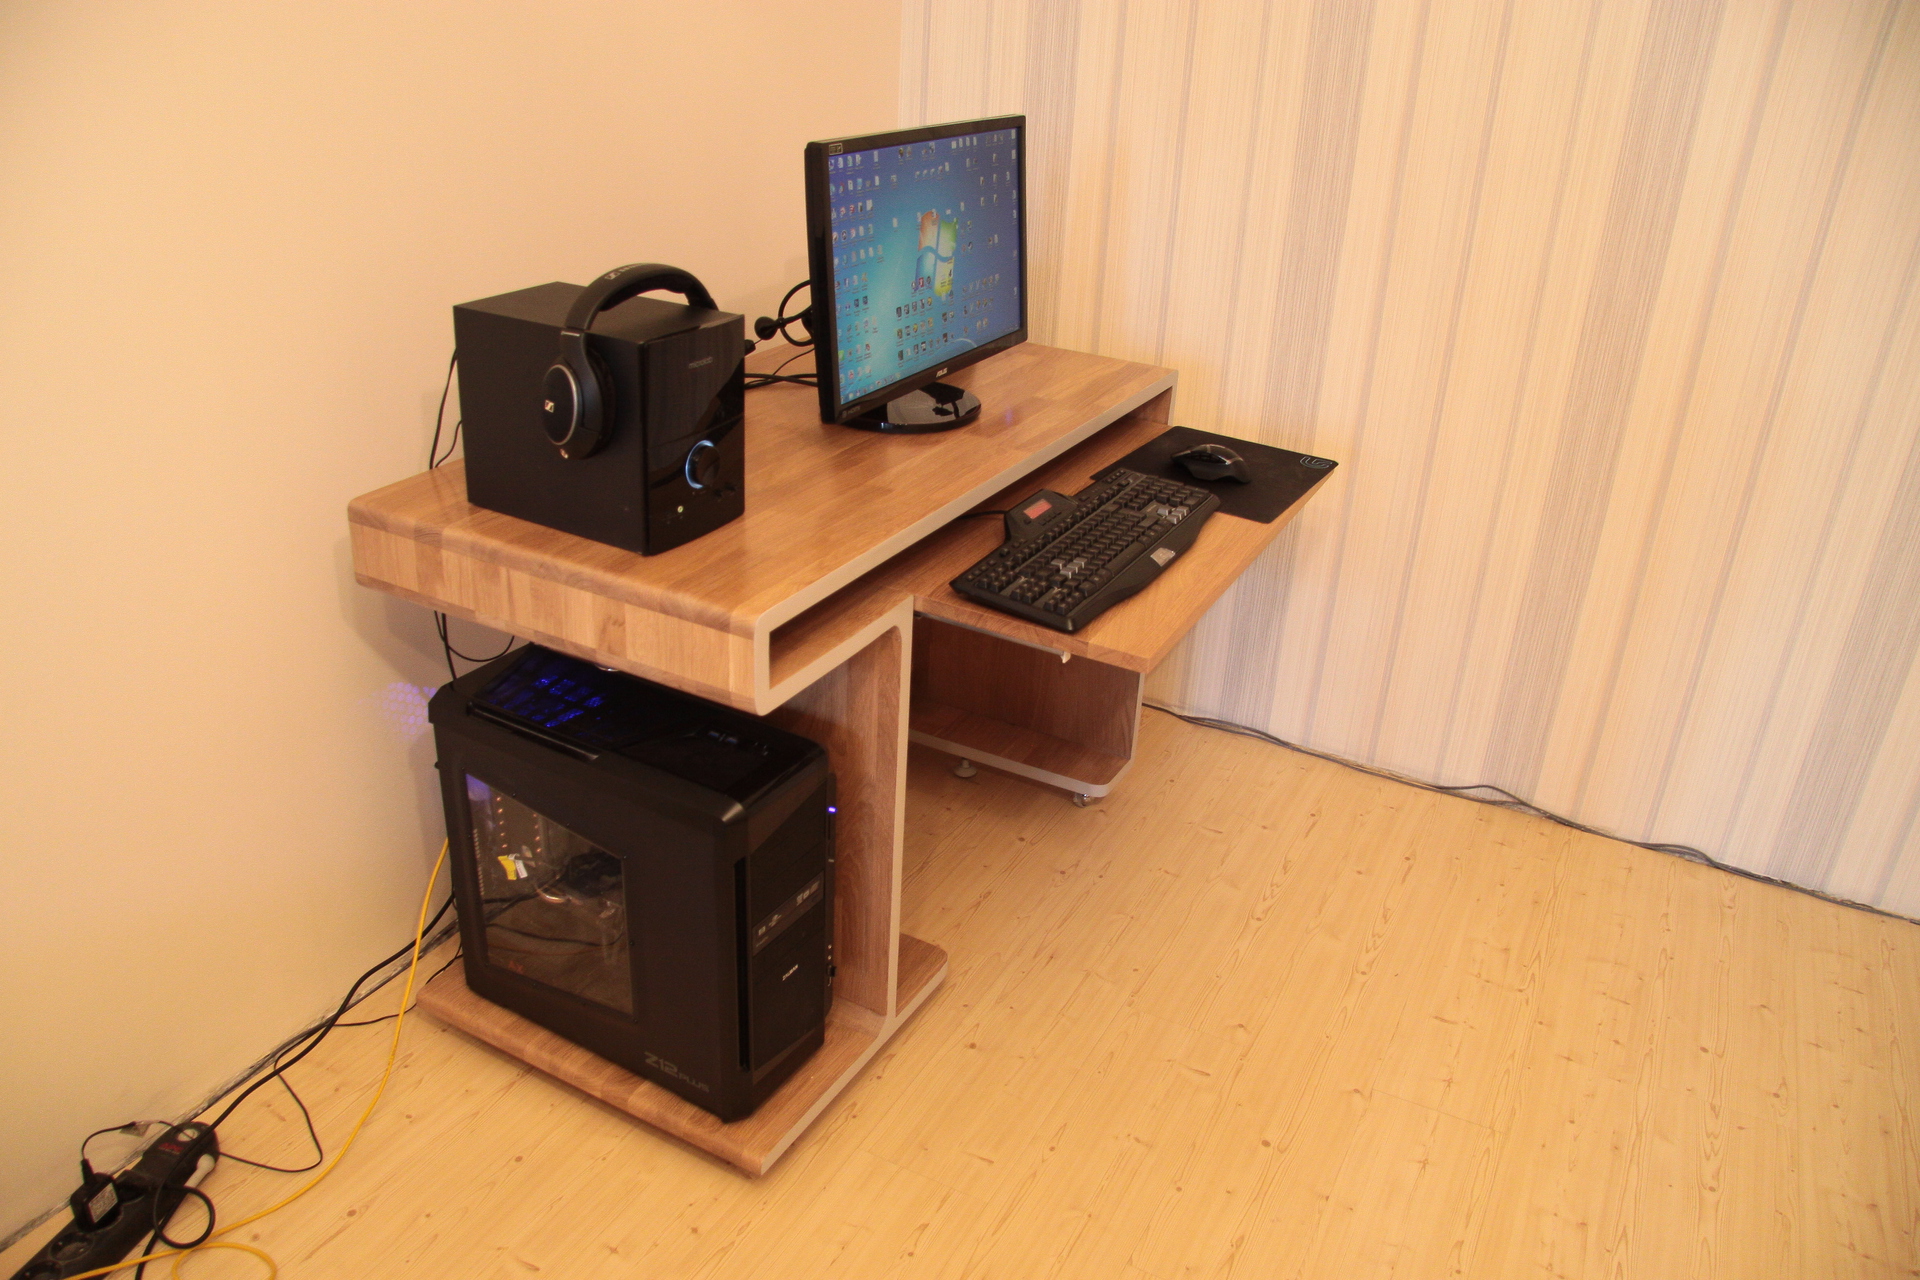
I won’t repeat a lot, so if I summarize, I want a comfortable, beautiful, high-quality, durable, relatively compact and at the same time mobile computer desk. So the idea was born, which can be seen on the first picture in the cap.
As I wrote earlier, initially I was going to make this table myself, because I like to work with my hands and have some experience in creating my own furniture, but after weighing my strength, I decided that it would be too difficult for me - a lot of exact sizes and many places where a little nakosyachiv can screw up the whole idea. Therefore, the implementation, with my participation, involved friends who specialize in such things. At the first stages, I realized that this was a very reasonable decision, because the sequence of actions and the approach of a professional turned out to be completely different than I imagined it to be. Especially with internal radii ... but about everything in order.
')
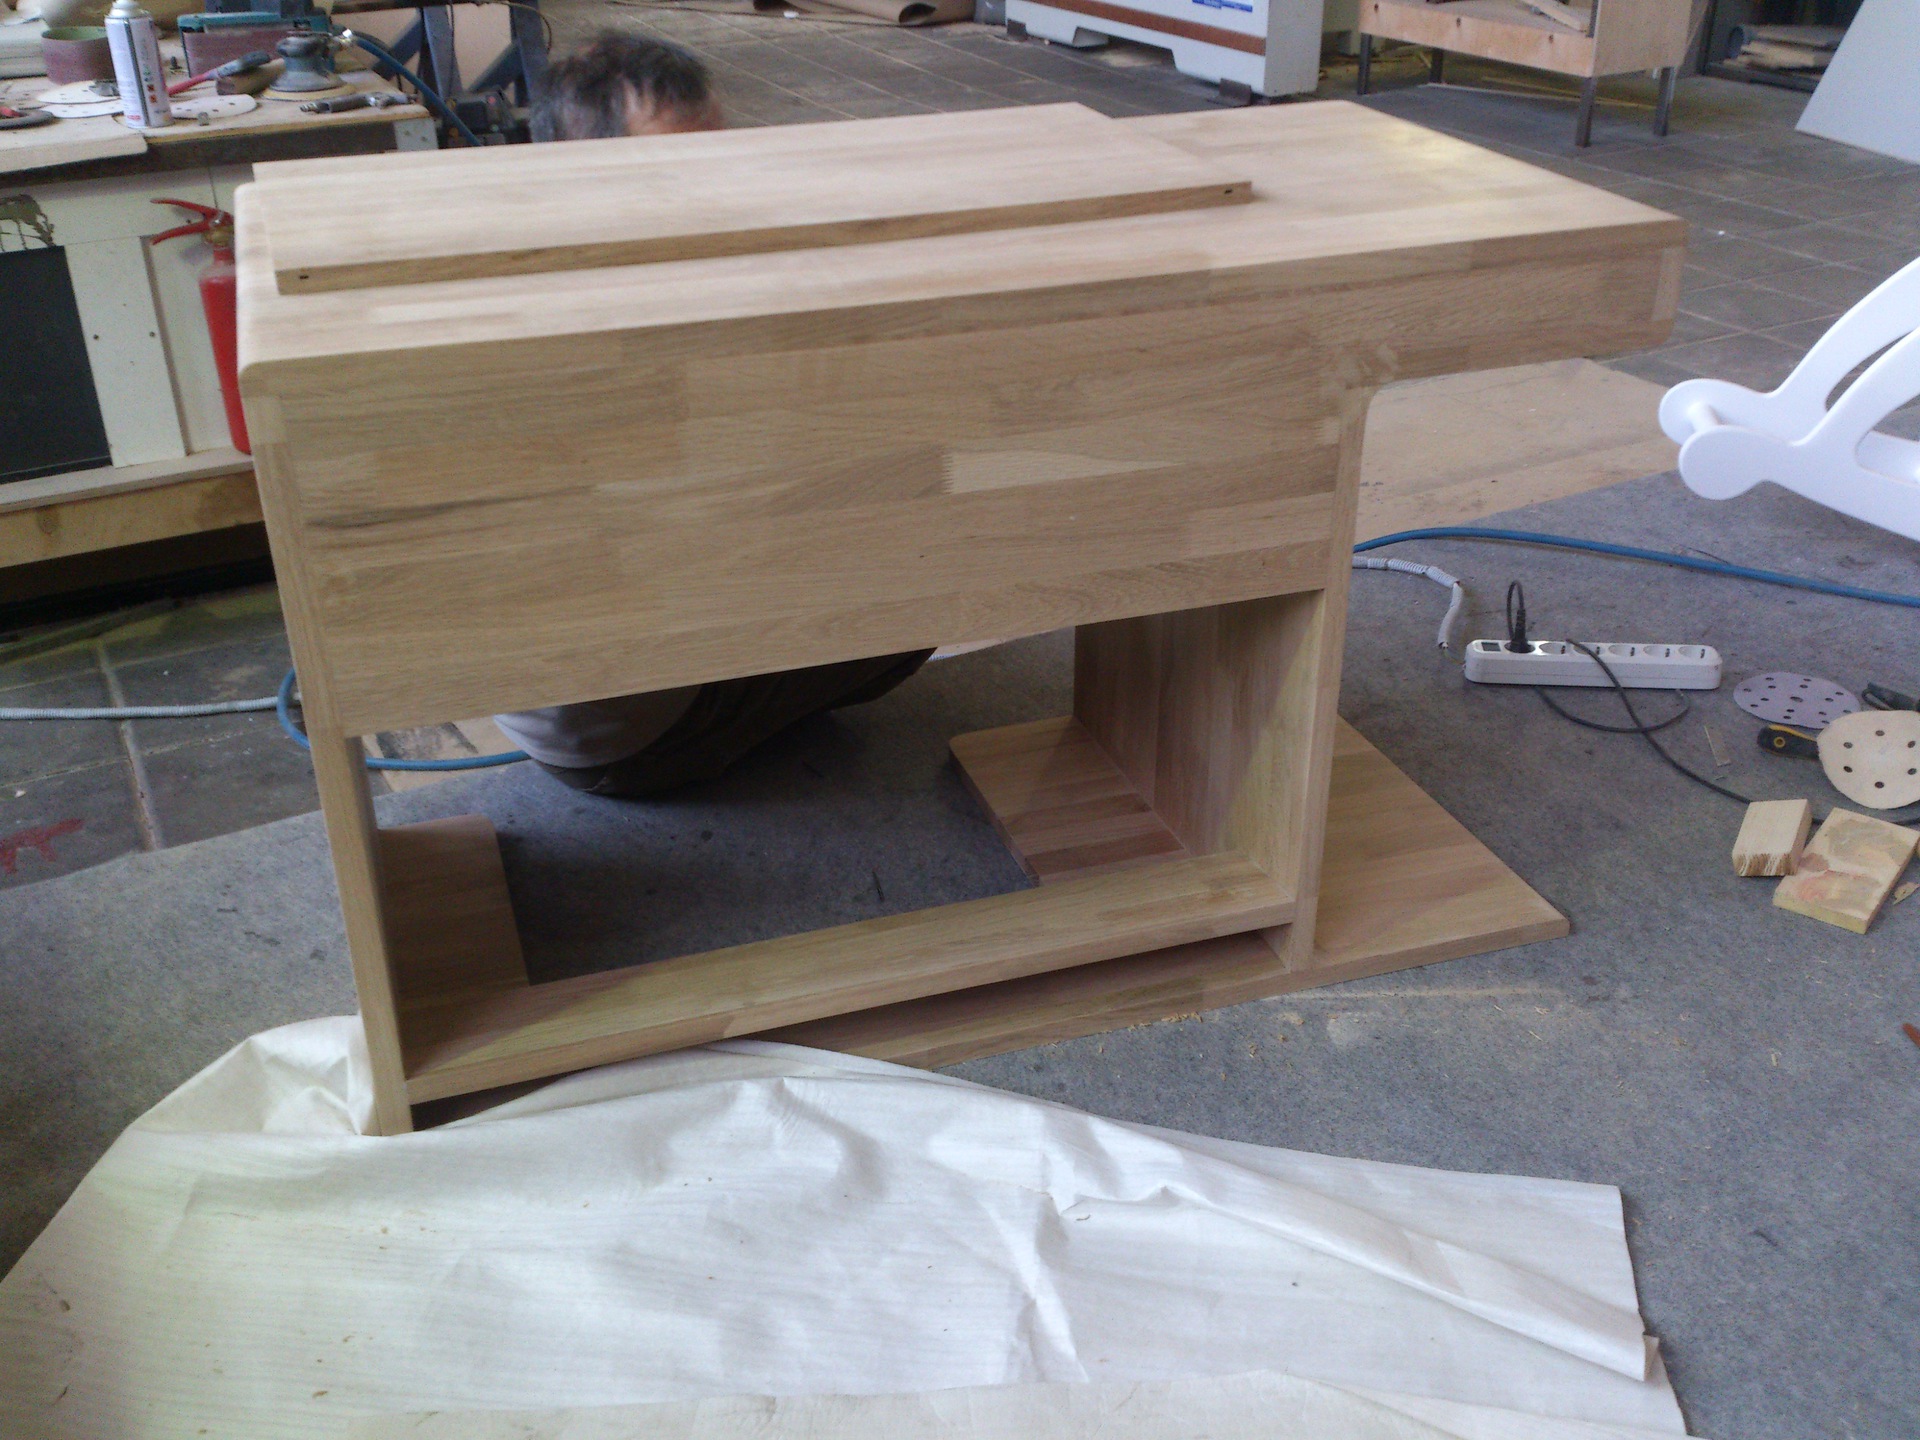
The basis of the table was selected glued oak with a thickness of 25 mm. From wooden panels, the forms of the upper table top, the main lower part and the sidewalls were made.

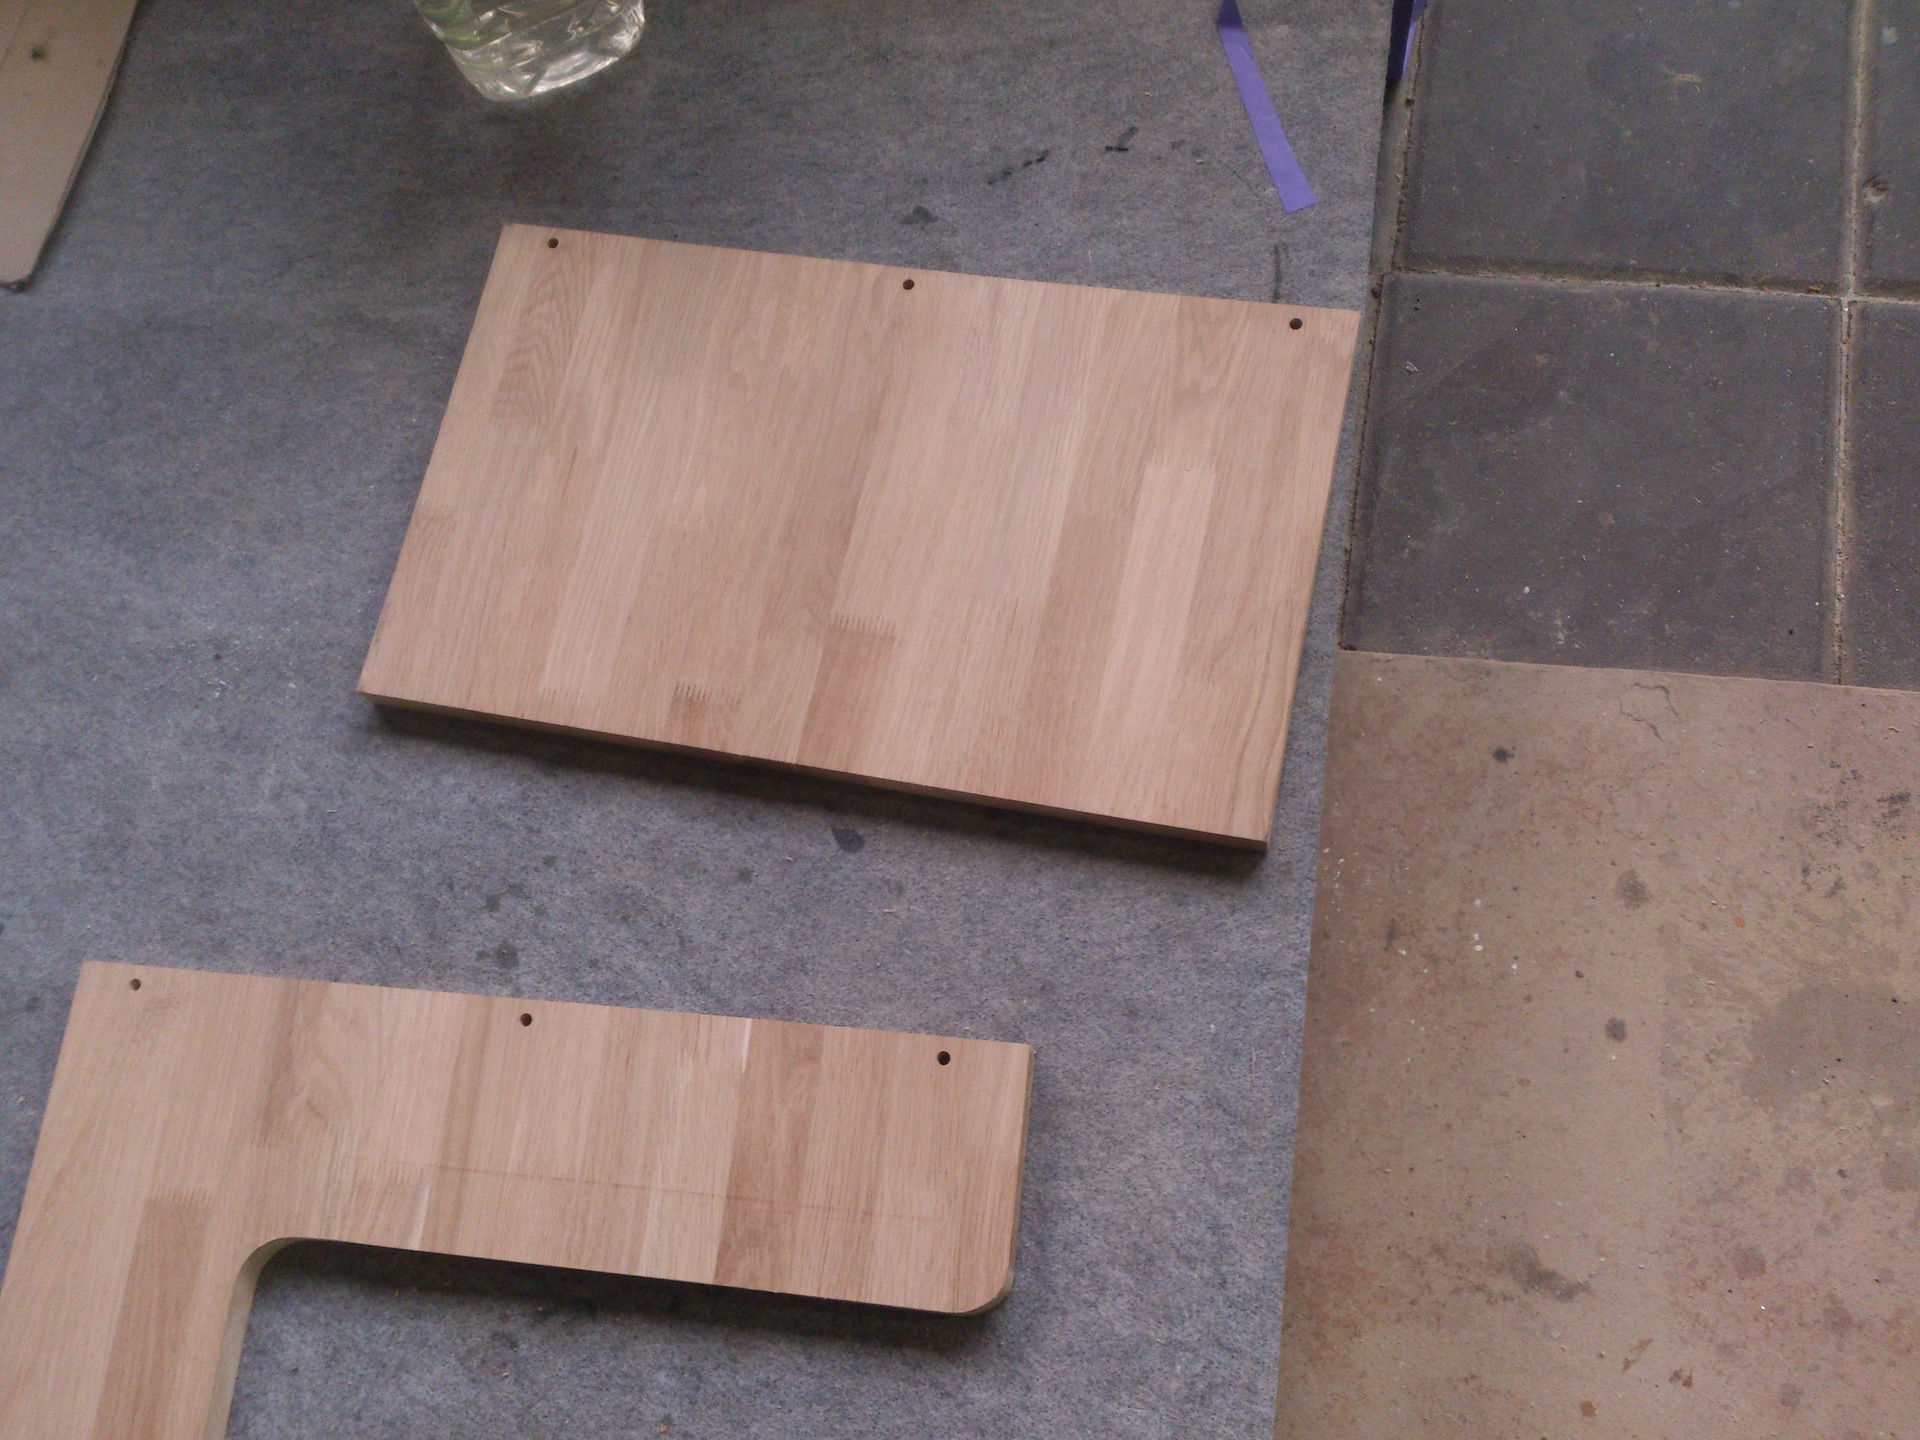

The most interesting thing began with internal radii. These:

As I imagined it: we take, roughly speaking, a plinth, grind the necessary radius in it and paste it into the corners. Everything. But here lies a few nuances. Firstly, it is very difficult to carve the desired radius on a thin wooden bar. Secondly, it is very difficult to adjust the desired radius so that it perfectly fits into this angle along its entire length. And thirdly: if you managed to cope with the first two points, then the edges of the bar will be very thin and brittle, which is likely to result in “bitten” and “torn” edges outside this radius.
Therefore, the masters do it this way: propyl is made at the base, a high timber is glued into it and after that the necessary radius is fitted on the spot. Bottom ready.
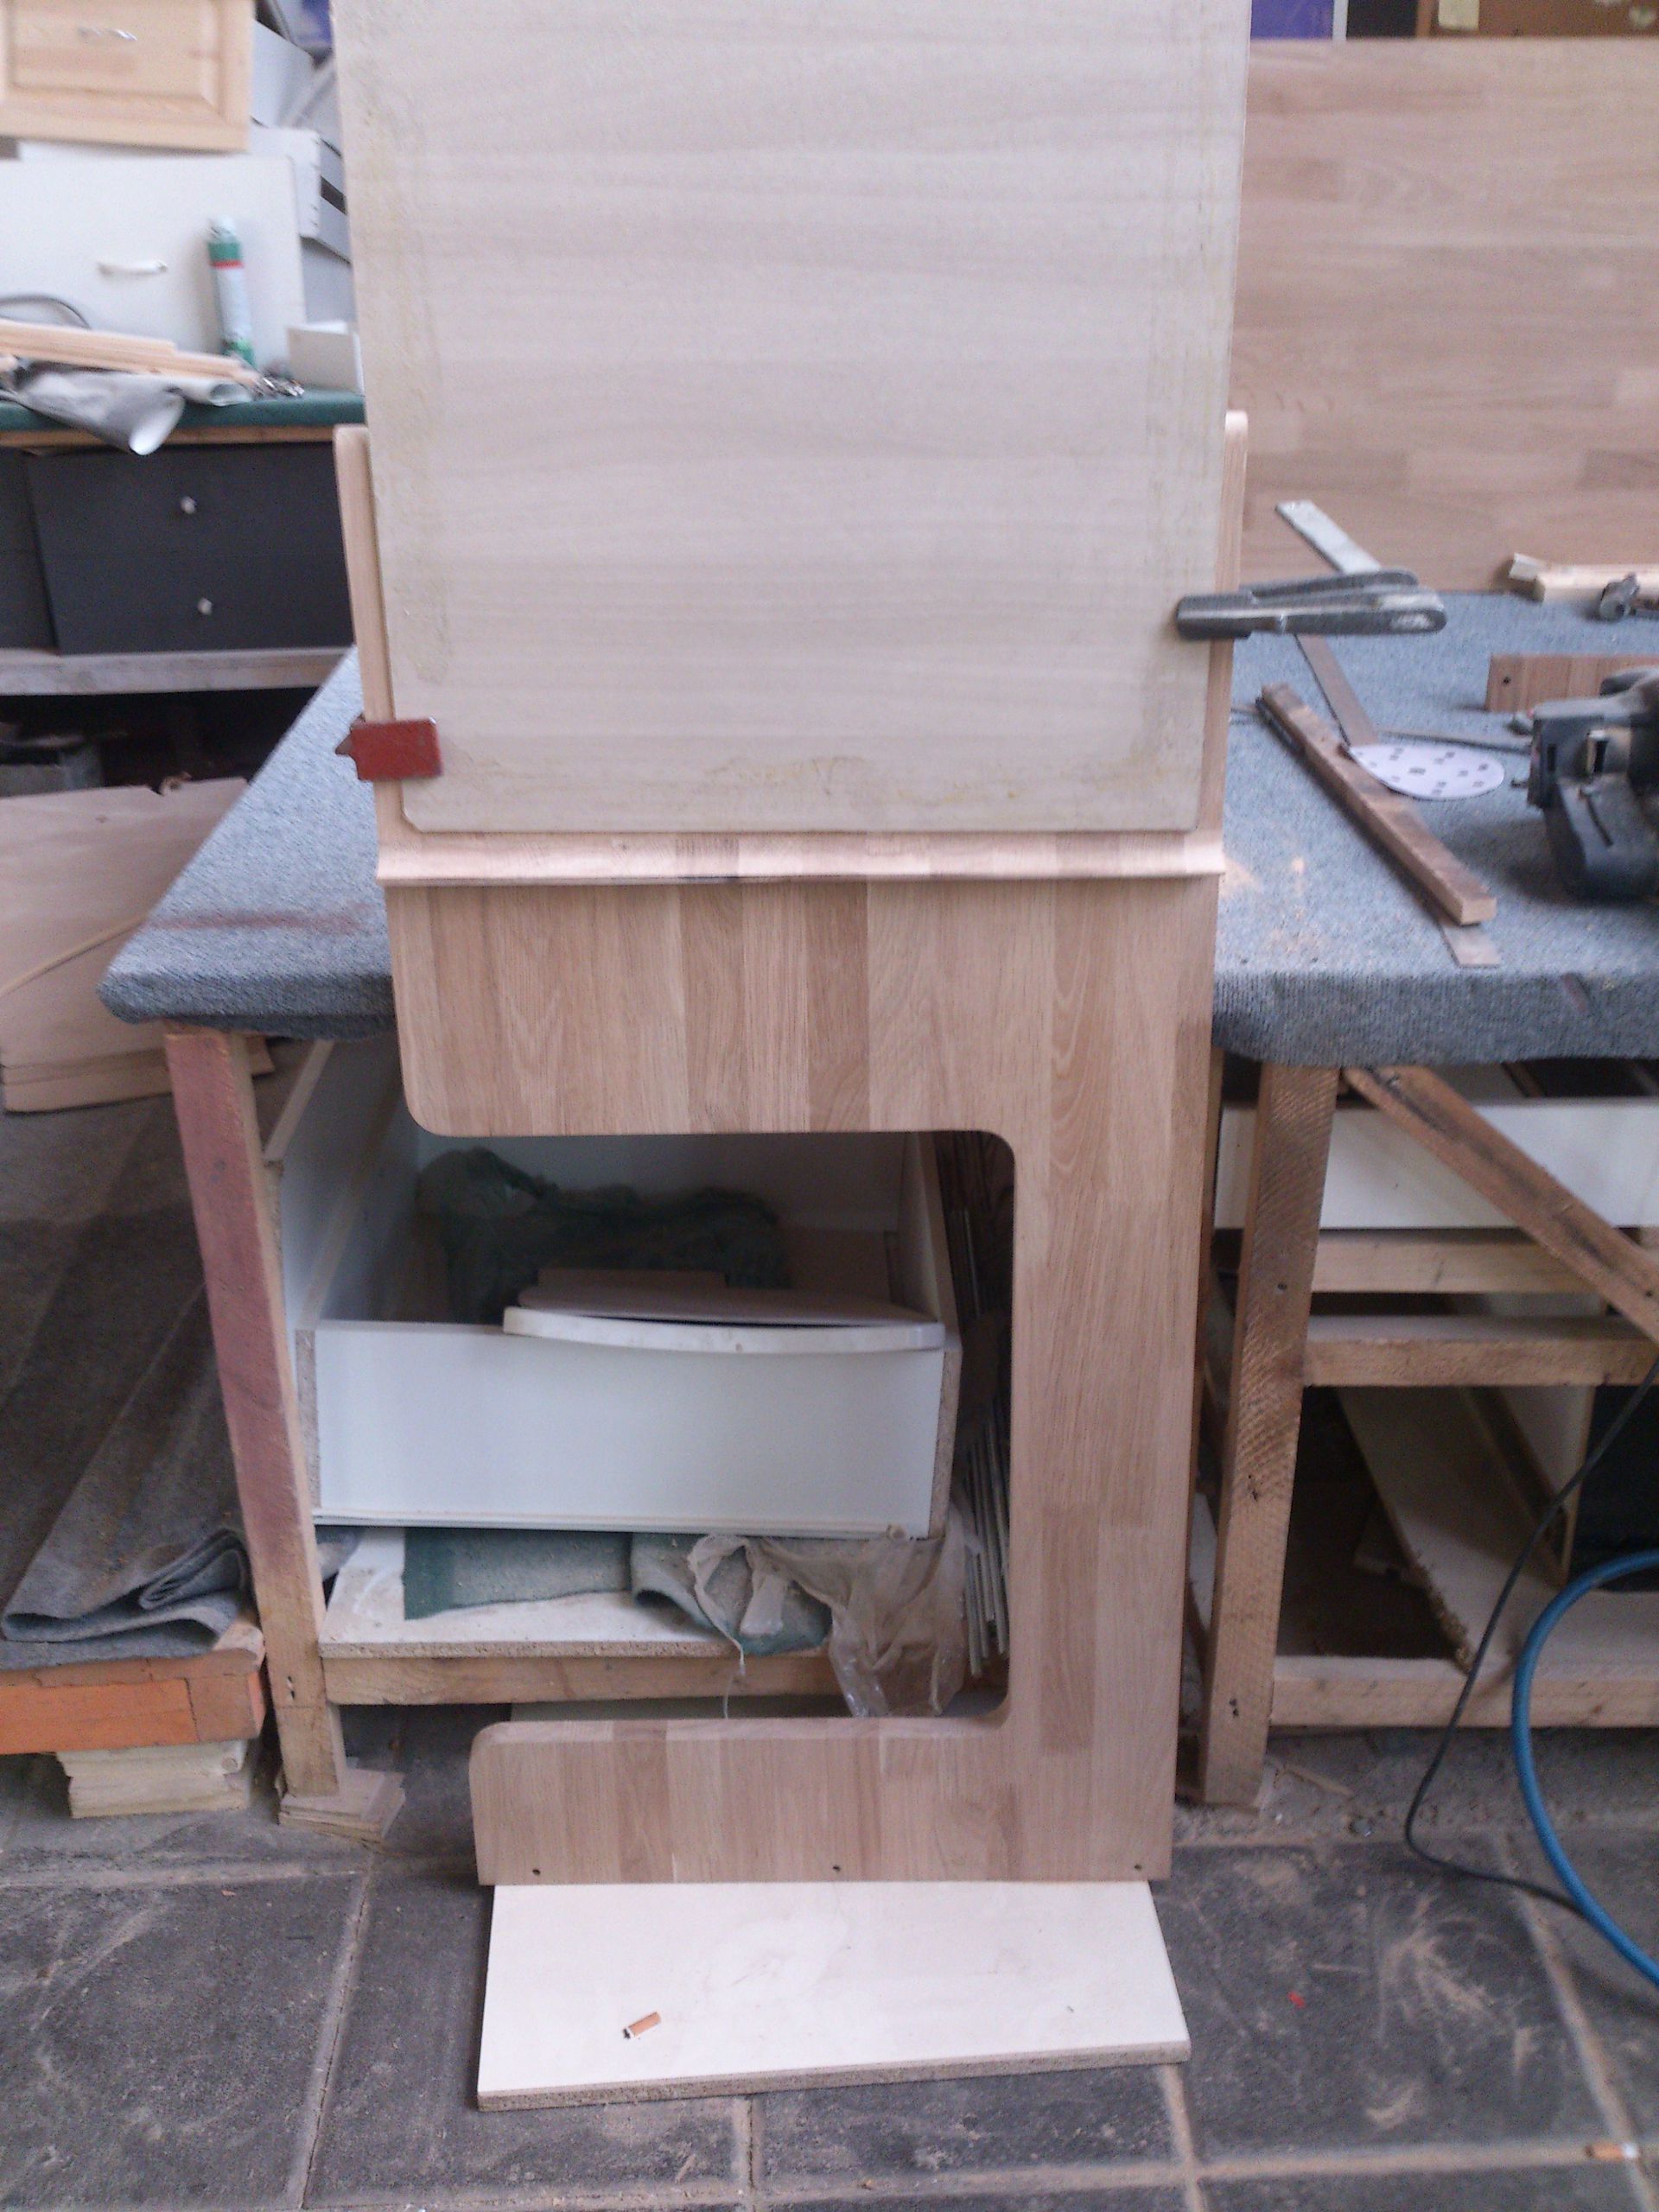
Similarly, we act with the upper radius. Sticking, customize.
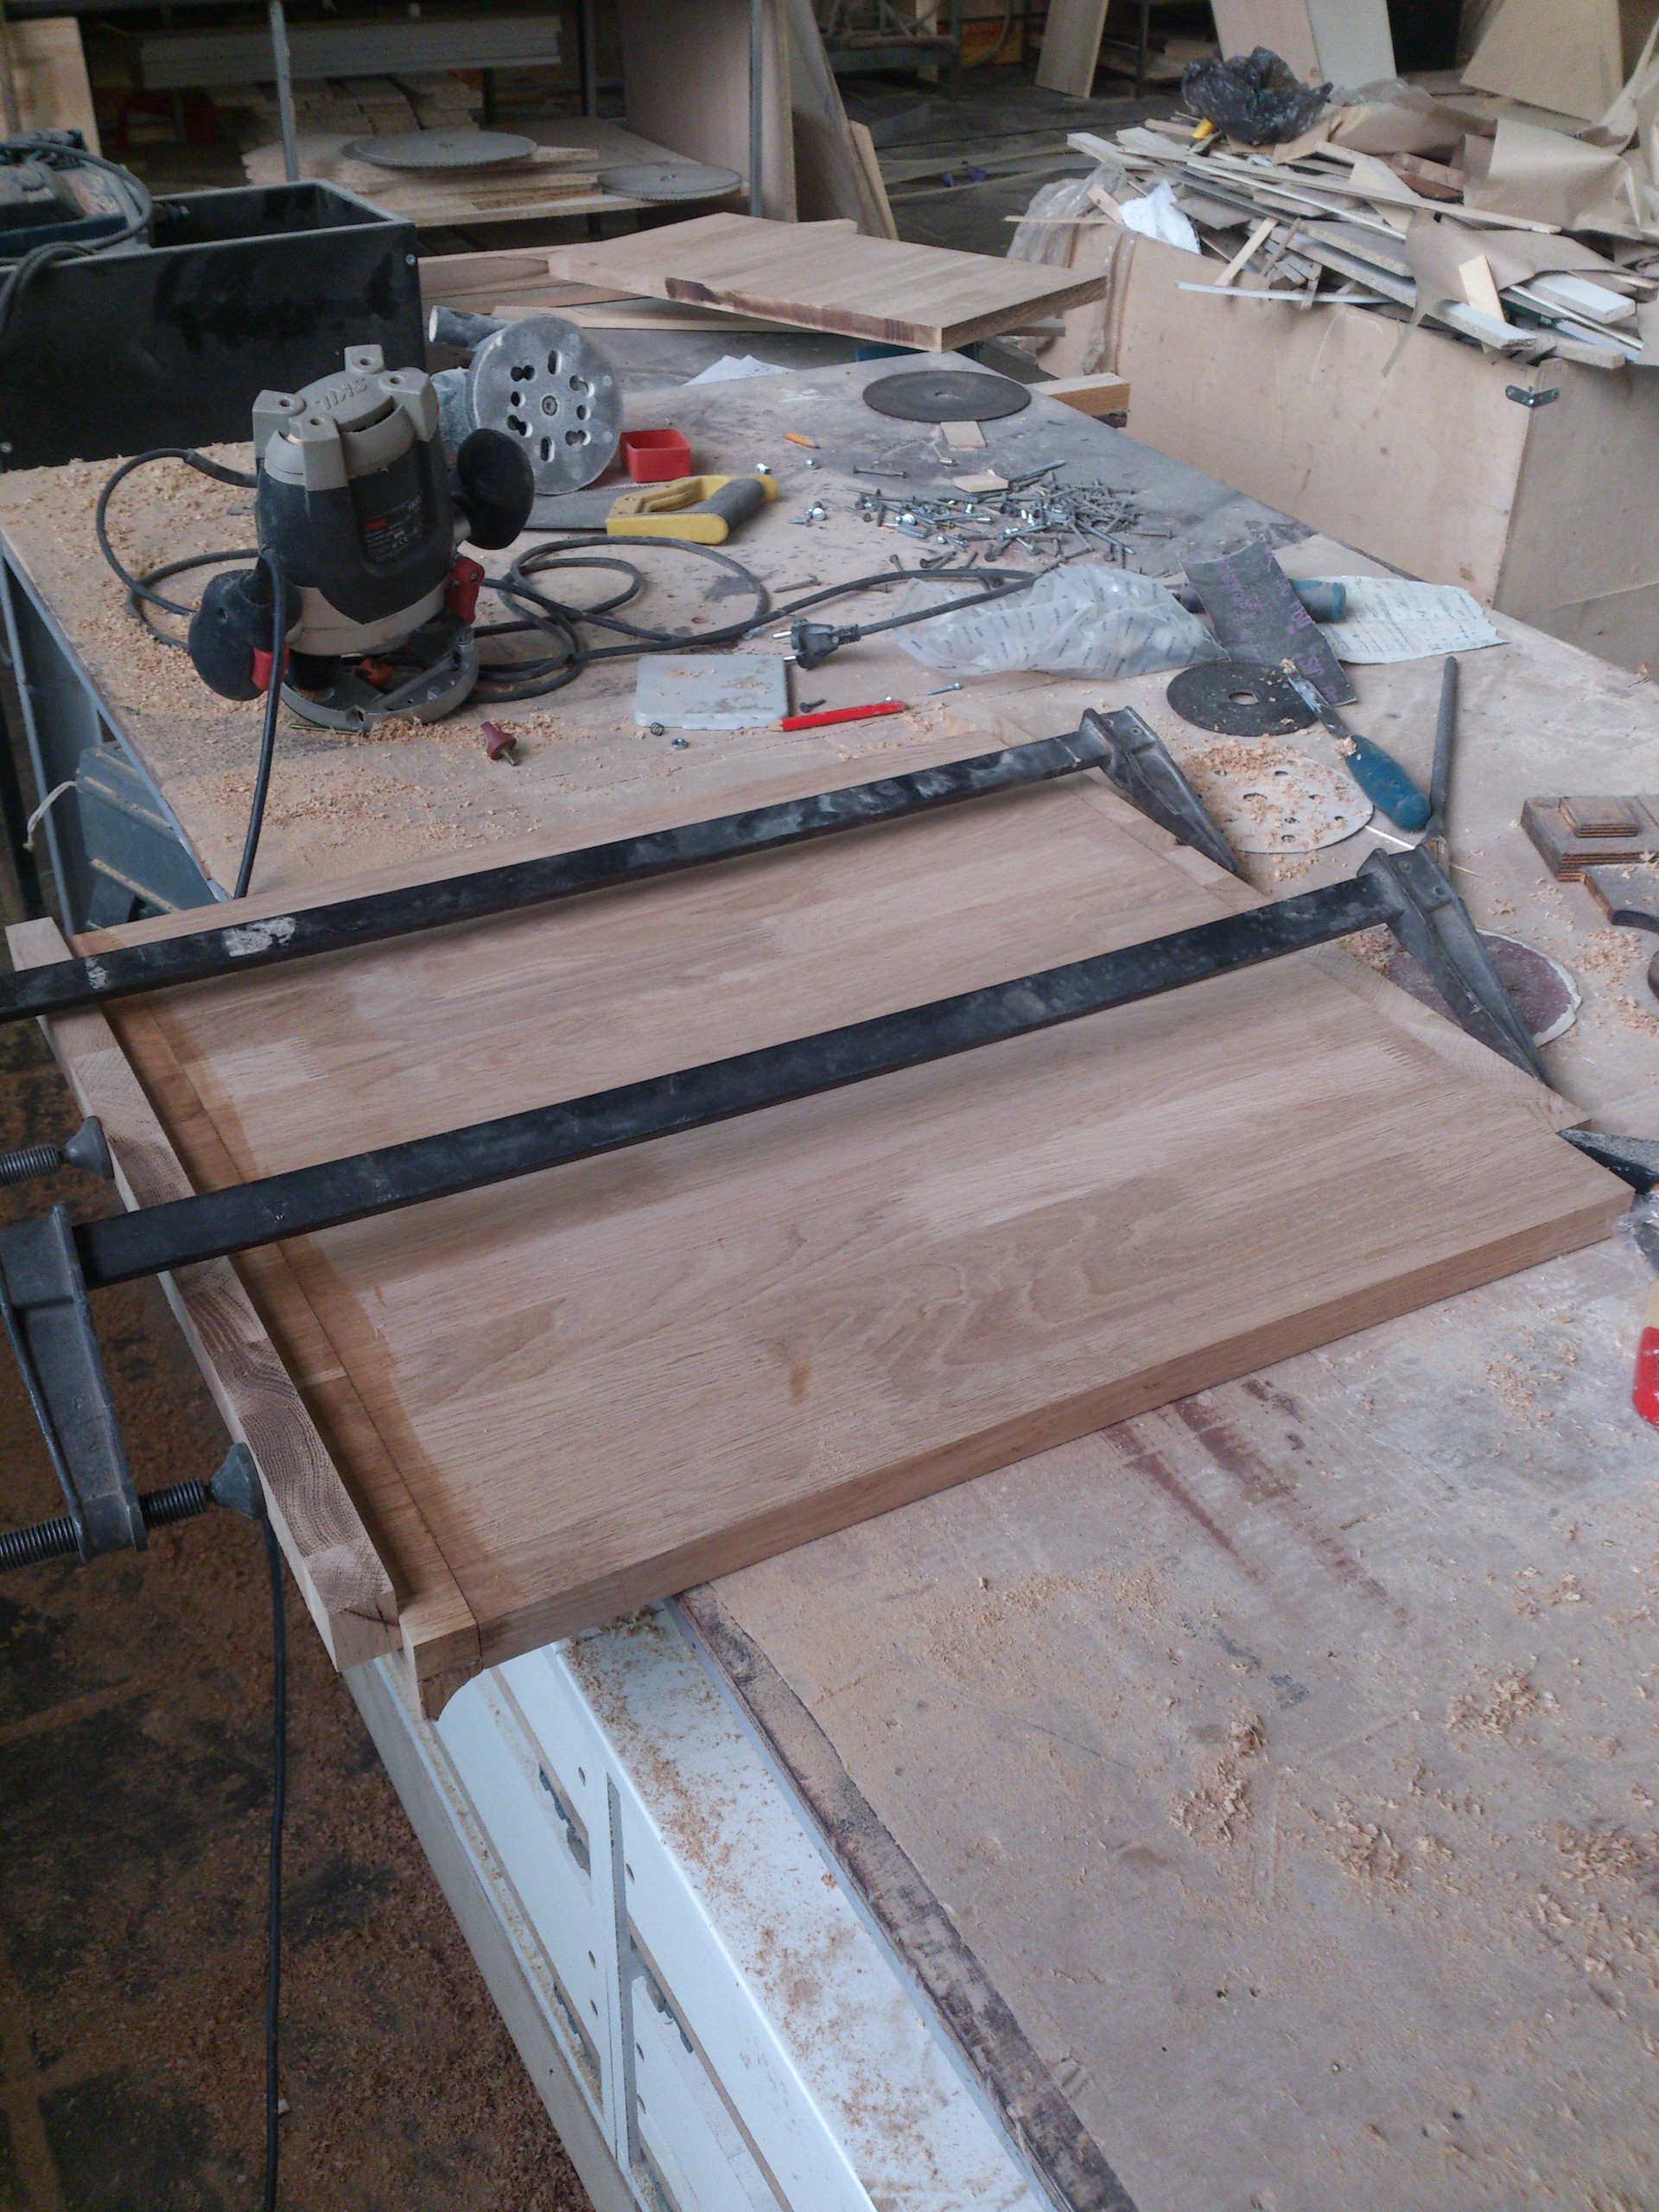
In parallel, prepare all other parts of the table.


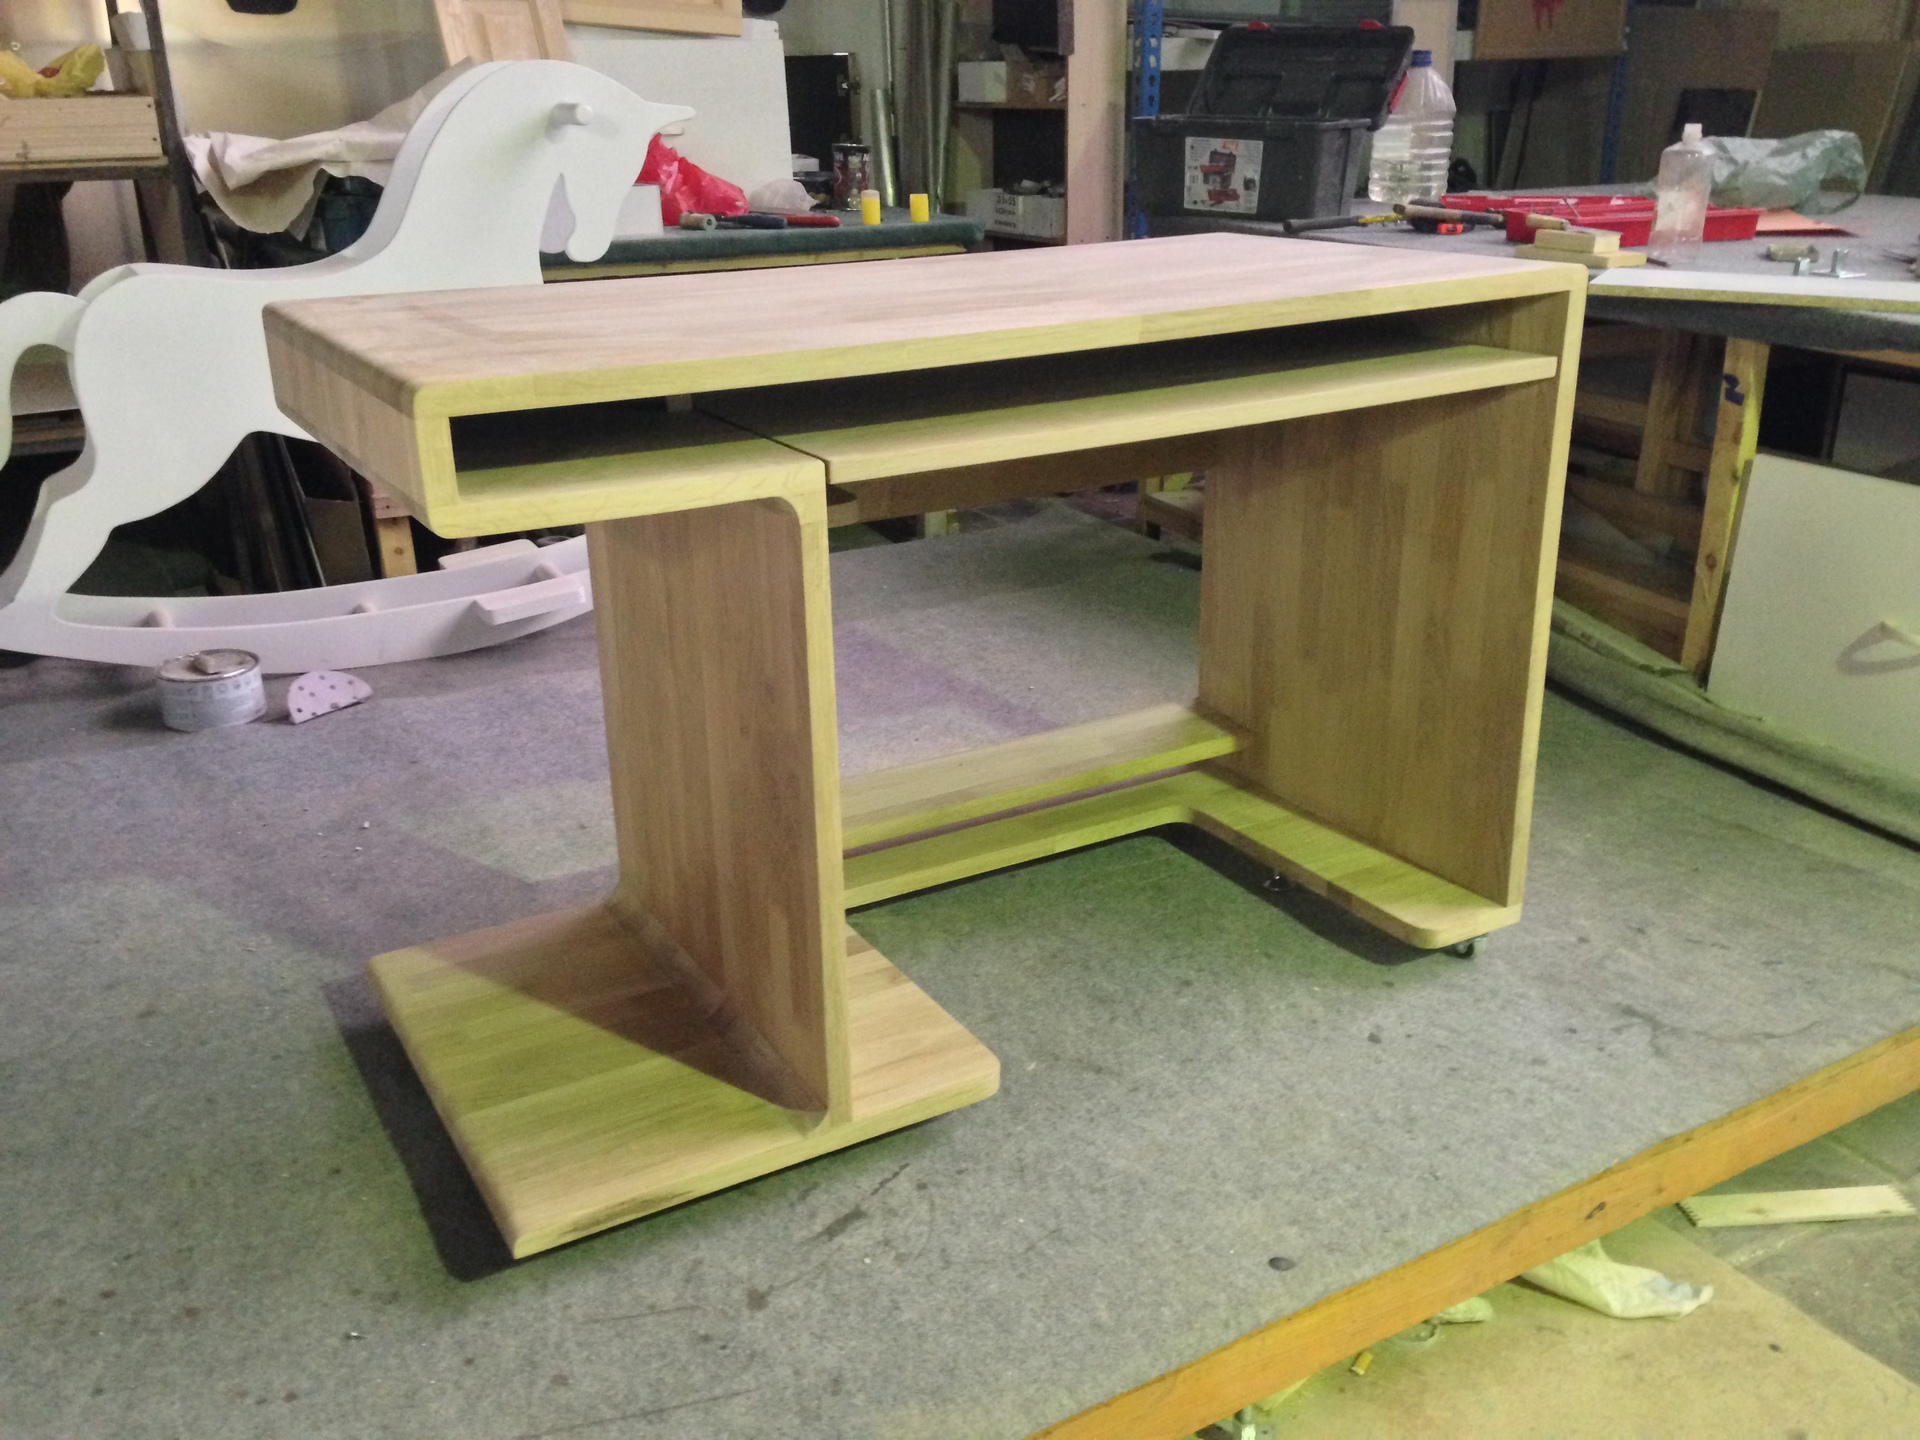
We glue it all together:

Here is almost a complete table. Upstairs is the future sliding table top under the keyboard with a mouse. Also, of course, wooden.
At the finish line before painting:
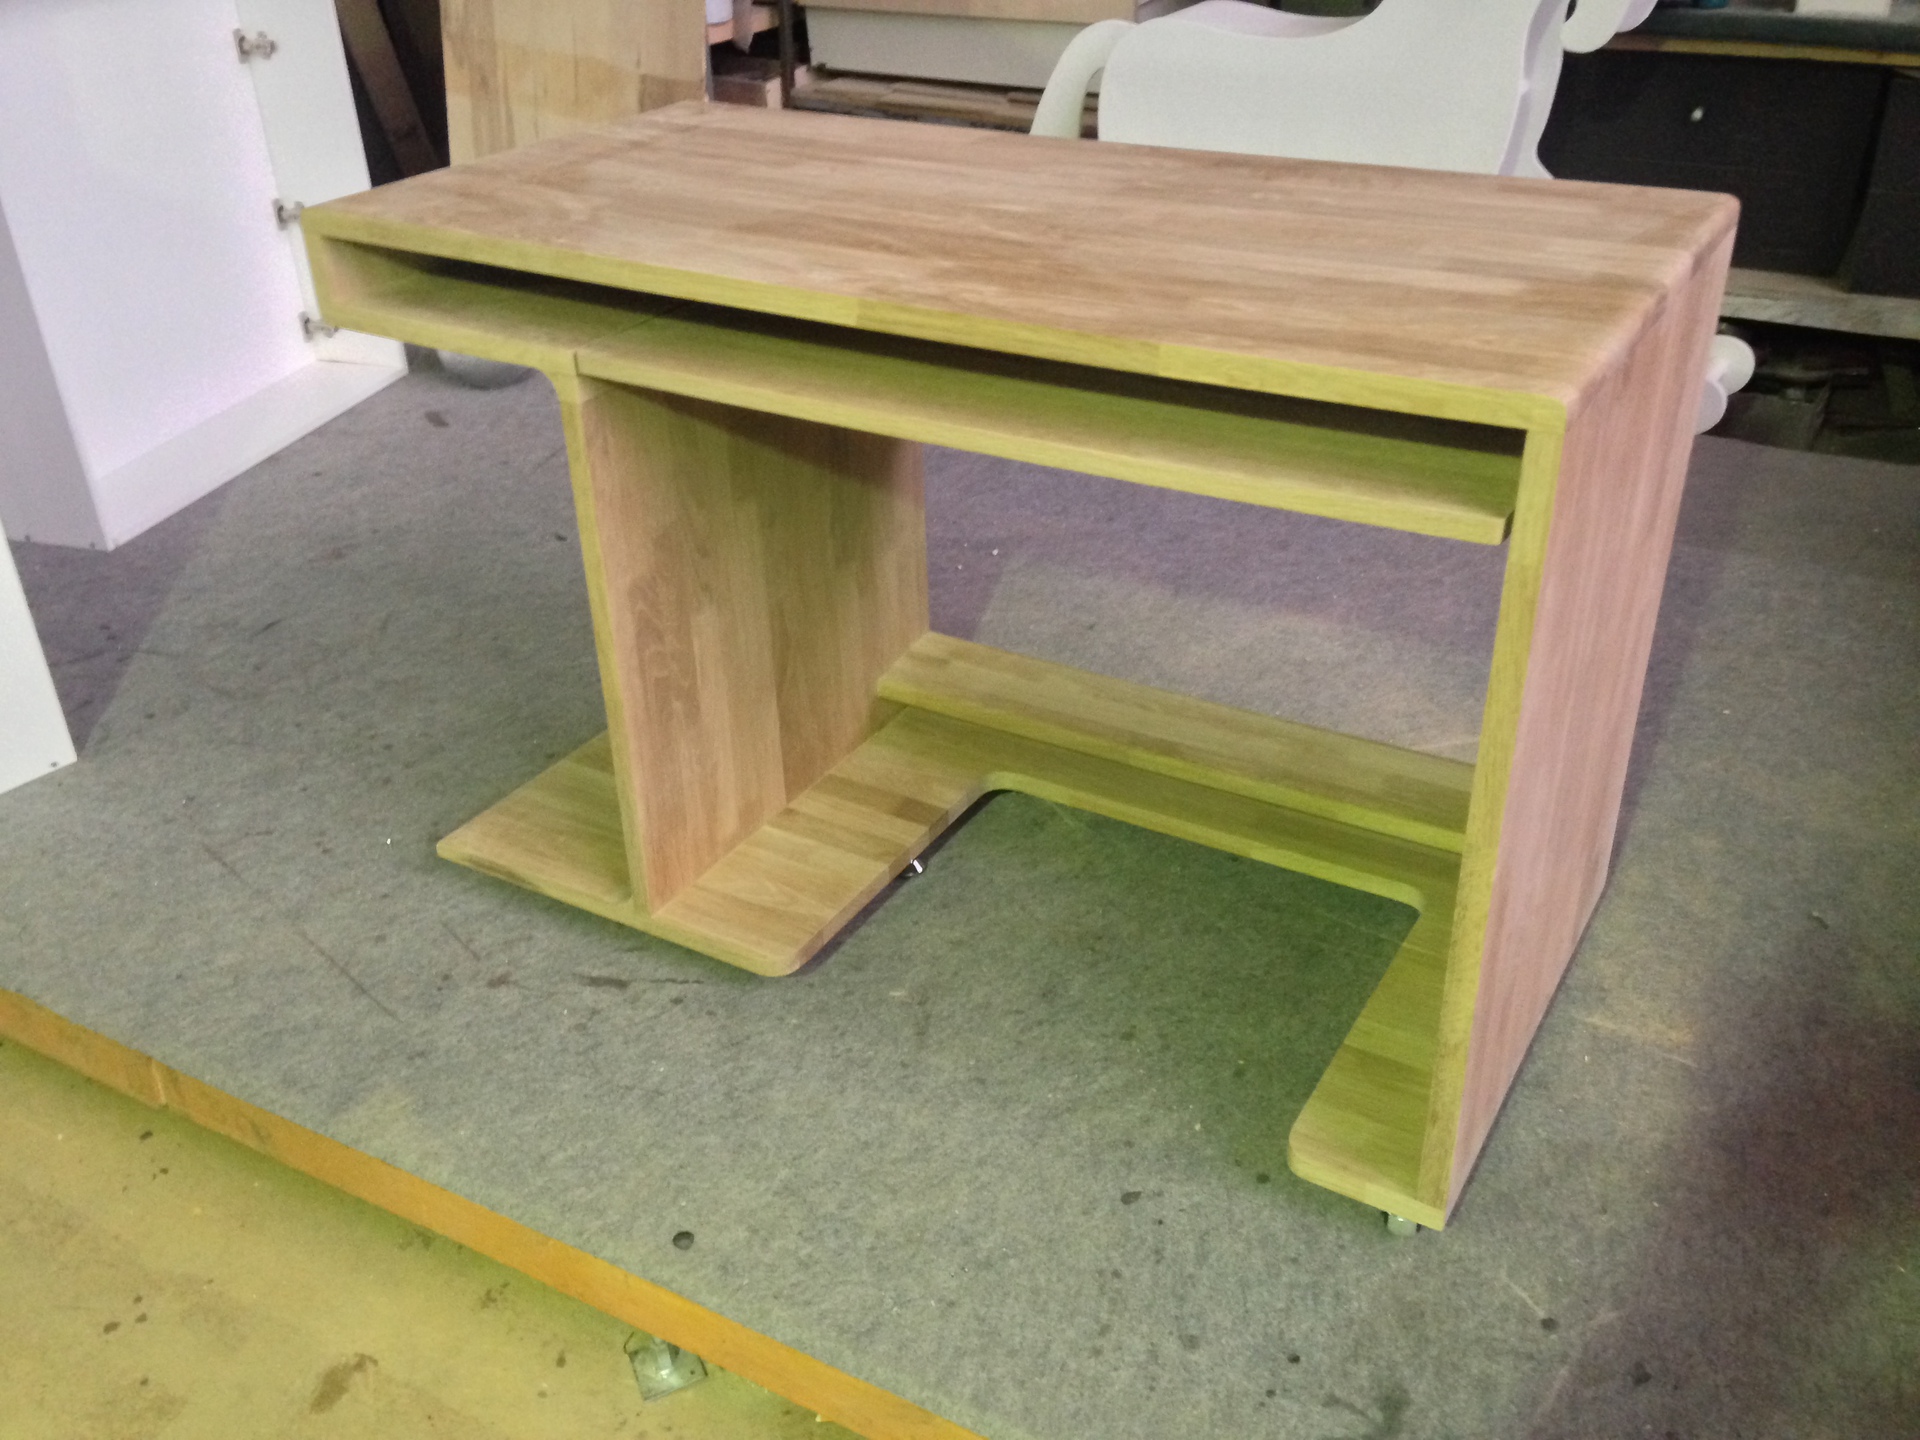
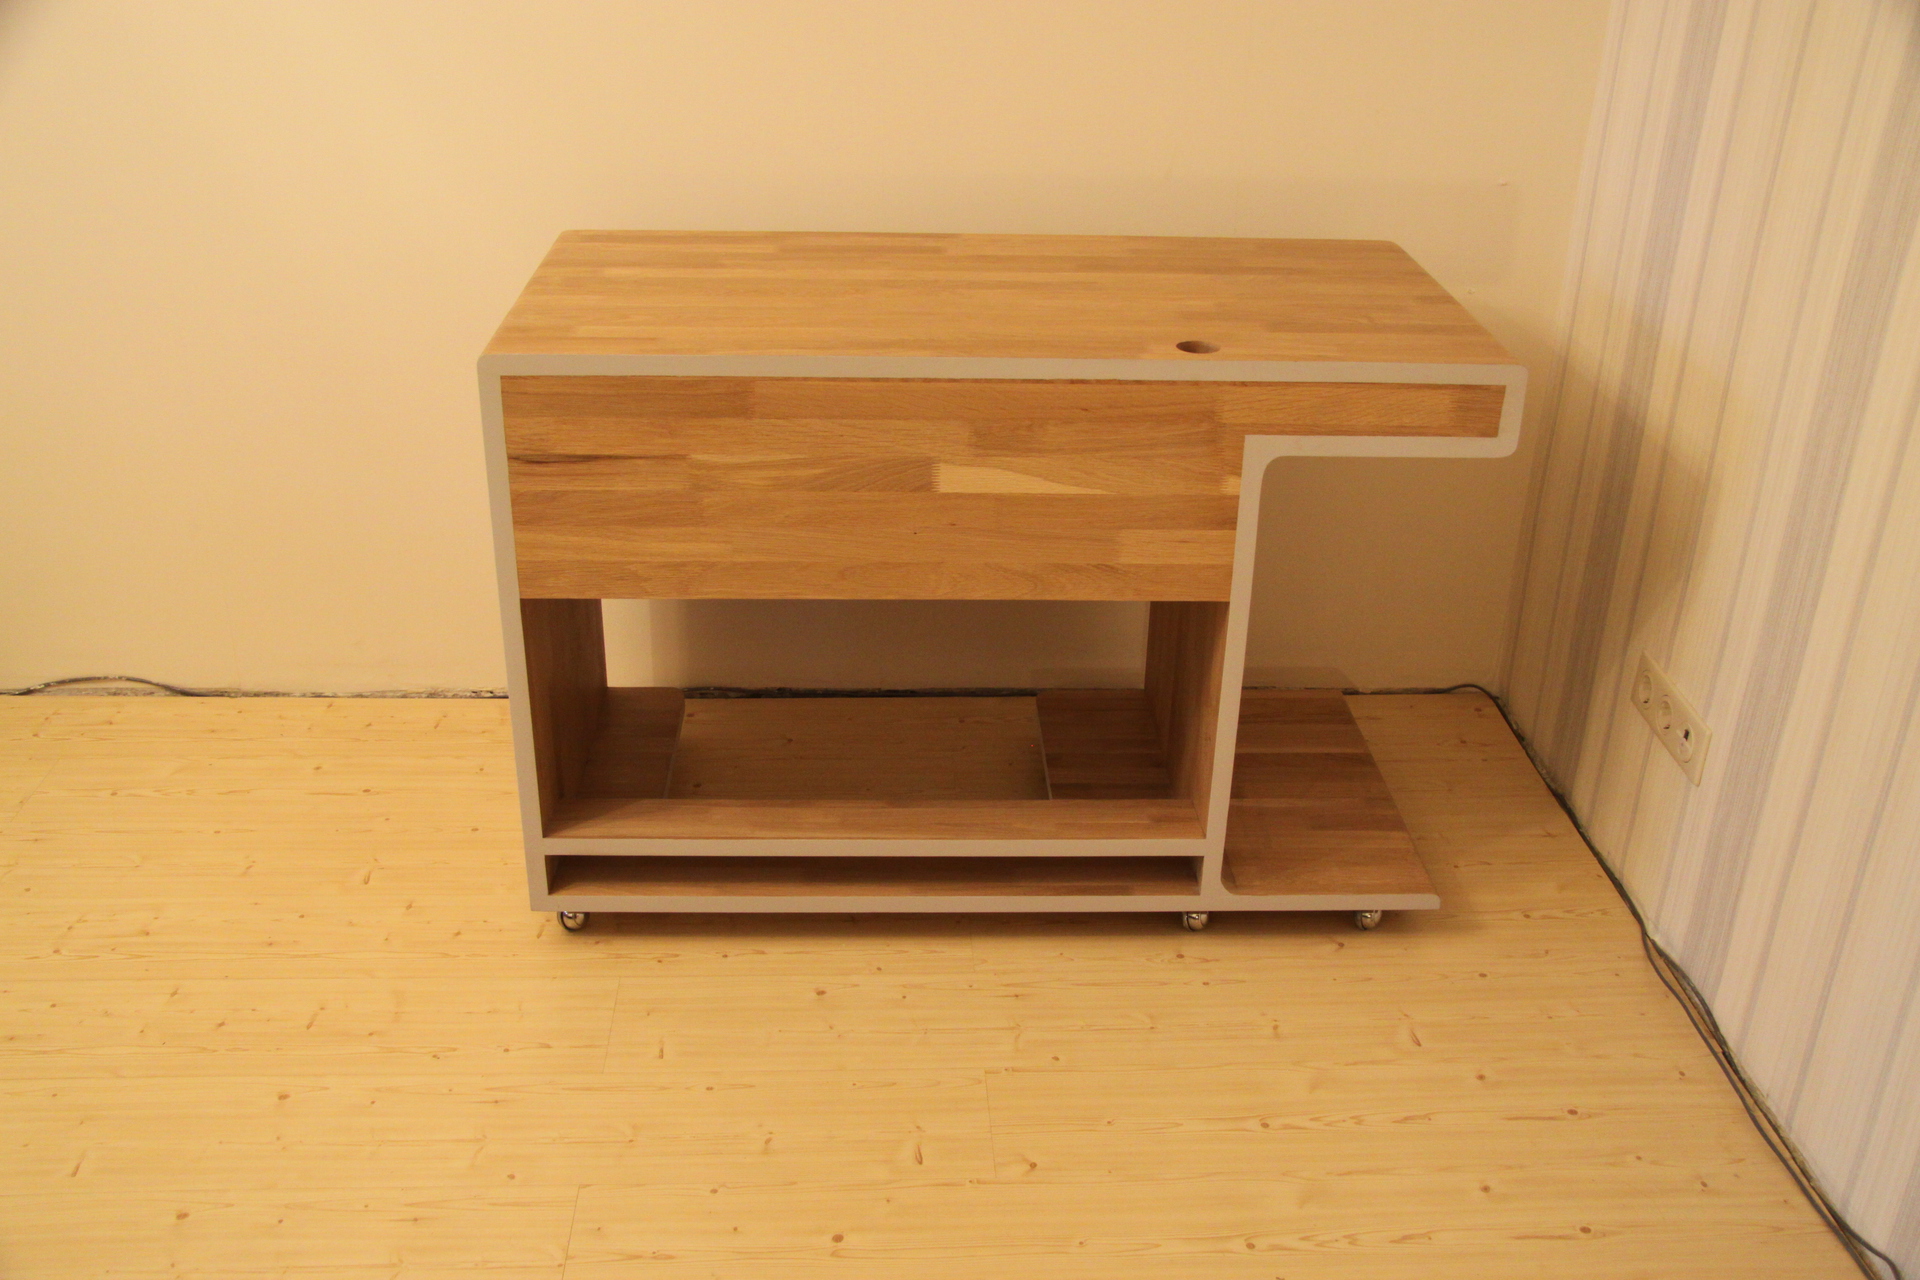
What is the result? Go without further pauses.


And this is he, tortured.
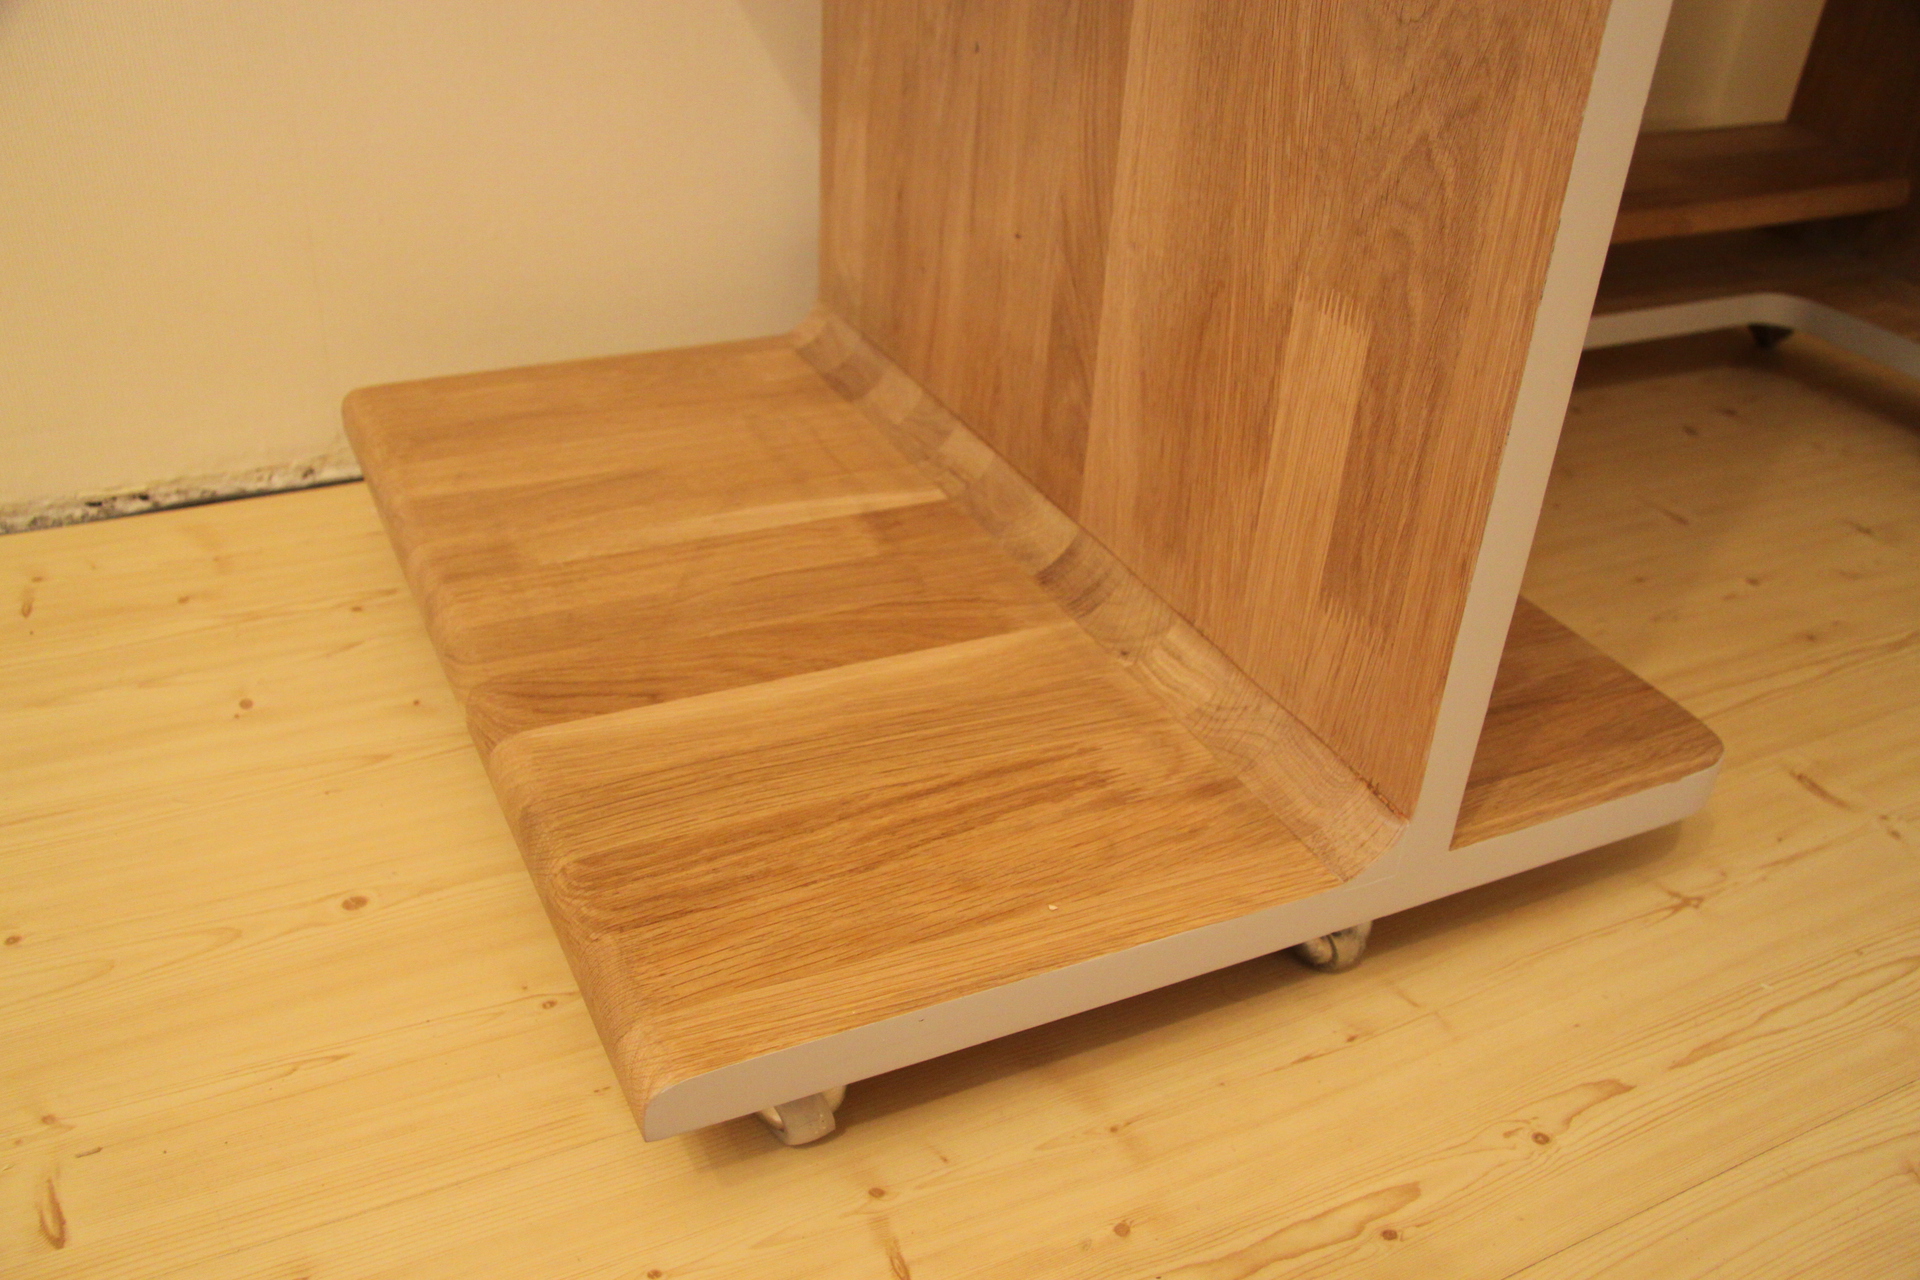
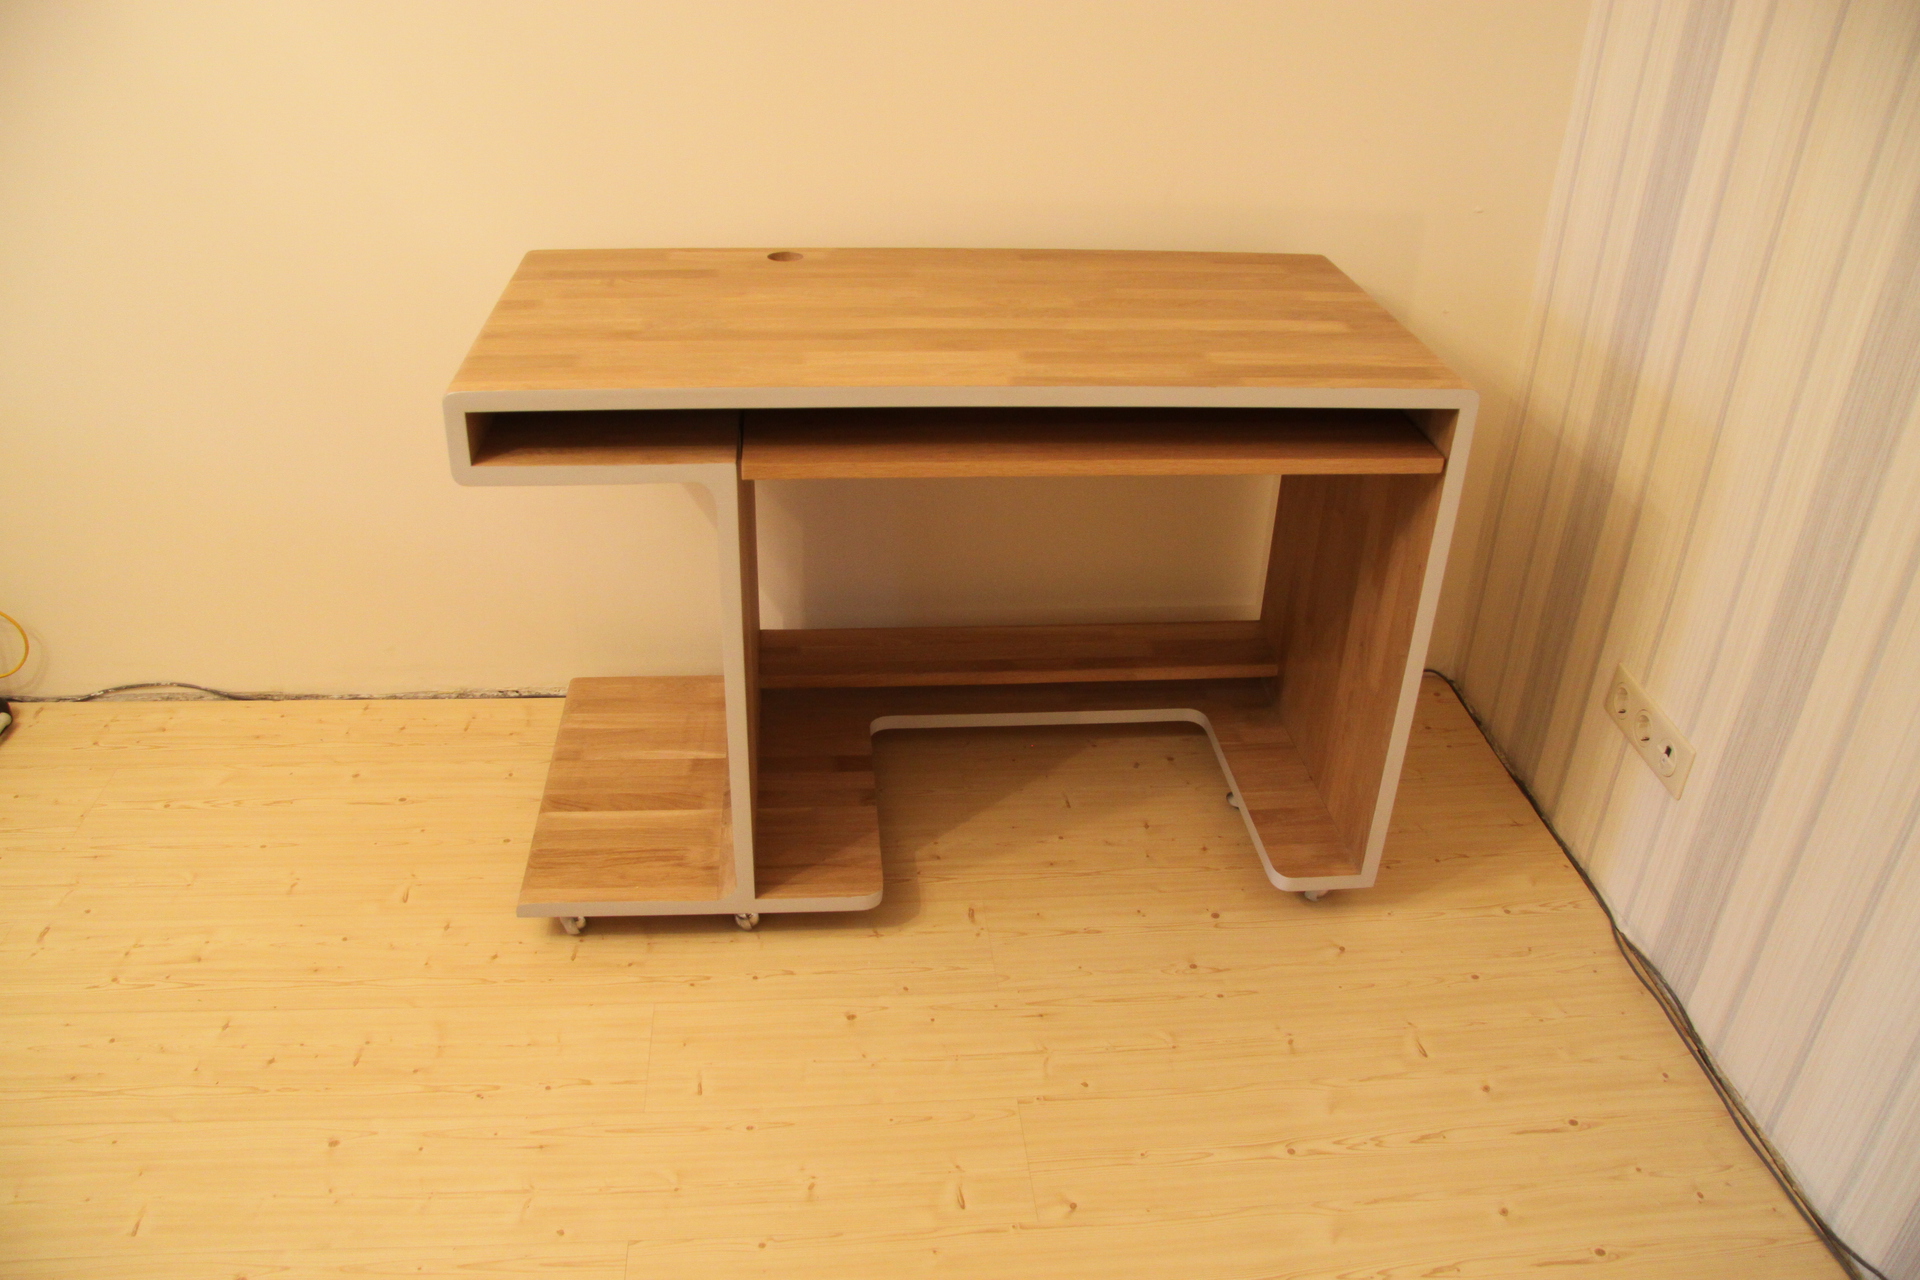
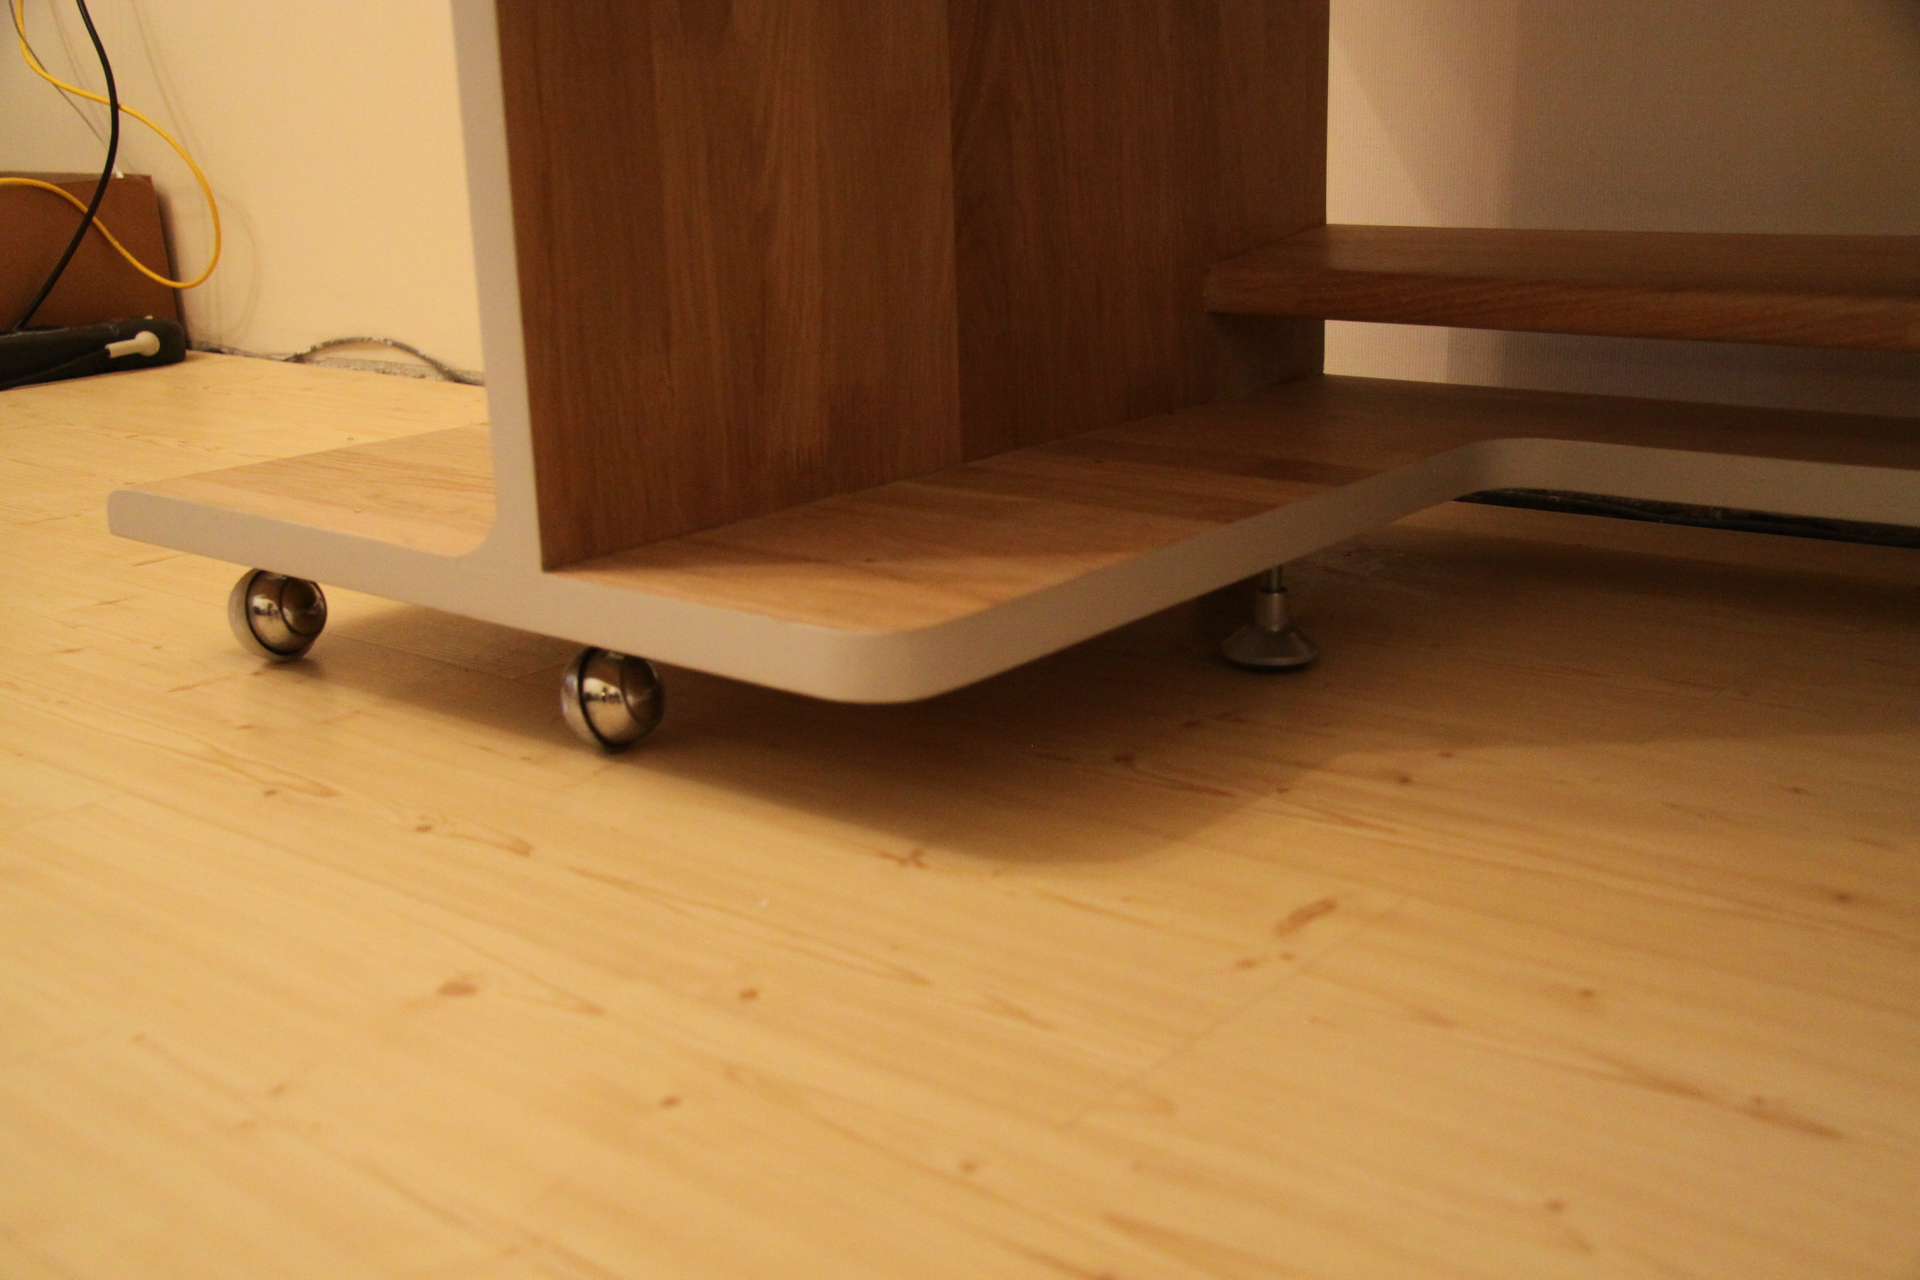
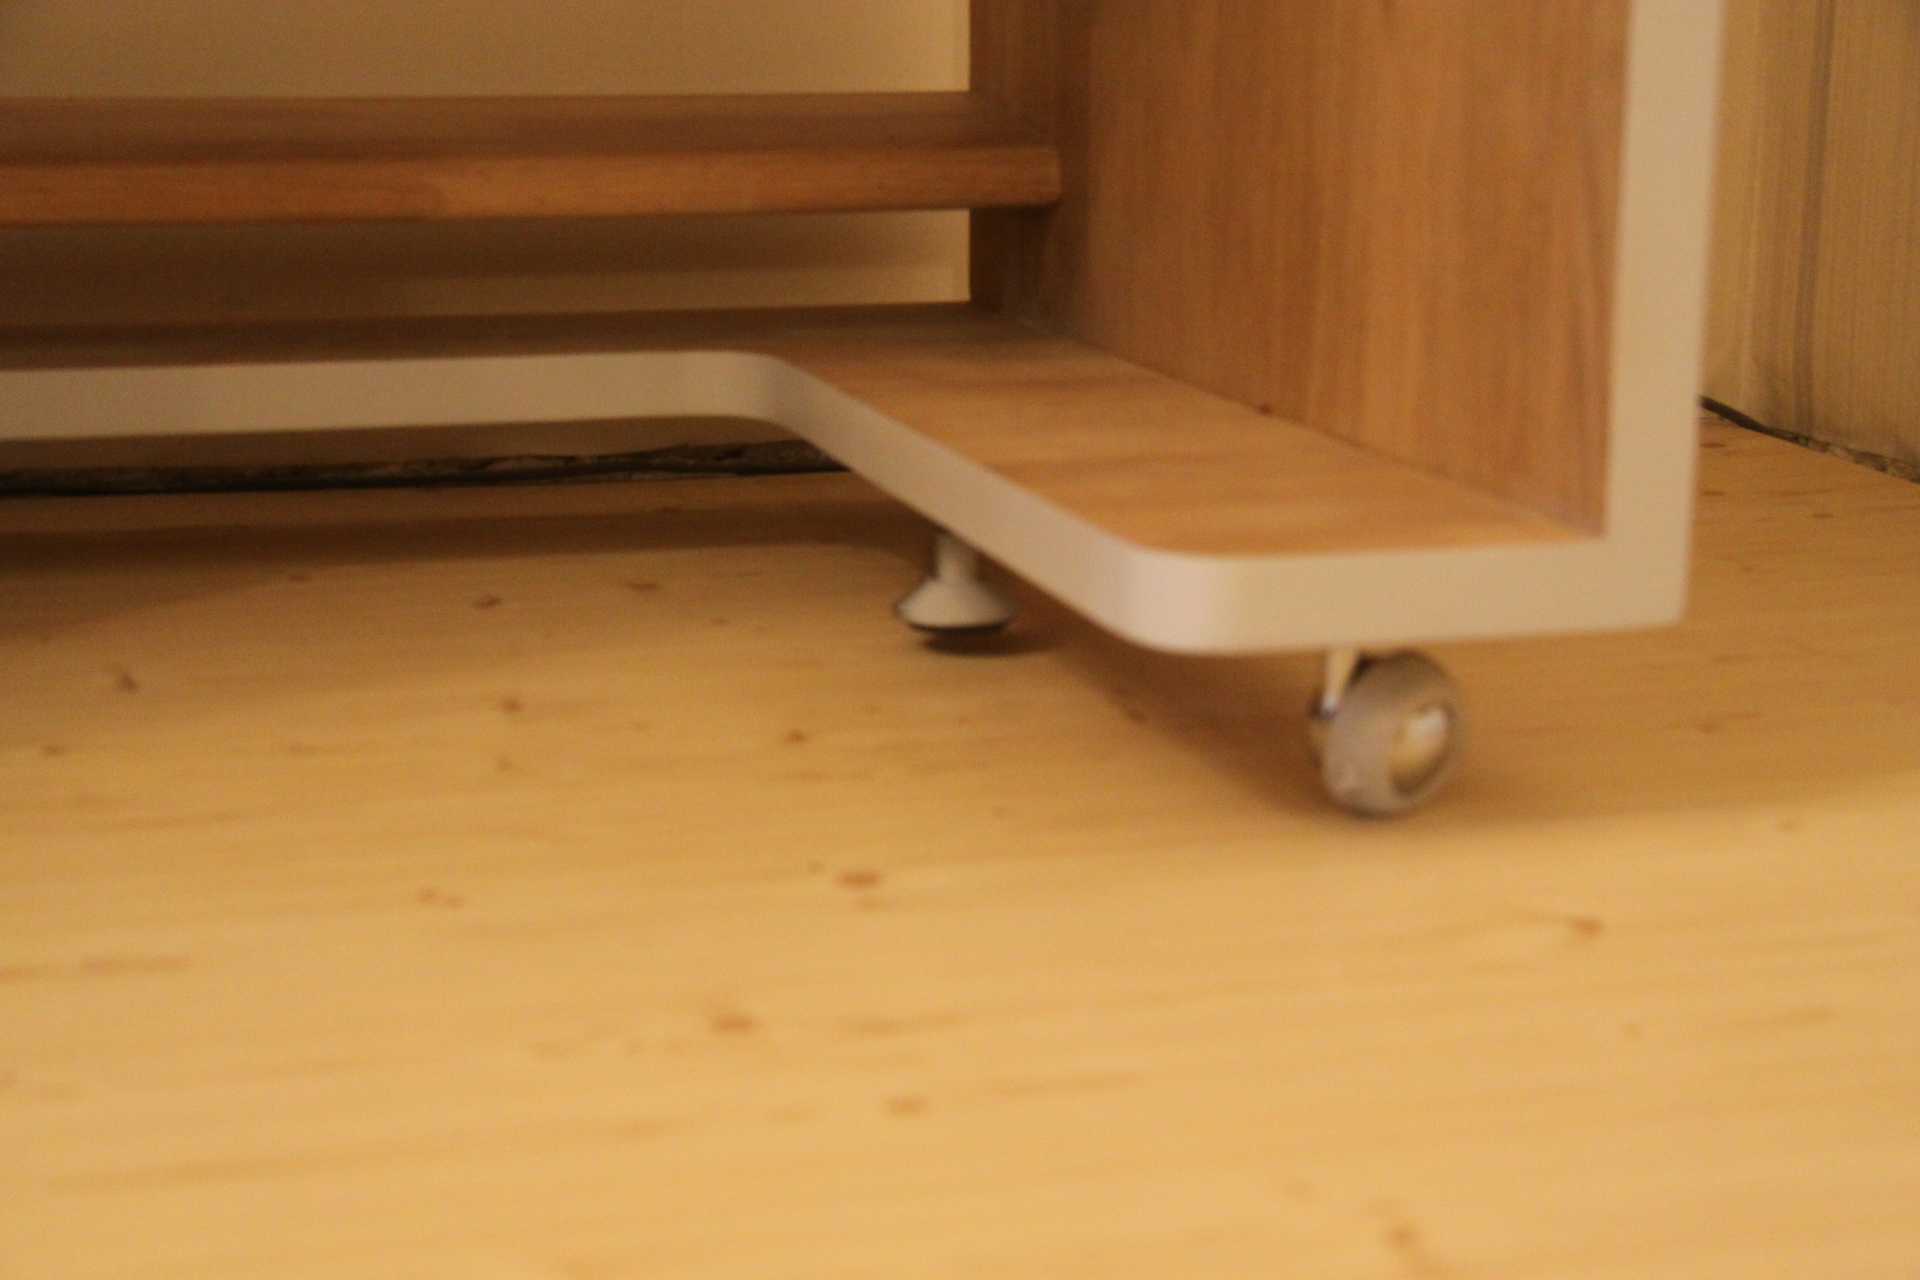
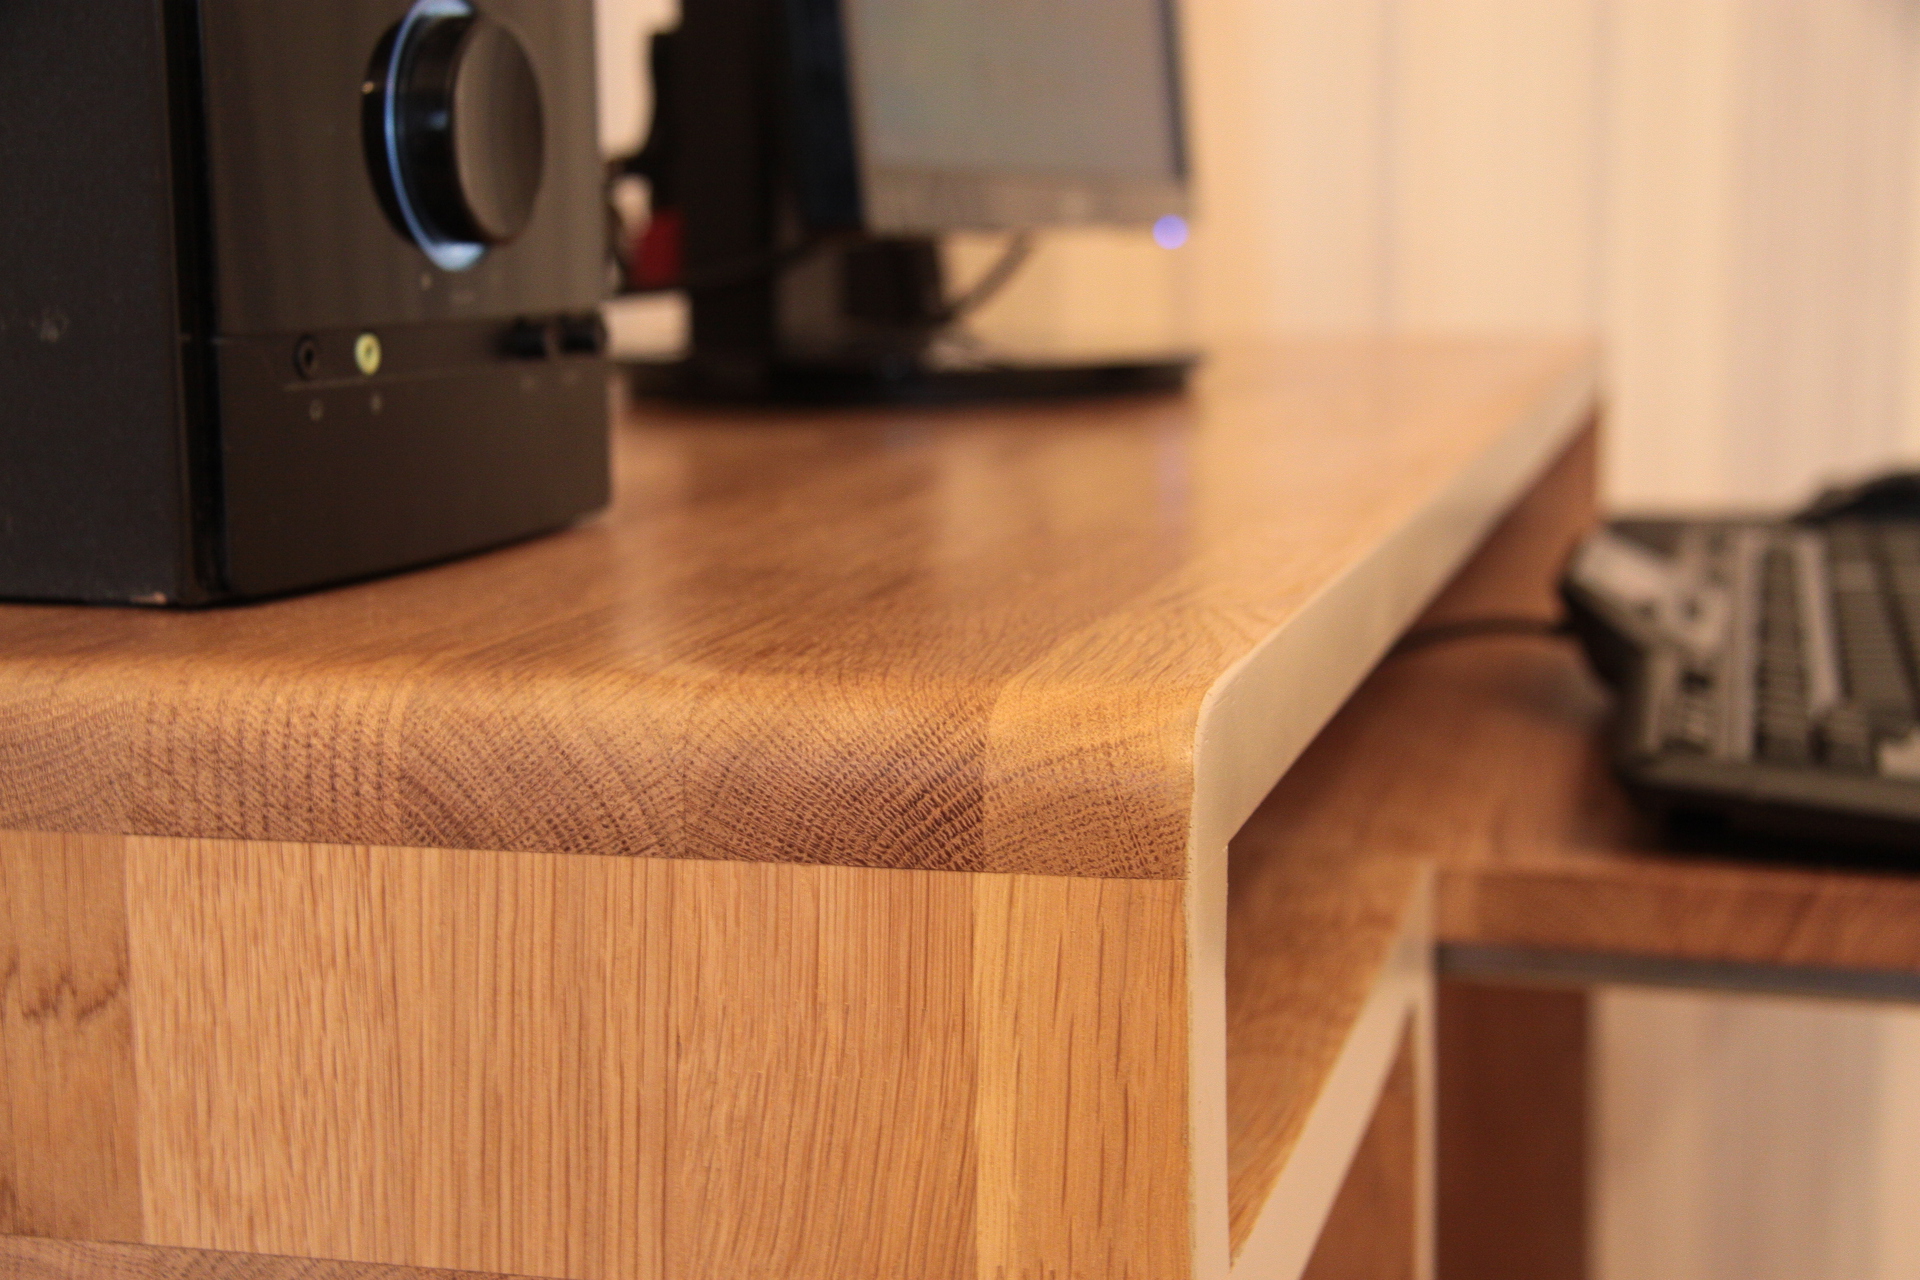
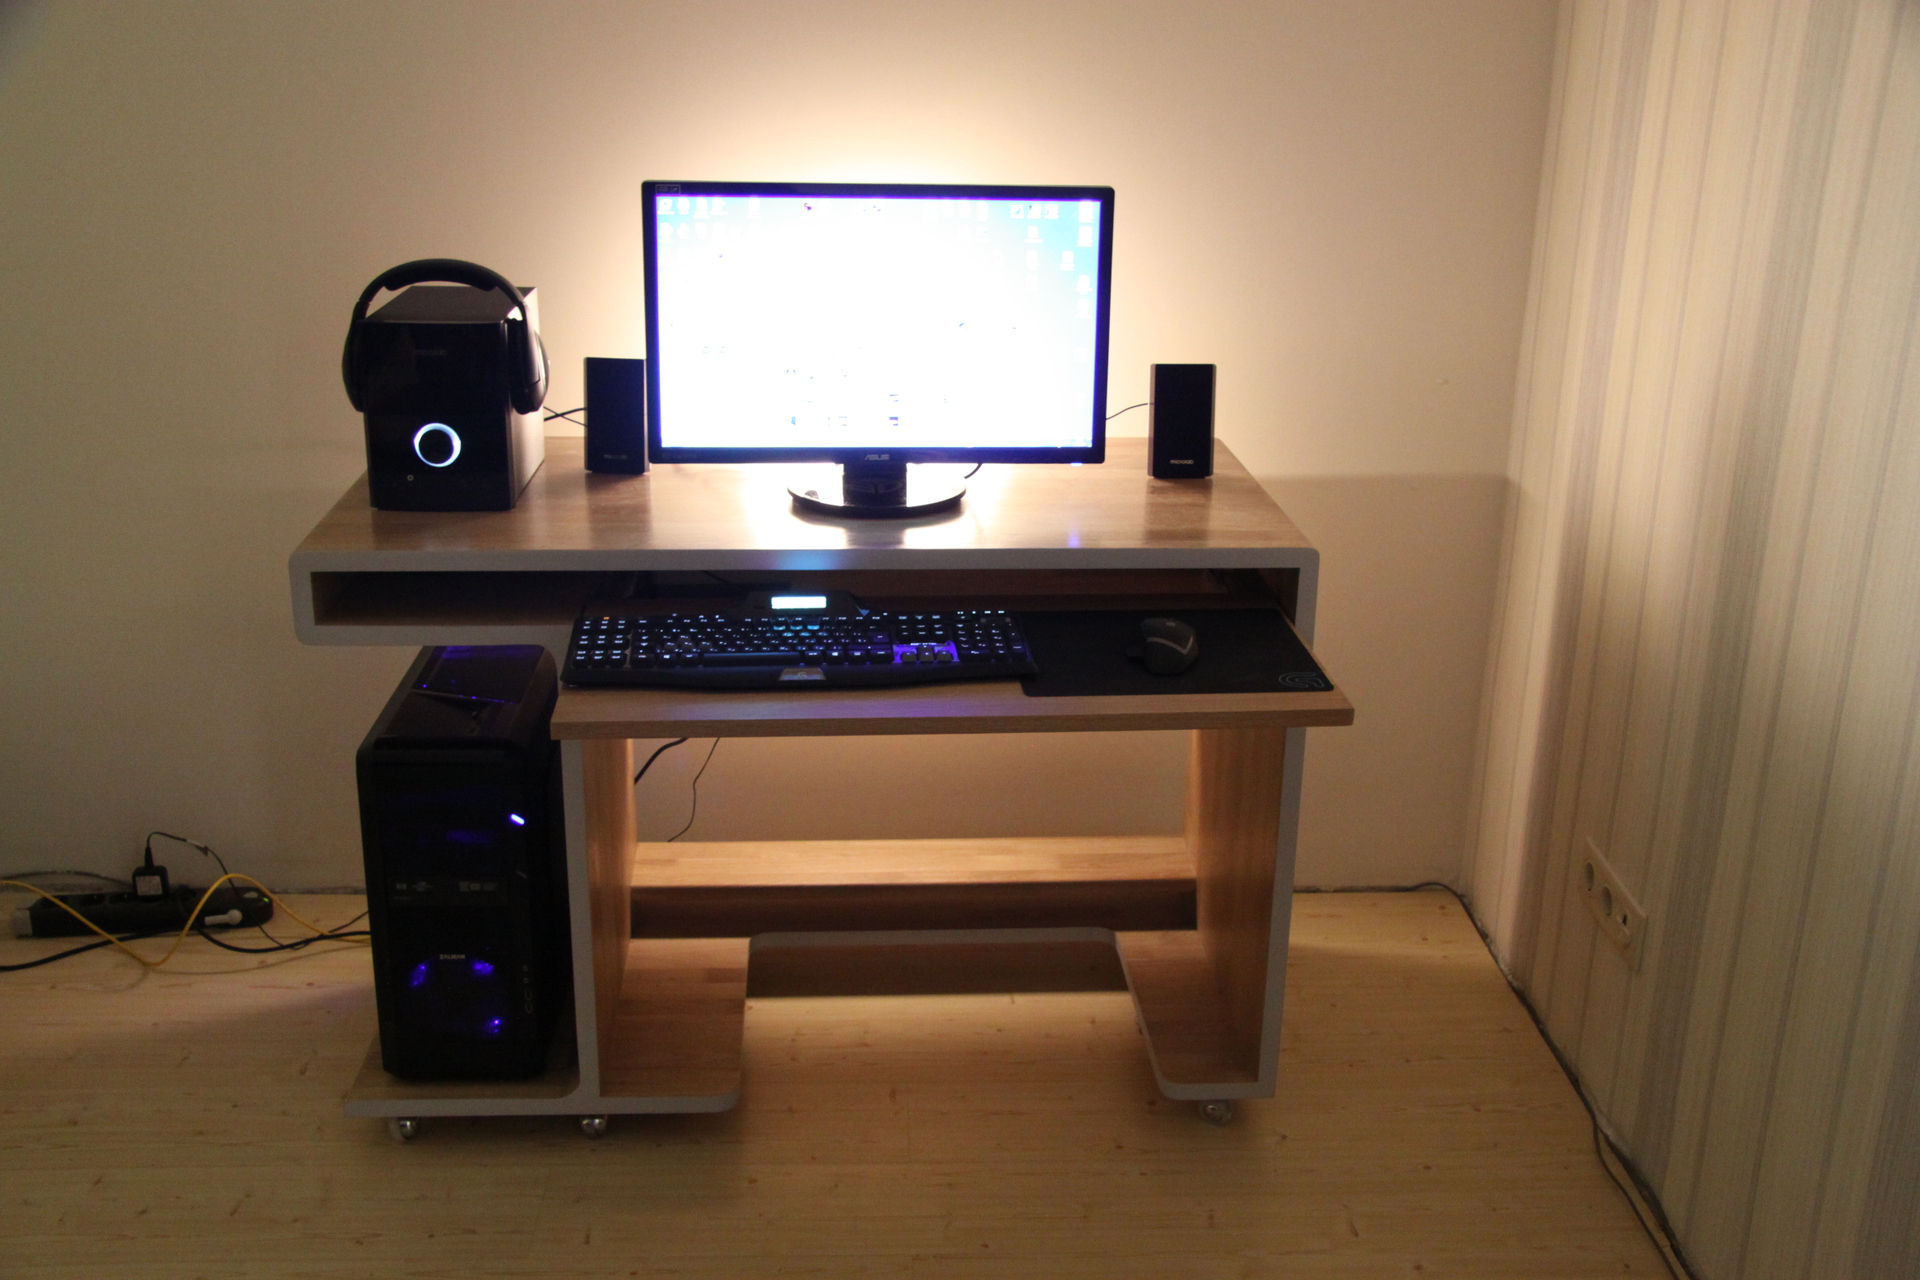
From this moment I will tell a little more. In the last post, a lot was discussed about how best to implement locking mechanisms. The solution, as always, turned out to be very simple, by analogy with construction equipment: two legs with elastic bands at the bottom are twisted down and firmly fix the table in place. In the same photos you can clearly see the gray painted outline. I conceived it not only as a decorative element, but also in order to hide the seams and seams. The paint was applied from the spray gun, so the contour turned out to be very dense and even, to the touch similar to plastic. I do not want to praise myself, but I note only that this combination of wood and painted contour was even more interesting to live than in the project. The desk looks very modern, especially relevant in the concept of the Computer Desk.
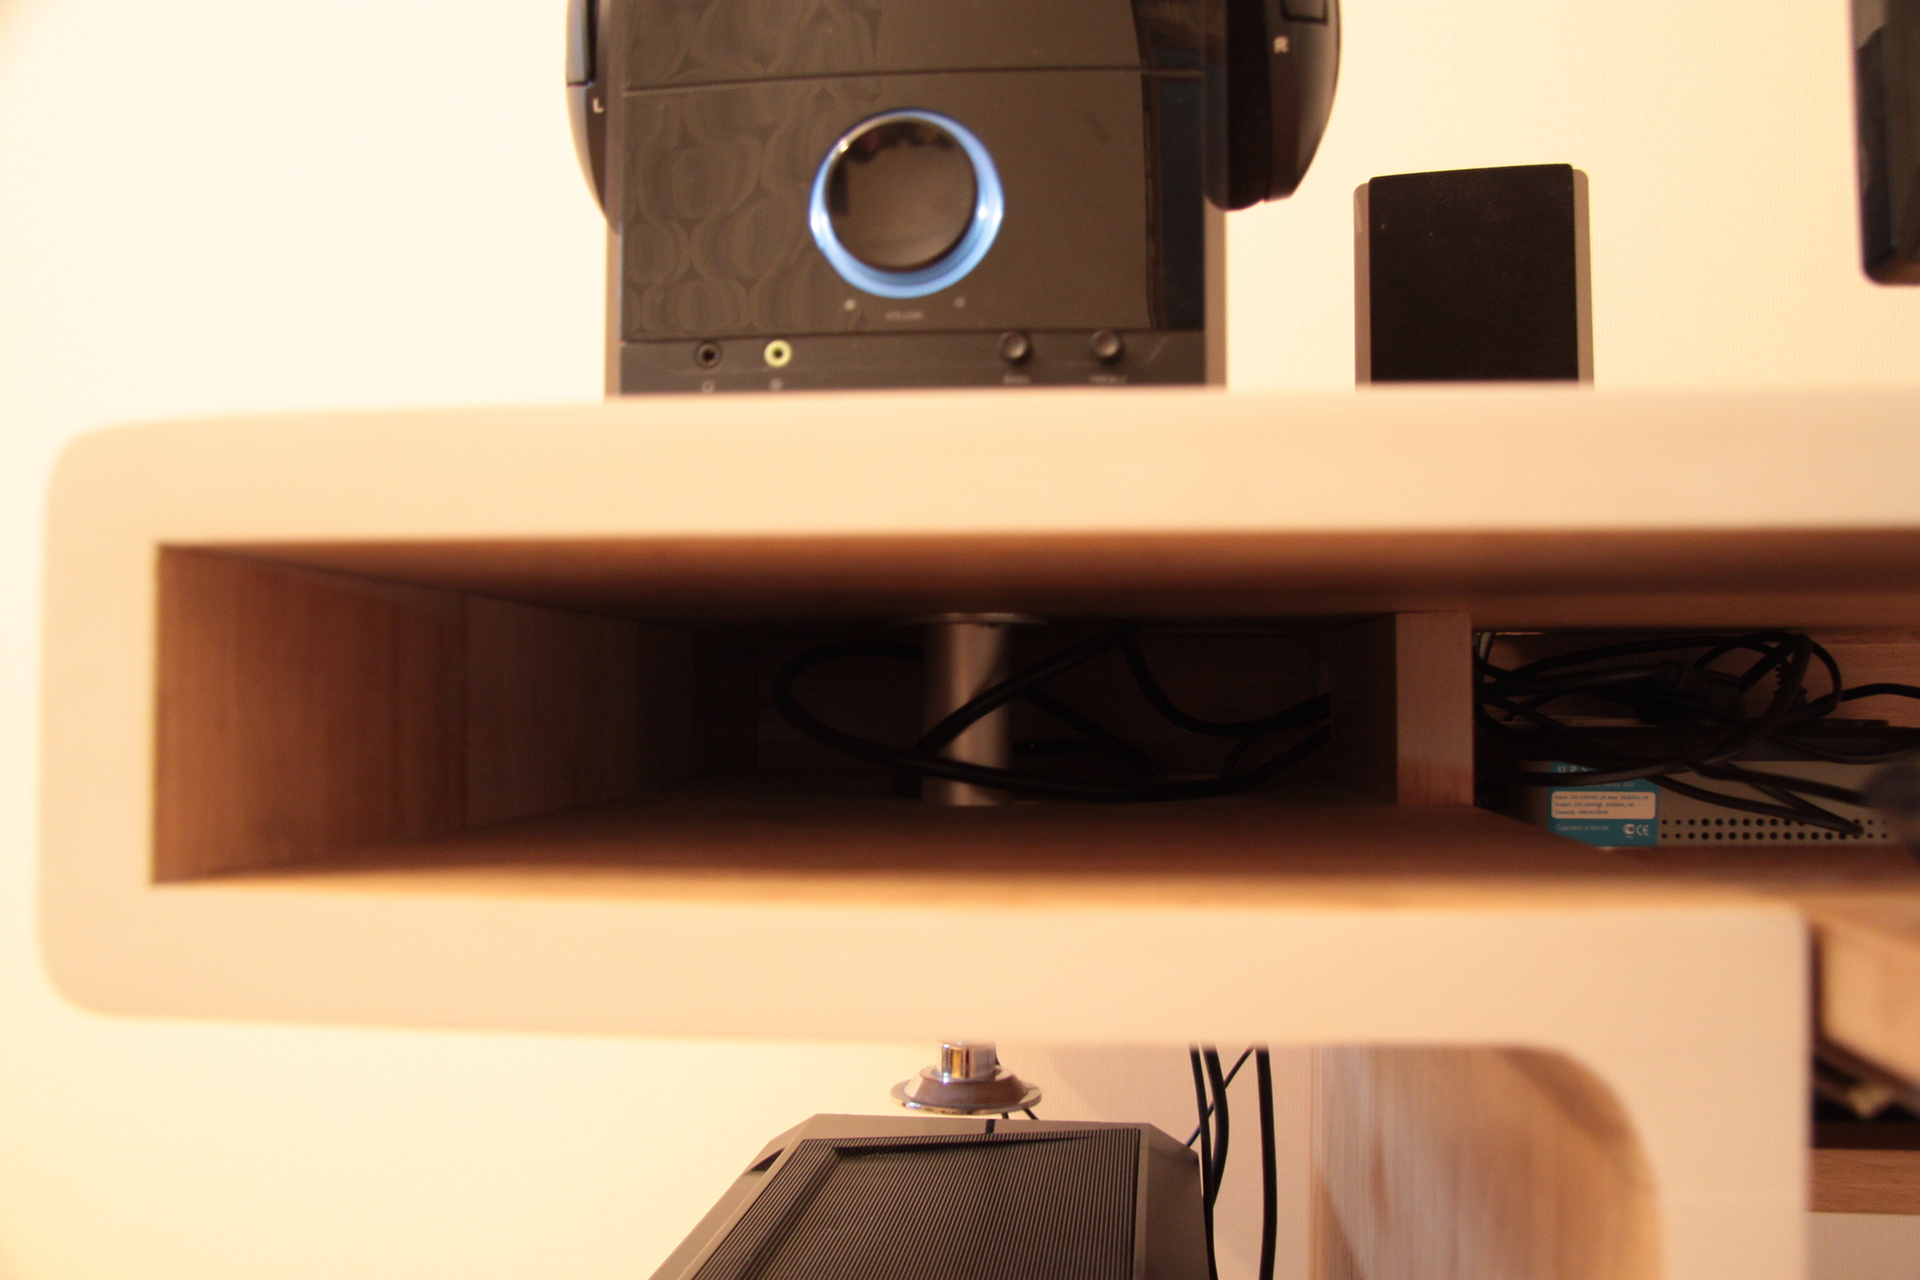
Here: shelf for ups and holes for wiring.

Back view:
They met!
For the system unit decided to provide additional mounting. Still, the table on wheels, you never know ... Unfortunately, I didn’t calculate the length of the bolt, but I think the idea is clear.

A mounting base for the system unit is very convenient to use for shortening the wires. So nothing extra does not interfere either under your feet or fall under the wheels.
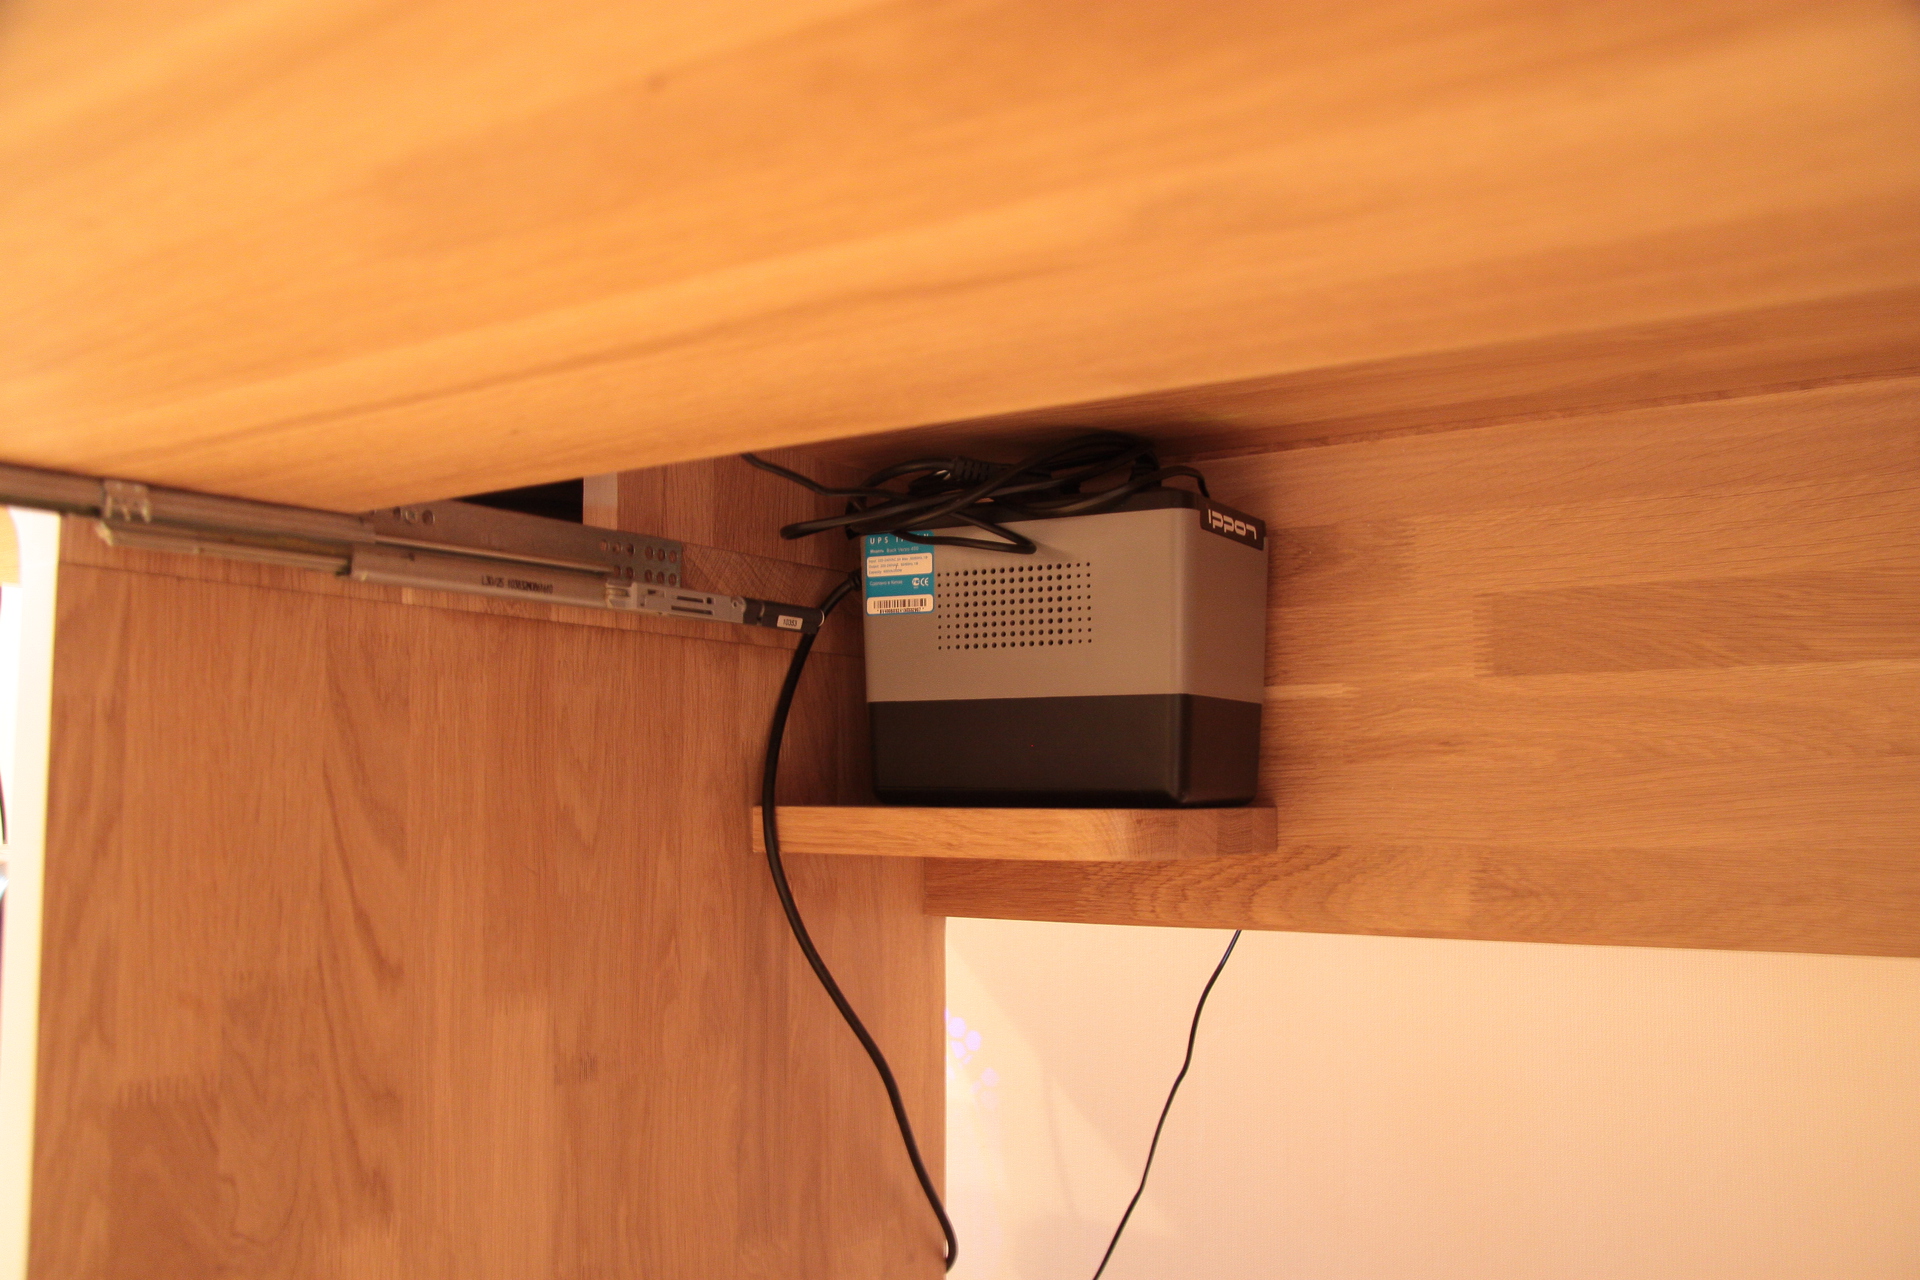
UPS. In the same photo you can see the stoppers of the sliding table top. By the way, it turned out very comfortable and wide. It was possible to win a little extra space thanks to the rails located not on the sides of it, as manufacturers of most computer desks do, but under the table top. It extends quite far and does not bend.
Well, the last picture - in the moonlight.
Another decided to make a small narezochku in order to demonstrate the beauty of its mobile properties. I will note that in order to feel them, it is not necessary to carry the table from room to room, it is convenient even to simply roll it away from the wall in order to plug, say, wires. Or move it to a corner away when the guests arrived and you need to put a large table. And I don’t have a TV, so it’s very convenient to push it closer to the sofa ... well, there are lots of scenarios when it can be useful.
In general, I thought for a long time and came across several ideas for a more massive table in a similar design, which the opponents of pull-out shelves probably would have liked, but I personally consider them to be a very convenient solution especially in conditions of small city apartments.
I don’t want to build bulky constructions, otherwise I’m dissipated from the ideas of mobility, so I’ll want to add some sort of shelf later on:


And, of course, what a review now does without a bend test! Checking:
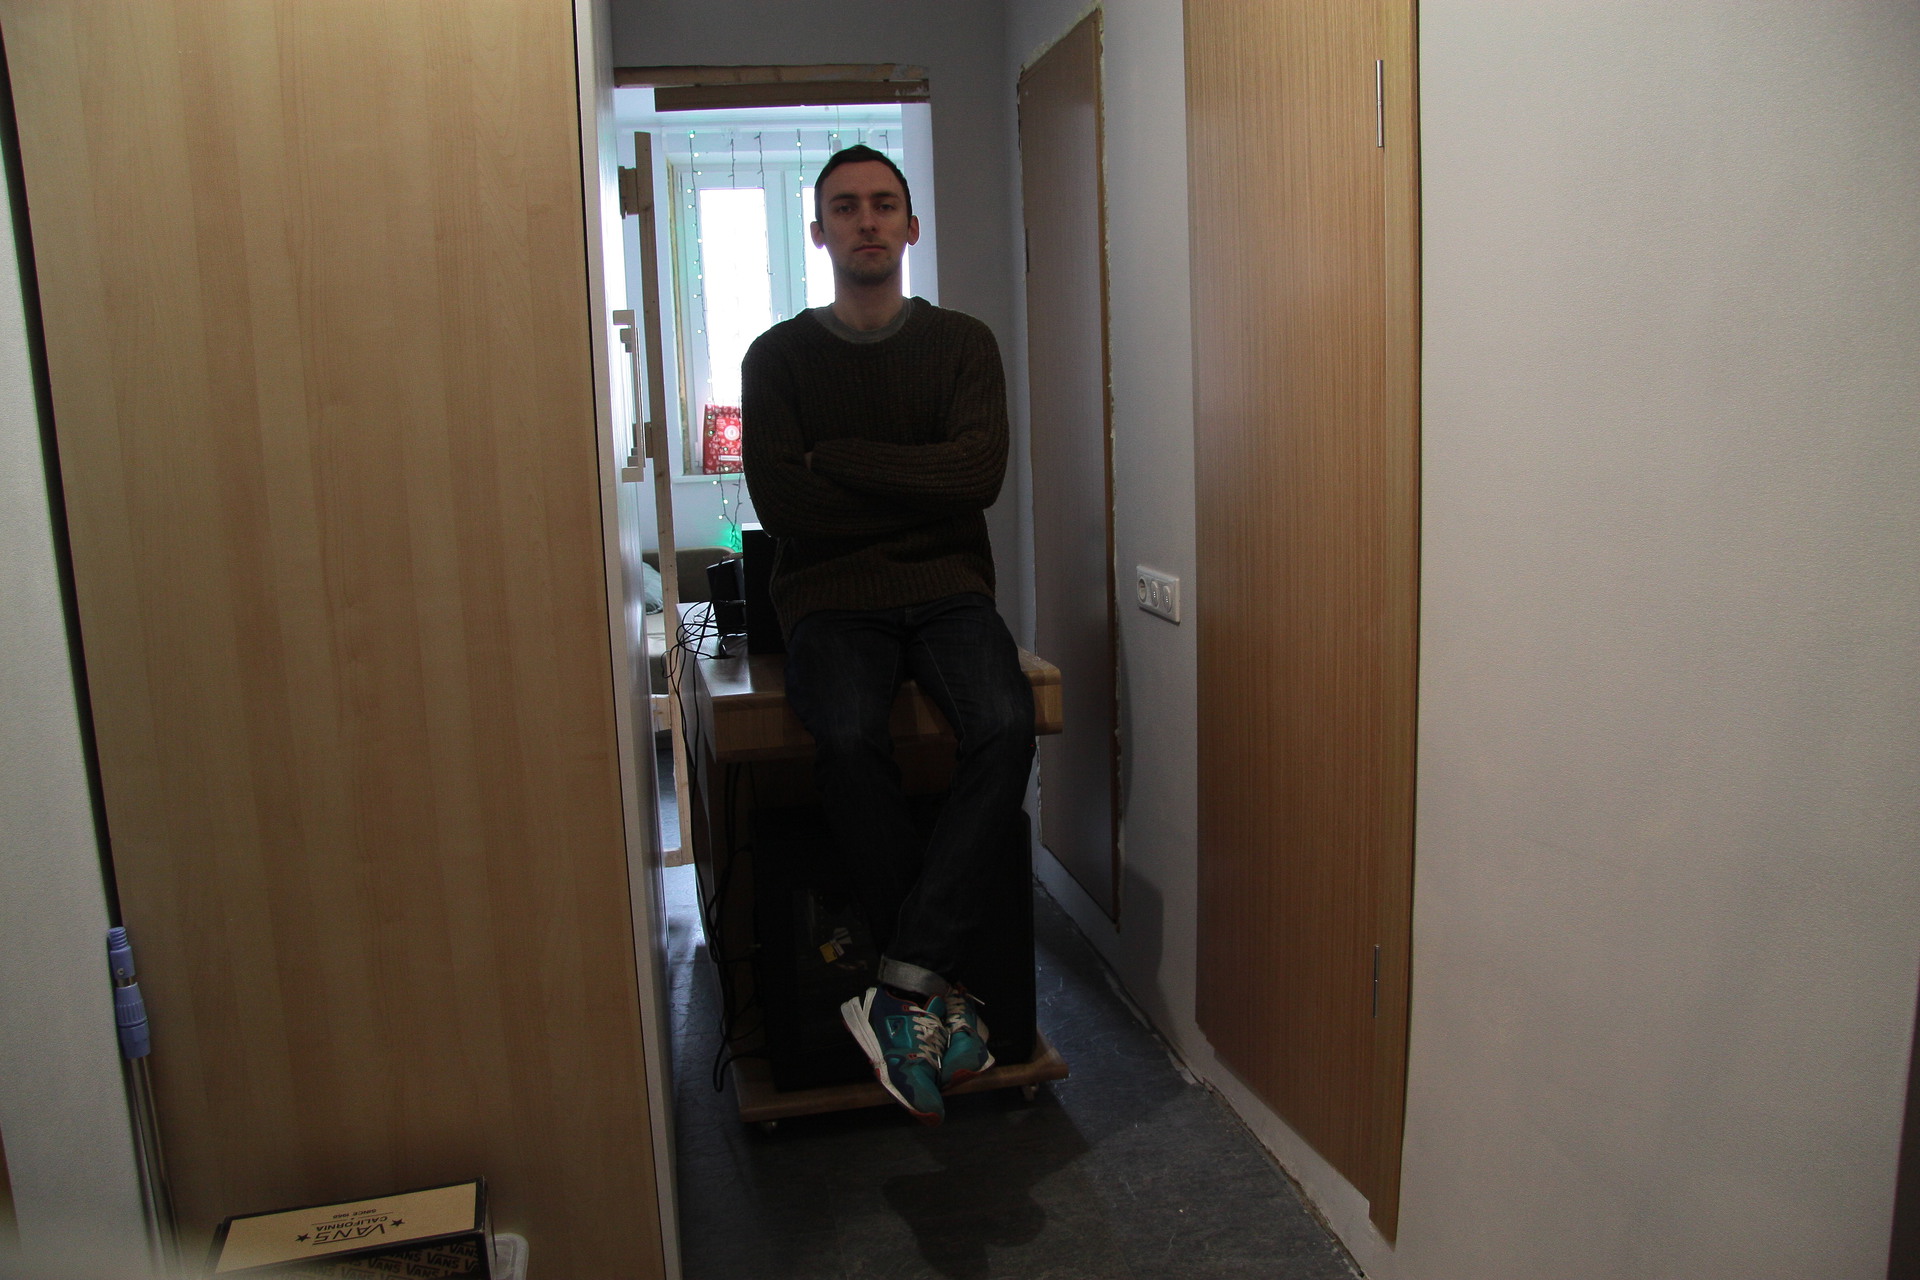
~ 80 kg (together with the computer) - normal flight, did not even creak.
At this end. I hope that at least a little bit I managed to infect you with my ideas and you gladly walked with me from the first unsightly project in the sketch to the kitchen itself at the stern of that very table.
If you are infected so much that you want something like that, then, theoretically, you can repeat. Please write about this in PM.
UPD
There was a thought that in the case of using a laptop (all of a sudden!), You can use a niche in the table for the nightstand. Nightstand, though you can and separately use without pushing.

Source: https://habr.com/ru/post/240299/
All Articles