RAR Print - homemade 3D printer from CD roms

At the beginning of December 2013, Muve3D photopolymer 3D printer fell into the hands. The printer came kit set directly from the United States. This project was launched on a crowdfunding platform in April 2013 and successfully implemented . However, the design required quite time-consuming assembly and configuration. On top of that there were various kinds of flaws. Nevertheless, it turned out to build and run the printer. Got the first experience.
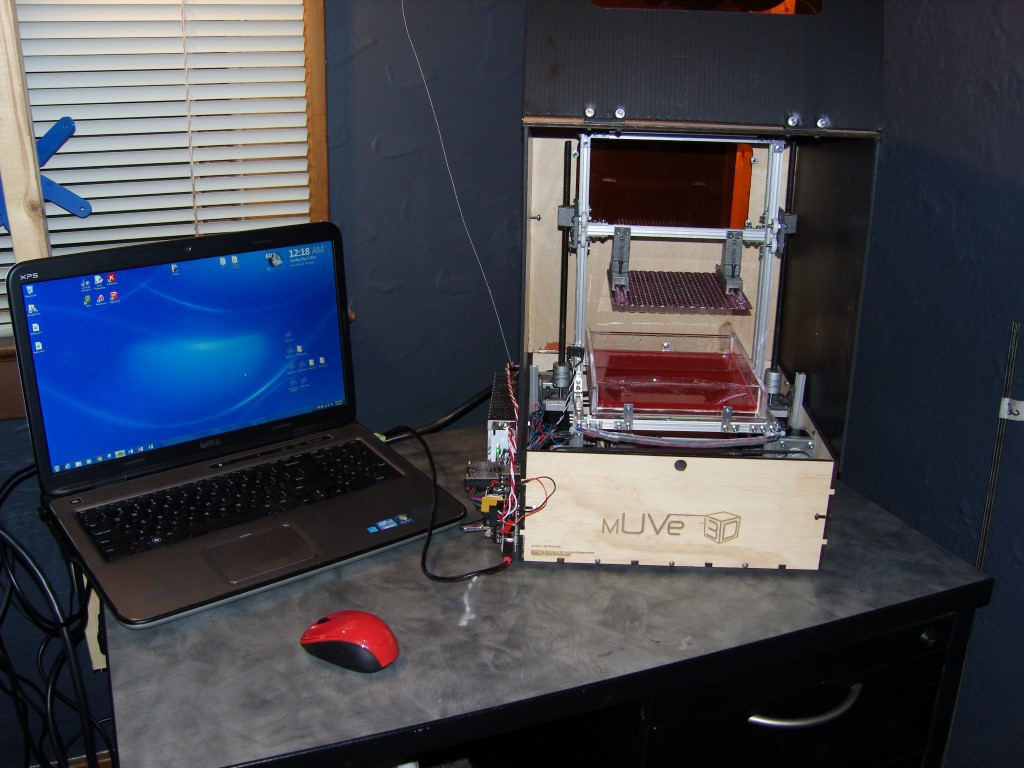
In the photo the very Muve3D.
In parallel with the dances, the printer began to study the topic of photopolymer 3D printing more deeply. In Russia there is the Institute ILIT RAS , which deals with laser stereolithography (photopolymer printing) since the times of the USSR. They print different things:
')
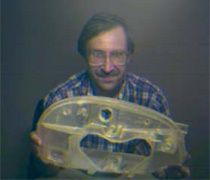
Block headlights car VAZ.

The model of the module is “Kvant” of the Mir space station.
Some time later, a CD rom, which I disassembled, caught my eye, I immediately remembered the thickness of the tracks that the laser burns out (on the order of units of micrometers). And then it started to dig the Internet on existing developments. An interesting article about the creation of a laser cutter from CD Drives came across in the network:
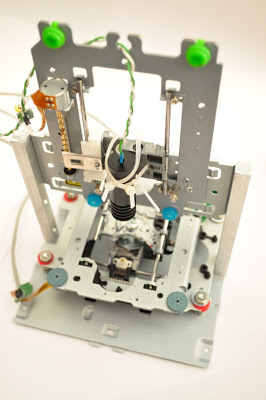
However, the design was intended for laser cutting, rather than the three-dimensional curing of the photopolymer and it was decided to create its own design:
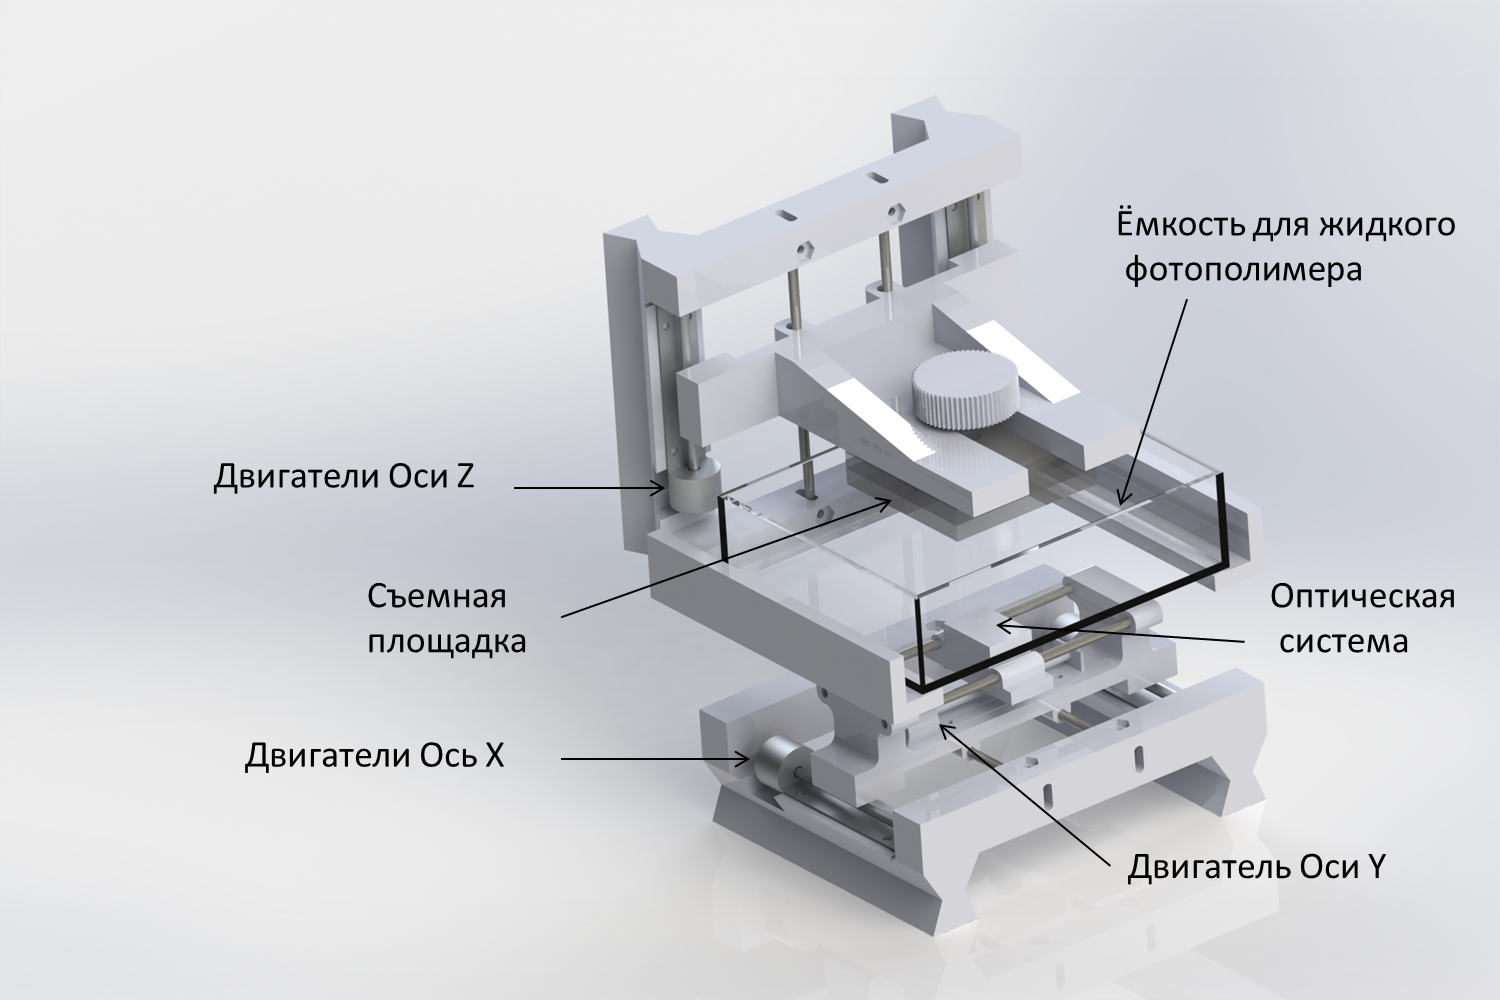
3D model of the prototype mechanics 3D printer.
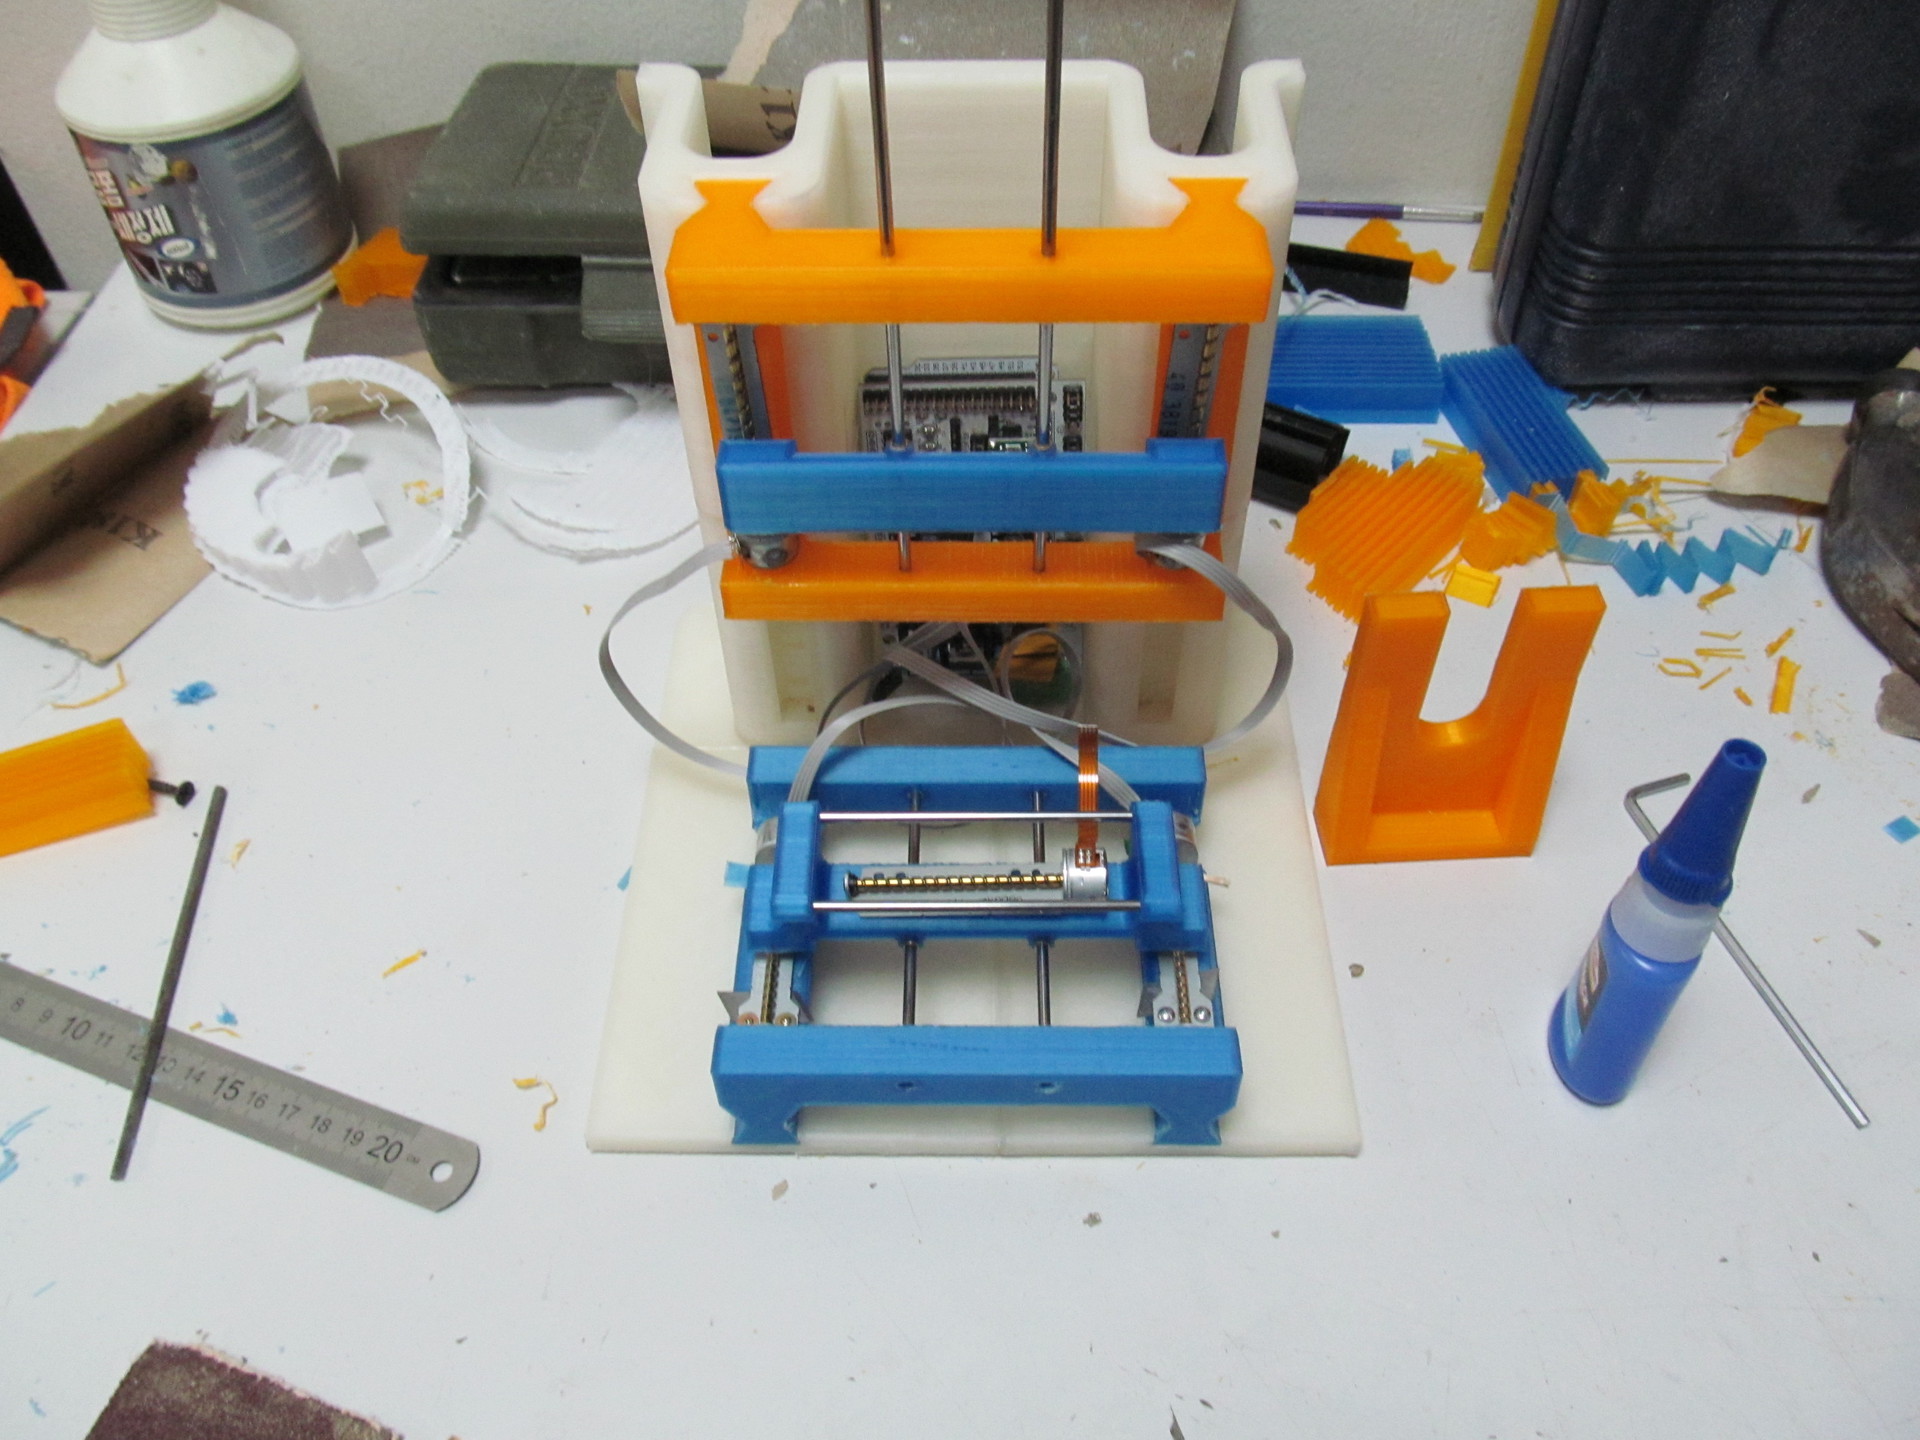
And his first physical incarnation with 3D printing.
The principle of operation of the RAR Print 3D printer is similar to most existing ones. Digital 3D-model of the object that we will print - is loaded into the software. I used the open source software (Repetier Host) and the Arduino open source software / hardware platform, thanks to which all the components of the 3D printer are managed. The optical system from the CD drive moves along two horizontal axes: the X axis and the Y axis. What had to be done further was to replace the laser diode of the optical drive system with an ultraviolet LED for 20 rubles. This replacement is due to the conditions for curing the photopolymer liquid. The container is filled with liquid photopolymer, which hardens under the influence of ultraviolet radiation. When the optical head lit up one layer of liquid photopolymer and it stuck, the removable pad rises one layer up (about 10 -100 micrometers). The whole process is repeated until all the layers that make up our 3D model harden.
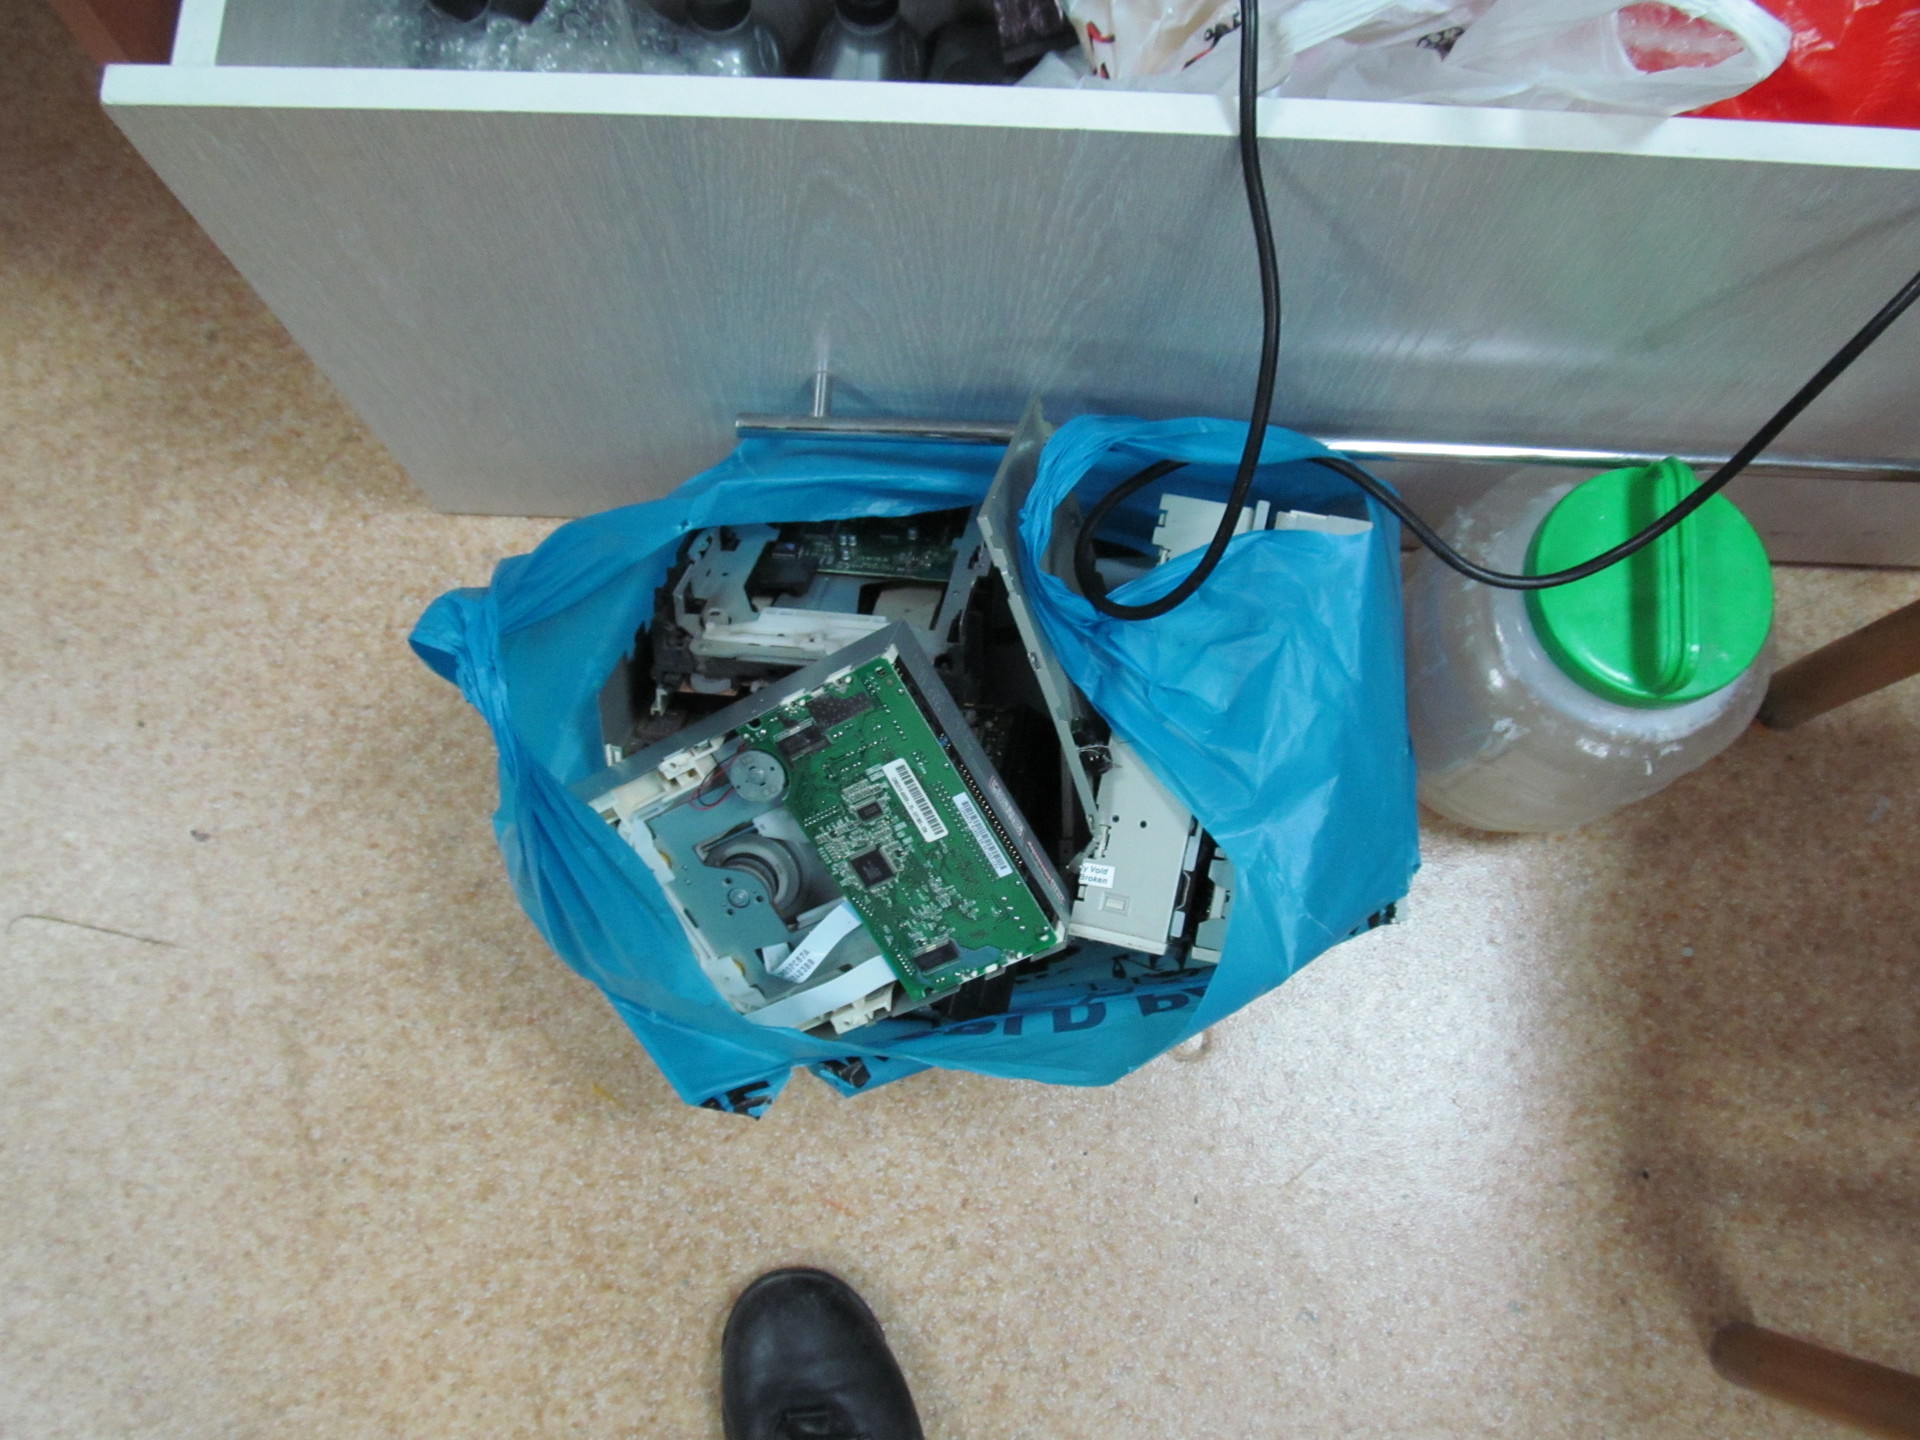
Gutted CD and DVD drives.

Electronics placement (Arduino Mega 2560 board - printer's brain).
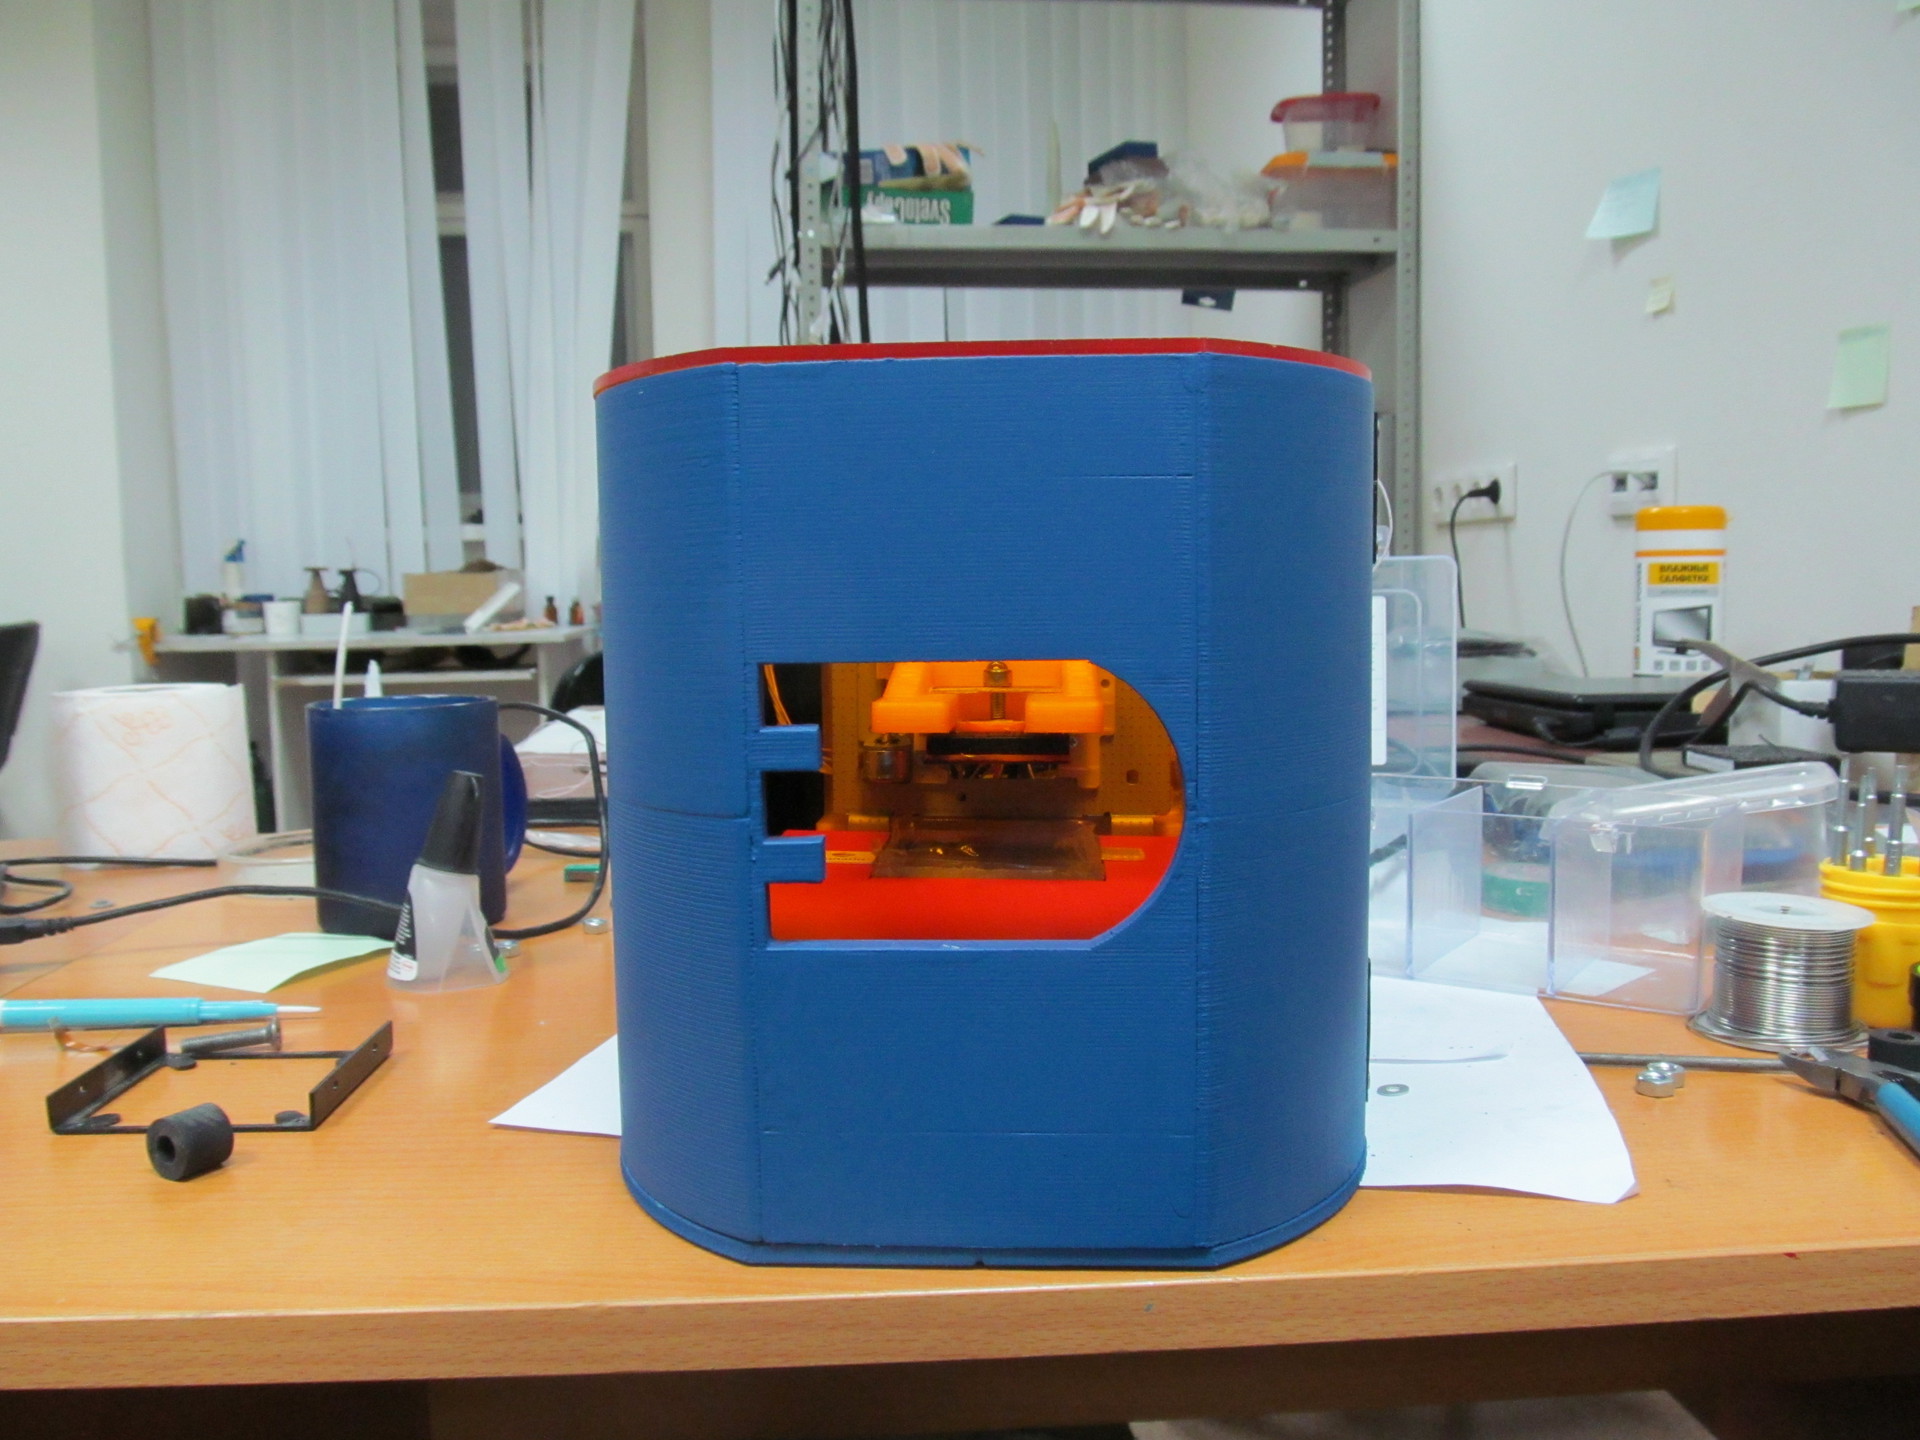
The appearance of the printer.

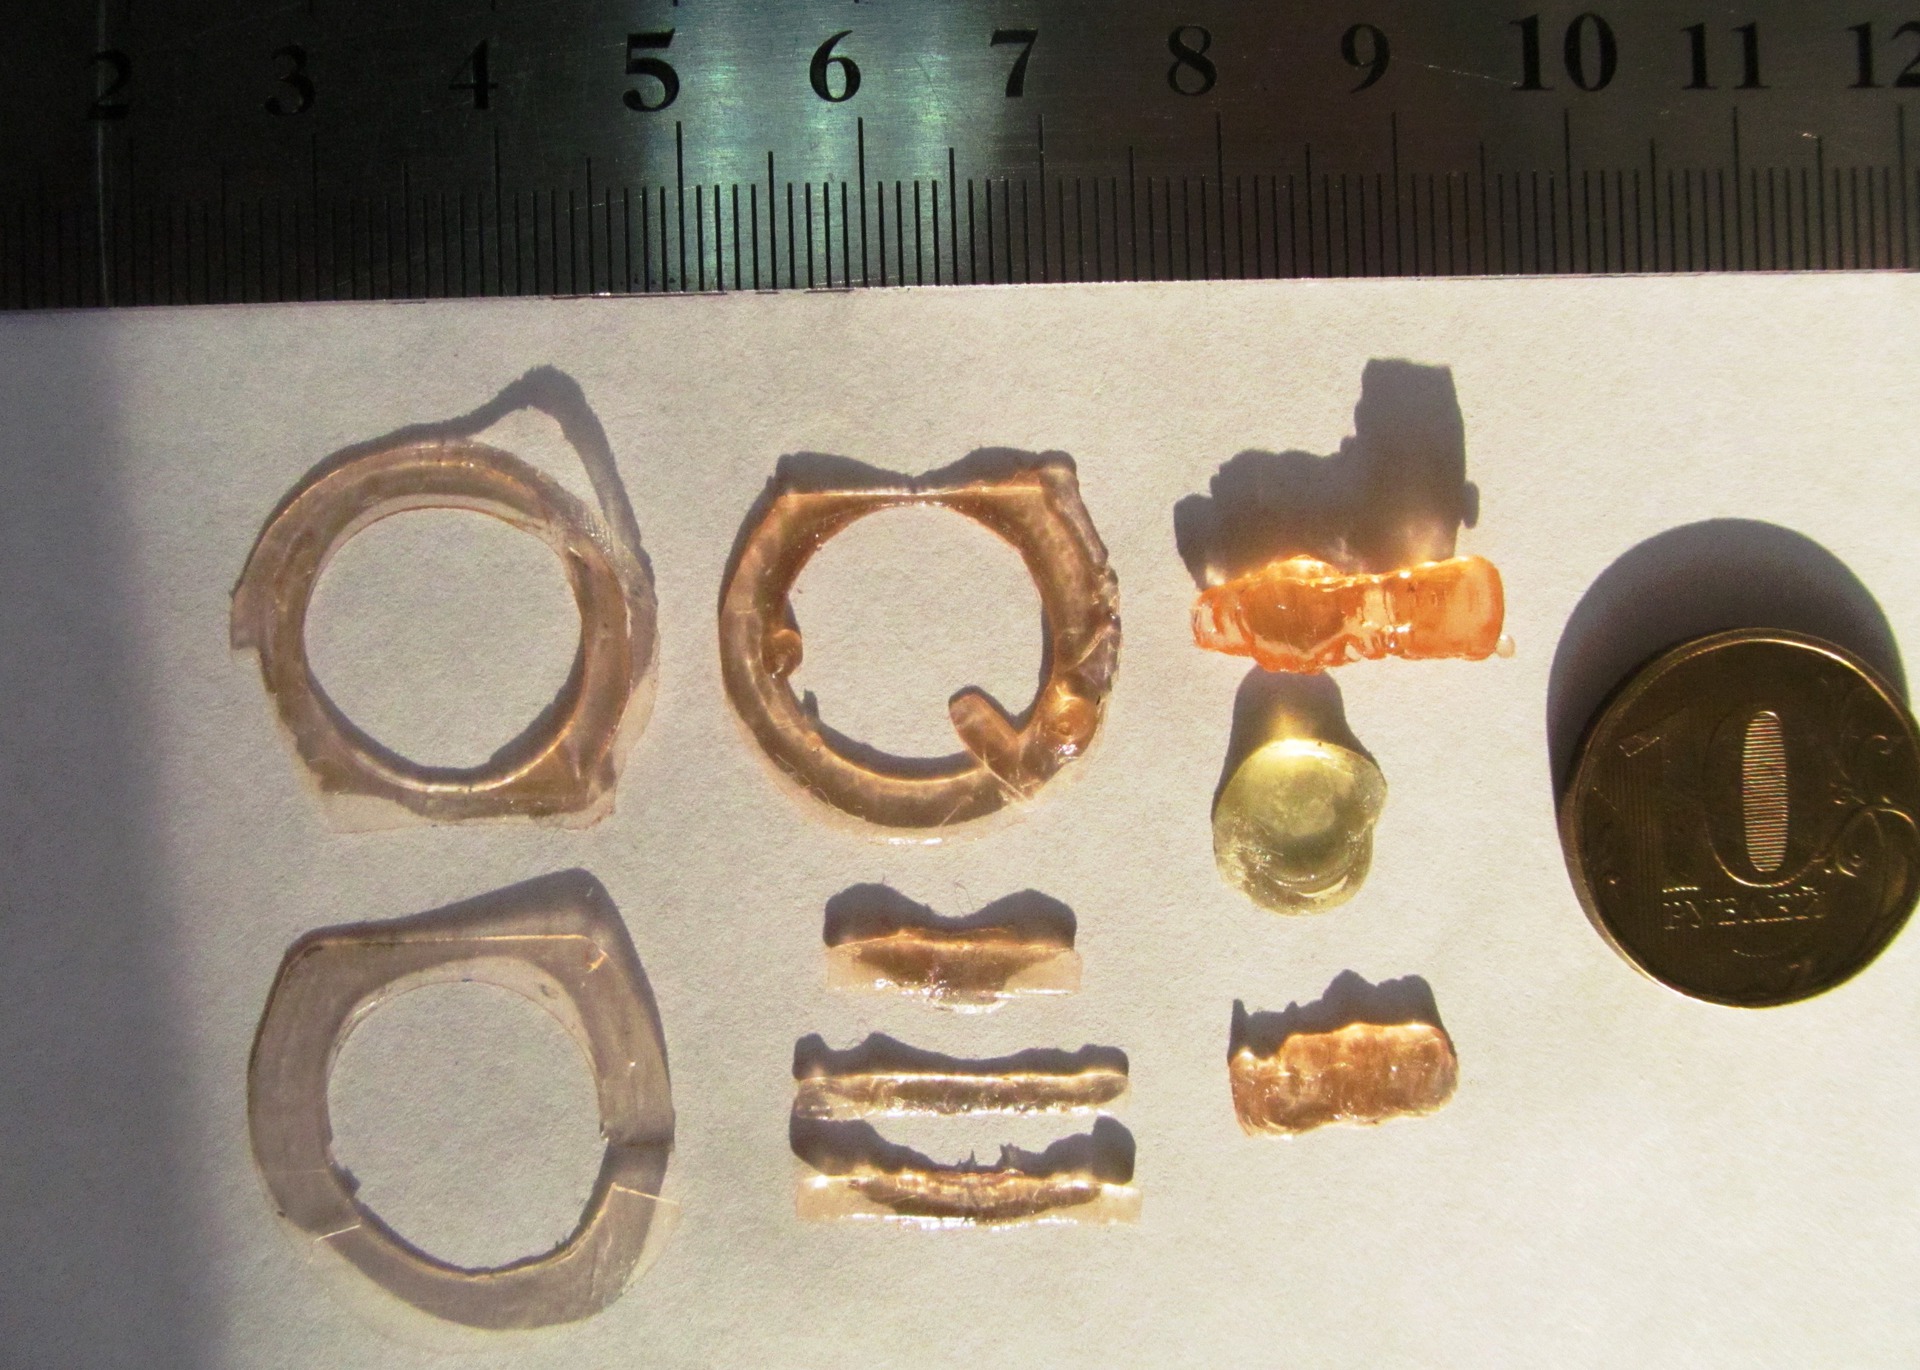
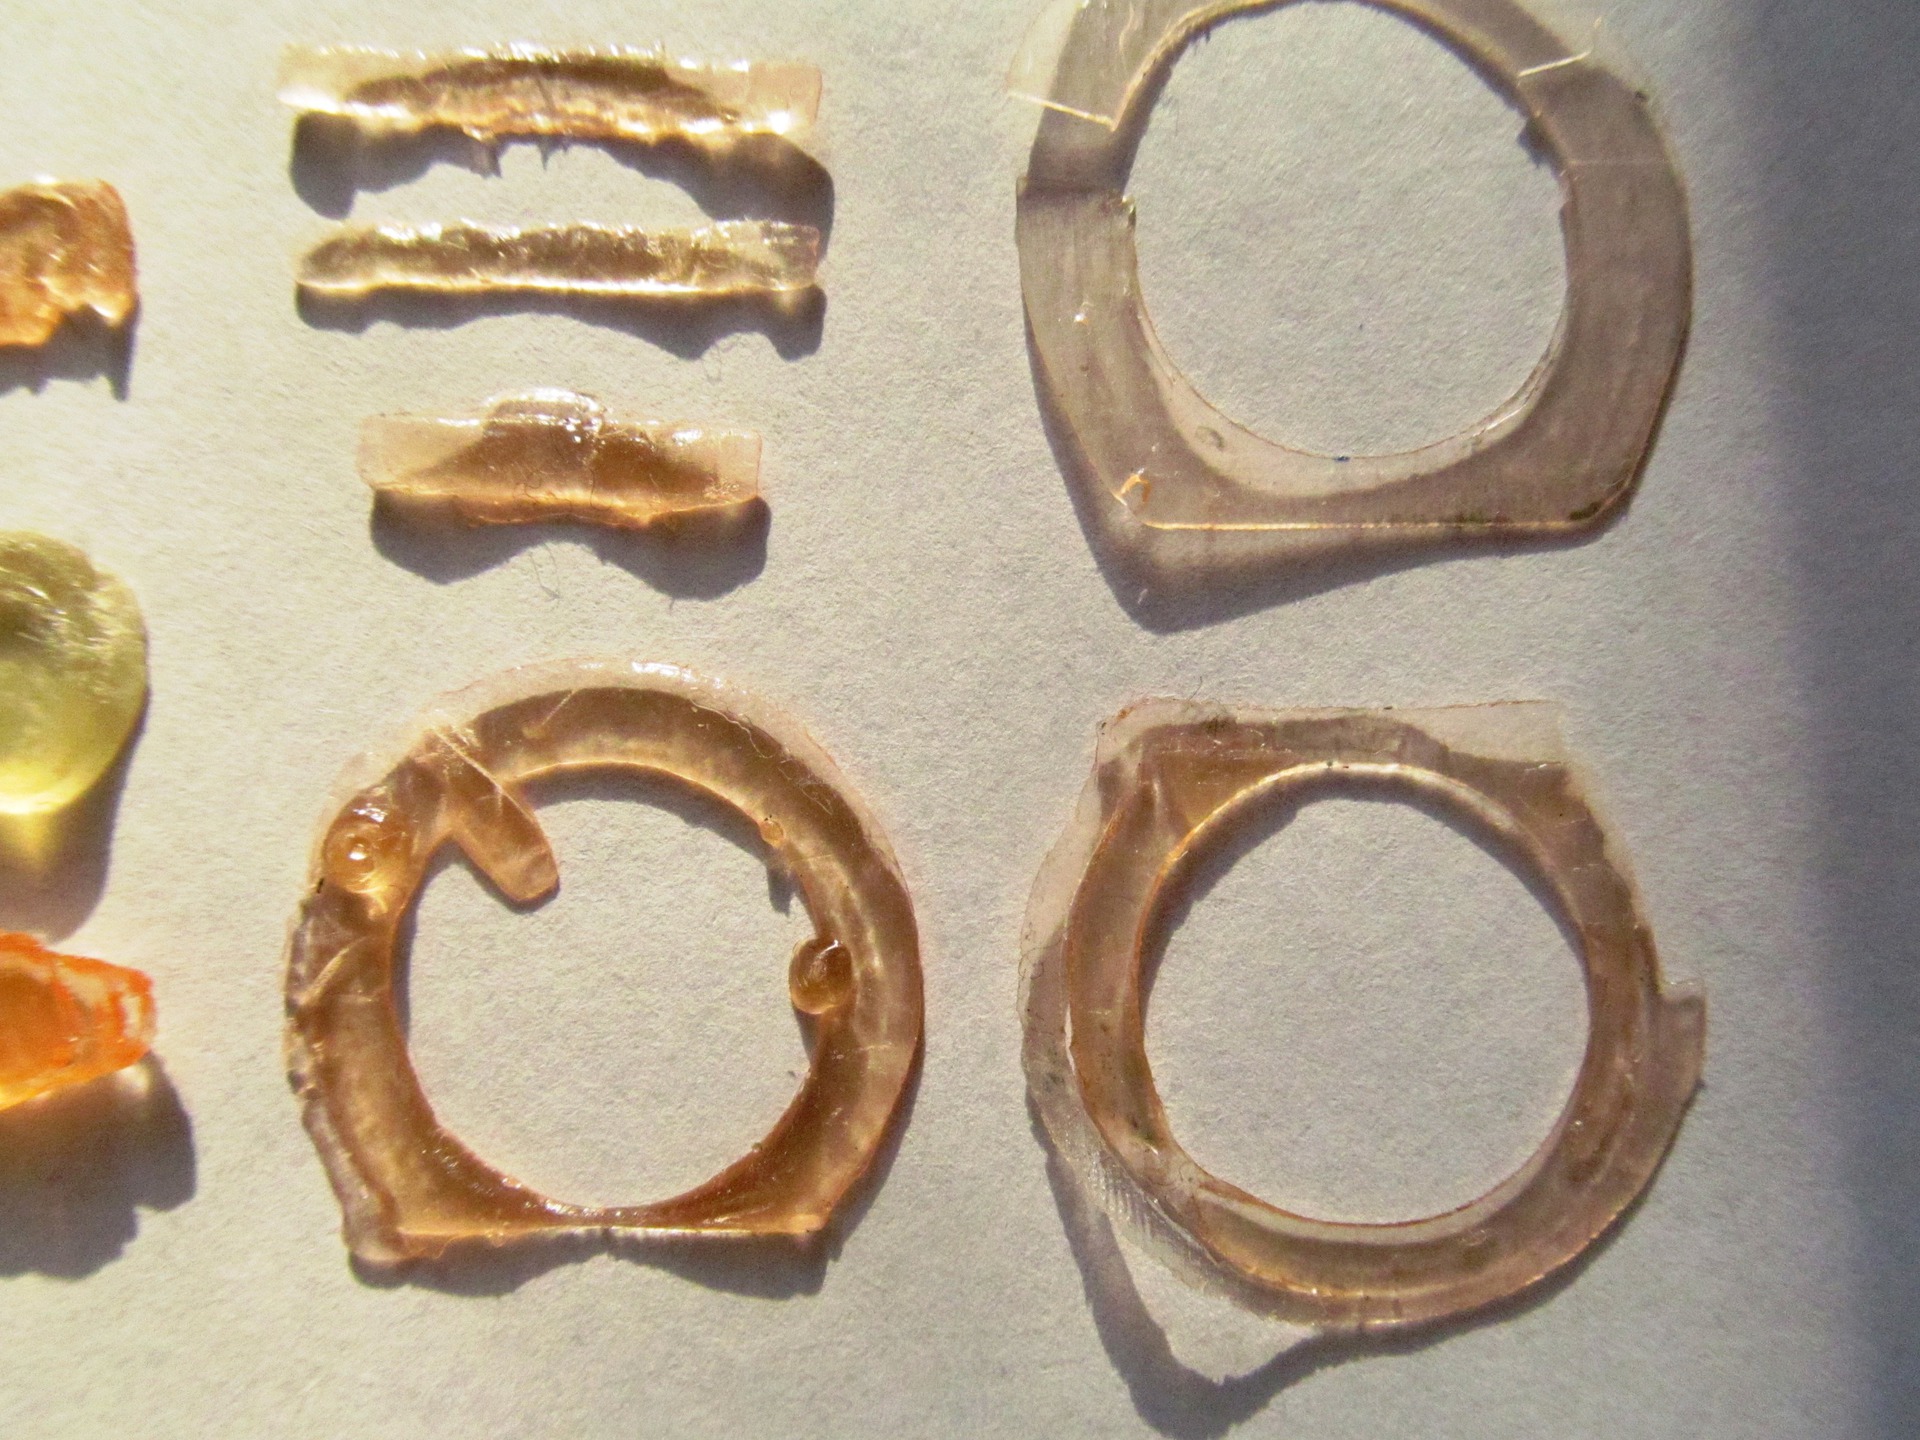
First print from photopolymer.
Conclusion
Creating a 3D printer from idea to implementation took about 3 months. The project was launched in December 2013 and the finished prototype was released in early February 2014. The cost of its creation is about 10,000 rubles. Thank you for the participation of my Tomsk colleagues and Roman Bogdanov.
I am extremely glad that we did not manage to commercialize it then and now this project is accessible and open. The main idea of 3D printing, in my opinion, is precisely this. In the future, the development of this project will allow you to create very small objects, one of the directions is printing of microcircuits right at home.
For self-manufacturing project is available for download for free on the site Thingiverse .
Source: https://habr.com/ru/post/240039/
All Articles