Get familiar with the WinJS library controls.
Hello!
Today, we are going to talk about the controls in the WinJS library, the main things you need to know when building applications with it.
The WinJS library in the current version consists of two parts: base.js and ui.js, responsible, respectively, for a number of basic functionality and the creation of controls and working with them. To style the controls, the library also includes the ui-light.css and ui-dark.css style sets.
')
Let's get acquainted with the ui-part, with the basic controls included in the WinJS library, and also consider the basic things needed to work with WinJS.
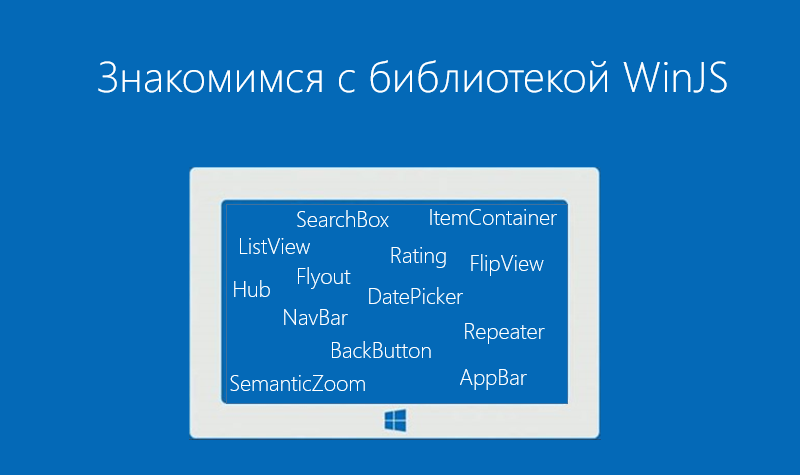
Basic controls included in the WinJS library
| Control element | Description | Visual display |
| Appbar | Toolbar with a set of commands. |  |
| Backbutton | Back button to go to the previous screen. In Windows Phone has a built-in hardware or software implementation. |  |
| Datepicker | A control for selecting a date. Allows you to select the month, day and year. |  |
| Flipview | The FlipView control is used to display a collection of items. Only one object is displayed at a time. |  |
| Flyout | The Flyout control is used to display a popup on the page. It can also be used to display various warnings, messages. |  |
| Listview | The ListView control is one of the basic elements in the WinJS library. With it, you can display various lists of objects - files, photos, movies, etc. |  |
| Itemcontainer | Creates an element on which you can drag, squeeze and drag. Use ItemContainer when you need to display items, but there is no need for all the features of the ListView control. |  |
| Navbar | The type of AppBar application bar that displays navigation commands. |  |
| Rating | Allows you to enter and display the estimates. By default, you can set ratings from 1 to 5 by selecting the appropriate number of stars. |  |
| Repeater | Generates HTML based on a dataset and a template. Essentially - a simple list with no additional ListView functionality. |  |
| Searchbox | Allows you to perform search queries and select the proposed options. | 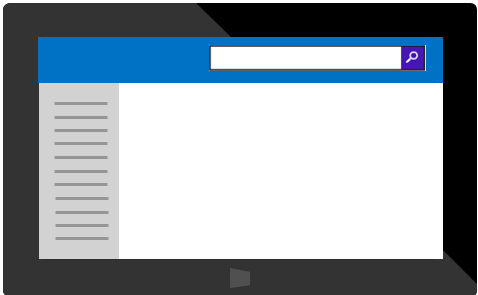 |
| SemanticZoom | Allows users to switch between two views with different scales provided by child controls. One child control provides a view with a reduced scale, the other - a view with an enlarged scale. | 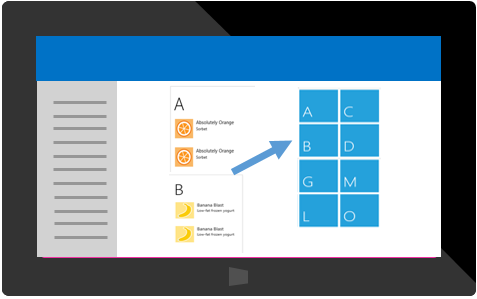 |
| Timepicker | Allows users to select time. Allows you to select hours, minutes and time of day (AM / PM) | 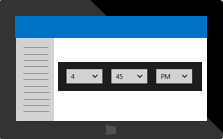 |
| Toggleswitch | It is an analogue of the checkbox element in HTML. Enables or disables the item. |  |
| Tooltip | Displays a tooltip with support for formatted content (for example, images and formatted text) to provide more information about the object. | 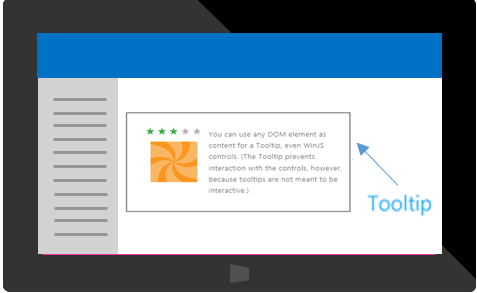 |
| x-ms-webview | Displays HTML content. Using this control, you can display the web pages of the application. |  |
A list of all available controls can be found here .
We got acquainted with the main controls, now it's time to figure out how to connect the WinJS library and add controls to the application.
How to connect the library WinJS
In order to connect the library WinJS, it is enough to point to it 3 links in the main HTML file of the application.
Links to the library for Windows:
<link href="//Microsoft.WinJS.2.0/css/ui-dark.css" rel="stylesheet"> <script src="//Microsoft.WinJS.2.0/js/base.js"></script> <script src="//Microsoft.WinJS.2.0/js/ui.js"></script> Links to the library for Windows Phone:
<link href="/css/ui-themed.css" rel="stylesheet"/> <script src="//Microsoft.Phone.WinJS.2.1/js/base.js"></script> <script src="//Microsoft.Phone.WinJS.2.1/js/ui.js"></script> Note:
Links to WinJS for Windows and Windows Phone applications differ, including version.
One of the links that you need to specify in the HTML file defines the theme that will be used in the application. The WinJS Windows library includes two themes: dark (ui-dark.css) and light (ui-light.css). You need to select a theme for your application manually. In the case of working with Windows Phone, you can give a choice to the user by specifying ui-themed, or by explicitly specifying a theme, similar to the approach in Windows.

How to add a control to the application
All controls in the WinJS library are specified via the data-win-control attribute with the desired value (WinJS.UI. ****) in the corresponding markup element. For example, to add a FlipView, set the data-win-control attribute to WinJS.UI.FlipView .
<div id="basicFlipView" data-win-control="WinJS.UI.FlipView"></div> The WinJS library will automatically create an element based on this block with the necessary styles and markup. Also, through the data-win-options attribute in the markup, you can specify the options for creating an element.
<div id="basicFlipView" data-win-control="WinJS.UI.FlipView" data-win-options="{…}"></div> Some controls require additional data, such as an image source. Let's see how to add data to the control.
How to add data to the control
The itemDataSource property is responsible for determining the data that is stored in the control. In order to specify which data will be used, set the data-win-options attribute value to itemDataSource.
<div data-win-control="WinJS.UI.FlipView" data-win-options="{ itemDataSource : value}"> </div> For example, if the control requires images, then you can use the WinJS.Binding.List object to represent them .
Note that in a declarative description, the variable with the data should be visible in a global context.
To correctly display the data, you must define a template. Let's see how to do it.
How to define a template for displaying data in a control
In order to determine how the data will be displayed, specify a WinJS.Binding.Template template for each element. Create a div block and set the data-win-control attribute to WinJS.Binding.Template.
For example, define a template for displaying a picture with a title.
<div id="Template" data-win-control="WinJS.Binding.Template"> <!—- . --> <img data-win-bind="alt: title; src: picture" /> <div> <!-- . --> <h4 data-win-bind="innerText: title"></h4> </div> </div> Note that we define data binding using the data-win-bind attribute.
Initializing WinJS.UI.
So, we learned how to create controls, now we need to figure out how to initialize them.
After the application is launched, the activated event occurs. You can then initialize the WinJS controls. This happens inside the WinJS.UI.processAll function.
In the simplest case, the application launch processing function looks like this:
(function () { "use strict"; var app = WinJS.Application; app.addEventListener("activated", function (args) { WinJS.UI.processAll(); }); app.start(); })(); If you want to process only a specific DOM node, use the WinJS.UI.process function. You can also create controls directly in JavaScript code using appropriate objects from WinJS.UI. *.
Additional links
List of Controls (HTML)
Quick Start: Adding WinJS Controls and Styles (HTML)
MVA mobile development course for web developers
Download Microsoft Visual Studio here.
Source: https://habr.com/ru/post/238709/
All Articles