HDR vs LDR, implementation of HDR Rendering

As I promised, I publish a second article on some aspects of game development in three dimensions. Today I will talk about one technique that is used in almost any AAA class project. Her name is HDR Rendering . If interested - welcome to habrakat.
But first you need to talk. Based on the previous article - I realized that the audience hacked technology Microsoft XNA . To do something, allegedly, with the help of it, is the same as writing games on the ZX Spectrum . They gave me an example: “ There is SharpDX, SlimDX, OpenTK! ”, Even cited the example of Unity . But we’ll dwell on the first three, all this is pure DX wrappers for .NET , and Unity is a sandbox engine . What is DirectX10 + anyway? After all, it is not and will not be in XNA . So, the overwhelming number of effects, chips and technologies is implemented on the basis of DirectX9c . And DirectX10 + introduces only additional functionality ( SM4.0, SM5.0 ).
')
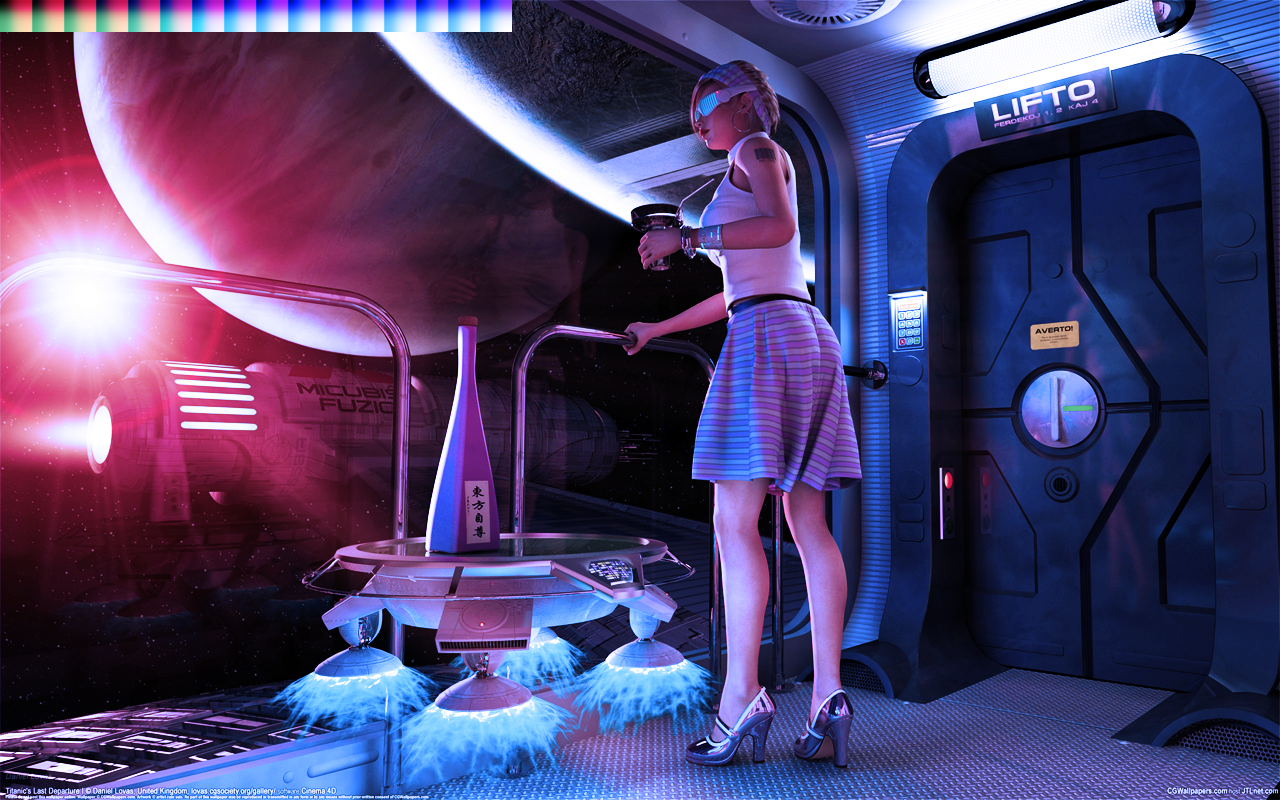
Take, for example, Crysis 2 :
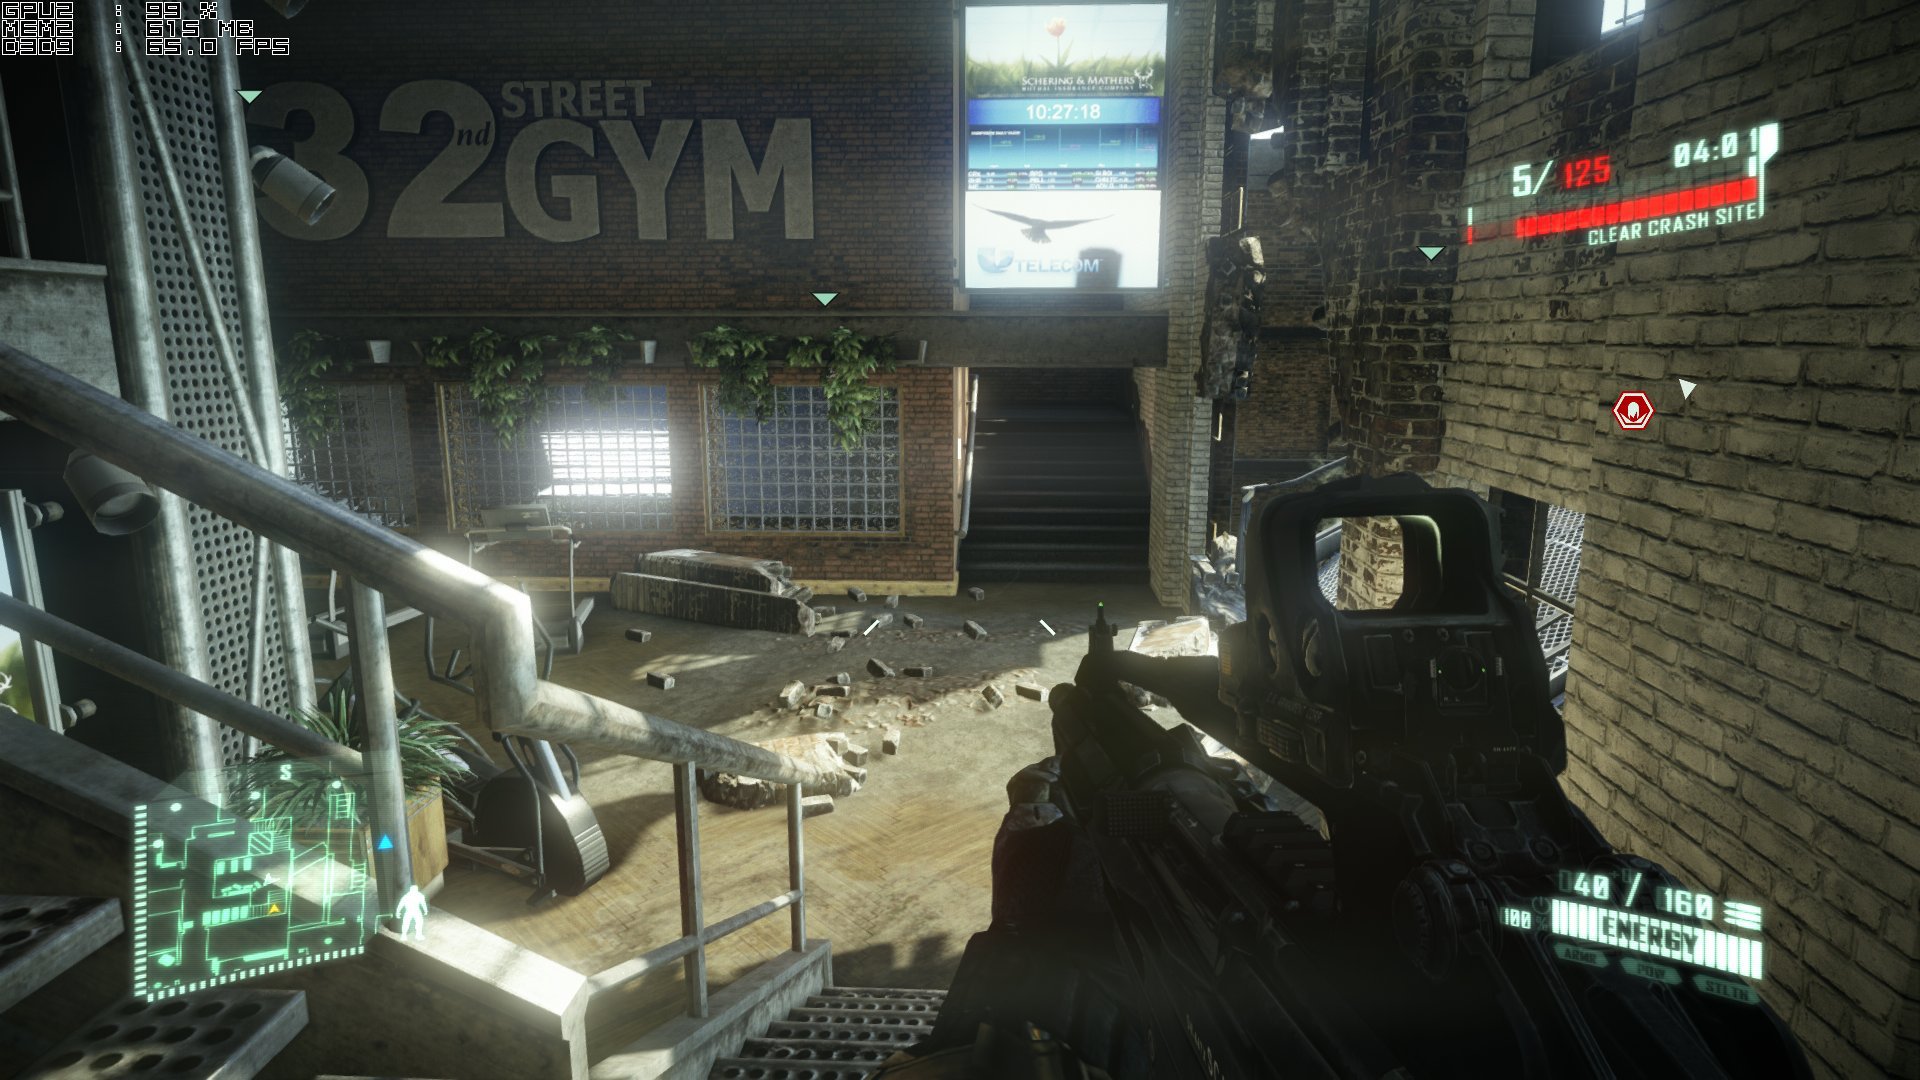
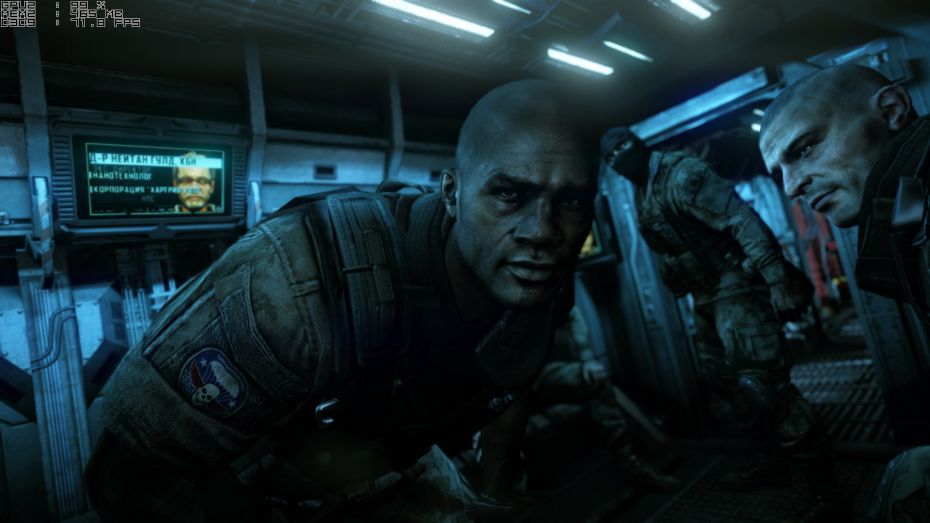
In these two screenshots there is no DirextX10 and DirectX11 . So why do people think that doing something on XNA is doing necrophilia? Yes, Microsoft has stopped supporting XNA , but the stock of what is there is enough for 3 years. Moreover, monogame now exists, it is open source, cross platform (win, unix, mac, android, ios, etc) and retains all the same XNA architecture. By the way, FeZ from the previous article was written using monogame . And finally - articles aimed generally at computer graphics in three dimensions (all of these provisions are valid for both OpenGL and DirectX ), not XNA - as one might think. XNA in our case is just a tool.
Okay let's go
Usually in games LDR (Low Dynamic Range) rendering is used. This means that the color of the back buffer is limited to 0 ... 1. Where each channel is given 8 bits, and this is 256 gradations. For example: 255, 255, 255 - white color, all three channels (RGB) are equal to the maximum gradation. The concept of LDR is unfair to apply to the concept of realistic rendering, because in the real world, color is far from being zero and one. Such a technology as HDRR comes to the rescue . For a start, what is HDR ? High Dynamic Range Rendering , sometimes simply “ High Dynamic Range ” is a graphical effect used in computer games for more expressive rendering of an image in contrasting scene lighting. What is the essence of this approach? The fact that we draw our geometry (and lighting) is not limited to zero and one: one light source can give a pixel brightness of 0.5 units, and another one of 100 units. But as you can see at first glance, our screen reproduces just that very LDR format. And if we divide all the color values of the back-buffer by the maximum brightness in the scene, we get the same LDR , and the light source of 0.5 units is almost not visible against the background of the second one. And just for this a special method called Tone Mapping was invented. The essence of this approach is that we bring the dynamic range to LDR depending on the average brightness of the scene. And in order to understand what I mean, consider the scene: two rooms, one room indoor , the other outdoor . The first room has an artificial light source, the second room has a light source in the form of the sun. The brightness of the sun is much higher than the brightness of an artificial light source. And in the real world, when we are in the first room, we adapt to this lighting, when we enter another room, we adapt to a different level of lighting. When looking from the first room to the second - it will seem to us to be excessively bright, and when looking from the second to the first - black.
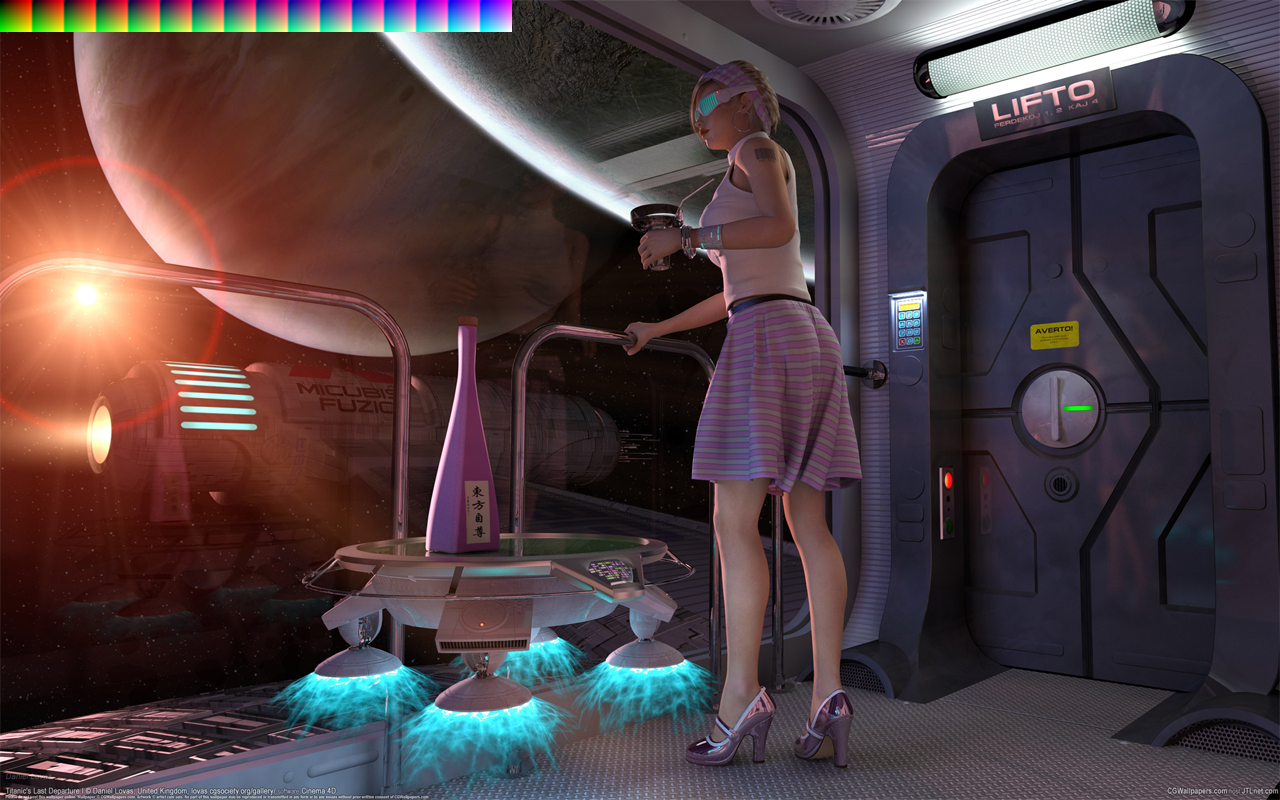
Another example: one outdoor room. In this room there is the sun itself and diffused light from the sun. The brightness of the sun is much higher than its diffused light. In the case of LDR , the brightness values of the light would be equal. Therefore, using HDR you can achieve realistic highlights from various surfaces. This is very noticeable on the water:

Or on the glare from the surface:

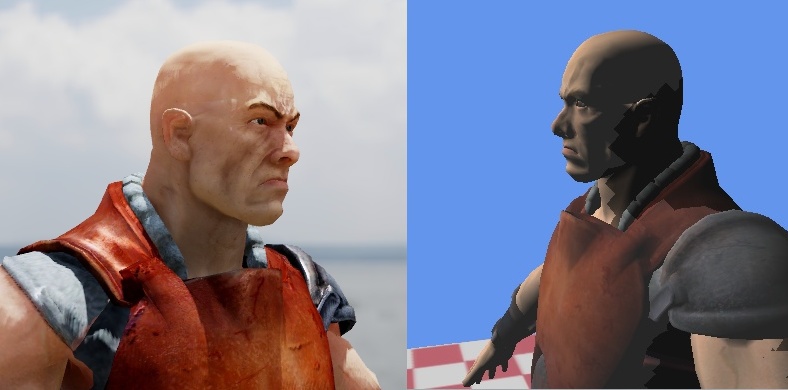
Well, the contrast of the scene as a whole (on the left is HDR, on the right is LDR):
Together with HDR, it is common to apply the Bloom technology, the bright areas are blurred and superimposed over the main image:

This makes the lighting even softer.
Also, in the form of a bonus - I will tell you about Color Grading . This campaign is commonly used in AAA class games.
Color grading
Very often in games a scene should have its own color tone; this color tone can be common both for the whole game and for individual parts of the scene. And in order not to have a hundred postprocessing shaders each time, they use the Color Grading approach. What is the essence of this approach?
Famous letters RGB - color three-dimensional space, where each channel is a kind of coordinate. In the case of the format R8G8B8: 255 gradations for each channel. So, what will happen if we apply the usual processing operations (for example, curves or contrast) to this space? Our space will change and in the future we can assign to any pixel - a pixel from this space.
Let's create a simple RGB space (I want to replace that we take every 8th pixel, because if we take all 256 gradations, the size of the texture will be very large):

This is a three-dimensional texture, where each axis has its own channel.
And take some scene that needs to be modified (adding our space to the image):
We carry out the transformations we need (by eye):
And extract our modifiable space:

Now, in this space - we can apply all modifications with color to any image. Just by matching the original color with the altered color space.
Implementation
Well, briefly on the implementation of HDR in XNA . In XNA, the back buffer format is specified (mostly) by the R8G8B8A8 , since Rendering directly to the screen can not support HDR a priori. For this workaround, we need to create a new RenderTarget (I previously described how they work here ) with a special format: HalfVector4 *. This format supports floating values for RenderTarget .
* - in XNA there is such a format - like HDRBlendable , this is all the same HalfVector4 - but RT itself takes up less space (because we don’t need a floating-point on the alpha channel).
Let's get the necessary RenderTarget :
private void _makeRenderTarget() { // Use regular fp16 _sceneTarget = new RenderTarget2D(GraphicsDevice, GraphicsDevice.PresentationParameters.BackBufferWidth, GraphicsDevice.PresentationParameters.BackBufferHeight, false, SurfaceFormat.HdrBlendable, DepthFormat.Depth24Stencil8, 0, RenderTargetUsage.DiscardContents); } Create a new RT with back buffer sizes (screen resolution) with mipmap disabled (since this texture will be drawn on the screen quad) with a surface format - HdrBlendable (or HalfVector4 ) and a 24-bit 8-bit depth / stencil buffer buffer . Also disable multisampling .
This RenderTarget is important to enable the depth buffer (as opposed to the usual post-process RT), because we will draw our geometry there.
Further, everything is like in LDR , we draw a scene, only now we don’t need to limit ourselves to drawing brightness [0 ... 1].
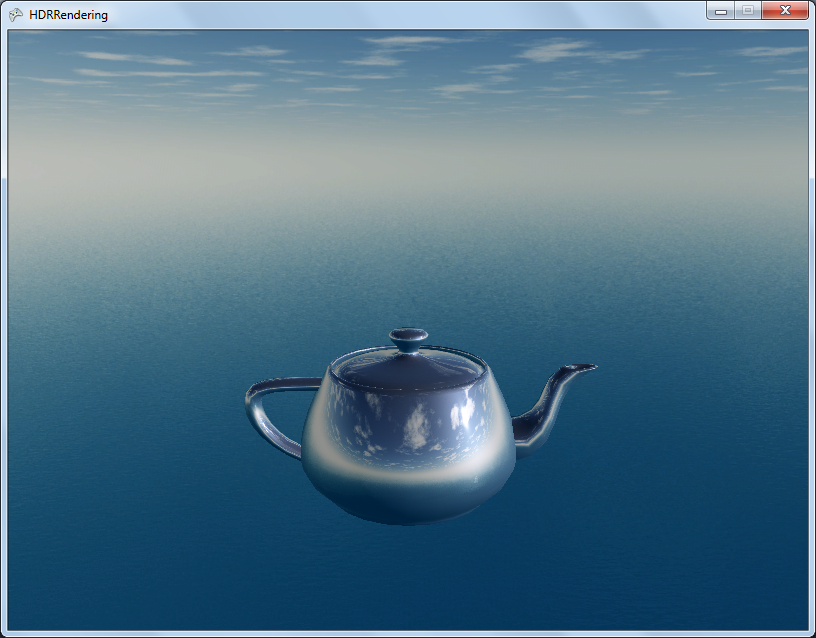
Add a skybox with a nominal brightness multiplied by three and a classic Utah teapot with DirectionalLight lighting and Reflective surface.
The scene was created and now we need to somehow bring the HDR format to LDR . Take the simplest ToneMapping - we divide all these values into the conditional max value.
float3 _toneSimple(float3 vColor, float max) { return vColor / max; } Twist the camera and realize that the scene still has static and a similar picture can be easily achieved by applying contrast to the image.
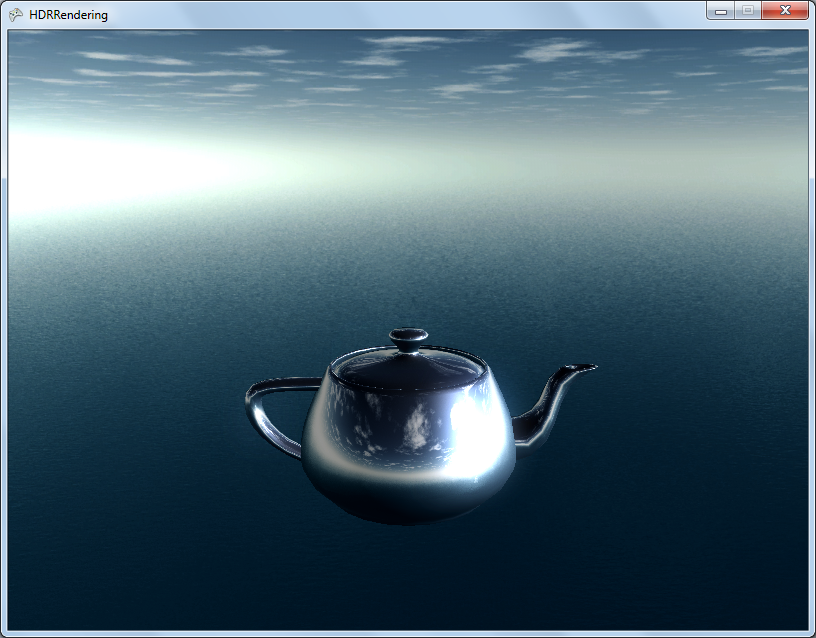
In real life, our eye adapts to the right light: in a poorly lit room, we still see, but as long as there is no bright source of light before our eyes. This is called a light adaptation. And the coolest thing is that HDR and color adaptation perfectly blend with each other.
Now we need to calculate the average color value on the screen. This is quite problematic, because format with a floating value does not support filtering. We proceed as follows: create an Nth number of RTs, where each next one is less than the previous one:
int cycles = DOWNSAMPLER_ADAPATION_CYCLES; float delmiter = 1f / ((float)cycles+1); _downscaleAverageColor = new RenderTarget2D[cycles]; for (int i = 0; i < cycles; i++) { _downscaleAverageColor[(cycles-1)-i] = new RenderTarget2D(_graphics, (int)((float)width * delmiter * (i + 1)), (int)((float)height * delmiter * (i + 1)), false, SurfaceFormat.HdrBlendable, DepthFormat.None); } And we will draw each previous RT in the next RT applying some blur. After these cycles, we get a 1x1 texture, which in fact will contain the average color.
If this is all started now, then the color adaptation really will be, but it will be instant, and it does not happen. We need to, when looking from a sharply dark area to a sharply light one, first we feel blindness (in the form of increased brightness), and then everything returns to normal. To do this, it is enough to get another RT 1x1 , which will be responsible for the current value of adaptation, and each frame we bring the current adaptation to the currently calculated color. Moreover, the value of this approximation should be tied to the same gameTime.ElapsedGameTime so that the number of FPS does not affect the speed of adaptation.
Well, now as the max parameter for _toneSimple, you can pass on our average color.
There are lots of ToneMapping 'a formulas, here are some of them:
Reinhard
float3 _toneReinhard(float3 vColor, float average, float exposure, float whitePoint) { // RGB -> XYZ conversion const float3x3 RGB2XYZ = {0.5141364, 0.3238786, 0.16036376, 0.265068, 0.67023428, 0.06409157, 0.0241188, 0.1228178, 0.84442666}; float3 XYZ = mul(RGB2XYZ, vColor.rgb); // XYZ -> Yxy conversion float3 Yxy; Yxy.r = XYZ.g; // copy luminance Y Yxy.g = XYZ.r / (XYZ.r + XYZ.g + XYZ.b ); // x = X / (X + Y + Z) Yxy.b = XYZ.g / (XYZ.r + XYZ.g + XYZ.b ); // y = Y / (X + Y + Z) // (Lp) Map average luminance to the middlegrey zone by scaling pixel luminance float Lp = Yxy.r * exposure / average; // (Ld) Scale all luminance within a displayable range of 0 to 1 Yxy.r = (Lp * (1.0f + Lp/(whitePoint * whitePoint)))/(1.0f + Lp); // Yxy -> XYZ conversion XYZ.r = Yxy.r * Yxy.g / Yxy. b; // X = Y * x / y XYZ.g = Yxy.r; // copy luminance Y XYZ.b = Yxy.r * (1 - Yxy.g - Yxy.b) / Yxy.b; // Z = Y * (1-xy) / y // XYZ -> RGB conversion const float3x3 XYZ2RGB = { 2.5651,-1.1665,-0.3986, -1.0217, 1.9777, 0.0439, 0.0753, -0.2543, 1.1892}; return mul(XYZ2RGB, XYZ); } Exposure
float3 _toneExposure(float3 vColor, float average) { float T = pow(average, -1); float3 result = float3(0, 0, 0); result.r = 1 - exp(-T * vColor.r); result.g = 1 - exp(-T * vColor.g); result.b = 1 - exp(-T * vColor.b); return result; } I use my own formula:
Exposure2
float3 _toneDefault(float3 vColor, float average) { float fLumAvg = exp(average); // Calculate the luminance of the current pixel float fLumPixel = dot(vColor, LUM_CONVERT); // Apply the modified operator (Eq. 4) float fLumScaled = (fLumPixel * g_fMiddleGrey) / fLumAvg; float fLumCompressed = (fLumScaled * (1 + (fLumScaled / (g_fMaxLuminance * g_fMaxLuminance)))) / (1 + fLumScaled); return fLumCompressed * vColor; } Well, the next stage is Bloom (partly I described it here ) and Color Grading :
Using Color Grading :
Any pixel color value (RGB) after ToneMapping 'a is in the range from 0 to 1. Our Color Grading color space also conventionally lies in the range from 0 to 1. Therefore, we can replace the current pixel color value with the color of the pixel in the color space. At the same time, filtering the sampler will perform linear interpolation between our 32 values on the Color Grading map. Those. we "as though"
we replace the reference color space with our modified one.
For Color Grading , enter the following function:
float3 gradColor(float3 color) { return tex3D(ColorGradingSampler, float3(color.r, color.b, color.g)).rgb; } where ColorGradingSampler is a three-dimensional sampler.
Well, LDR / HDR comparison:
LDR:
HDR:
Conclusion
This simple approach is one of the chips of 3D AAA games . And as you can see, it can be implemented on the good old DirectX9c , and the implementation in DirectX10 + is fundamentally different. More information can be found in the source .
It is also worth distinguishing from each other HDRI (used in photography) and HDRR (used in rendering).
Conclusion 2
Unfortunately, when I wrote articles on game development in 2012, there were much more responses and assessments, but now my expectations were slightly disappointed. I do not chase the evaluation of the topic. I do not want him artificially high or low. I want it to be evaluated: not necessarily as: “A good article!”, But also with “An article in my opinion is incomplete, with% item% the situation has remained unclear.”. I am pleased even with a negative, but constructive assessment. And as a result - I publish an article, and she somehow collects a couple of comments and ratings. And taking into account the fact that this self-regulating community Habrahabr suggests the following conclusion: the article is not interesting -> it doesn't make sense to publish such a thing.
PS we are all human and we make mistakes and therefore, if you find a mistake in the text - write me a personal message, and do not rush to write an angry comment!
Source: https://habr.com/ru/post/238425/
All Articles