Makeblock Starter Robot Kit V2.0 Review. Part 1. Unpack
It so happened that today I became the owner of the designer for advanced Makeblock Starter Robot Kit V2.0 . Since I did not find a single review of this not quite ordinary and, in my opinion, interesting designer, I decided to share my impressions about this product. Today I’ll tell you what Makeblock Starter Robot Kit V2.0 is , and what is included in its package, accompanying the laconic story with photographs along the way.
Makeblock is an open source construction platform developed in Shenzhen, China. Launches and sells Makeblock eponymous company. In addition to being open, Makeblock also features:
I became interested in robotics less than a year ago, when, on the advice of one of my university colleagues (now in Yandex), I met LEGO Mindstorms EV3. We had to try to develop the layout of an industrial robot, but since my colleague already had experience of building a flying robot from scratch with my indirect participation, it was decided to use the ready-made platform. The choice quickly fell on the fresh LEGO Mindstorms EV3 . As LEGO was mastered, it became clear that this choice has significant drawbacks:
')
Therefore, I began to look for robotic platforms that would not have such flaws, but it is desirable that they be compatible with LEGO in details. Along the way, thanks to one post on Habrahabr, I became interested in Arduino, purchased and started to master it. Searching the web for “lego arduino” brought me to Makeblock. It turned out that the guys from China had already thought about me and offered the market a very interesting product, about the features of which I wrote at the very beginning. But especially impressed with three facts:
As a result, having familiarized myself with the whole range, I chose the Makeblock Starter Robot Kit V2.0 . By purchasing such a set, I was able to build on the basis of an Arduino-compatible controller one of two driving robots equipped with an ultrasonic sensor and an infrared signal receiver. But it is also possible to purchase electronics and mechanics in separate sets, as well as every detail separately, but this will be more expensive. In the product line there are other kits, as well as a bunch of sensors, motors and all kinds of mechanics.
Makeblock Starter Robot Kit V2.0 - this is the newest at the time of writing the post set to build driving robots. From the first version it is distinguished by the use of a new controller, which combines the usual Arduino-compatible controller with shield to connect sensors and motors with RJ11 connectors.
In addition to the controller, the new version contains:
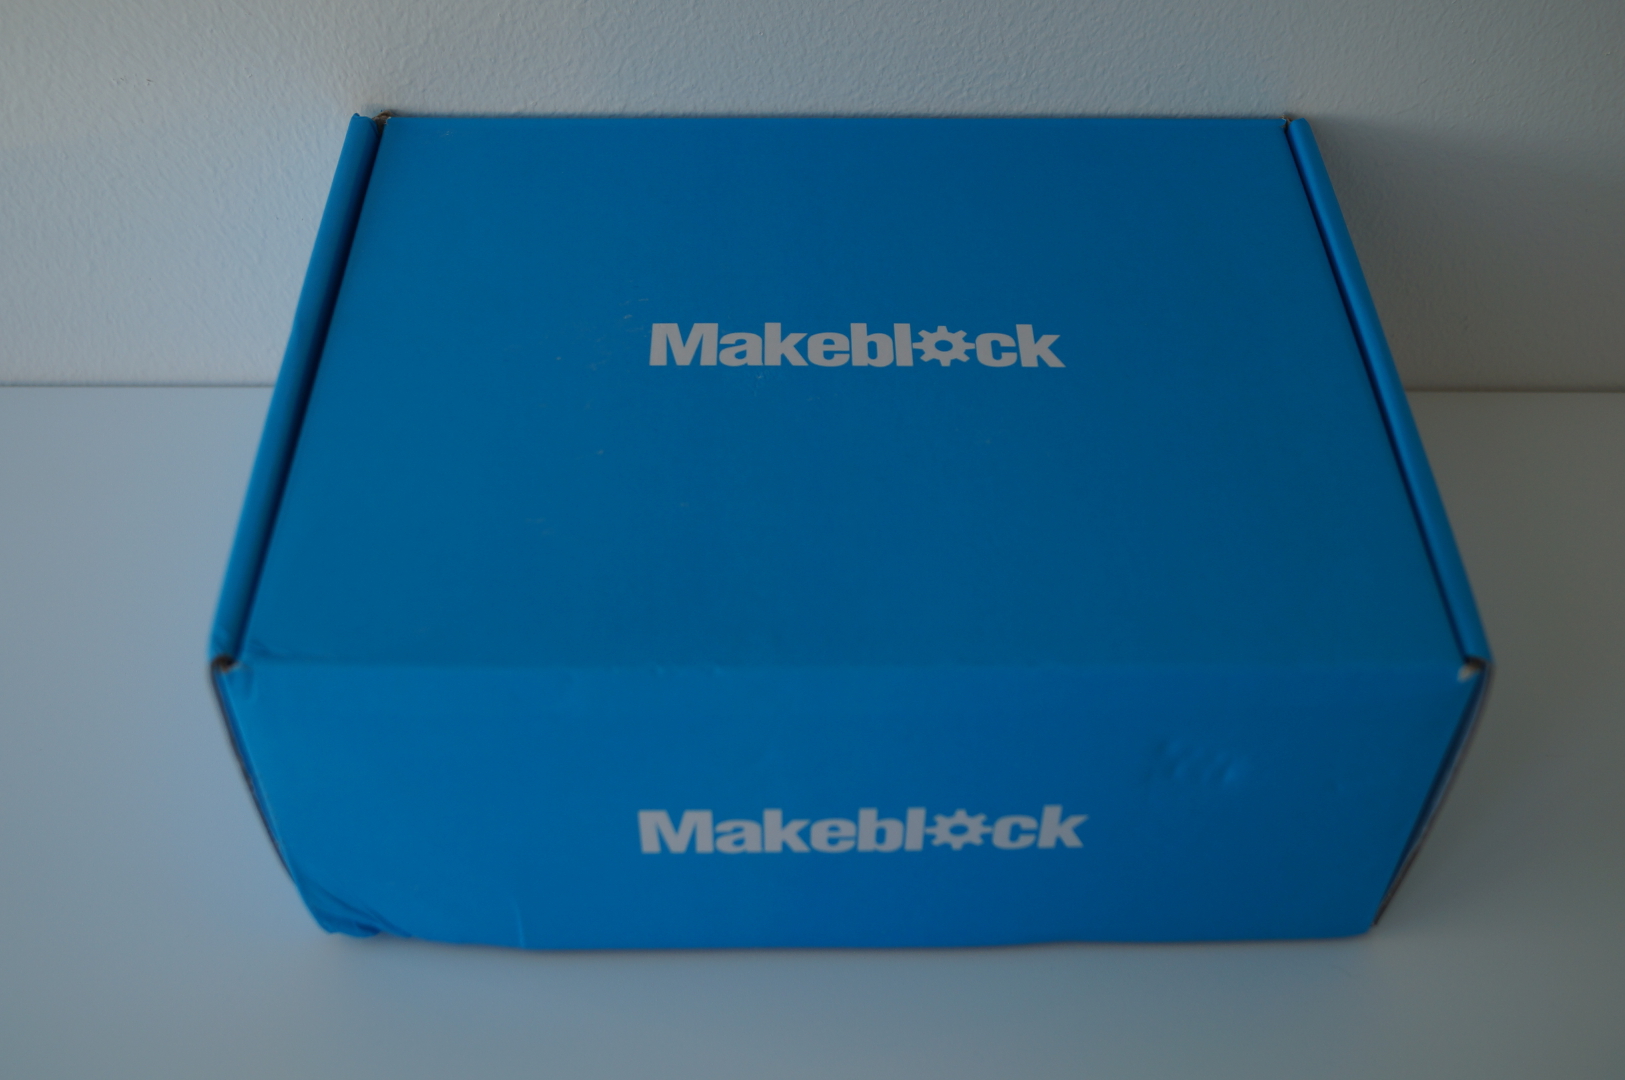
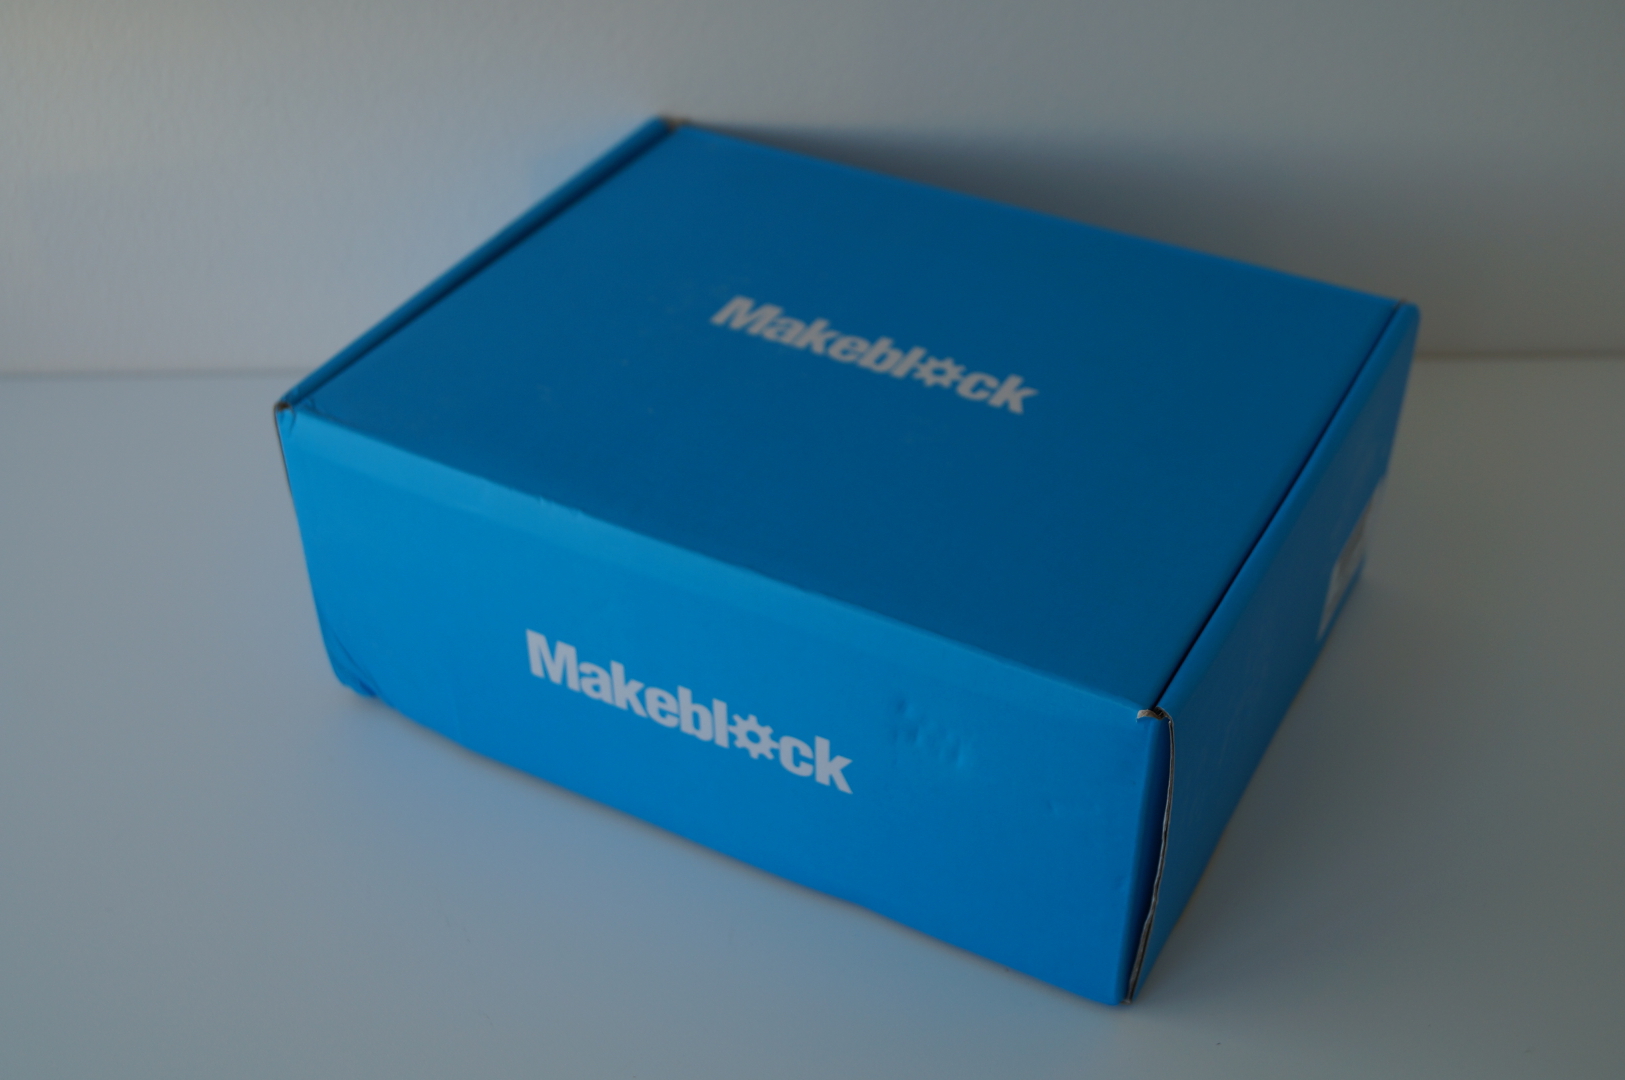
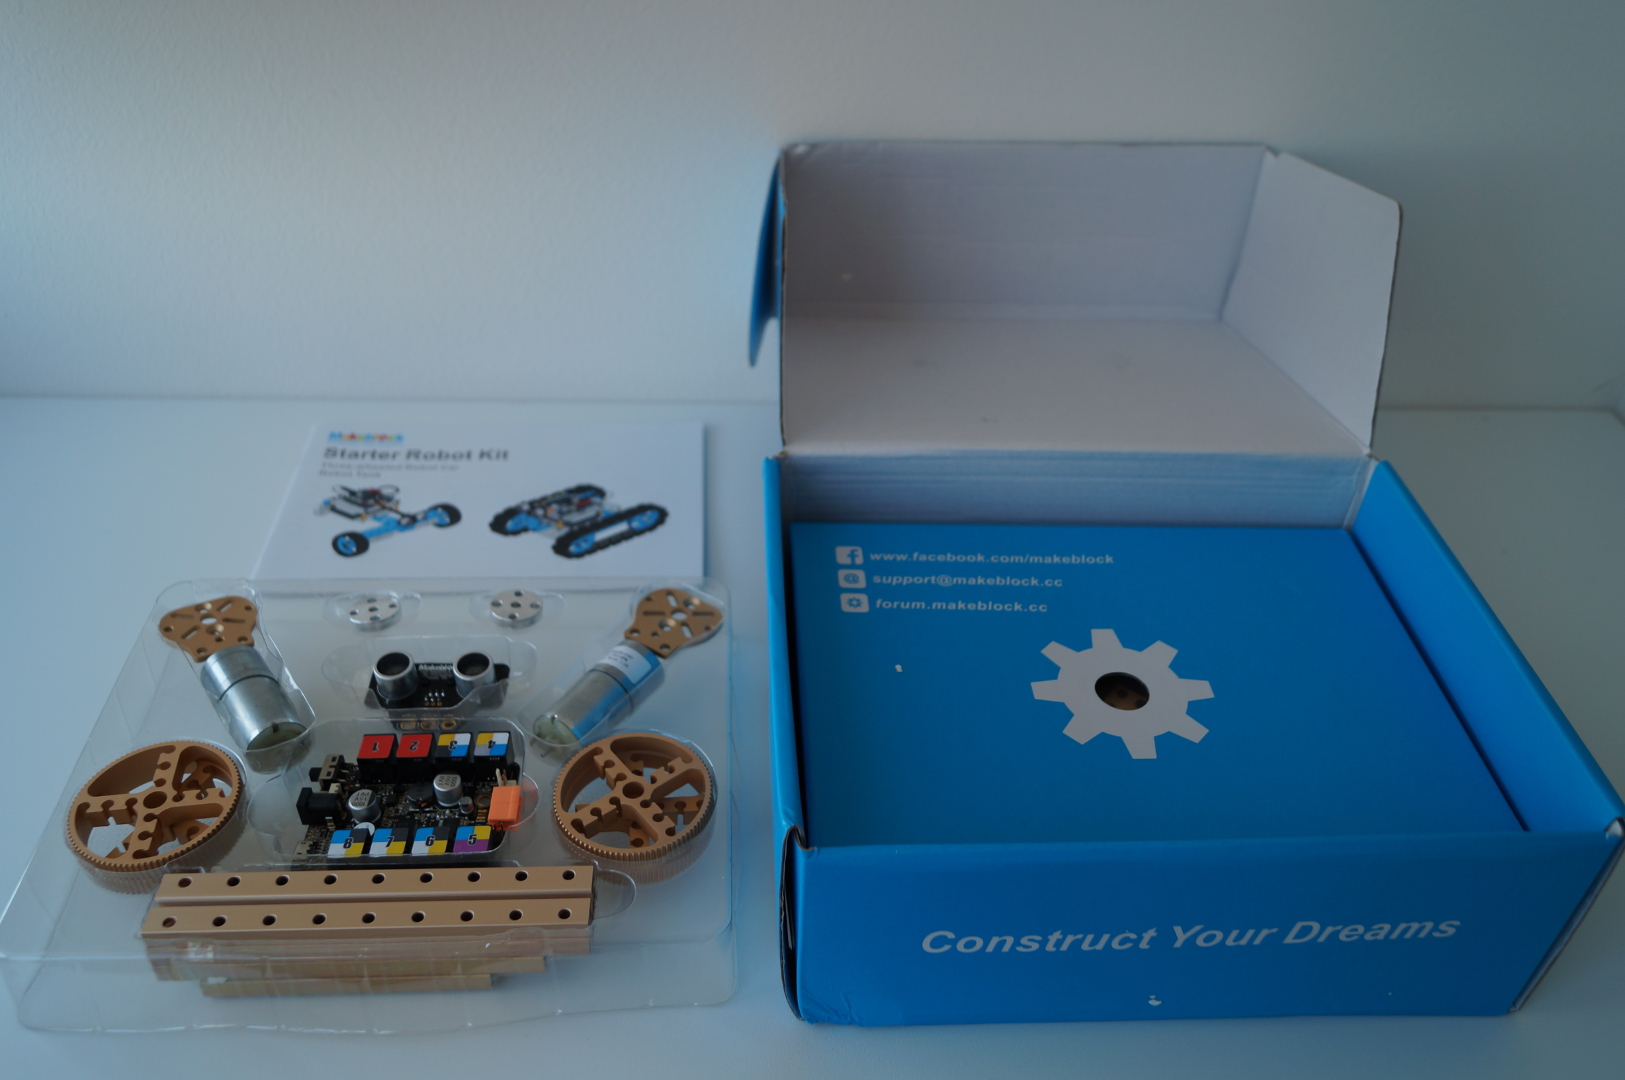
All this stuff is pretty neatly packed in a weighty, about 1.5 kg, but small, 26 x 20 x 10 cm, and stylish box:
Before unpacking, consider the box:

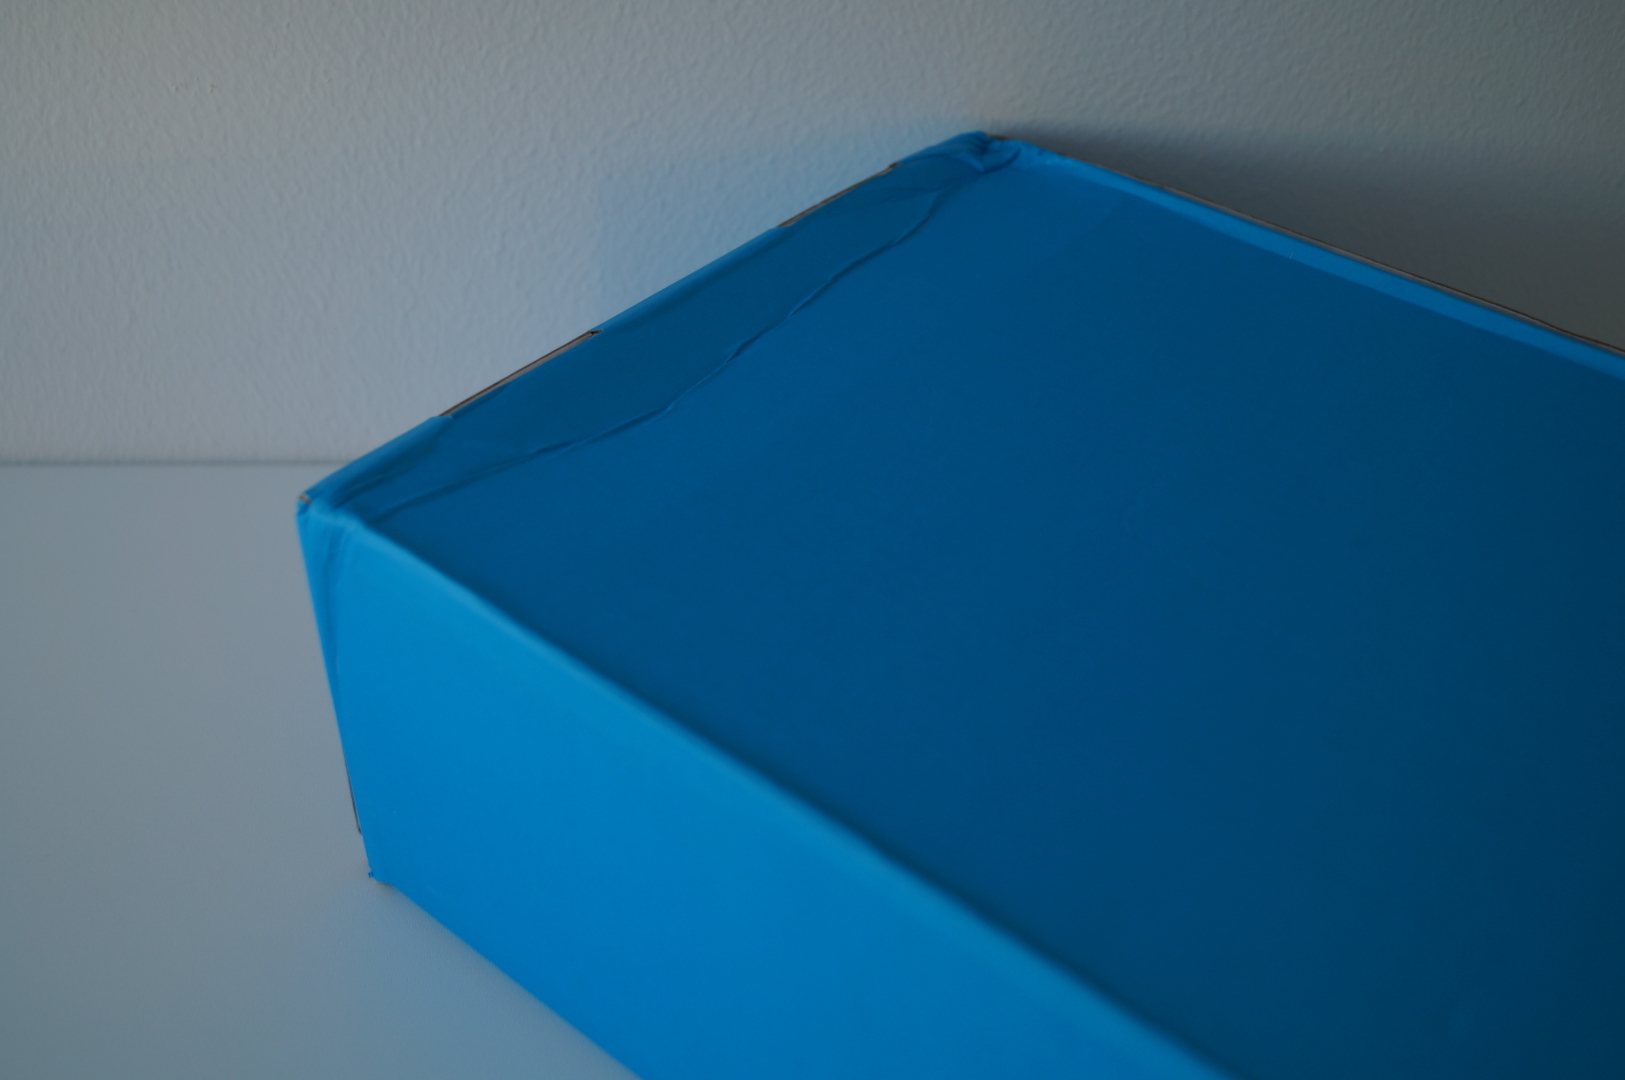
No compression during transportation has not done:
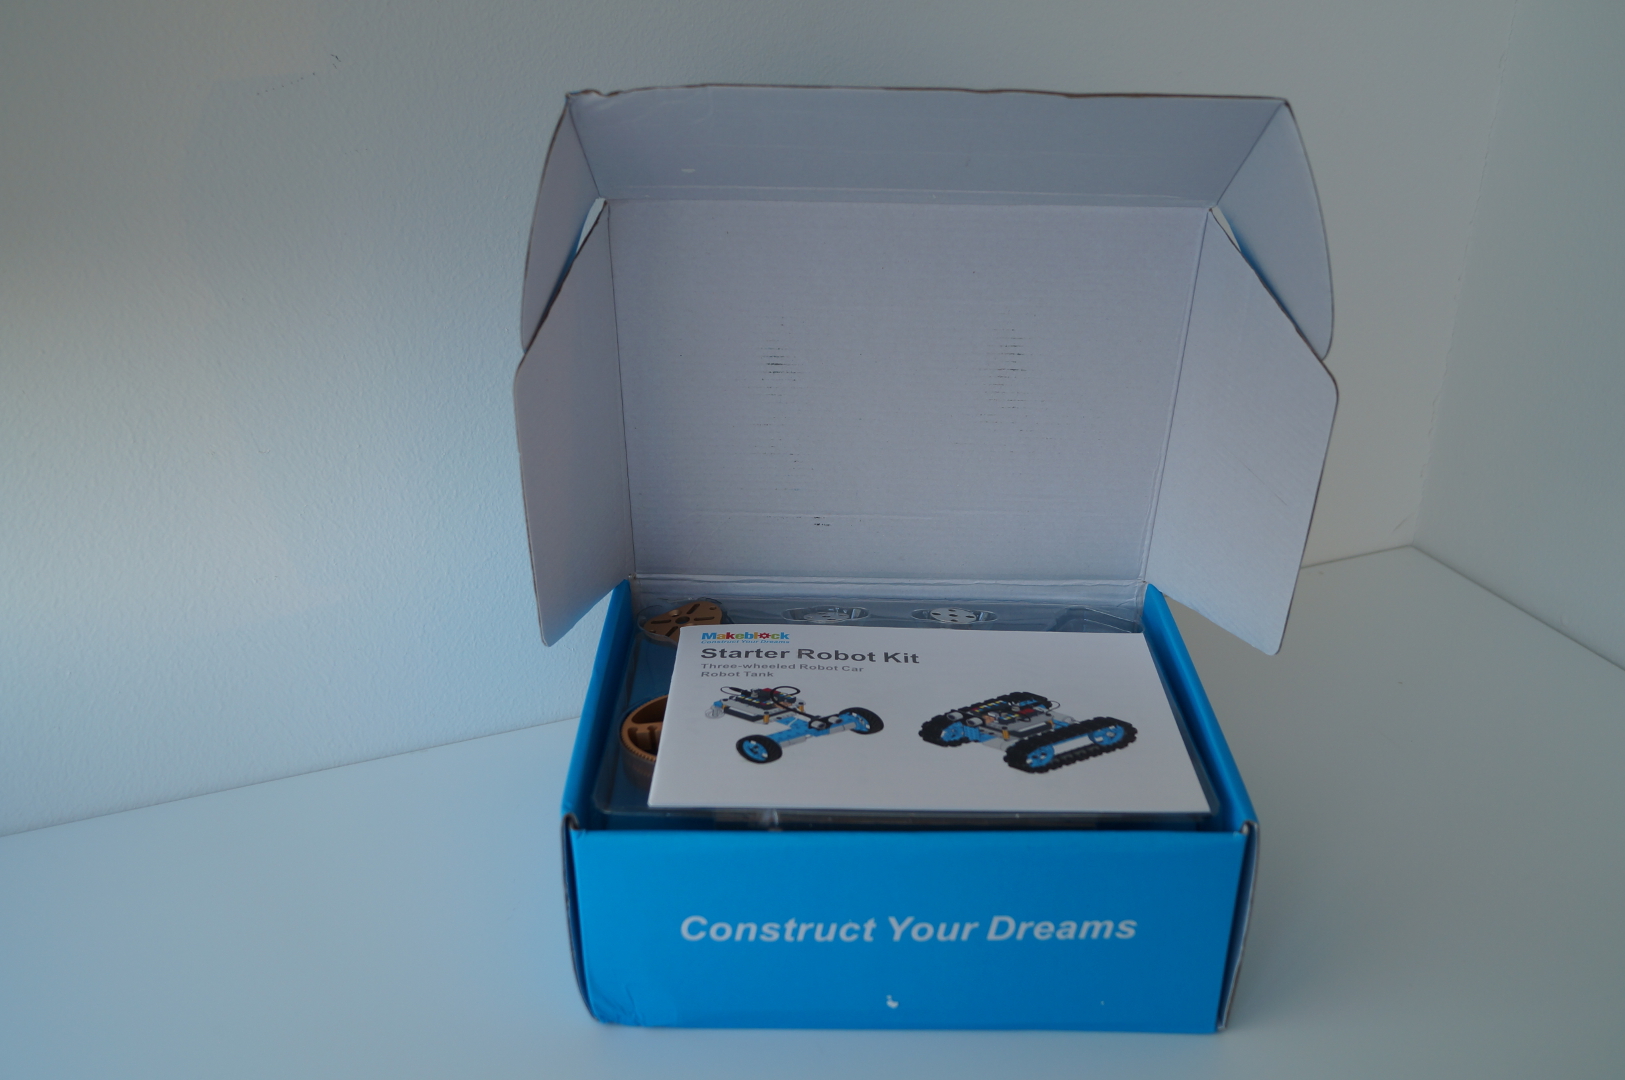
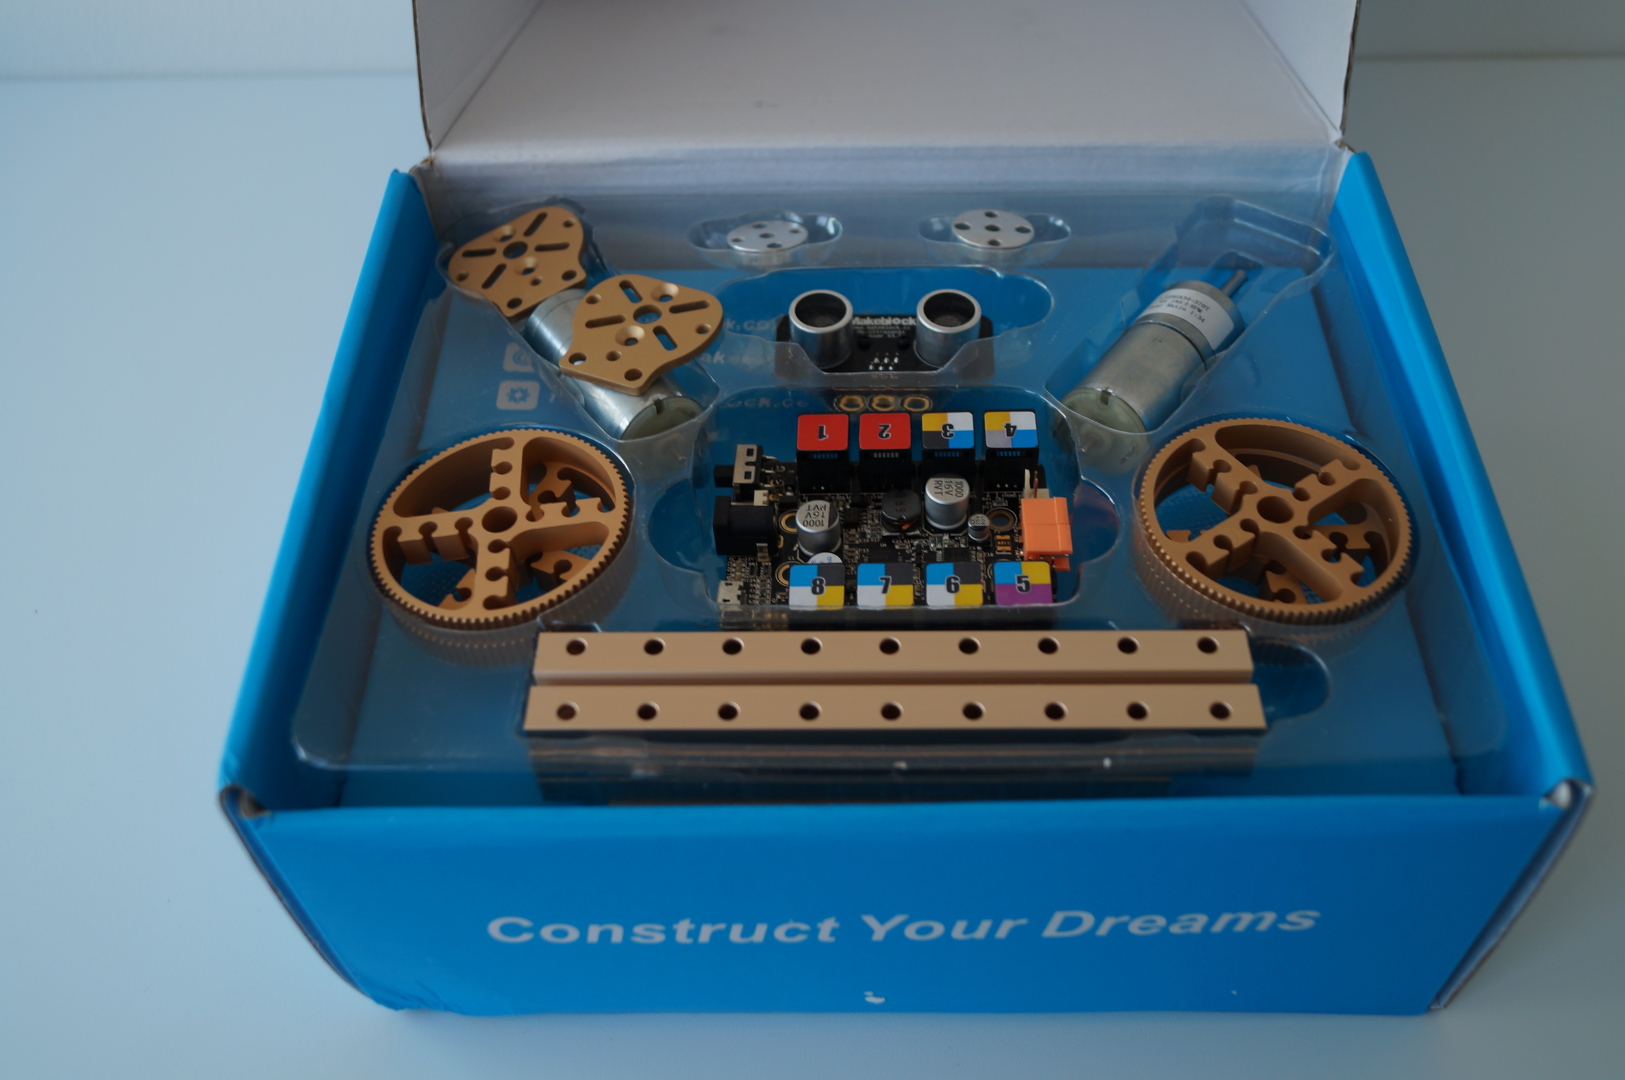
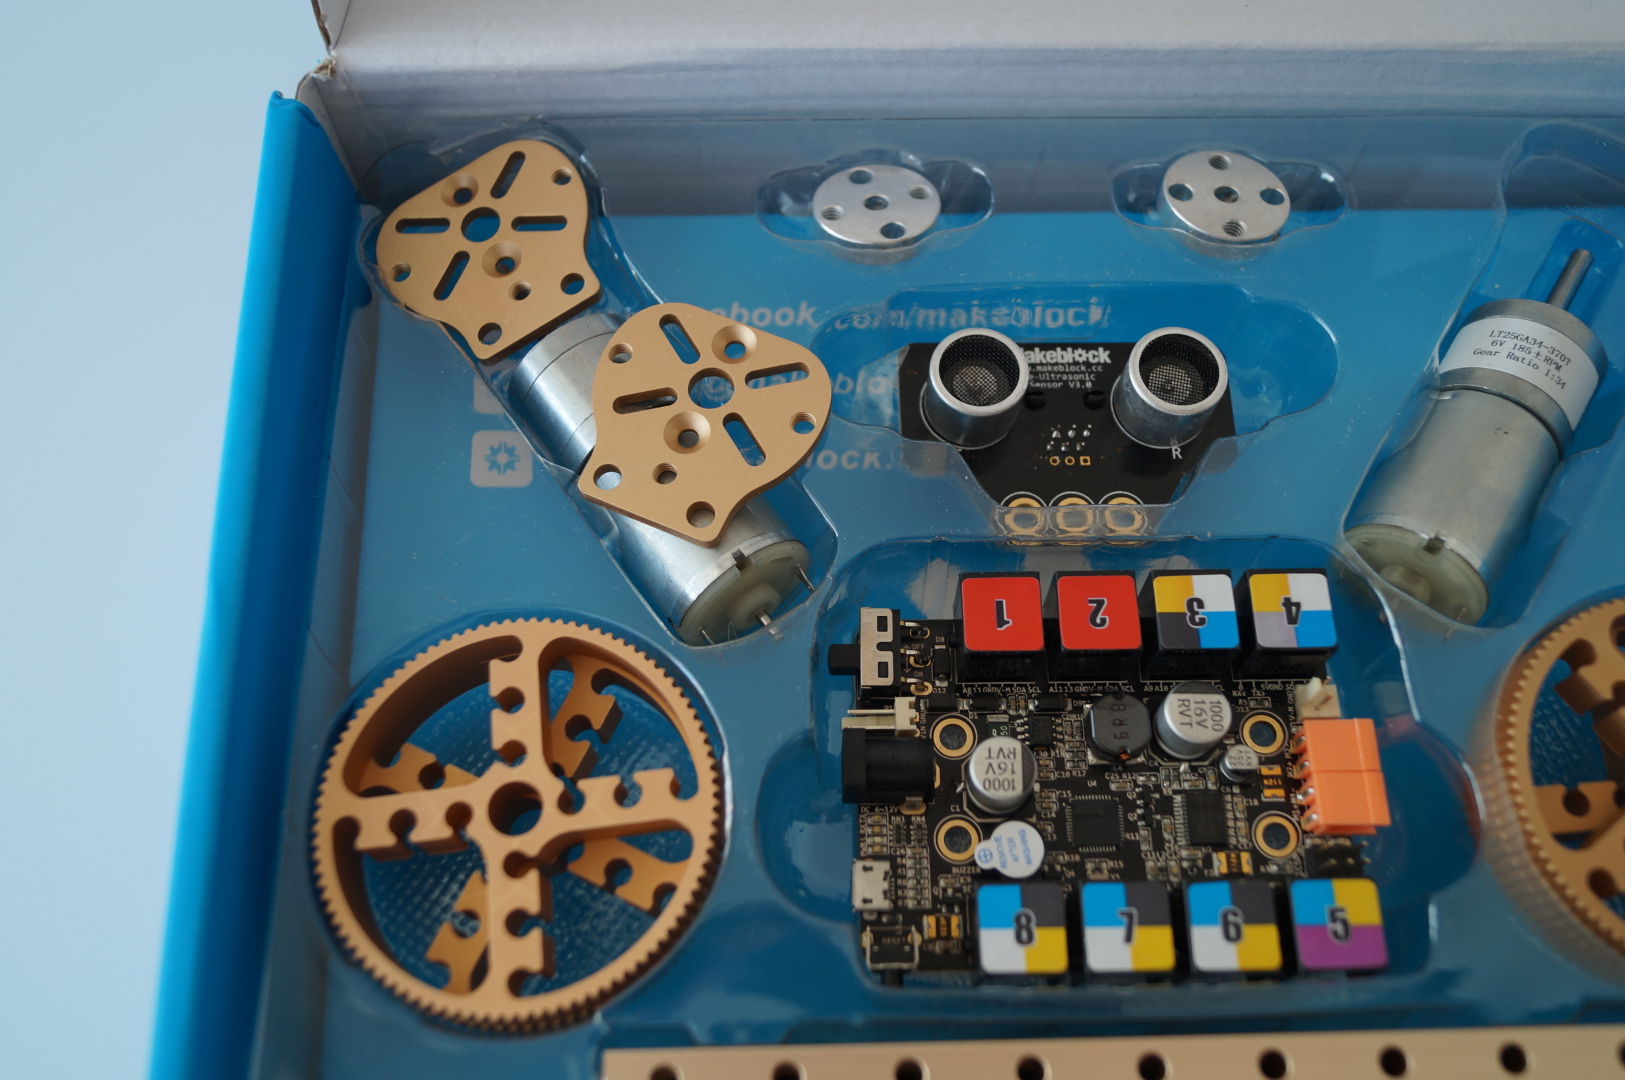
We reveal and discover that the parts are laid out in two "layers", in the upper one of which the most interesting and beautiful are laid out with a transparent plastic holder: controller, ultrasonic range finder, motors, beams, wheels, wheel couplings and motor holders. On top of that is the instruction.
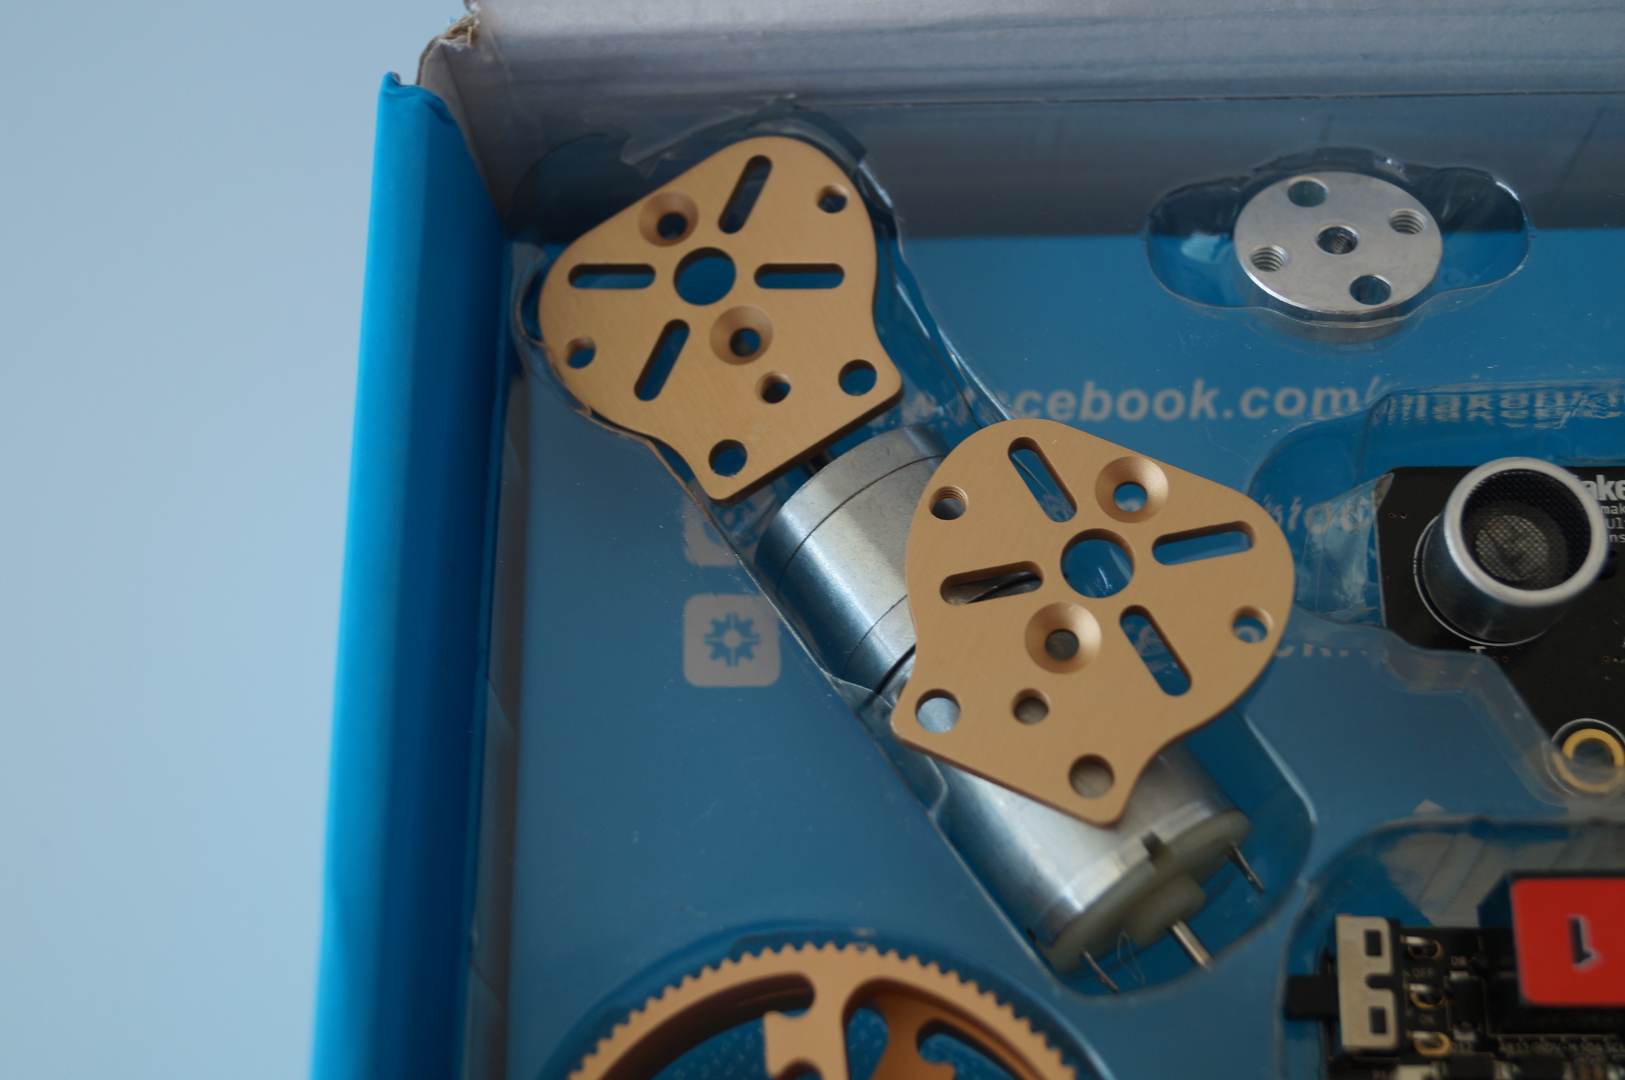
It was alarmed that part of the holder was destroyed (a fragment of it was found in the lower compartment of the box), and one of the holders of the motor lay randomly. The problem is that during transportation it could damage the uncovered and unprotected charge.
We take out the holder:
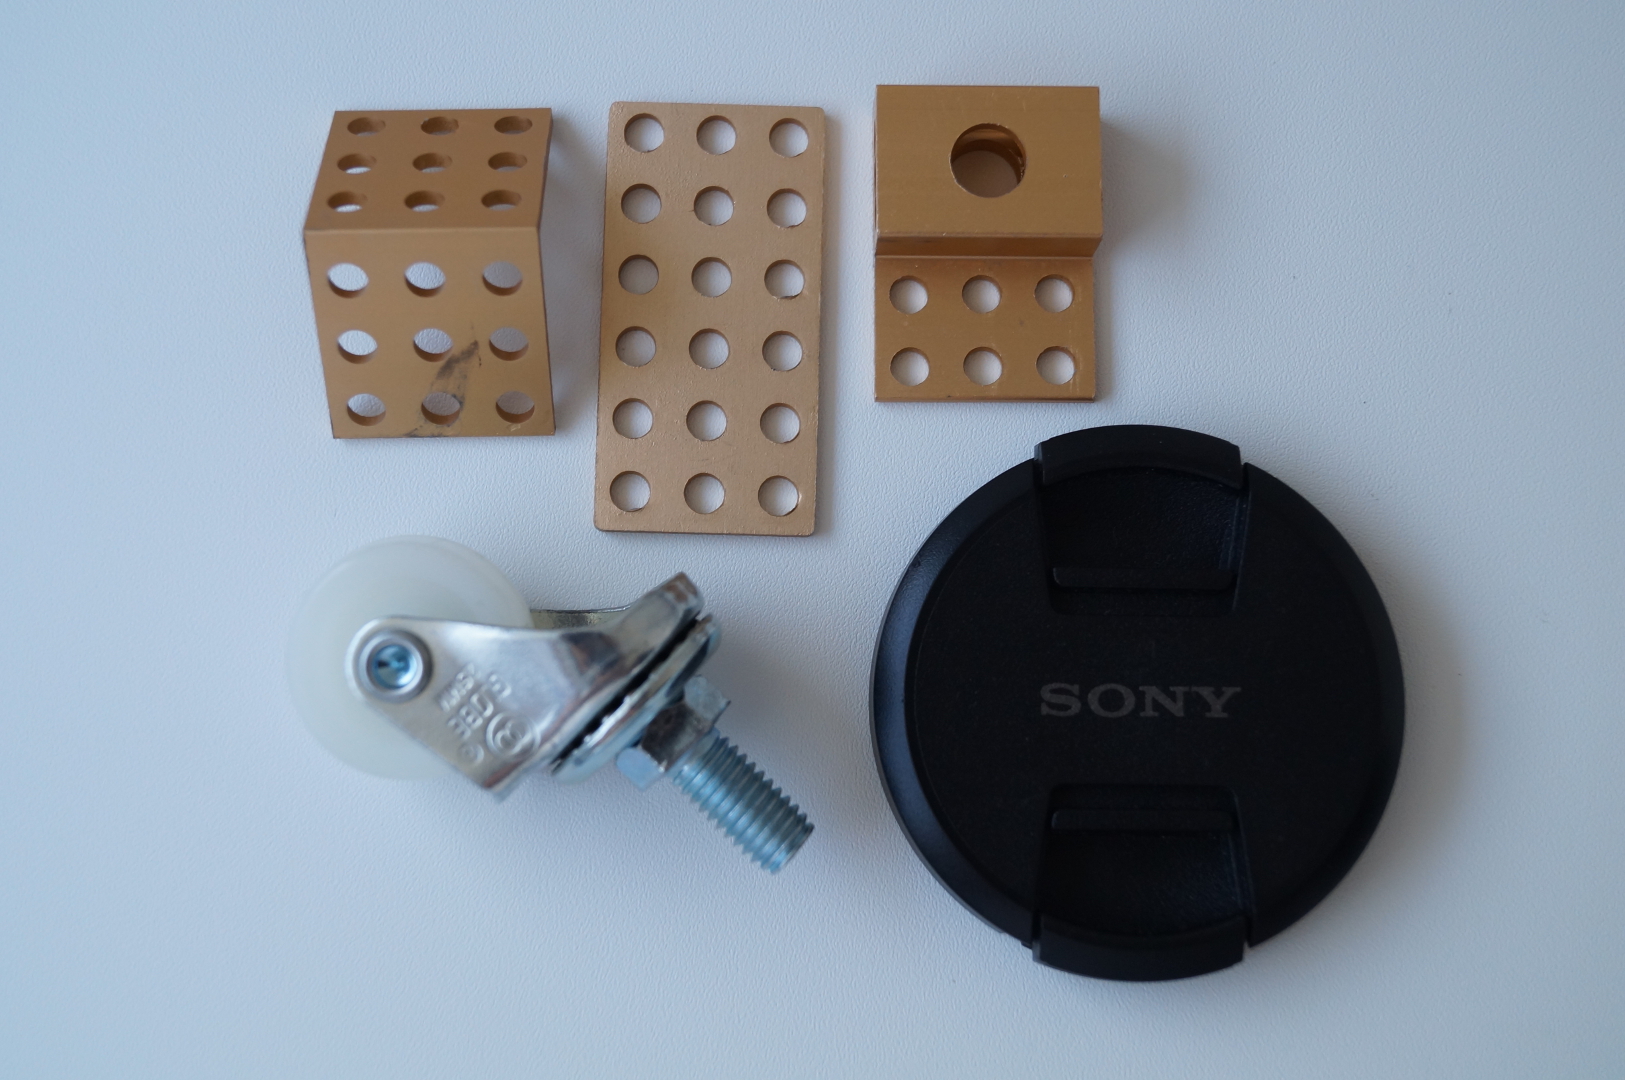
In the lower compartment dumped in bags and without battery box, brackets, tires, infrared receiver, infrared remote, tracks for tracks, small fasteners, auxiliary (support) wheel, tools.
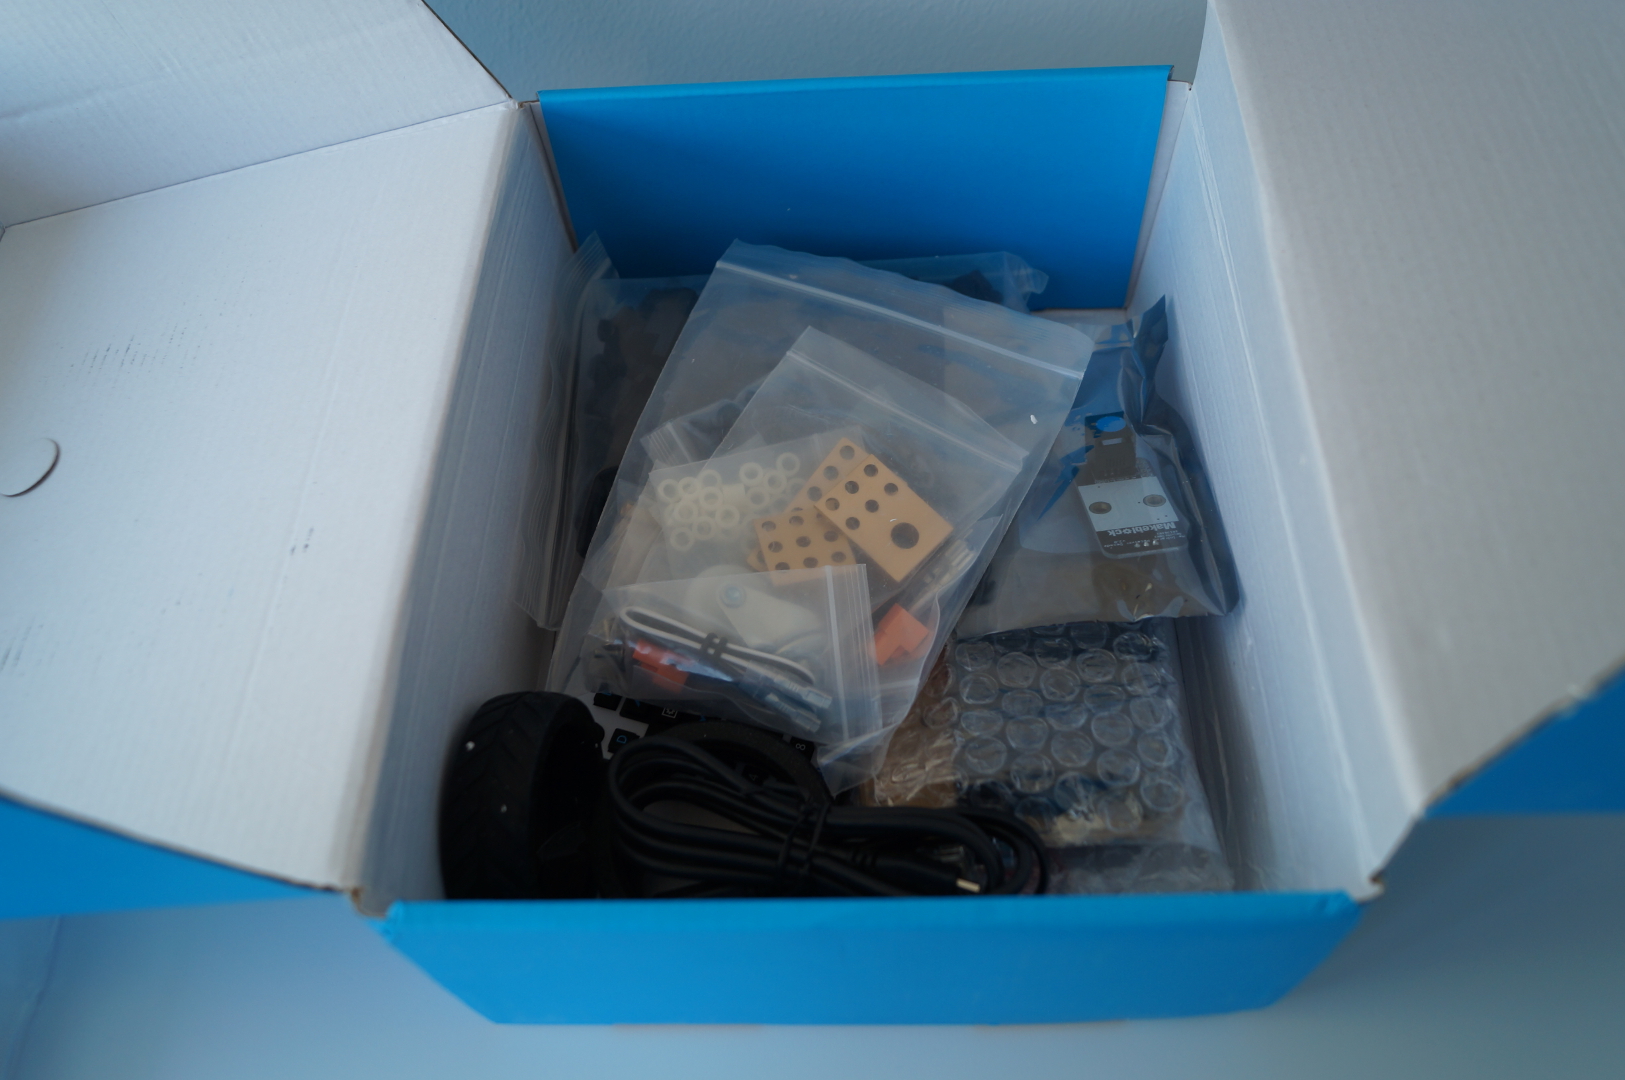
Consider the contents of this compartment:

Tires are good - rubber, soft, but in the box already collected dust and debris.

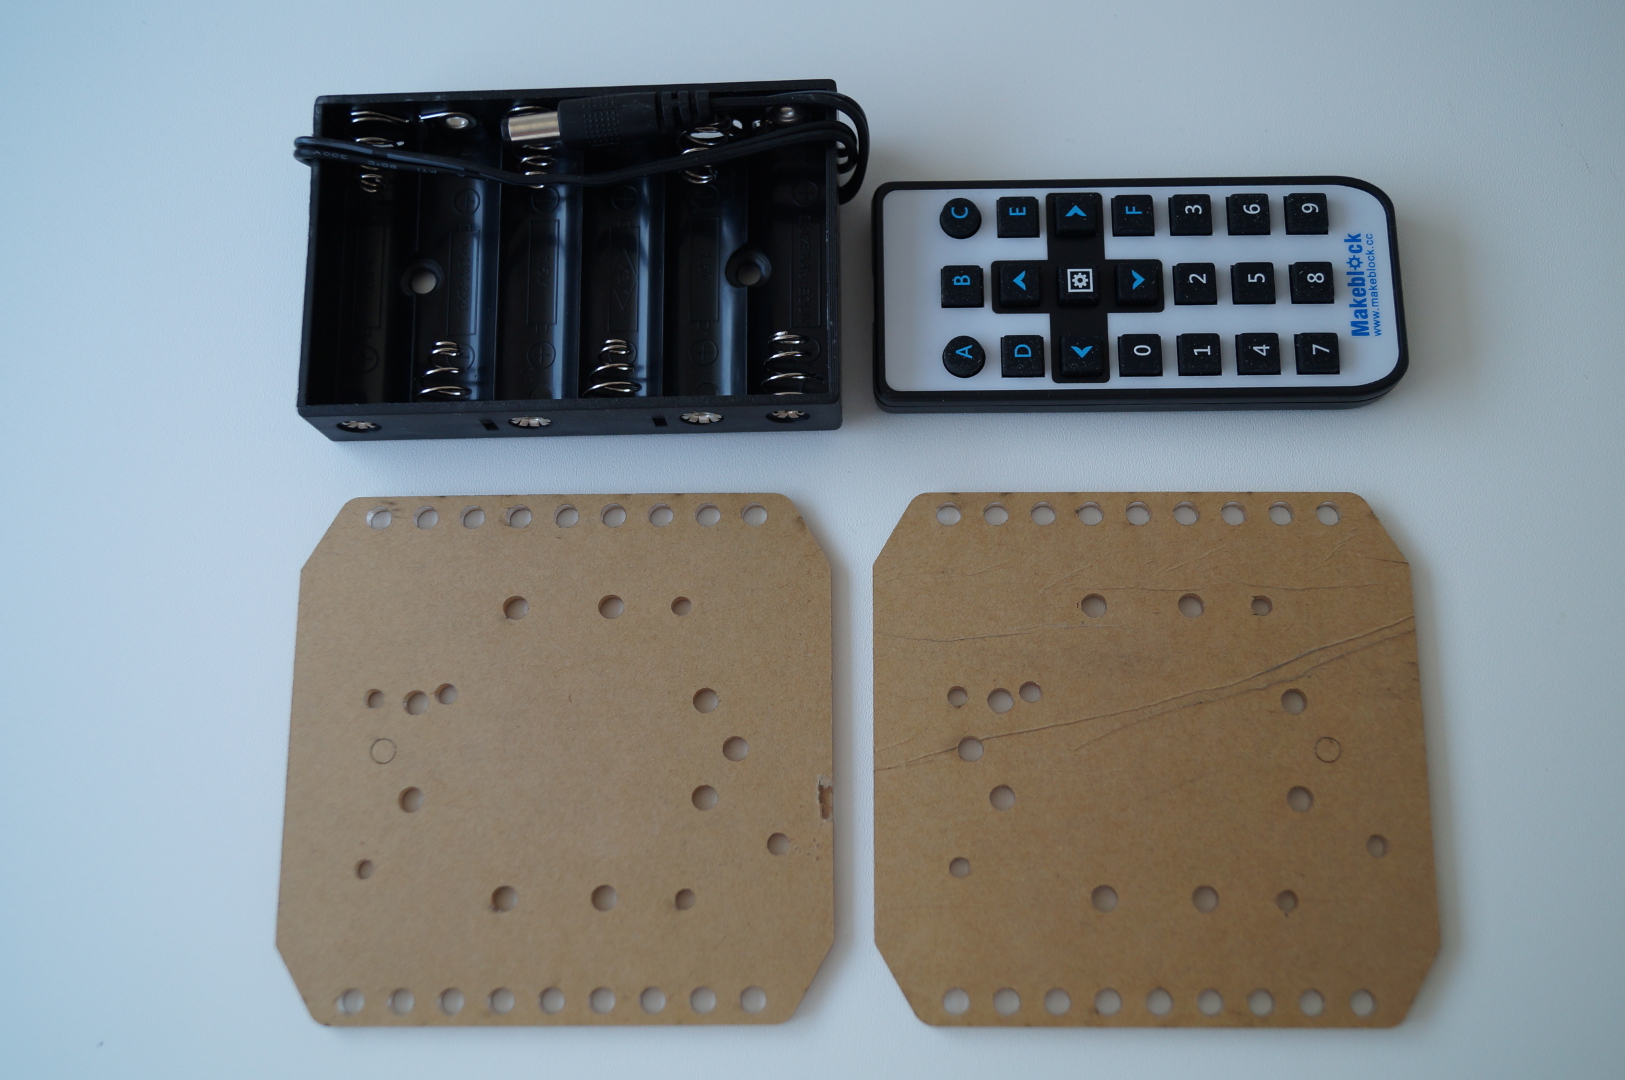
Battery pack, remote and two brackets in the package:
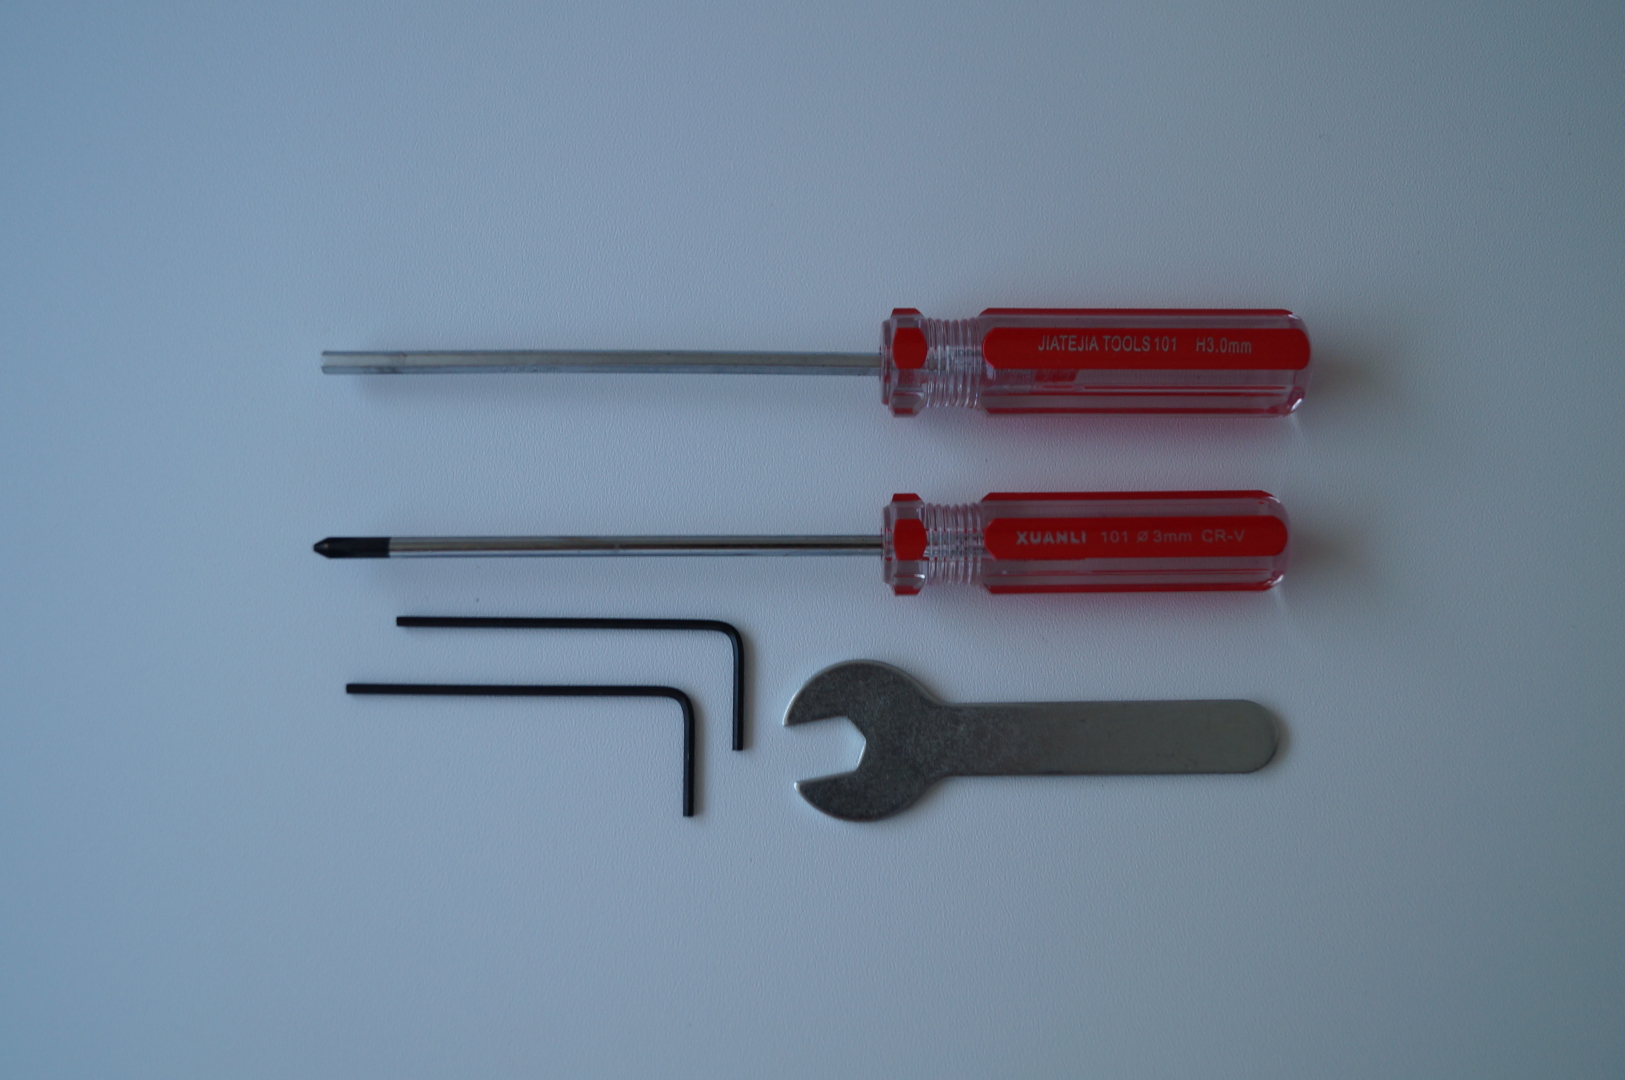
Tool:
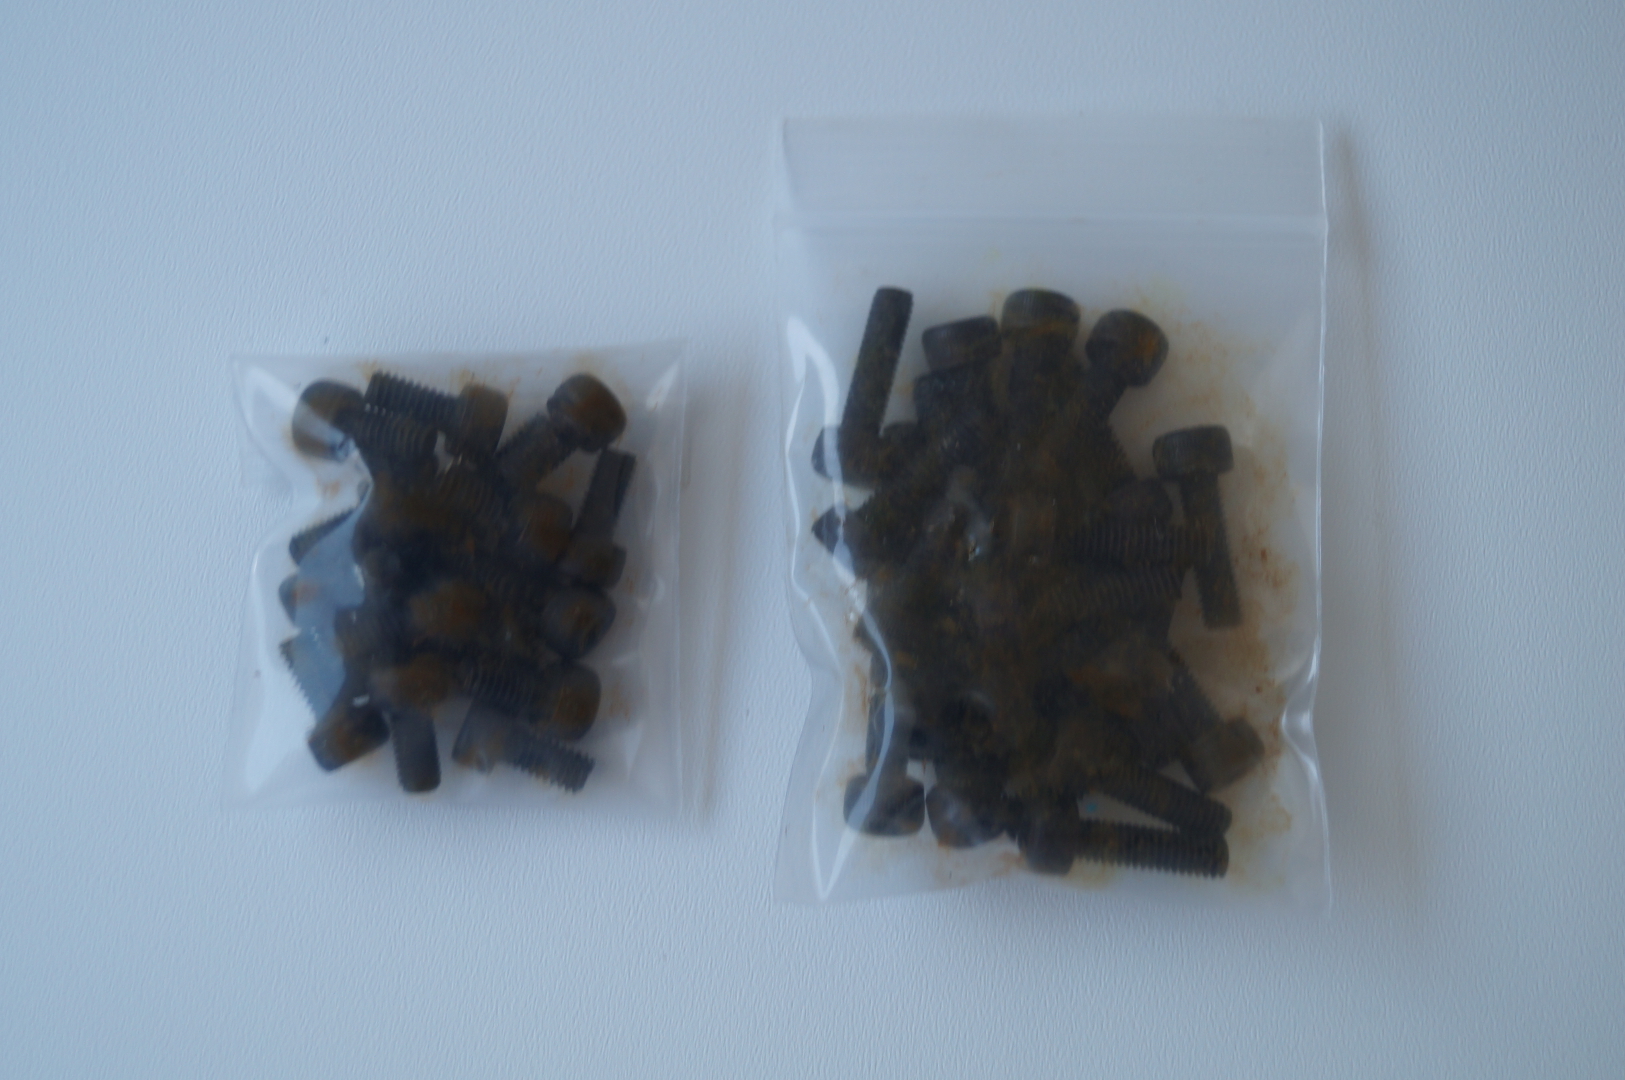
The contents of a large bag:

Here disappoints come on: rusty bolts ...
From the support wheel there was a feeling that he was taken from the furniture, it is so big and knocked out in style and design.
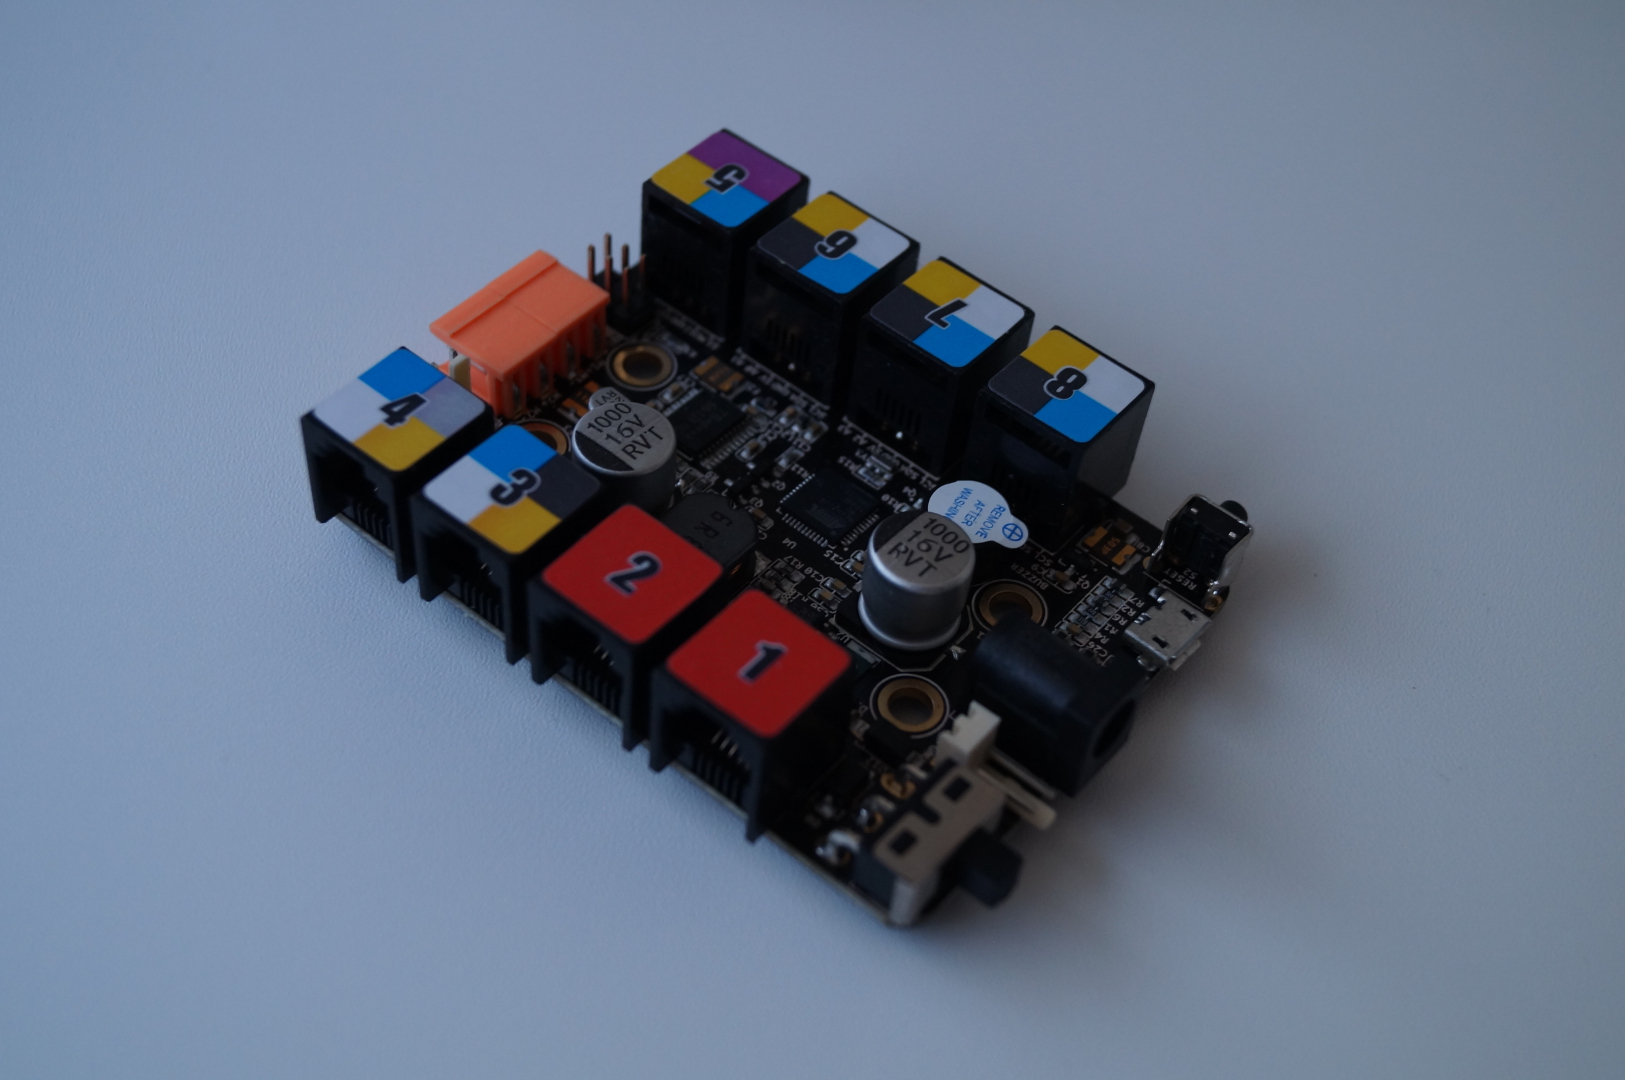
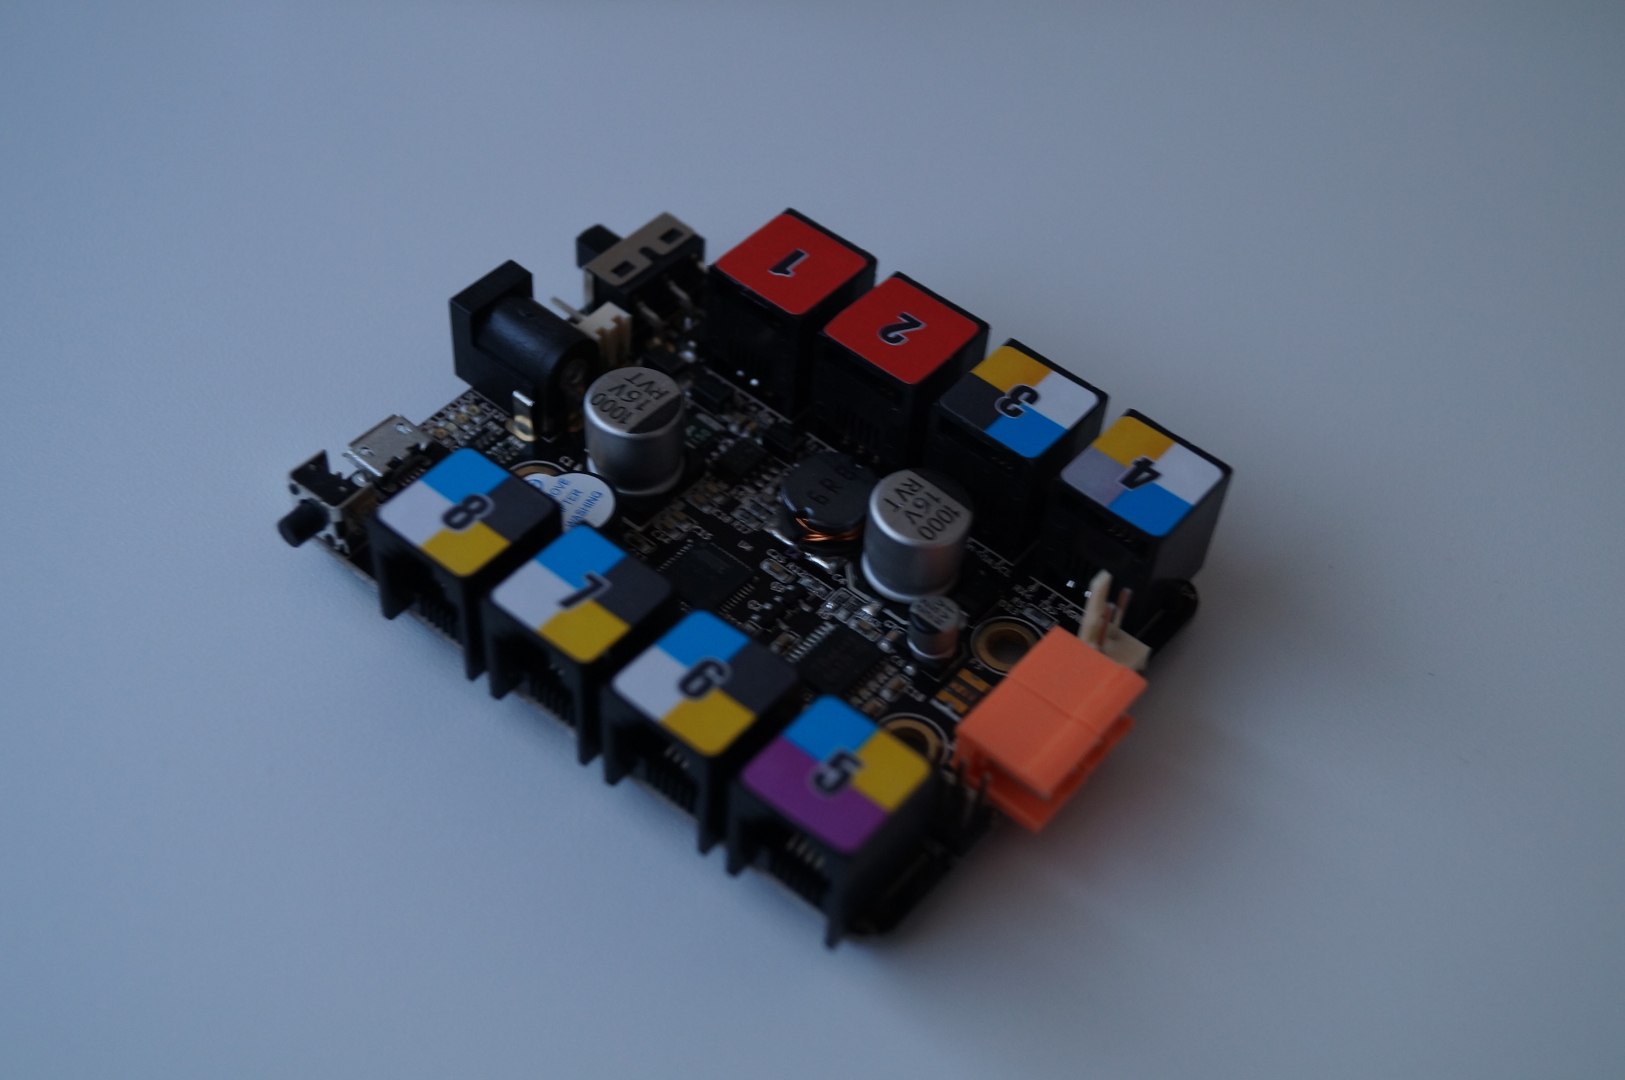
And lastly, the brain of future robots is a Me-Base Board. The main difference from Arduino is that instead of pin connectors, connectors for RJ cableslike on LEGO Mindstorms NXT .
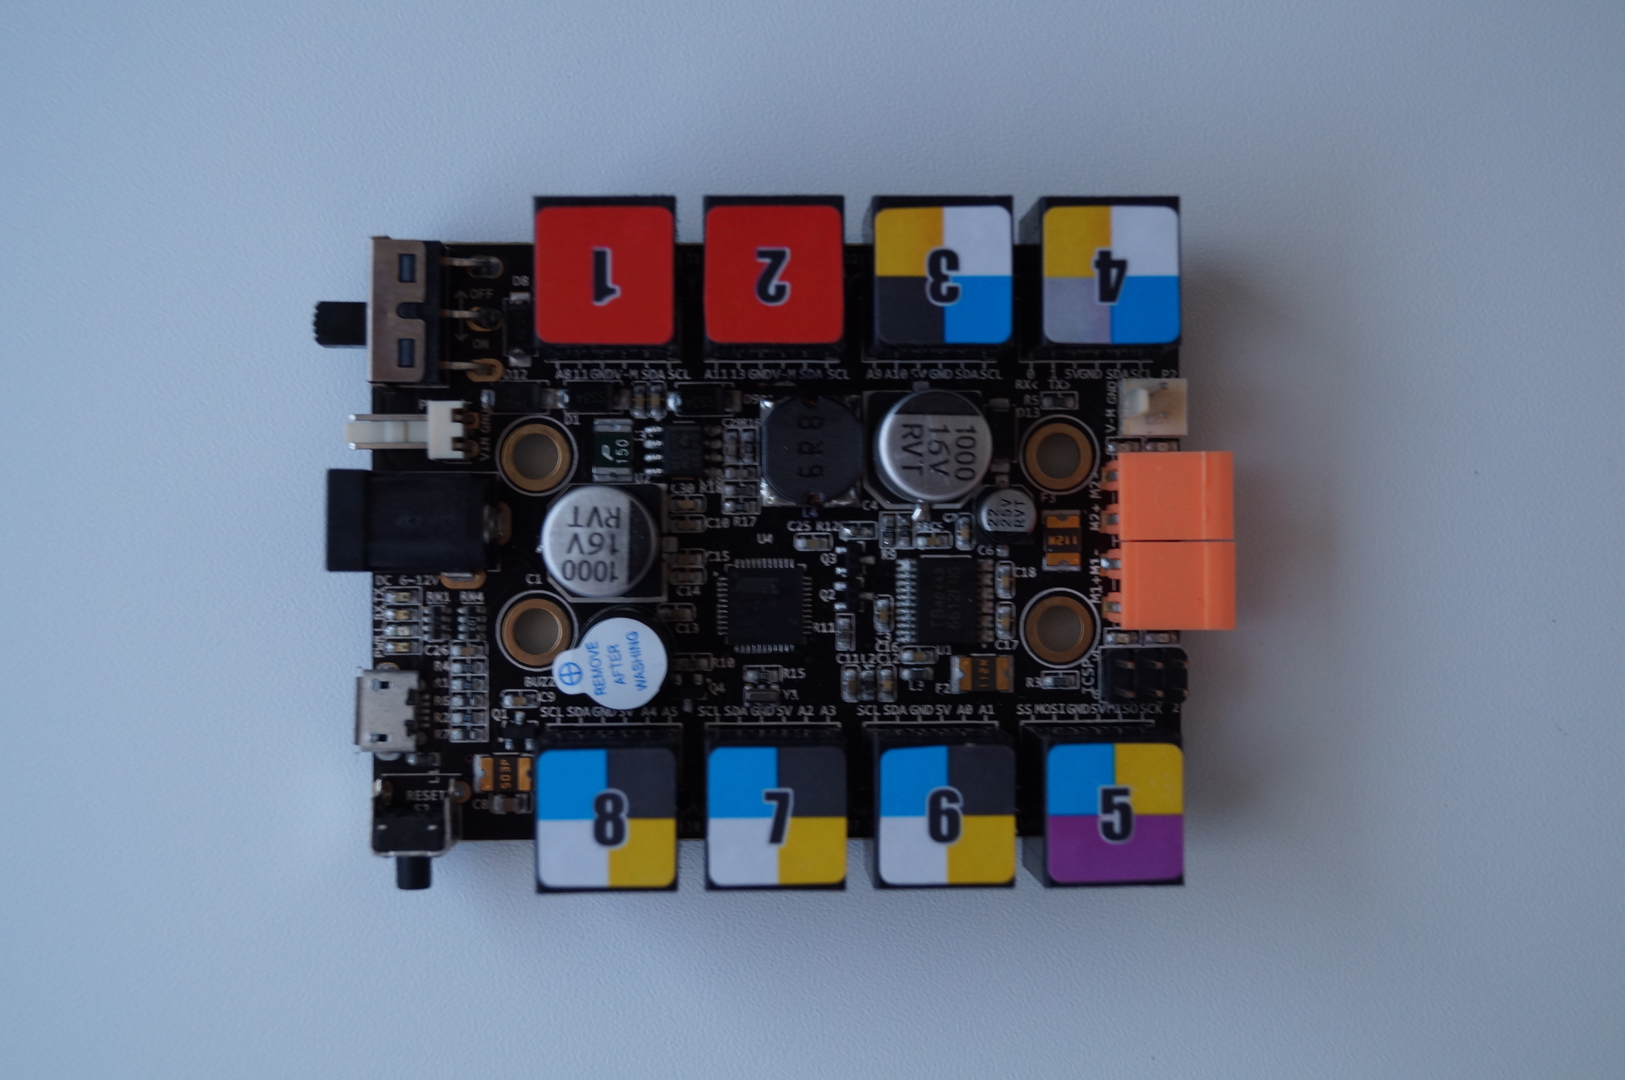
Pay attention to the holes on the board, firstly they are 4 mm in diameter, and secondly, they do not coincide with those on the Arduino.
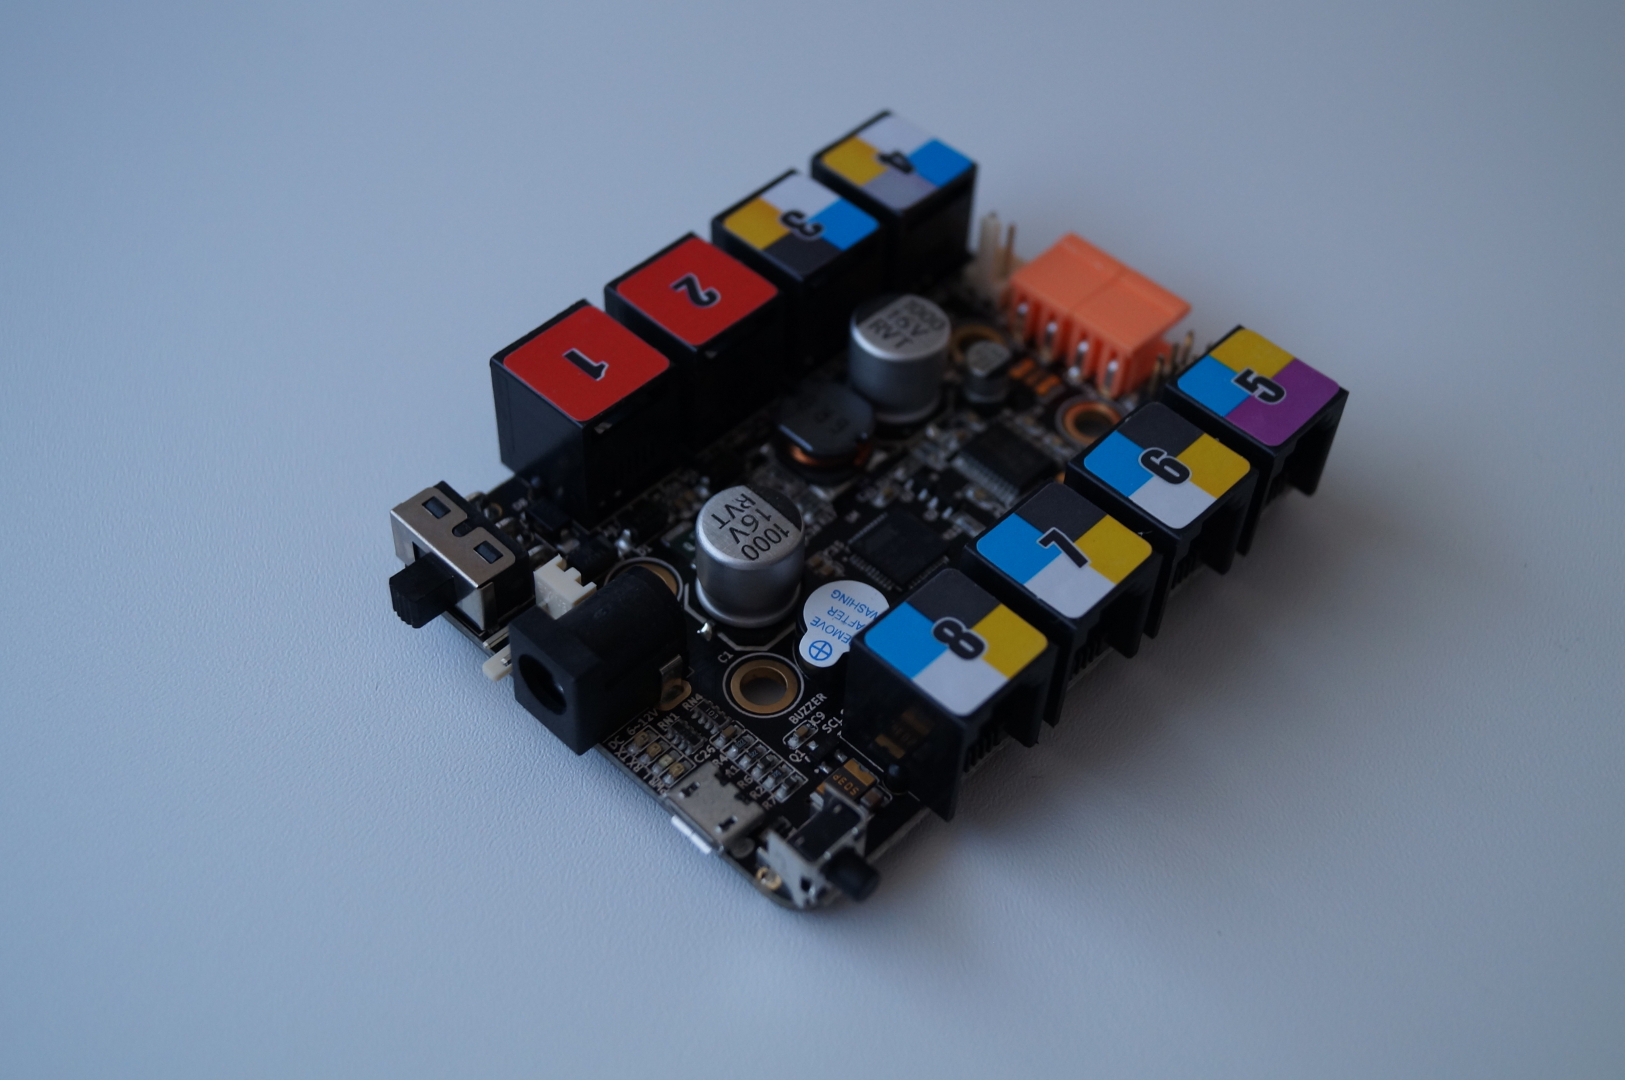
Here we see the power connector, microUSB connector, power button, reset button:
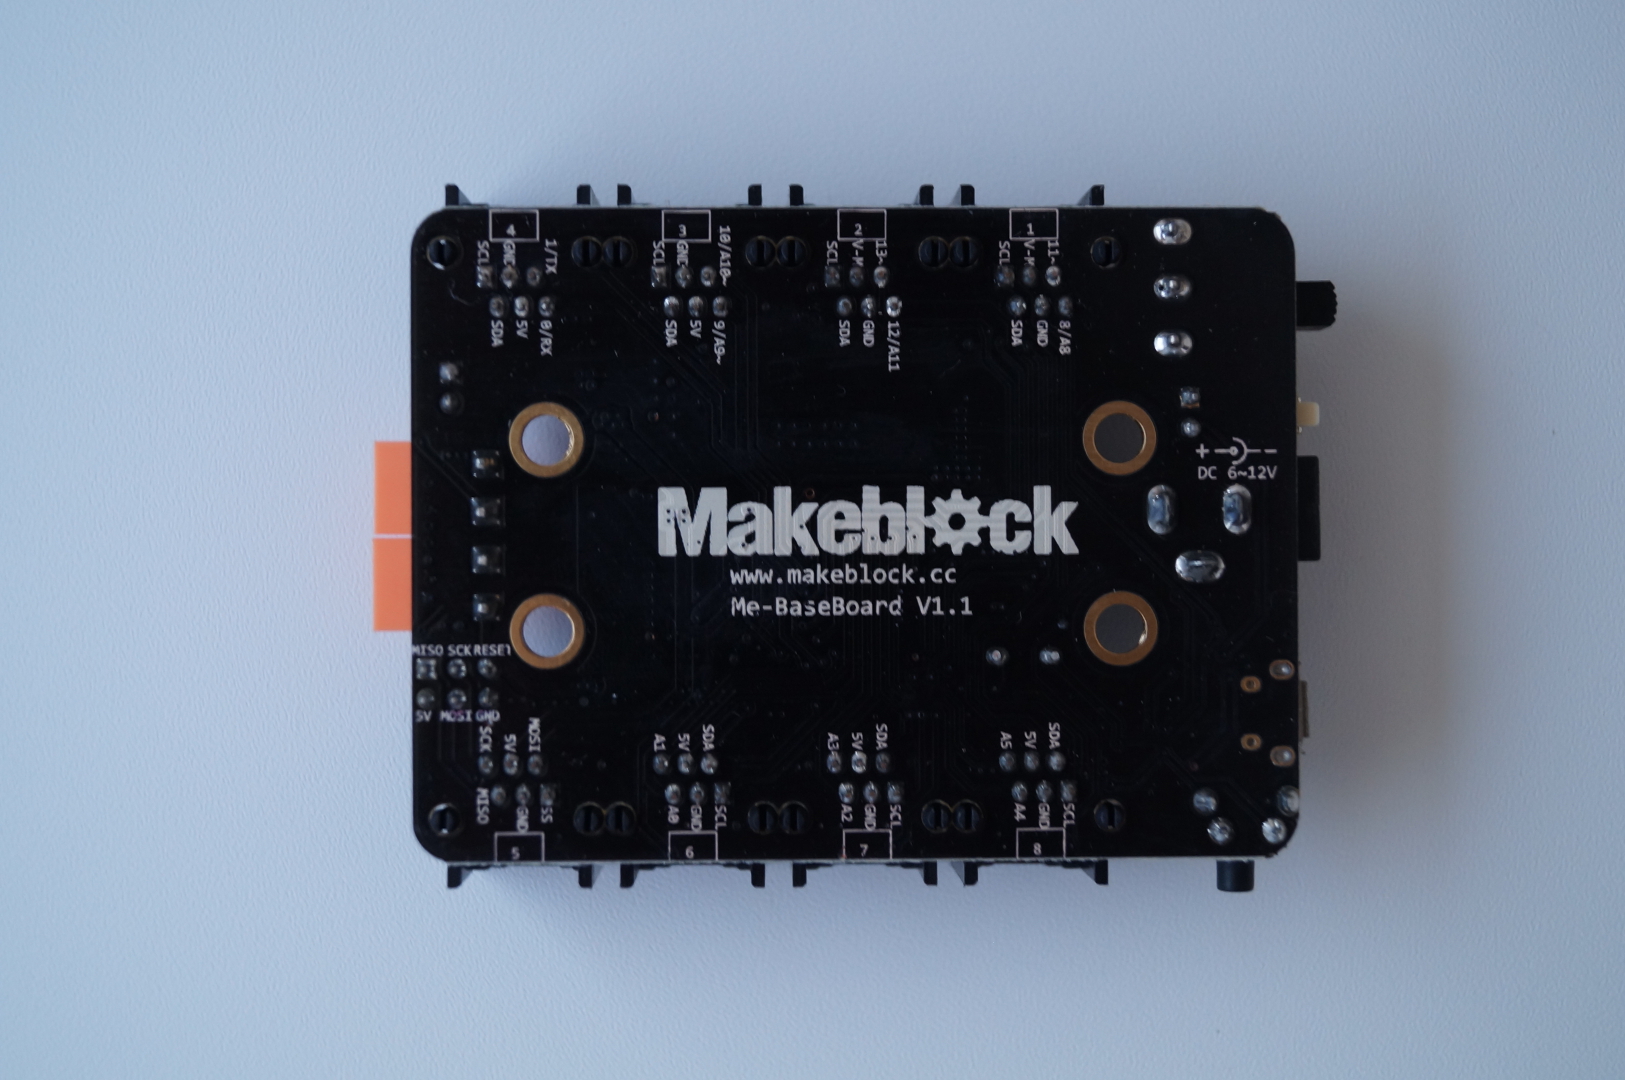
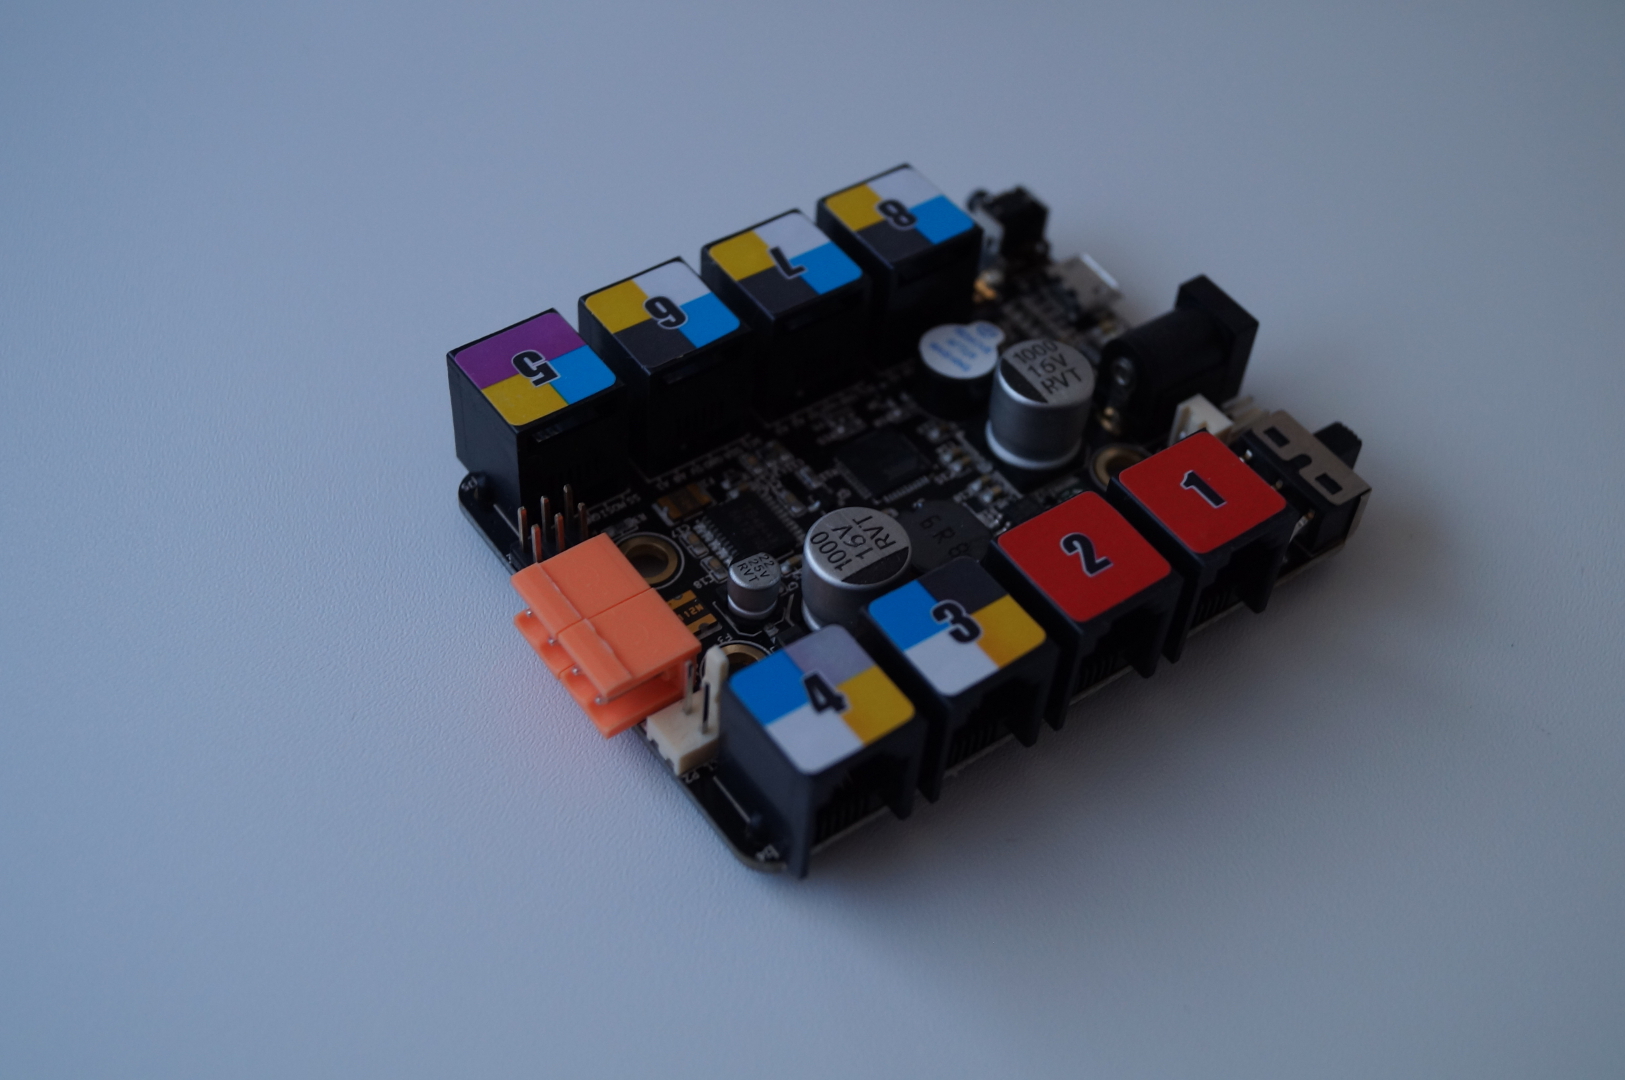
Pin connections are located behind:
So far the designer has made a generally good impression, although, as we see, it was not without blots, which spoil the overall impression. Interestingly, the components used in the latest versions are primarily Me-BaseBoard V1.1 and Me-Ultrasonic Sensor V3.0.
In the next post, I will try to demonstrate and evaluate the process of assembling one of the two “standard” driving robots, as well as assess the quality of the components and test the robot in action.
If you have or have any questions, ask in the comments, I will try to answer them.
The question arose, how do the Mindstorms peripherals connect to the MeBase Board? I myself did not connect it, revising the English-language reviews again, did not notice anyone doing this either. So maybe this is just a declaration: "Lego NXT mindstorm into the project." ( Here ). Given that they have different connectors, one cannot do without a “file”.
Here you can see that some kind of shield is used with connectors like LEGO.
What is Makeblock?
Makeblock is an open source construction platform developed in Shenzhen, China. Launches and sells Makeblock eponymous company. In addition to being open, Makeblock also features:
- durable anodized aluminum parts in two colors (blue and gold);
- electronics based on an Arduino compatible controller;
- the ability to use LEGO Mindstorms parts,
including motors.
Why Makeblock
I became interested in robotics less than a year ago, when, on the advice of one of my university colleagues (now in Yandex), I met LEGO Mindstorms EV3. We had to try to develop the layout of an industrial robot, but since my colleague already had experience of building a flying robot from scratch with my indirect participation, it was decided to use the ready-made platform. The choice quickly fell on the fresh LEGO Mindstorms EV3 . As LEGO was mastered, it became clear that this choice has significant drawbacks:
')
- LEGO-derived structures are very flimsy;
- not only the kit itself, but the missing parts are very expensive;
- the computer is rather limited in its capabilities;
- and EV3 also has a limited peripheral spectrum;
- plus EV3 is programmed graphically only.
Therefore, I began to look for robotic platforms that would not have such flaws, but it is desirable that they be compatible with LEGO in details. Along the way, thanks to one post on Habrahabr, I became interested in Arduino, purchased and started to master it. Searching the web for “lego arduino” brought me to Makeblock. It turned out that the guys from China had already thought about me and offered the market a very interesting product, about the features of which I wrote at the very beginning. But especially impressed with three facts:
- in the range of pre-made Makeblock sets there were sets for building two “standard” robots;
- as well as a set to build a plotter;
- and even a 3D printer!
What is Makeblock Starter Robot Kit
As a result, having familiarized myself with the whole range, I chose the Makeblock Starter Robot Kit V2.0 . By purchasing such a set, I was able to build on the basis of an Arduino-compatible controller one of two driving robots equipped with an ultrasonic sensor and an infrared signal receiver. But it is also possible to purchase electronics and mechanics in separate sets, as well as every detail separately, but this will be more expensive. In the product line there are other kits, as well as a bunch of sensors, motors and all kinds of mechanics.
Makeblock Starter Robot Kit V2.0 - this is the newest at the time of writing the post set to build driving robots. From the first version it is distinguished by the use of a new controller, which combines the usual Arduino-compatible controller with shield to connect sensors and motors with RJ11 connectors.
In addition to the controller, the new version contains:
- ultrasonic range finder type HC-SR04;
- infrared receiver;
- infrared remote control;
- two medium engine;
- battery pack with plug connector;
- two transparent brackets;
- tracks for tracks;
- two rubber tires;
- four large pulleys, they are wheels;
- several beams;
- basic rotary wheel;
- minimum required fasteners;
- RJ11 cables;
- USB cable;
- tool for the assembly of mechanics;
- instructions.
All this stuff is pretty neatly packed in a weighty, about 1.5 kg, but small, 26 x 20 x 10 cm, and stylish box:
So, unpack
Before unpacking, consider the box:
No compression during transportation has not done:
We reveal and discover that the parts are laid out in two "layers", in the upper one of which the most interesting and beautiful are laid out with a transparent plastic holder: controller, ultrasonic range finder, motors, beams, wheels, wheel couplings and motor holders. On top of that is the instruction.
It was alarmed that part of the holder was destroyed (a fragment of it was found in the lower compartment of the box), and one of the holders of the motor lay randomly. The problem is that during transportation it could damage the uncovered and unprotected charge.
We take out the holder:
In the lower compartment dumped in bags and without battery box, brackets, tires, infrared receiver, infrared remote, tracks for tracks, small fasteners, auxiliary (support) wheel, tools.
Consider the contents of this compartment:
Tires are good - rubber, soft, but in the box already collected dust and debris.
Battery pack, remote and two brackets in the package:
Tool:
The contents of a large bag:
Here disappoints come on: rusty bolts ...
From the support wheel there was a feeling that he was taken from the furniture, it is so big and knocked out in style and design.
And lastly, the brain of future robots is a Me-Base Board. The main difference from Arduino is that instead of pin connectors, connectors for RJ cables
Pay attention to the holes on the board, firstly they are 4 mm in diameter, and secondly, they do not coincide with those on the Arduino.
Here we see the power connector, microUSB connector, power button, reset button:
Pin connections are located behind:
In the dry residue
So far the designer has made a generally good impression, although, as we see, it was not without blots, which spoil the overall impression. Interestingly, the components used in the latest versions are primarily Me-BaseBoard V1.1 and Me-Ultrasonic Sensor V3.0.
What's next
In the next post, I will try to demonstrate and evaluate the process of assembling one of the two “standard” driving robots, as well as assess the quality of the components and test the robot in action.
If you have or have any questions, ask in the comments, I will try to answer them.
Update
The question arose, how do the Mindstorms peripherals connect to the MeBase Board? I myself did not connect it, revising the English-language reviews again, did not notice anyone doing this either. So maybe this is just a declaration: "Lego NXT mindstorm into the project." ( Here ). Given that they have different connectors, one cannot do without a “file”.
Here you can see that some kind of shield is used with connectors like LEGO.
Source: https://habr.com/ru/post/237079/
All Articles